네이버 블로그 검색 API 적용 및 예제
part2
네이버 개발자 센터에서 설정이 끝났으면,
Servlet을 Servie만 체크하고 생성해줍니다.
네이버 애플리케이션 생성시 아이디랑 비밀번호를 따로 메모해 두세요. 애플리케이션 클라이언트 아이디 /시크릿에 메모해둔 걸 입력하세요 !
protected void service(HttpServletRequest request, HttpServletResponse response) throws ServletException, IOException {
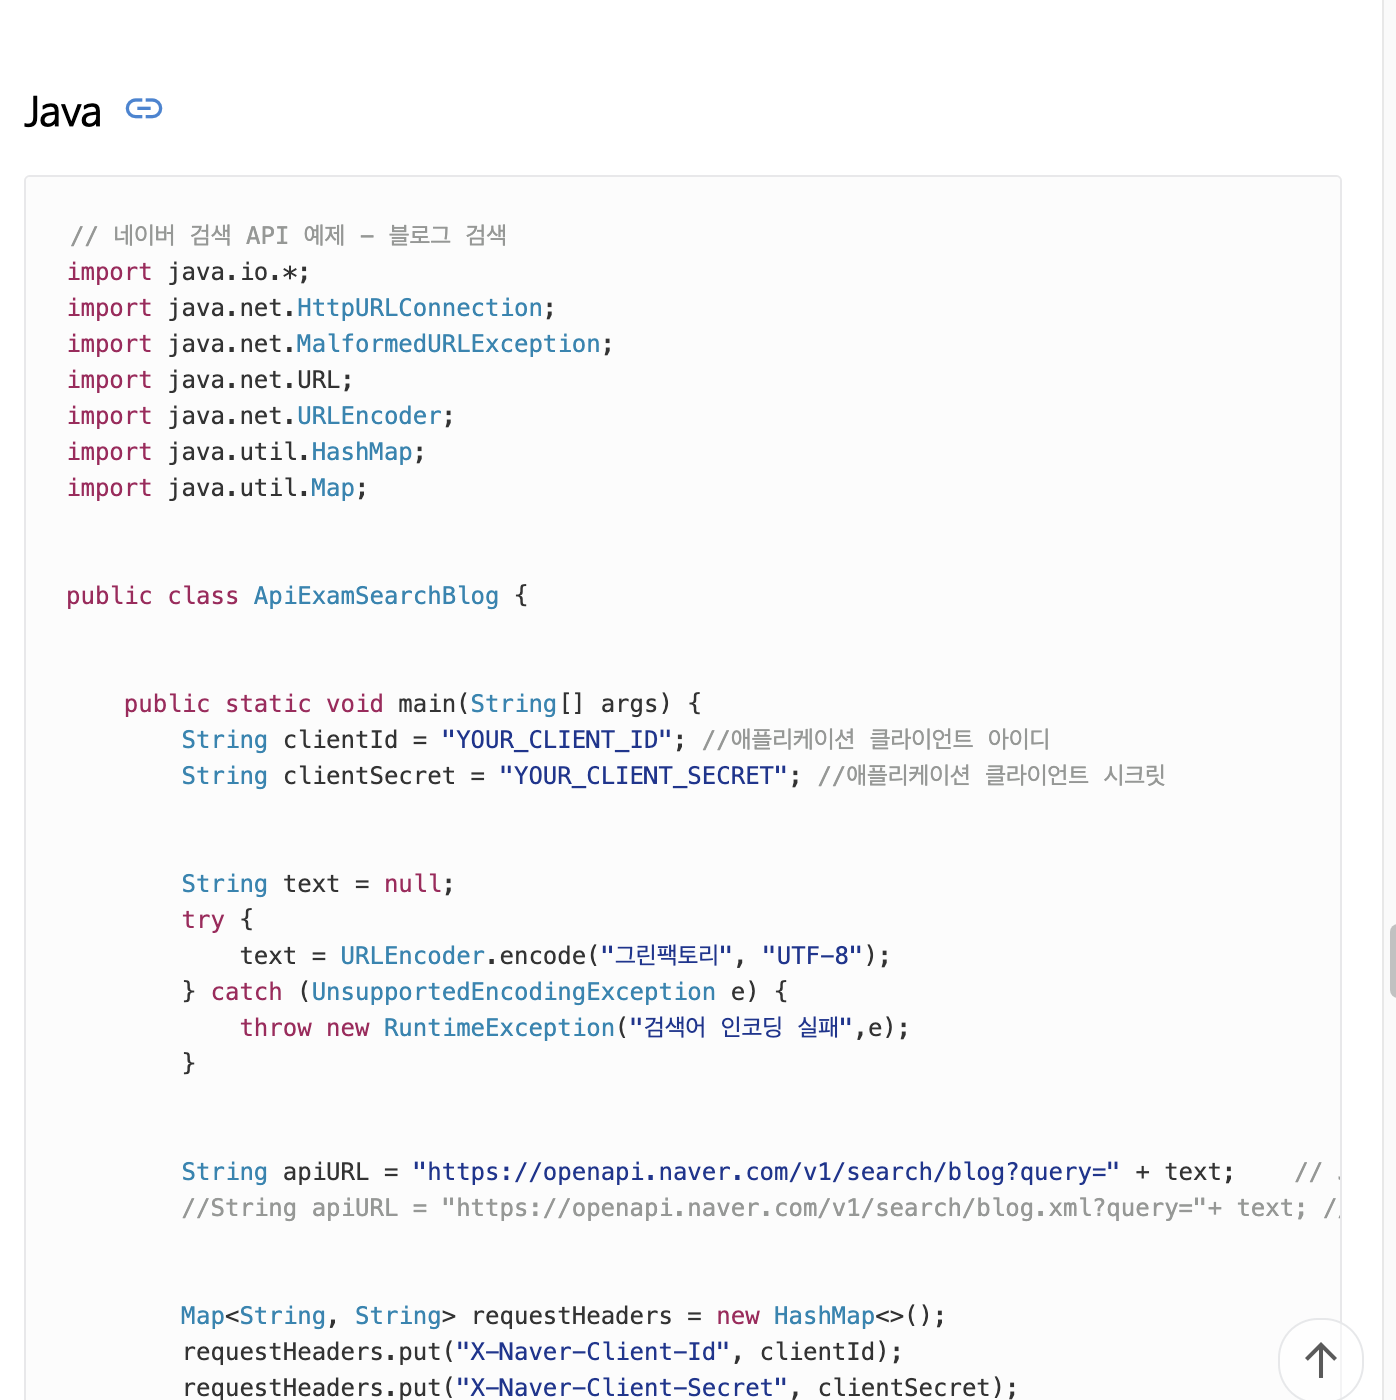
String clientId = "YOUR_CLIENT_ID"; // 애플리케이션 클라이언트 아이디
String clientSecret = "YOUR_CLIENT_PW"; //애플리케이션 클라이언트 시크릿
}
}네이버 개발자 센터에서 검색 -> 블로그 부분 들어가면 , 예제 코드 및 오류 부분 전부 나오니까 해당 부분 이용 해서 작성하면 됩니다.
** 위에 부분 추가 후 아래 코드 **
// 스타트 페이지
		int startNum = 0;
        String text = null;
        try {

           startNum = Integer.parseInt(req.getParameter("startNum"));
           String searchText = req.getParameter("keyword");
            text = URLEncoder.encode(searchText, "UTF-8");
        } catch (UnsupportedEncodingException e) {
            throw new RuntimeException("검색어 인코딩 실패",e);
        }

        String apiURL = "https://openapi.naver.com/v1/search/blog?query=" + text
              + "&display=10&start=" + startNum;  // json 형식

        Map<String, String> requestHeaders = new HashMap<>();
        requestHeaders.put("X-Naver-Client-Id", clientId);
        requestHeaders.put("X-Naver-Client-Secret", clientSecret);
        String responseBody = get(apiURL,requestHeaders);


        System.out.println(responseBody);

        resp.setContentType("text/html; charset=utf-8");
        resp.getWriter().write(responseBody);
   }

   private static String get(String apiUrl, Map<String, String> requestHeaders){
        HttpURLConnection con = connect(apiUrl);
        try {
            con.setRequestMethod("GET");
            for(Map.Entry<String, String> header :requestHeaders.entrySet()) {
                con.setRequestProperty(header.getKey(), header.getValue());
            }


            int responseCode = con.getResponseCode();
            if (responseCode == HttpURLConnection.HTTP_OK) { // 정상 호출
                return readBody(con.getInputStream());
            } else { // 오류 발생
                return readBody(con.getErrorStream());
            }
        } catch (IOException e) {
            throw new RuntimeException("API 요청과 응답 실패", e);
        } finally {
            con.disconnect();
        }
    }

   private static HttpURLConnection connect(String apiUrl){
        try {
            URL url = new URL(apiUrl);
            return (HttpURLConnection)url.openConnection();
        } catch (MalformedURLException e) {
            throw new RuntimeException("API URL이 잘못되었습니다. : " + apiUrl, e);
        } catch (IOException e) {
            throw new RuntimeException("연결이 실패했습니다. : " + apiUrl, e);
        }
    }

   private static String readBody(InputStream body){
        InputStreamReader streamReader = new InputStreamReader(body);


        try (BufferedReader lineReader = new BufferedReader(streamReader)) {
            StringBuilder responseBody = new StringBuilder();


            String line;
            while ((line = lineReader.readLine()) != null) {
                responseBody.append(line);
            }


            return responseBody.toString();
        } catch (IOException e) {
            throw new RuntimeException("API 응답을 읽는 데 실패했습니다.", e);
        }
    }


	}
part3
이제, view 부분을 작성하여 연결이 되는지 확인 해야 합니다.
우선 webapp -> folder 를 생성해 주고, jsp 파일을 만들어 줍니다 .
html 먼저 작성하겠습니다.

비전공자의 개발일기