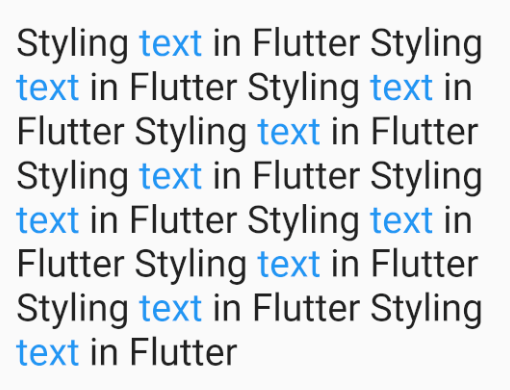
위의 사진처럼 길이가 긴 String 내에 특정 단어에만 다른 TextStyle을 적용해야 하는 경우가 있다.
강조를 위해서, 또는 해당 단어에 Recognizer를 추가하는 경우등등 상황은 여러가지 일수 있다.
이럴때 RichText를 응용하여 사용하면 된다.
Widget _myWidget(BuildContext context) {

    final String myString =
        'Styling text in Flutter Styling text in Flutter '
        'Styling text in Flutter Styling text in Flutter '
        'Styling text in Flutter Styling text in Flutter '
        'Styling text in Flutter Styling text in Flutter '
        'Styling text in Flutter Styling text in Flutter ';

    final wordToStyle = 'text';
    final wordStyle = TextStyle(color: Colors.blue);
    final leftOverStyle = Theme.of(context).textTheme.body1.copyWith(fontSize: 30);

    final spans = _getSpans(myString, wordToStyle, wordStyle);

    return RichText(
      text: TextSpan(
        style: leftOverStyle,
        children: spans,
      ),
    );
  }

  List<TextSpan> _getSpans(String text, String matchWord, TextStyle style) {

    List<TextSpan> spans = [];
    int spanBoundary = 0;

    do {

      // 전체 String 에서 키워드 검색
      final startIndex = text.indexOf(matchWord, spanBoundary);

      // 전체 String 에서 해당 키워드가 더 이상 없을때 마지막 KeyWord부터 끝까지의 TextSpan 추가
      if (startIndex == -1) {
        spans.add(TextSpan(text: text.substring(spanBoundary)));
        return spans;
      }

      // 전체 String 사이에서 발견한 키워드들 사이의 text에 대한 textSpan 추가
      if (startIndex > spanBoundary) {
        print(text.substring(spanBoundary, startIndex));
        spans.add(TextSpan(text: text.substring(spanBoundary, startIndex)));
      }

      // 검색하고자 했던 키워드에 대한 textSpan 추가
      final endIndex = startIndex + matchWord.length;
      final spanText = text.substring(startIndex, endIndex);
      spans.add(TextSpan(text: spanText, style: style));

      // mark the boundary to start the next search from
      spanBoundary = endIndex;

      // continue until there are no more matches
    }
    //String 전체 검사
    while (spanBoundary < text.length);

    return spans;
  }
코드에 관한 설명은 주석을 참고하면 된다.
전체적으로 적용할 Style은 leftOverStyle에 정의를 하면 된다.
키워드(위의 코드의 wordToStyle ) 에 적용할 스타일은 wordStyle에 정의를 하면 된다.
만약 키워드를 터치했을 때 화면 이동등 변화를 적용하고 싶으면 키워드의 textSpan에 recognizer를 추가하여 사용하면 된다.