
이번 프로젝트에서 로그인 회원가입 페이지를 맡게 되었는데,
에딧텍스트를 꾸밀때 TextInputLayout이라는게 있었다.
에딧 텍스트를 커스텀 할까 하다가 지원해주는 것도 많고 내가 구현 하려고 한 모양과 유사하게 만들 수 있어서 TextInputLayout을 사용하게 되었다.
TextInputLayout은 EditText를 기반으로 좀 더 유연한 동작을 보여주는 레이아웃이다.
TextInputEditText를 감싼 모양을 하고 있는데
사용하기위해선 Meterial Library가 필요하다
implementation ("com.google.android.material:material:1.11.0")기본적인 생김새는 이렇게 생겼다.
<?xml version="1.0" encoding="utf-8"?>
<LinearLayout xmlns:android="http://schemas.android.com/apk/res/android"
    xmlns:tools="http://schemas.android.com/tools"
    style="@style/Theme.MaterialComponents.NoActionBar"
    android:id="@+id/main"
    android:layout_width="match_parent"
    android:layout_height="match_parent"
    android:orientation="vertical"
    android:padding="12dp"
    tools:context=".MainActivity">

    <com.google.android.material.textfield.TextInputLayout
        android:layout_width="match_parent"
        android:layout_height="wrap_content">

        <com.google.android.material.textfield.TextInputEditText
            android:layout_width="match_parent"
            android:layout_height="wrap_content"
            android:hint="아이디를 입력하세요"/>

    </com.google.android.material.textfield.TextInputLayout>

</LinearLayout>
TextInputLayout은 기본적으로 2가지 스타일로 나뉘는데,
우선 위에 보이는 OutliendBox가 있고 FilledBox가 있다.
    <com.google.android.material.textfield.TextInputLayout
        style="@style/Widget.MaterialComponents.TextInputLayout.FilledBox"
        android:layout_width="match_parent"
        android:layout_height="wrap_content">

        <com.google.android.material.textfield.TextInputEditText
            android:layout_width="match_parent"
            android:layout_height="wrap_content"
            android:hint="아이디를 입력하세요"/>

    </com.google.android.material.textfield.TextInputLayout>

    <com.google.android.material.textfield.TextInputLayout
        style="@style/Widget.MaterialComponents.TextInputLayout.OutlinedBox"
        app:passwordToggleEnabled="true"
        android:layout_width="match_parent"
        android:layout_height="wrap_content">

        <com.google.android.material.textfield.TextInputEditText
            android:layout_width="match_parent"
            android:layout_height="wrap_content"
            android:hint="비밀번호..."
            android:inputType="textPassword"
            />
    </com.google.android.material.textfield.TextInputLayout>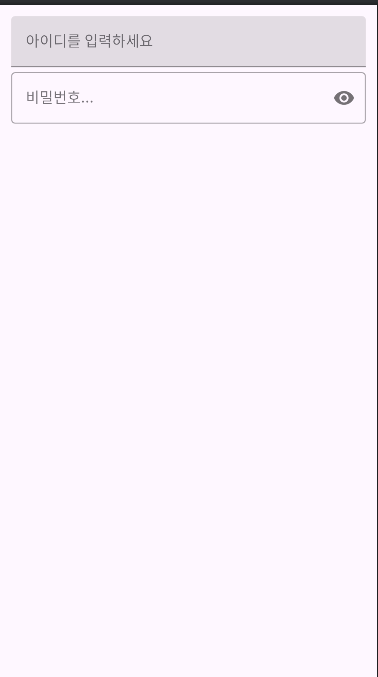
style에서 형식을 바꿀수가 있다.
텍스트의 길이를 카운트 할수도 있는데
counterEnabled="true" 속성과, counterMaxLength="10" 속성을 사용하면된다.
TextInputLayout의 Error속성을 이용해
우선 회원가입에서 이름을 입력하는 부분을 만들어봤다.
        <com.google.android.material.textfield.TextInputLayout
            android:id="@+id/til_sign_up_edit1"
            android:layout_width="match_parent"
            android:layout_height="wrap_content"
            app:boxBackgroundColor="@android:color/transparent"
            android:paddingStart="-8dp"
            app:boxStrokeColor="@color/black"
            app:counterEnabled="true"
            app:counterMaxLength="16"
            app:layout_constraintEnd_toEndOf="parent"
            app:layout_constraintStart_toStartOf="parent"
            app:layout_constraintTop_toBottomOf="@+id/tv_sign_up_subtitle">

            <com.google.android.material.textfield.TextInputEditText
                android:id="@+id/et_sign_up_edit1"
                android:layout_width="match_parent"
                android:layout_height="wrap_content"
                android:maxLength="16"/>
        </com.google.android.material.textfield.TextInputLayout>