오늘은 알럿을 구현하고 모달띄우기도 했다.
1. Alert 구현
- 기능: 이름 입력을 요청하는 알림창을 띄우고, 텍스트 필드를 통해 사용자로부터 이름을 입력받음.
- 구현:
AlertManager를 통해 재사용 가능한 알림창을 작성.
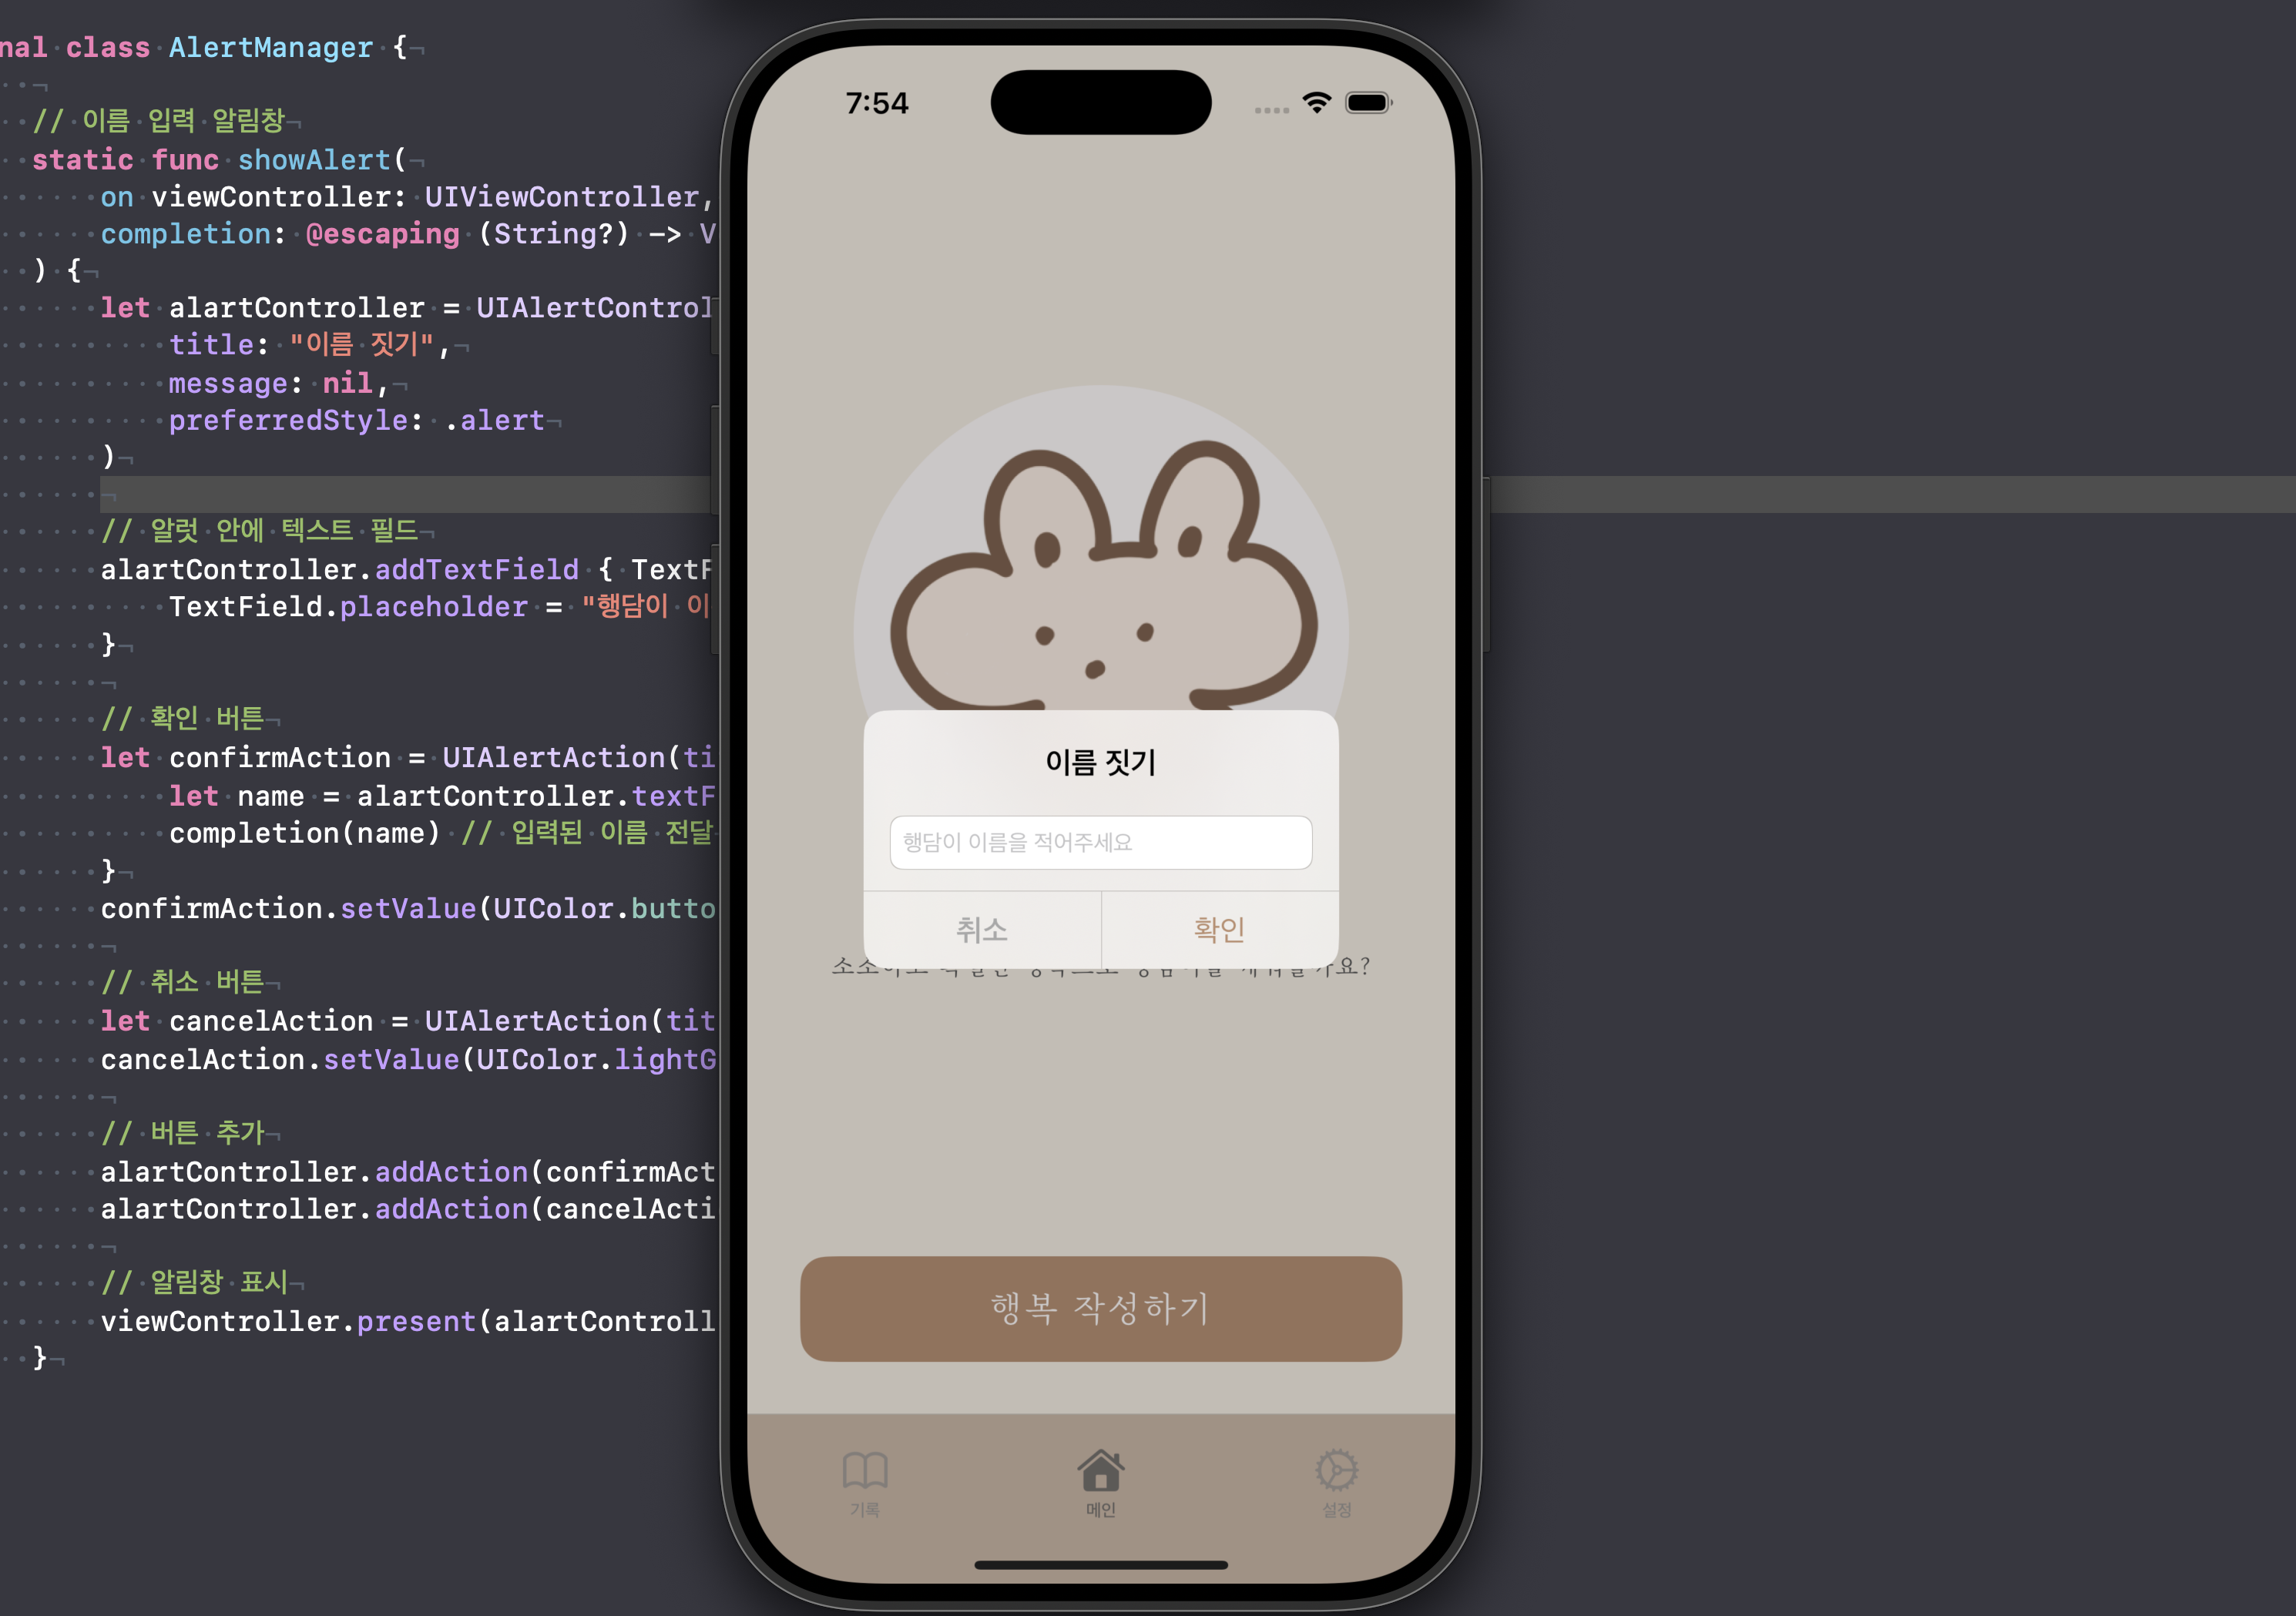
// 이름 입력 알림창 생성
final class AlertManager {
    static func showAlert(on viewController: UIViewController, completion: @escaping (String?) -> Void) {
        let alartController = UIAlertController(title: "이름 짓기", message: nil, preferredStyle: .alert)

        // 텍스트 필드 추가
        alartController.addTextField { textField in
            textField.placeholder = "행담이 이름을 적어주세요"
        }

        // 확인 버튼
        let confirmAction = UIAlertAction(title: "확인", style: .default) { _ in
            let name = alartController.textFields?.first?.text
            completion(name) // 입력된 이름 전달
        }
        confirmAction.setValue(UIColor.buttonBackground, forKey: "titleTextColor")

        // 취소 버튼
        let cancelAction = UIAlertAction(title: "취소", style: .cancel)
        cancelAction.setValue(UIColor.lightGray, forKey: "titleTextColor")

        // 알림창 표시
        alartController.addAction(confirmAction)
        alartController.addAction(cancelAction)
        viewController.present(alartController, animated: true)
    }
}
알럿 설정할 때 처음 on viewController: UIViewController 라는 매개변수를 작성했는데,
저기서 on이 알림창을 어느 뷰 컨트롤러 위에 표시할 지 지정한다고 한다.
알림창은 특정한 뷰 컨트롤러 영역 위에 표시되어야해서 호출하는 뷰 컨트롤러를 이 매개변수로 전달해야한다고 한다.
그리고 다음 매개변수인 completion: @escaping (String?) -> Void 에서 completion은 알림창에서 사용자의 입력값을 호출한 쪽으로 전달하기위해 사용된 클로저다.
@escaping 으로 클로저가 메서드 실행이 끝나도 호출될 수 있게 선언해준것이다.
알림창은 비동기적으로 표시가 되니까 입력값을 처리하는 클로저는 알림창이 닫힌 후에 실행이 된다.
UIAlertController도 처음 생성해봤다.
동작의 원리를 보면 알림창을 생성하고, 뷰 컨트롤러 위에 알림창을 표시하고, 사용자 입력을 처리하는 원리인 것 같다.
- 배운 점
UIAlertController를 사용하여 알림창을 구성.- 버튼에 텍스트 필드를 추가하는 방법.
completion핸들러로 입력값 전달.
2. 모달 띄우기
- 기능: 사용자가 이름을 설정한 뒤, 작성 화면을 모달로 띄움.
- 구현:
modalWriteViewController를 통해 작성 화면 이동.
private func modalWriteViewController(with name: String) {
    let writeViewController = WriteViewController()
    writeViewController.hangdamName = name  // 이름 전달
    writeViewController.delegate = self    // Delegate 연결
    writeViewController.modalPresentationStyle = .coverVertical
    present(writeViewController, animated: true)
}
모달 방식으로 새로운 화면을 띄우는 코드인데 우선은 이름을 전달해놓으려고 name이라는 문자열을 받아서 새로운 화면에 전달하려한다.
그리고 델리게이트로 이름 저장이 완료되면 현재 화면에 알림을 보내주게 연결을 해주었다.
그러면 모달이 닫힐 때 데이터를 다시 전달받고나 특정 작업이 완료되었다는걸 알려주게 된다.
- 배운 점
modalPresentationStyle을 활용해 모달 스타일 설정.- Delegate 패턴으로 모달 닫힘 이벤트 처리.
3. Delegate 패턴 활용
- 기능: 작성 화면이 닫힐 때 이벤트를 MainViewController로 전달.
- 구현:
WriteViewControllerDelegate를 사용하여 모달 닫힘 처리.
protocol WriteViewControllerDelegate: AnyObject {
    func writeViewControllerDiddismiss()
}

extension MainViewController: WriteViewControllerDelegate {
    func writeViewControllerDiddismiss() {
        print("모달이 닫혔습니다.")
    }
}
WriteViewControllerDelegate라는 프로토콜을 정의하고 MainViewController에서 구현을 하는데 모달이 닫히는 이벤트를 처리하는 방식이다.
AnyObject는 weak참조를 위해서 필요하다고 하는데 깊게는 잘 모르겠다. 이 프로토콜은 클래스에서만 사용할 수 있게 제한한다고 한다.
- 배운 점
- Delegate 패턴을 사용하여 화면 간 이벤트 전달.
weak키워드를 사용해 순환 참조 방지.
4. 첫 번째 메시지와 랜덤 메시지 관리
- 기능: 이름 설정 전후로 표시되는 메시지를 구분.
- 구현:
MainMessages에서firstMessage와 랜덤 메시지를 구분하여 관리.
enum MainMessages: String, CaseIterable {
    case message1 = "행복은 먼 곳에 있지 않아요. 지금 이 순간에 왔을지도요."
    ...
    static let firstMessage = "소소하고 확실한 행복으로 행담이를 깨워볼까요?"

    // 랜덤 메시지 반환
    static func getRandomMessage() -> String {
        let randomMessages = Self.allCases.map { $0.rawValue }
        return randomMessages.randomElement() ?? "오늘의 소확행 기록하기."
    }
}- 배운 점
CaseIterable을 사용해 모든 메시지를 순회.- 첫 번째 메시지는 별도로 관리해 조건에 따라 표시.
오늘 포인트
UIAlertController를 활용한 재사용 가능한 알림창 구현.- 모달 화면 띄우기 및 Delegate 패턴으로 이벤트 처리.
UserDefaults를 사용한 간단한 데이터 저장 및 상태 관리.- 조건에 따른 UI 업데이트 로직 작성(첫 번째 메시지, 랜덤 메시지 구분)