[express.js] 누구나 시작할 수 있는! typescript로 express.js 세팅하기 (+Eslint, Prettier)
일단 당연히 node.js가 설치되어 있어야 합니다!
프론트엔드 개발자라면 누구나 node는 설치가 되어있을 것이기 때문에
node -v # node 버전 확인 한 번 해주기~!만약 설치가 안 되어있다면
https://nodejs.org/ko/download
요기서 LTS 버전 설치하시면 됩니다
그리고 저희는 express.js 프로젝트를 생성하러 갈 건데요
일단 제가 node.js.. express.js 하나도 모른다고 했죠?
그렇기 때문에 저희는 next.js를 생성할 때 CNA를 쓰는 것처럼
express-generator를 쓸 것입니다.
npm install -g express-generator # 전역에 express-generator 설치

cd 원하는 폴더로 이동
express <프로젝트 이름> --view=원하는 템플릿 엔진 # express-generator로 프로젝트 생성
--view 외에도 옵션은 다양하게 있다.
    -h, --help          output usage information
        --version       output the version number
    -e, --ejs           add ejs engine support
        --hbs           add handlebars engine support
        --pug           add pug engine support
    -H, --hogan         add hogan.js engine support
        --no-view       generate without view engine
    -v, --view <engine> add view <engine> support (ejs|hbs|hjs|jade|pug|twig|vash) (defaults to jade)
    -c, --css <engine>  add stylesheet <engine> support (less|stylus|compass|sass) (defaults to plain css)
        --git           add .gitignore
    -f, --force         force on non-empty directory
view로 설정해주는 것은 템플릿 엔진인데,
템플릿 엔진이란, 웹 애플리케이션 및 웹 페이지에서 동적으로 HTML, XML, 또는 다른 마크업 언어를 생성하는 데 사용되는 도구나 소프트웨어로 템플릿 엔진은 정적인 템플릿과 데이터를 결합하여 동적으로 생성된 콘텐츠를 생성하는 데 도움을 준다.
템플릿 엔진의 종류
1) ejs(Embedded JavaScript)
- 장점
- 동적 데이터를 간편하게 삽입하고 제어할 수 있어 서버 측 렌더링에 적합하다.
- 표현력이 높아, 복잡한 템플릿 또한 효과적으로 처리할 수 있다.
- JavaScript와 유사한 문법을 사용하므로 JavaScript 개발자에게 익숙하다.
- 단점
- 템플릿 문법이 비교적 복잡할 수 있으며, 가독성이 다소 떨어질 수 있다.
- JavaScript 코드를 많이 포함할 경우, 템플릿이 복잡해지고 유지보수가 어려워질 수 있다.
2) Pug(구 Jade)
- 장점
- 간결하고 들여쓰기를 사용한 문법으로 가독성이 좋다.
- HTML을 생성하는 데 필요한 태그를 줄이고, 콤팩트한 코드 작성을 지원한다.
- 공백 문자로 들여쓰기를 사용하여 코드 구조가 시각적으로 파악하기 쉽다.
- 단점
- 처음 사용하는 개발자에게는 문법이 생소할 수 있으며, 기존 HTML과 다르게 작성해야 한다.
- 템플릿이 복잡해질 경우 들여쓰기 오류가 발생할 수 있다.
기본적으로 Pug의 문법은 잘 모르겠으나 일단 view단을 딱히 만질 것 같지는 않고 express-generator의 default가 jade라서 jade의 최신 버전인 Pug로 세팅해주었다.
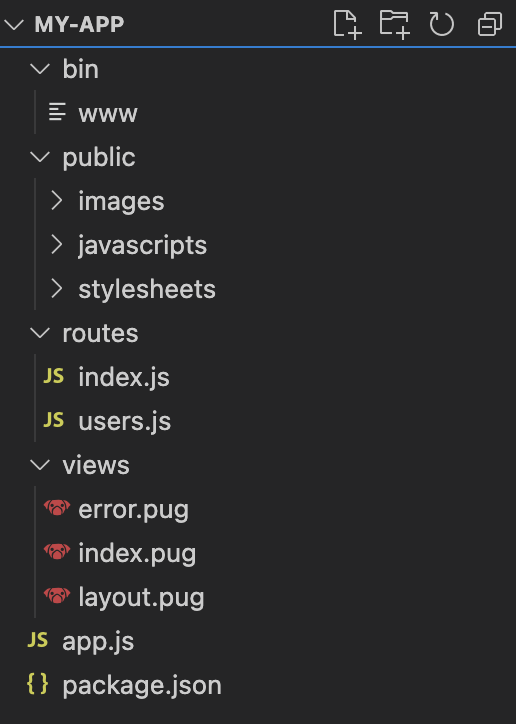
아무튼 이제 저희는 express-generator로 프로젝트 하나를 뿅 셍성했습니다.
모양은 대충 이렇게 생겼을 텐데요.
근데 저희는 typescript를 쓸 거잖아요? project root에서 터미널을 열어서 typescript 관련 패키지들을 설치해줍니다.
yarn # 일단 package.json에 있는 모듈 설치
yarn add @types/node @types/express @types/morgan @types/debug @types/cookie-parser @types/http-errors ts-node typescript -D
여기까지 설치하시고
# package.json

"scripts": {
    "start": "node ./bin/www",
    "dev": "nodemon --exec ts-node ./bin/www"
  },

# 이따가 typescript 설정을 끝내고 www파일을 www.ts파일을 변경한 후에는
# scripts에 있는 경로도 www.ts로 꼭 변경해주세요!!! 꼭!!!!!!
package.json scripts에 dev를 추가해줍니다.
여기서 잠깐! 이 부분에서 nodemon이라는 놈이 필요한데요.
nodemon이 뭐냐면 react-native를 개발할 때 폴더나 파일들을 감시하고 있다가 해당 파일들에 변화가 감지되면 앱에 변경사항을 바로 반영해주는 기능을 담당하는 watchman처럼 모니터링 역할을 해주는 모듈이라고 보면 될 것 같다.
보통 nodemon이나 pm2를 사용하는데, 일반적으로 nodemon은 개발환경에서 pm2는 실제 서비스 운영환경에서 많이 사용한다고 합니다.
npm install -g nodemon
nodemon -v # nodemon 버전 확인하기~!
그러므로 nodemon이 없으시다면 전역에 nodemon을 설치해주시고
nodemon이 설치되셨다면 이제 프로젝트를 실행해봅니다.
터미널 프로젝트 루트에서
yarn dev # or npm run dev정상적으로 실행되셨다면
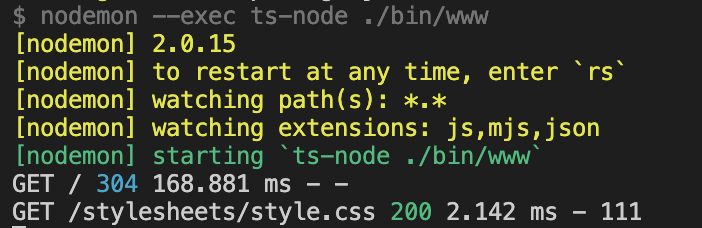
터미널에 이렇게 나오면서 http://localhost:3000/ 에 접속하셨을 때 아래와 같은 화면을 보시게 됩니다.
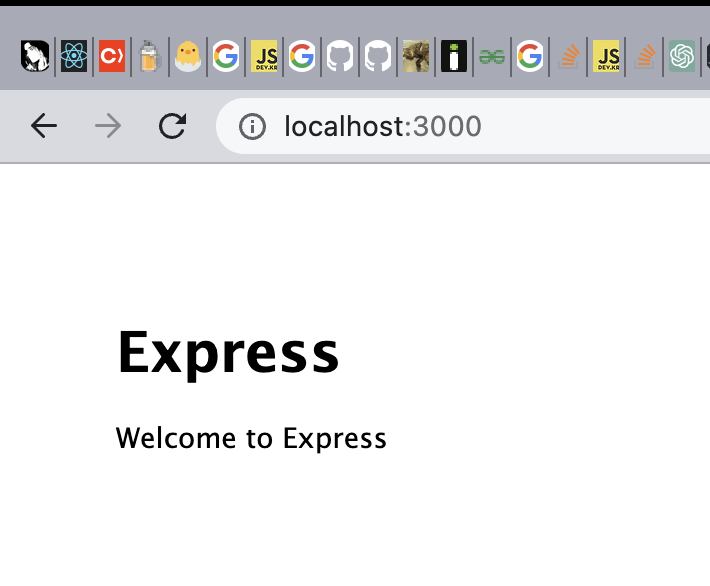
짝짝!
이제 모든 준비는 완벽하게 끝났으니
typescript를 적용하고 eslint와 prettier를 적용할 것입니다.
tsconfig.json이 필요하겠죠?
tsc --init하시면 프로젝트 루트에 tsconfig.json 파일이 생성되고 많은 옵션들이 꺼져있거나 설정되어 있을 텐데 자유롭게 세팅하시면 됩니다.
{
  "compilerOptions": {
    "target": "ESNext",
    "jsx": "react-jsx",
    "module": "CommonJS",
    "preserveValueImports": false,
    "esModuleInterop": true,
    "skipLibCheck": true,
    "strict": true,
    "forceConsistentCasingInFileNames": true
  }
}
저는 이렇게 세팅해뒀어요!
뭔가 오류가 나더라도 놔두시고 이제 eslint랑 prettier 설치를 합니다..!
이건 이 분 글을 참고하였습니다!
참고한 글
yarn add eslint prettier -D
yarn add eslint-config-airbnb-base eslint-config-prettier eslint-plugin-import eslint-plugin-prettier -D
yarn add @typescript-eslint/eslint-plugin @typescript-eslint/parser -D
설치가 끝났다면 프로젝트 루트에 .eslintrc.json파일을 만들고 그 안에는
{
  "parser": "@typescript-eslint/parser",
  "plugins": ["import", "@typescript-eslint", "prettier"],
  "extends": [
    "airbnb-base",
    "plugin:import/errors",
    "plugin:import/warnings",
    "plugin:@typescript-eslint/recommended",
    "plugin:prettier/recommended"
  ],
  "parserOptions": {
    "ecmaVersion": 6,
    "sourceType": "module"
  },
  "env": {
    "browser": true,
    "node": true
  },
  "ignorePatterns": ["node_modules/"],
  "rules": {
    "no-plusplus": "off",
    "prettier/prettier": "error",
    "import/extensions": [
      "error",
      "ignorePackages",
      {
        "js": "never",
        "jsx": "never",
        "ts": "never",
        "tsx": "never"
      }
    ]
  },
  "settings": {
    "import/resolver": {
      "node": {
        "extensions": [".js", ".jsx", ".ts", ".tsx"]
      }
    }
  }
}
요 내용을 추가해줄 겁니다! 근데 저희는 js가 아니라 ts로 작업을 할 건데 기존에 생성된 파일들이 ts로 되어있고 또 import module 방식도 아니라 require로 되어있어요! 이걸 수정할 건데.. 당연 일일이 수정하기 귀찮으니까 여러분은 제 코드를 복붙하시면 됩니다.
// bin/www.ts
#!/usr/bin/env node

import http from "http";
import debug from "debug";
import app from "../app";

const server = http.createServer(app);

const normalizePort = (val: string) => {
  const port = parseInt(val, 10);

  if (Number.isNaN(port)) {
    return val;
  }

  if (port >= 0) {
    return port;
  }

  return false;
};

const port = normalizePort(process.env.PORT || "3000");

const onError = (error: { syscall: string; code: string }) => {
  if (error.syscall !== "listen") {
    throw error;
  }

  const bind = typeof port === "string" ? `Pipe ${port}` : `Port ${port}`;

  switch (error.code) {
    case "EACCES":
      console.error(`${bind} requires elevated privileges`);
      process.exit(1);
      break;
    case "EADDRINUSE":
      console.error(`${bind} is already in use`);
      process.exit(1);
      break;
    default:
      throw error;
  }
};

const onListening = () => {
  const addr = server.address();
  const bind = typeof addr === "string" ? `pipe ${addr}` : `port ${addr?.port}`;
  debug(`Listening on ${bind}`);
};

app.set("port", port);

server.listen(port);
server.on("error", onError);
server.on("listening", onListening);
// app.ts

import createError from "http-errors";
import express, { Request, Response, Express, NextFunction } from "express";
import path from "path";
import cookieParser from "cookie-parser";
import logger from "morgan";

import indexRouter from "./routes/index";
import usersRouter from "./routes/users";

const app: Express = express();

// view engine setup
app.set("views", path.join(__dirname, "views"));
app.set("view engine", "pug");

app.use(logger("dev"));
app.use(express.json());
app.use(express.urlencoded({ extended: false }));
app.use(cookieParser());
app.use(express.static(path.join(__dirname, "public")));

app.use("/", indexRouter);
app.use("/users", usersRouter);

// catch 404 and forward to error handler
app.use((req: Request, res: Response, next: NextFunction) => {
  next(createError(404));
});

// error handler
app.use((err: createError.HttpError, req: Request, res: Response) => {
  // set locals, only providing error in development
  res.locals.message = err.message;
  res.locals.error = req.app.get("env") === "development" ? err : {};

  // render the error page
  res.status(err.status || 500);
  res.render("error");
});

export default app;
// routes/index.ts

import express from "express";

const router = express.Router();

/* GET home page. */
router.get("/", (req, res) => {
  res.render("index", { title: "Express" });
});

export default router;
// routes/user.ts

import express from "express";

const router = express.Router();

/* GET users listing. */
router.get("/", (req, res) => {
  res.send("respond with a resource");
});

export default router;
이제 정말 끝이에요! 이렇게 파일들을 수정하시면 드디어 eslint, prettier, typescript가 모두 적용이 된 채로 작업을 할 수 있는 express.js 프로젝트 하나를 생성을 하신 상태가 됩니다! yarn dev 혹은 npm run dev로 실행하시고 http://localhost:3000/ 및 http://localhost:3000/users 등에 접속해서 확인해서 view가 정상적으로 보이시면 정상적인 구동이 되고 있는 것입니다..!
eslint나 prettier 룰들은 자유롭게 설정하고 키고 끄시면 됩니다!
다음엔.. 제가 공공데이터를 불러와서 레디스에 저장하고 api response로 반환해주는 것까지 글을 써볼게요 그럼 안뇽..!