
들어가며
해당 글은 window 환경에 맞춰 작성되었습니다.
고등학교 졸업 전시를 위해 React + Express 프로젝트를 AWS에 배포하였으며, Github Actions 등을 이용한 자동화는 포함하고 있지 않습니다.
프로젝트 구조
projectName/
	client/
		/build
	server/
		app.js
client와 server 코드를 하나의 Repository에서 관리합니다.
Git
먼저 릴리즈를 위한 branch를 생성하고 checkout 한 뒤 작업하였습니다.
git checkout -b release-1.0.0React
React build를 가장 먼저 해줍니다.
저는 client 부분 package.json에 scripts가 있었기 때문에 cd client로 이동 후 실행해주었습니다.
npm run build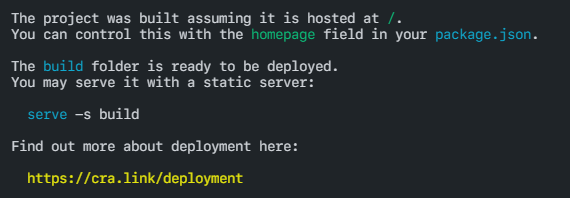
Express
❶ 환경 변수
환경 변수를 사용하기 위해 dotenv를 설치합니다.
npm i --save dotenv❷ .env 파일
MONGO_URI=MongoDB 연결 URL
...
PORT=80
파일을 생성하고 사용할 변수명=값 형태로 저장해줍니다.
문자열이어도 따옴표는 들어가지 않습니다.
production에서 사용할 것이기 때문에 PORT는 80으로 저장해줍니다.
❸ app.js
1. dotenv require
require("dotenv/config");2. PORT 설정
const PORT = process.env.PORT || 5000;개발 환경에서는 5000을 사용합니다.
3. config
app.js에 require문을 추가합니다.
const config = require("./config/key");key.js 파일은 다음과 같습니다.
- production일 경우 process.env에서 키를 참조한다.
- development일 경우 dev.js 파일에서 참조한다.
if (process.env.NODE_ENV === "production") {
  module.exports = require("./prod");
} else {
  module.exports = require("./dev");
}
4. static 설정
client/build 폴더를 static 파일로 사용할 수 있도록 해줍니다.
app.use(express.static(path.join(__dirname, "../client/build")));5. index.html
client/build/index.html 파일 응답 코드를 추가합니다.
app.get("/", (req, res) => {
  res.sendFile(path.join(__dirname, "../client/build", "index.html"));
});
전체 코드
app.js에 추가된 코드 전체는 다음과 같습니다.
require("dotenv/config");
const PORT = process.env.PORT || 5000;
const config = require("./config/key");

app.use(express.static(path.join(__dirname, "../client/build")));

app.get("/", (req, res) => {
  res.sendFile(path.join(__dirname, "../client/build", "index.html"));
});
Push
추후 AWS 환경에서 코드를 쉽게 가져올 수 있도록 다음 명령어들을 실행해 github에 업로드해 주었습니다.
git add .
git commit -m "커밋 내용"
git push origin 브랜치명
다음 글 [AWS] React + Express 프로젝트 배포하기 - 2
참고 블로그
React + Next + Express + Node js -> aws ec2 를 이용한 배포 - 3