프젝 끝!

우리조 발표자ㅋㅋㅋㅋㅋㅋㅋ구욥
1. Python Framework 종류
0. framework
- 소프트웨어 개발을 위한 기본 구조와 도구를 제공하는 틀
1. django
- full stack framework, 규모있는 사이트, 학습 곡선이 높다.
- 백엔드 전문가 할거면 django 반드시 사용.
- 속도가 조금 느림
2. flask
- 최소한의 기능만 제공함, 가볍고 필수적인 기
- 나머지 기능은 직접 개발 해야함
- 경량사이트 or 프로토타입에 많이 사용
- 데이터 기반 서비스(데이터 분석) 제공시 多 사용
3. fastapi
- flask와 유사한 문법
- 가장 최근에 등장한 web framework
- 최신의 web개발 동향 신기술 많이 도입
- 작은 프로젝트나 api 개발, 프로토 타이핑에 적합
2. Frontend
- client가 browser를 통해서 interface하는 부분
- 사용자의 UI를 담당
- html, css, javascript, react
3. Web
- client : 서버에 요청(request)를 하는 주체
- server : client로 부터 요청을 받고 처리해서 응답하는 주체
- protocol(통신의 약속 규약) - http(s) protocol, ftp protocol, smtp protocol 등
실습
예제 1
@app.route('/hello')
def test():
    return 'Hello Flask'

if __name__ == '__main__':
    app.run(host = '127.0.0.1', port = '8080')
    # host는 내 pc를 의미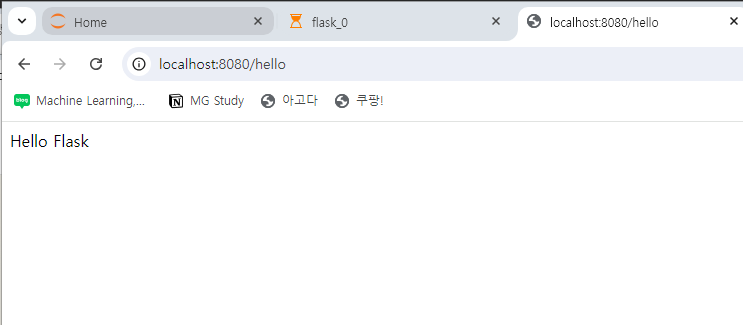
- 라우팅 : client가 server에 요청을 보내면, 요청의 조건에 맞춰서 response하도록 경로를 안내함.
예제 2
app = Flask(__name__)

@app.route('/example')
def example_func():
    return html2

if __name__ == '__main__' :
    app.run(host = '127.0.0.1', port = '8081')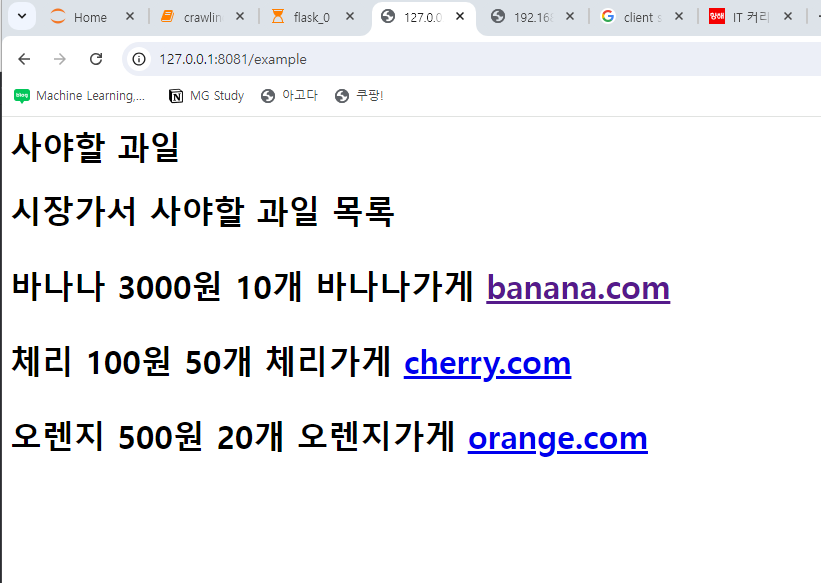
예제 3. 이름입력
app = Flask(__name__)

@app.route('/')
def hello():
    return '<h1> hello world </h1>'

@app.route('/profile/<username>') #/hello 경로로 요청 시
def get_profile(username):
    return 'hello '+ username

@app.route('/first/<username>') #/first 경로로 요쳥 시
def hello_first(username):
    return '<h1> hello {}!! </h1>'.format(username)

if __name__ == '__main__': # 현재 위치에서 직접 실행하면 서버 실행, 외부 import하는 경우에는 서버를 실행시키지 마라
    app.run(host='0.0.0.0', port = '8080') #localhost: 내 pc, port: 외부 경로 접근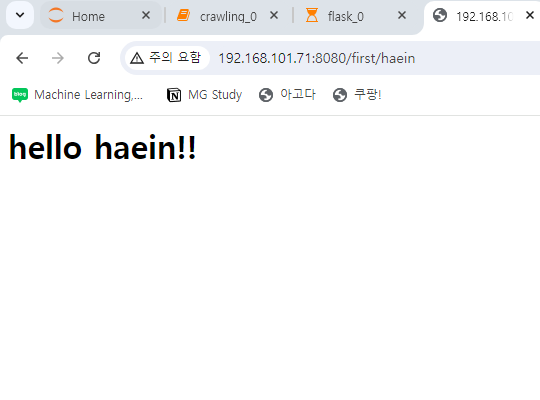
🐘 위에서의 방식은
- 변수 직접 반환 주로 웹페이지 제공 할 때 사용함 2. 주로 웹페이지 렌더링
🐘 아래rest api 방식은
- json 형식의 데이터를 반환함.
- 주로 웹 브라우저
REST API (Representational State Transfer) (Application Programming Interface)
- 웹에서 리소스를 다루기 위한 표준화된 방식
- HTTP 메서드를 사용해 클라이언트와 서버 간 통신을 가능하게 하는 인터페이스
- 일반적으로 서버에서 HTML SCRIPT, data를 받아서 browser를 통해서 내용 확인
- 서버로부터 순수하게 데이터만 받는 방식 => Rest api
- response 값의 형식 : (xml), json, yaml
예제1.
from flask import Flask, jsonify

app = Flask(__name__)

@app.route('json_test')
def hello_json():
    data = {'name':'김대리', 'family':'김순자'}
    return jsonify(data) #data를 json 형식으로 client에게 전달할 수 있다

@app.route('server_info')
def server_json():
    data = {'server_name':'localhost', 'server_port':'8080'}
    return jsonify(data)

if __name__ == '__main__' :
    app.run(host = '127.0.0.1', port = '8080')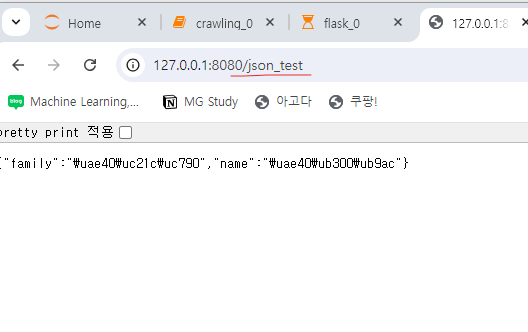
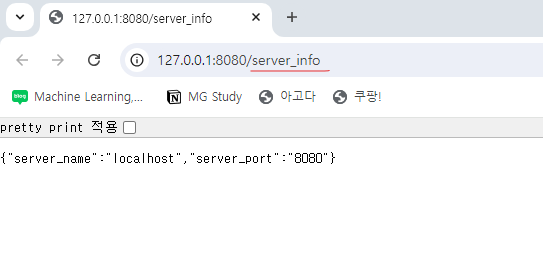
예제2.
app = Flask(__name__)

def add_file(data):
    return data + 5

@app.route('/')
def hell():
    return "<h1> hello world </h1>"

@app.route('/message/<int:message_id>')
def get_message(message_id):
    return 'message _id : {} '.format(message_id)

@app.route('/first/<int:message_id>')
def get_message1(message_id):
    data = add_file(message_id)
    return 'message _id : {} '.format(data)

if __name__ == '__main__' :
    app.run(host = '127.0.0.1', port = '8080')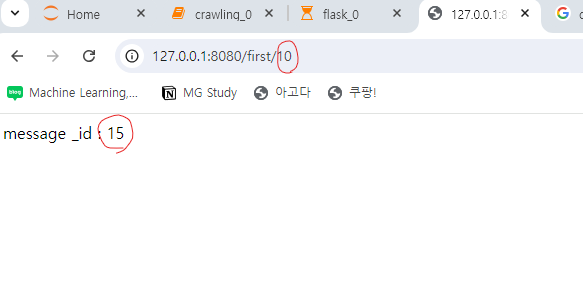
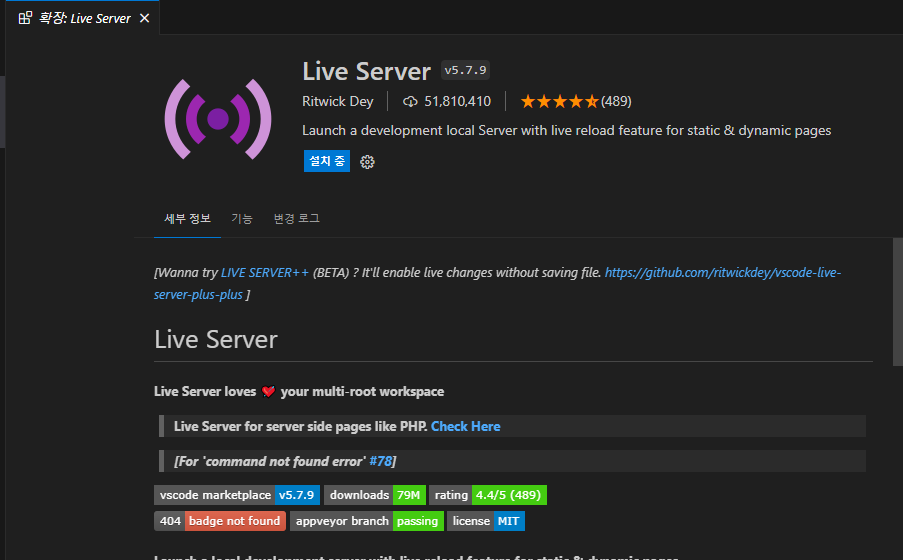
(준비) vscode에서 live server 설치
- 앞으로는 vscode에서 사용
client가 server에게 요청(request)하는 방식
1. get 방식
- server에게 값을 전달할 경우 url에 파라미터 방식으로 전달
- 전달하는 값을 url에서 확인할 수 있기 때문에 보안에 취약하다.
- 예)
url = "https://www.daum.net/news/search/q='빅데이터'&p = 10"
res = request.get(url)
2. post 방식
- server에게 값을 전달할 경우 별도의 데이터를 암호화 해서 전달
- 전달하는 값을 url에서 확인할 수 없음
- 예)
url = "https://www.daum.net/news/search", data = {'query':'빅데이터', 'page':10}
res = request.post(url, data = data)
실습
예제1. flask1.py
from flask import Flask, jsonify, request, render_template

app = Flask(__name__)

@app.route('/login')
def login():

    username = request.args.get('user_name')

    if username == 'dave':
        data = {'auth':'success'}
    else:
        data = {'auth':'failed'}
    return jsonify(data)

@app.route('/login-request')
def hello_html():
    return render_template('login.html')
  # render_template :html script file을 return
  #login.html은 templates 폴더 안에 넣어두기

if __name__ == '__main__':
    app.run(host = '0.0.0.0', port = '8080')
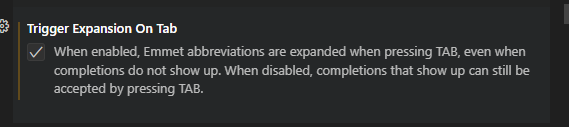
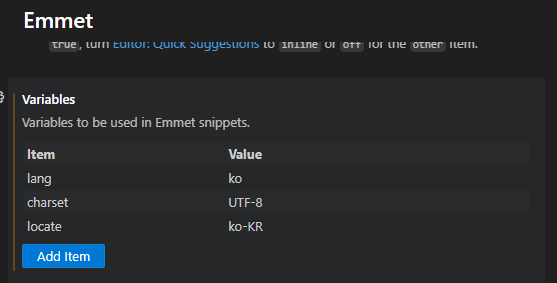
emmet 설정하기
설정 -> extentions -> emmet
-
체크
-
추가
예제 2. flask2.py
from flask import Flask, render_template

app = Flask(__name__)

@app.route('/hello_haein') #sub경로에서 값을 받는 경우
def hello_name():
    return render_template('variable.html')

if __name__ == "__main__":
    app.run(host = '127.0.0.1', port = '8080')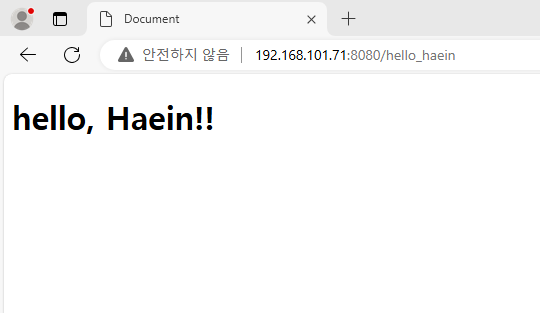
예제 3. flask2.py 변형
- jinja template 사용
from flask import Flask, render_template

app = Flask(__name__)

@app.route('/hello/<user>') #sub경로에서 값을 받는 경우
def hello_name2(user):
    return render_template('variable1.html', name = user)

if __name__ == "__main__":
    app.run(host = '127.0.0.1', port = '8080')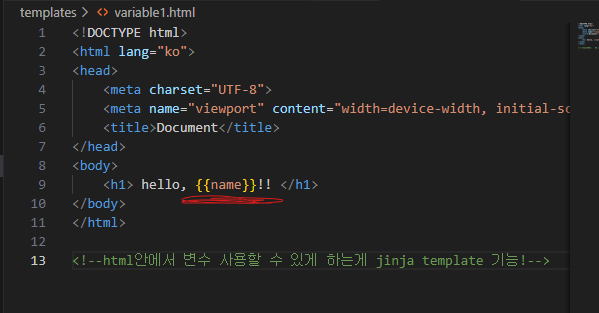
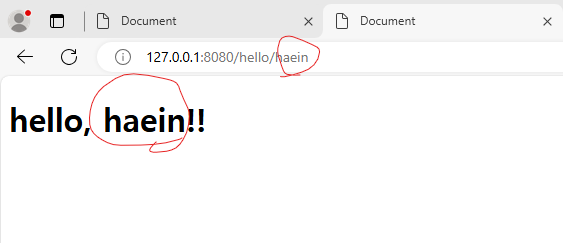
예제4. flask3.py
from flask import Flask, render_template

app = Flask(__name__)

@app.route('/hello_loop')
def hello_name():
    value_list = ['Python', 'java', 'html']
    return render_template('loop.html', value = value_list)

if __name__ == "__main__":
app.run(host = '0.0.0.0', port = '8080')- 아래는 loop.html
<!DOCTYPE html>
<html lang="ko">
<head>
    <meta charset="UTF-8">
    <meta name="viewport" content="width=device-width, initial-scale=1.0">
    <title>Document</title>
</head>
<body>
    <ul>
        <li>{{value}}</li>
    </ul>

</body>
</html>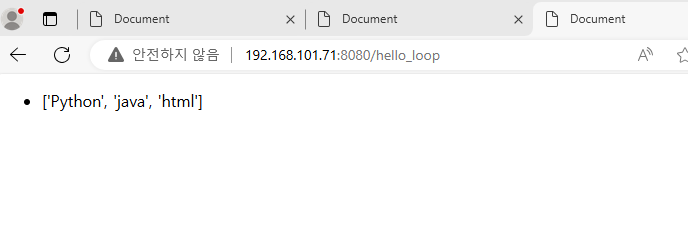
예제5. flask3.py 변형
- loop.html을 변형시킴
<!DOCTYPE html>
<html lang="ko">
<head>
    <meta charset="UTF-8">
    <meta name="viewport" content="width=device-width, initial-scale=1.0">
    <title>Document</title>
</head>
<body>
    <ul>
        {% for value in values%} <!-- 파이썬 문법 사용-->
        <li>{{value}}</li>
        {% endfor %}
    </ul>

</body>
</html>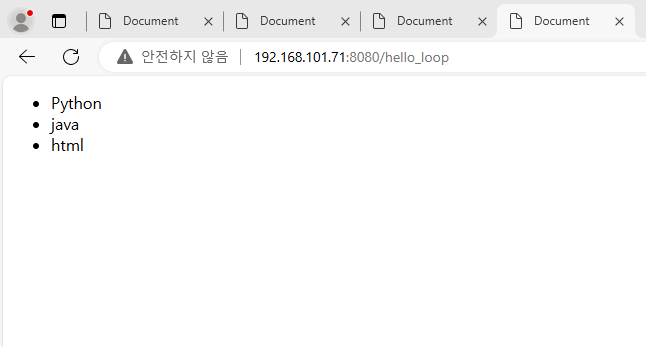
예제 6. flask4.py
from flask import Flask, render_template

app = Flask(__name__)

@app.route('/hello_if/<int:score>')
def hello_html(score):
    return render_template('condition.html', score = score)

if __name__ == "__main__":
app.run(host = '127.0.0.1', port = '8080')- 아래는 html 코드
<!DOCTYPE html>
<html lang="ko">
<head>
    <meta charset="UTF-8">
    <meta name="viewport" content="width=device-width, initial-scale=1.0">
    <title>Document</title>
</head>
<body>
    <!--학점출력-->
    {% if score >= 90 %}
    <h3> A학점입니다.</h3>
    {% elif score >= 80 %}
    <h3> B학점입니다.</h3>
    {% else %}
    <h3> C학점입니다.</h3>
    {% endif %}

</body>
</html>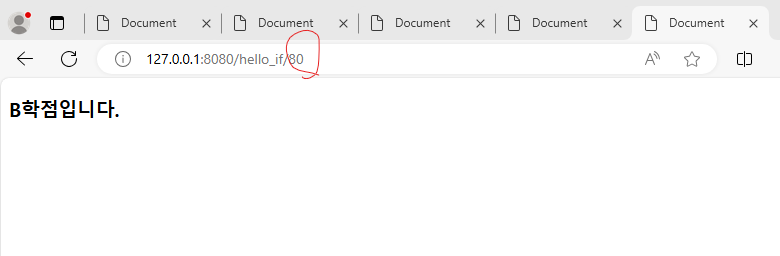
예제 7. flask5.py
from flask import Flask, render_template
import requests

app = Flask(__name__)

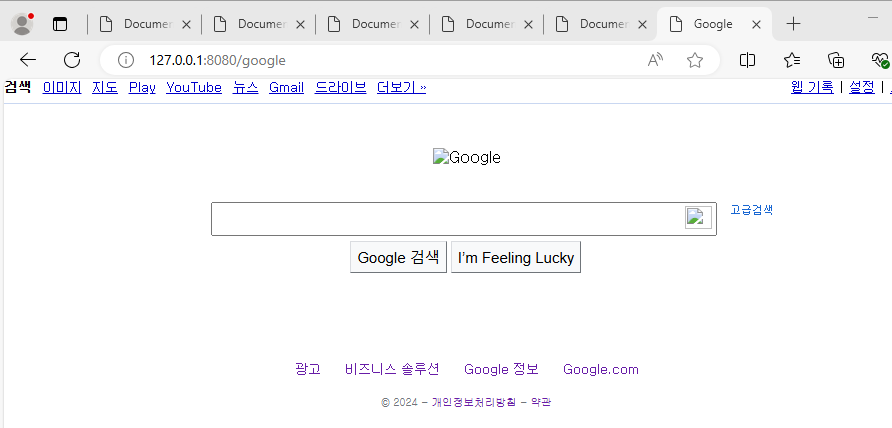
@app.route('/google')
def get_google():
    res = requests.get('https://www.google.co.kr')
    return res.text

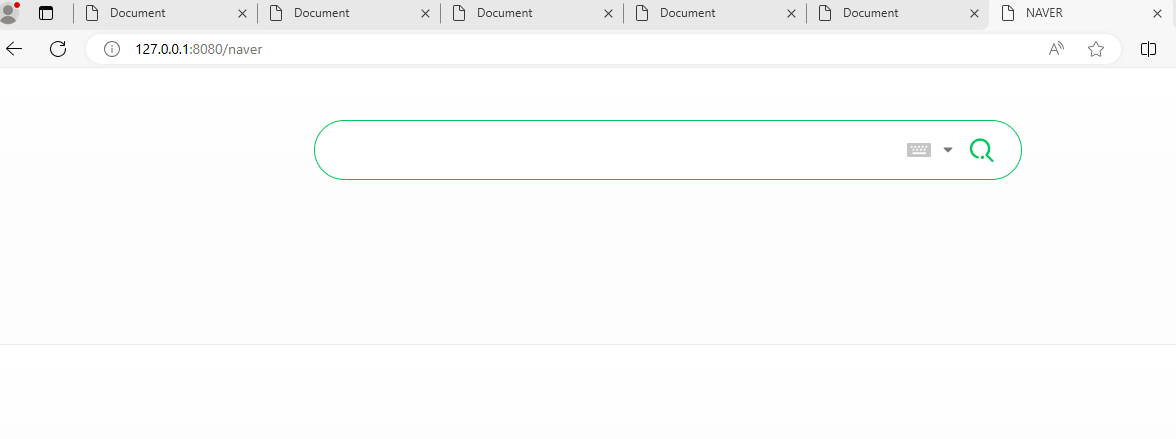
@app.route('/naver')
def get_naver():
    res = requests.get('https://www.naver.com')
    return res.text

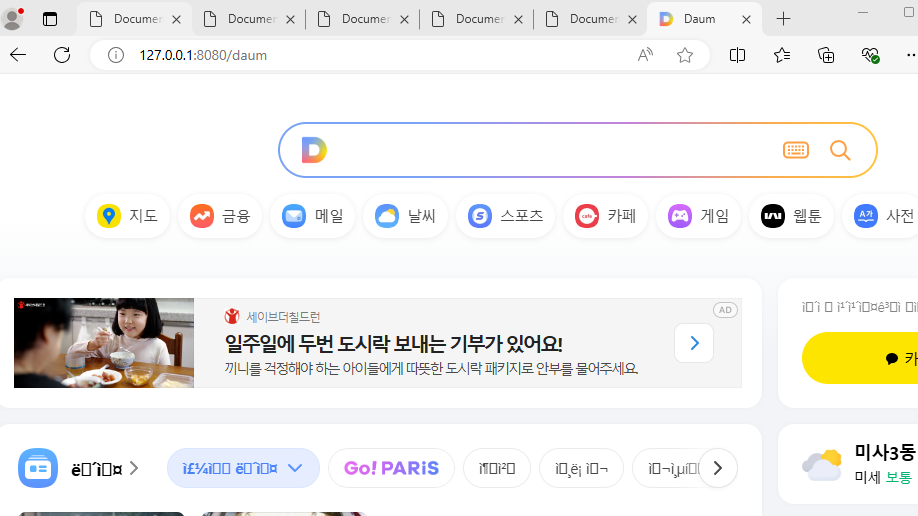
@app.route('/daum')
def get_daum():
    res = requests.get('https://www.daum.net')
    return res.text

if __name__ == "__main__":
app.run(host = '127.0.0.1', port = '8080')- css는 안가져와서 디자인이 좀 구림
예제 8. flask6.py
- 검색어와 페이지를 클라이언트로 부터 서버가 받은 후 daum news에서 크롤링 결과를 리턴하는 웹서버를 생성하시오.
- get 방식으로 구현하시오.
from flask import Flask, render_template, request
import selenium
from selenium import webdriver
from bs4 import BeautifulSoup
import time

app = Flask(__name__)

@app.route('/')
def hello_world():
    return render_template('index.html')

@app.route('/daum_news')
def result():
    keyword = request.args.get('keyword')
    page_num = request.args.get('page')

    daum_news_titles = []

    daum_news_url = 'https://search.daum.net/search?w=news&nil_search=btn&DA=NTB&enc=utf8&cluster=y&cluster_page=1&q={}&p={}'

    driver = webdriver.Chrome()

    for page in range(1, int(page_num)+1):
        url = daum_news_url.format(keyword, page)

        print(url)
        driver.get(url)
        time.sleep(2)

        html = driver.page_source
        soup = BeautifulSoup(html, 'html.parser')

        title_path = '#dnsColl > div:nth-child(1) > ul > li > div.c-item-content > div.item-bundle-mid > div.item-title > strong > a'

        for li in soup.select(title_path):
            # print(li.text)
            daum_news_titles.append(li.text)

    return render_template('daum_news.html', daum_news = daum_news_titles)

if __name__ == "__main__":
app.run(host = '127.0.0.1', port = '8080')- 지금은 크롤링 주소 바뀌어서 안나옴
앞으로 남은거
- 자바스프링/ aws/ html/ css/ javascript
- 서버 웹 구현하기
- 3개 + a 자유프로젝트