🤭프로필 링크 페이지 만들기
스파르타 코딩클럽에 무료로 간단하게 페이지를 만들 수 있는 강의가 있어 가볍게 수강을 했다:)
https://spartacodingclub.kr/online/myprofile
1-1 오늘 배울 것
- 브라우저가 하는 일 : 1) 요청을 보내고 2) 받은 것을 그대로 그려주는 것.
HTML은 뼈대,CSS는 꾸미기,Javascript는 움직이기
1-2 HTML, CSS 기초
HTML은 기본적으로<head>와<body>로 이루어져 있다.- 주요 태그
<div>구역 나눔</div>
<p>문단</p>
<h1>제목</h1>
<h2>소제목</h2>
<a href="https://spartacodingclub.kr/"> 하이퍼링크 </a>
<img src="https://s3.ap-northeast-2.amazonaws.com/materials.spartacodingclub.kr/free/logo_teamsparta.png" width="300"/>
<input type="text">
<button>버튼</button>
1-3 프로필 만들기
1) 배경색 만들기
2) profile 만들기
3) 타이틀/서브타이틀 만들기
< HTML 소스코드 >
<!DOCTYPE html>
<html>
<head>
<meta charset=“UTF-8” />
<meta http-equiv=“X-UA-Compatible” content=“IE=edge” />
<meta name=“viewport” content=“width=device-width, initial-scale=1.0” />
<meta property=“og:title” content=“르탄이 - 프로필 링크” />
<meta property=“og:description” content=“어서와 코딩은 처음이지?” />
<meta property=“og:image” content=“공유할 이미지” />
<title>르탄이 - 프로필 링크</title>
<style>
body {
background-color: lightblue;
}
.profile {
width: 100px;
height: 100px;
border-radius: 100%;
border: 2px solid white;
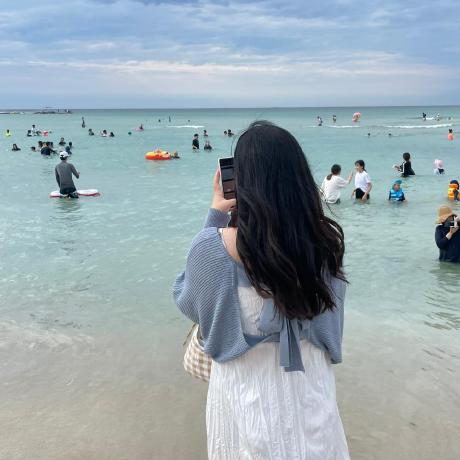
background-image: url('re.jpg');
background-position: center;
background-size: cover;
}
.main {
color: white;
font-size: 20px;
}
.sub {
color: white;
font-size: 14px;
}
</style>
</head>
<body>
<div class = "profile"></div>
<h1 class = "main">메인 타이틀</h1>
<p class = "sub">서브 타이틀</p>
</body>
</html>meta는 기존에 입력되어 있던 부분이고, <body>에 필요한 요소들을 넣고 <style>을 이용해 꾸몄다.
< 웹 화면 >

1-4 링크 만들기
- 가운데 정렬
- 링크 정렬
- 폰트 넣기
< HTML 소스코드 >
<!DOCTYPE html>
<html>
    <head>
        <meta charset=“UTF-8” />
        <meta http-equiv=“X-UA-Compatible” content=“IE=edge” />
        <meta name=“viewport” content=“width=device-width, initial-scale=1.0” />
        <meta property=“og:title” content=“르탄이 - 프로필 링크” />
        <meta property=“og:description” content=“어서와 코딩은 처음이지?” />
        <meta property=“og:image” content=“공유할 이미지” />
        <title>르탄이 - 프로필 링크</title>
        <style>
            @import url('https://cdn.jsdelivr.net/gh/orioncactus/pretendard/dist/web/static/pretendard.css');
            * {
                font-family: "Pretendard",serif;
            }
            body {
                background-color: lightblue;
            }

            .profile {
                width: 100px;
                height: 100px;

                border-radius: 100%;

                border: 2px solid white;

                background-image: url('re.jpg');
                background-position: center;
                background-size: cover;

            }

            .main {
                color: white;
                font-size: 20px;

                margin-top: 30px;
                margin-bottom: 10px;
            }

            .sub {
                color: white;
                font-size: 14px;

                margin-top: 0px;
                margin-bottom: 30px;
            }

            .wrap {
                width: 300px;
                margin: 30px auto 0px auto;

                display: flex;
                flex-direction: column;
                justify-content: center;
                align-items: center;
            }

            .wrap > a {
                width: 300px;
                height: 50px;

                background-color: white;
                border-radius: 8px;

                margin-bottom: 10px;

                font-size: 14px;
                font-weight: bold;
                color: lightblue;

                display: flex;
                flex-direction: column;
                justify-content: center;
                align-items: center;

                text-decoration: none;

                box-shadow: 3px 3px 5px 0px gray;
            }

            .wrap > a:hover {
                background-color: #f1f1f1;
            }
        </style>
    </head>
    <body>
        <div class = "wrap">
            <div class = "profile"></div>
            <h1 class = "main">메인타이틀</h1>
            <p class = "sub">서브타이틀</p>
            <a target="_blank" href="https://spartacodingclub.kr/">스파르타코딩클럽</a>
            <a target="_blank" href="https://hanghae99.spartacodingclub.kr/">항해99</a>
            <a target="_blank" href="https://chang.spartacodingclub.kr/">창업 부트캠프 창</a>
            <a target="_blank" href="https://ddingdong.spartacodingclub.kr/">띵동코딩</a>
        </div>

    </body>
</html>
이 코드에서 링크와 문구를 변경하면 된다.
- 가운데로 정렬할 때는
display: flex;속성 사용 - 링크가 들어 있는 부분을 한꺼번에 관리 ->
.wrap > a {} - 링크가 있는 곳에 마우스 오버할 때 동작 ->
.wrap > a:hover {}
<웹 화면>
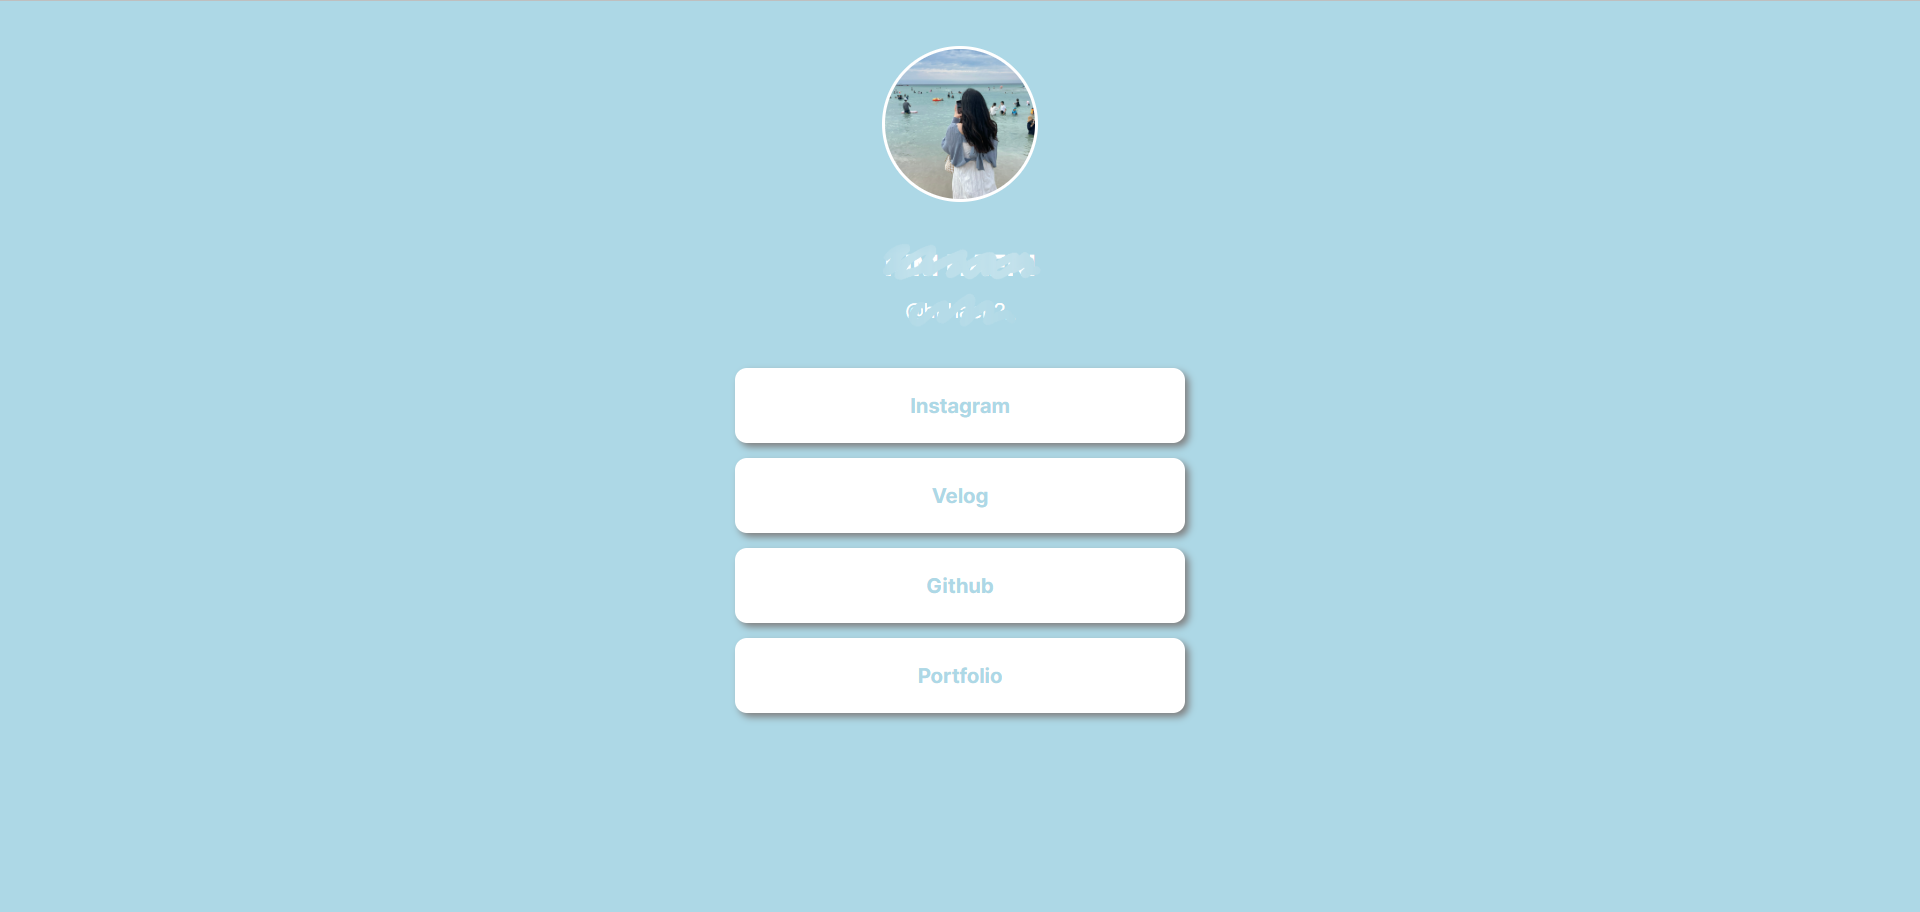
1-5 배포하기
- 공유할 때 보이는 부분 수정 ->
og:title,og:description,og:image수정 - Github에 repository 생성 후 파일 업로드
- Settings에서 Pages -> Branch를 main/master로 변경 하고 Save하면 링크가 생성 됨.
Data Engineer🐣