
스프링 부트(auto configuration)에서는 설정 정보들을 application.properties(yml) 파일에서 관리한다.
혹은 스프링부트가 관리하지 않지만 프로젝트에서 사용하는 커넥션 정보나 인증 정보 등등 코드에서 숨기고 싶거나 동적으로 변경하고 싶은 값들을 넣어서 사용한다.
이 설정파일에 있는 값들을 어떻게 가져와서 사용할 수 있을까?
0. 프로젝트 생성
- springboot 2.5.5

application.yml
test:
  username: kim
  password: 1234
1. Environment 인터페이스 활용하기
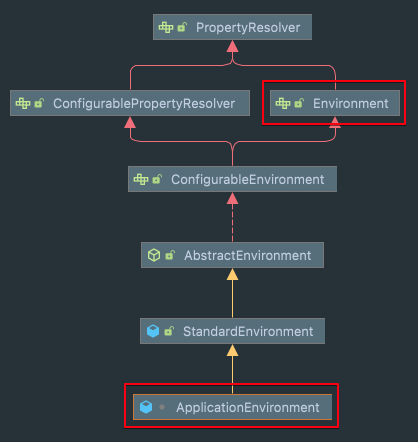
- 스프링 부트가 실행되면서 필요한 설정 값들을 ApplicationEnvironment 객체에 담는다.(Environment 인터페이스를 상속하고 있다.)
- 친절한 스프링이 DI 해준다.
- getProperty() 메소드를 통해서 설정 값을 가져올 수 있다.
- 리턴값이 String 이므로 타입 변환이 필요하다.
ApplicationStartupEnvironment.class
@Component
public class ApplicationStartupEnvironment implements ApplicationListener<ApplicationStartedEvent> {

    private final Environment env;

    @Autowired
    public ApplicationStartupEnvironment(Environment env) {
        this.env = env;
    }

    @Override
    public void onApplicationEvent(ApplicationStartedEvent event) {
        String username = env.getProperty("test.username");
        String password = env.getProperty("test.password");
        System.out.println("username = " + username);
        System.out.println("password = " + password);
    }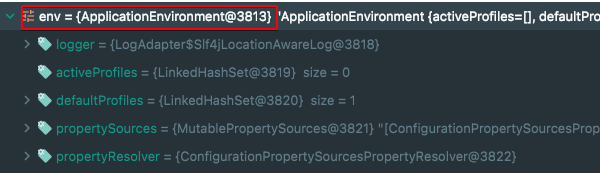
}- 디버그 모드로 찍어보면 이렇게 env 변수에 ApplicationEnvironment 담긴 것을 볼 수있다. 내부에는 여러가지 설정들이 들어있다.
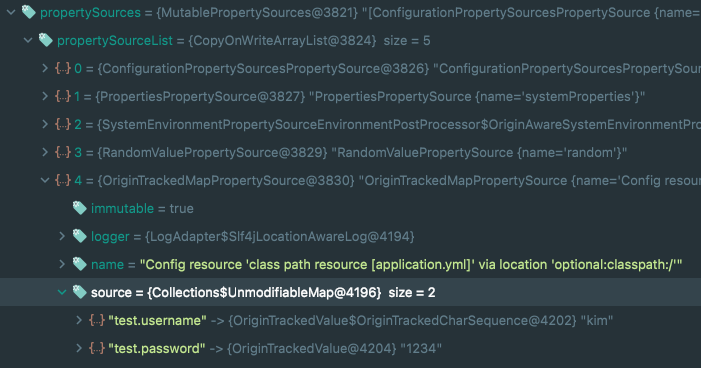
- application.yml 파일의 내용은 여기에 들어있다.
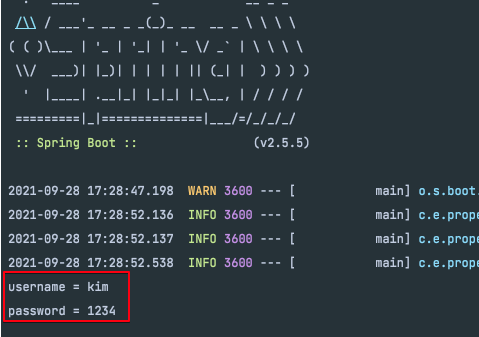
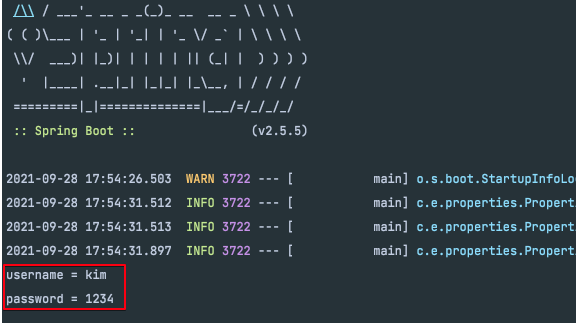
실행
- 잘 출력되는 모습이다!
2. 어노테이션 활용하기(@Value)
- @Value 어노테이션을 사용하면 스프링이 친절하게 값을 넣어준다.
- 타입을 지정해서 받을 수 있다!!
ApplicationStartupValue.class
@Component
public class ApplicationStartupValue implements ApplicationListener<ApplicationStartedEvent> {

    @Value("${test.username}")
    private String username;

    @Value("${test.password}")
    private int password;

    @Override
    public void onApplicationEvent(ApplicationStartedEvent event) {
        System.out.println("username = " + username);
        System.out.println("password = " + password);
    }
}
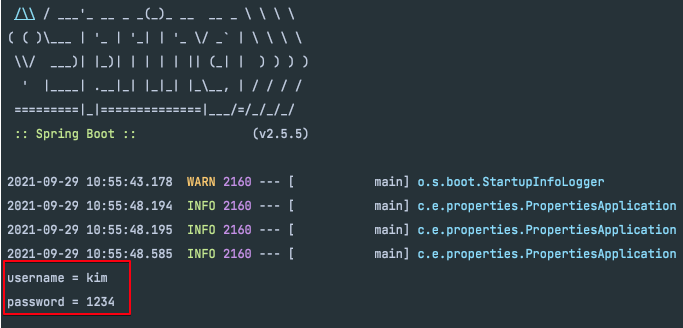
실행
- 잘 출력된다!
3. 커스텀 객체 활용하기(@ConfigurationProperties)
- 설정 값을 객체로 만들어 사용할 수 있다.
- @ConfigurationProperties 어노테이션 사용. 지정한 설정 값이 test.{~~} 이므로 test 적어준다.
- 빈으로 등록
TestProperties.java
@Component
@ConfigurationProperties("test")
public class TestProperties {

    private String username;
    private int password;


    // getter, setter

}
ApplicationStartupCustom.java
- DI 받아서 사용한다.
@Component
public class ApplicationStartupCustom implements ApplicationListener<ApplicationStartedEvent> {

    private final TestProperties testProperties;

    public ApplicationStartupCustom(TestProperties testProperties) {
        this.testProperties = testProperties;
    }

    @Override
    public void onApplicationEvent(ApplicationStartedEvent event) {
        System.out.println("username = " + testProperties.getUsername());
        System.out.println("password = " + testProperties.getPassword());
    }
}
실행
- 잘 실행되었다!
4. Bonus - 설정 파일 나누기
- 설정 파일 값이 많아져서 여러개로 나누고 싶을 때가 있다.
- 설정 파일을 만들고 스프링이 읽을 수 있도록 적용시켜 주면 된다.
test.properties
test.email=emailtest2.properties
test.address=addressPropertiesApplication.java
- @PropertySource 어노테이션을 적어주면 된다.
- 사용할 클래스에 적어주면 해당 클래스에서만 사용할 수 있다.
@SpringBootApplication
@PropertySource(value = {"test.properties", "test2.properties"})
public class PropertiesApplication {

    public static void main(String[] args) {
        SpringApplication.run(PropertiesApplication.class, args);
    }
}
ApplicationStartupValue.java
@Component
public class ApplicationStartupValue implements ApplicationListener<ApplicationStartedEvent> {
@Value("${test.username}")
private String username;
@Value("${test.password}")
private int password;
@Value("${test.email}")
private String email;
@Value("${test.address}")
private String address;
@Override
public void onApplicationEvent(ApplicationStartedEvent event) {
System.out.println("username = " + username);
System.out.println("password = " + password);
System.out.println("email = " + email);
System.out.println("address = " + address);
}
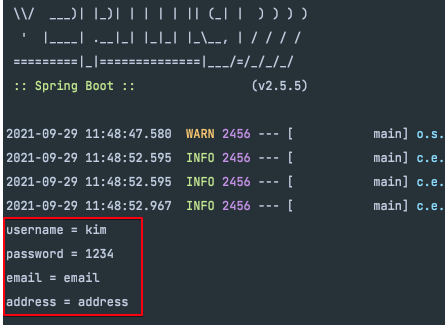
}실행
- 값이 잘 출력 되었다.
.yml 파일의 경우
- yml의 경우에는 PropertySource에 yml을 read할 수 있는 factory가 없기 때문에 임의로 생성을 해주어야 한다!
YamlPropertySourceFactory.java
- PropertySourceFactory 를 상속 받아 구현한다.
public class YamlPropertySourceFactory implements PropertySourceFactory {

    @Override
    public PropertySource<?> createPropertySource(@Nullable String name, EncodedResource resource) throws IOException {
        YamlPropertiesFactoryBean factory = new YamlPropertiesFactoryBean();
        factory.setResources(resource.getResource());
        Properties properties = factory.getObject();
        return new PropertiesPropertySource(resource.getResource().getFilename(), properties);
    }
}
PropertiesApplication.java
- 생성한 YamlPropertySourceFactory 를 지정해 준다.
@SpringBootApplication
@PropertySource(value = {"test.yml", "test2.yml"}, factory = YamlPropertySourceFactory.class)
public class PropertiesApplication {

    public static void main(String[] args) {
        SpringApplication.run(PropertiesApplication.class, args);
    }
}
코드

물흐르듯 개발하다 대박나기