03. Web Server & Web Application Server(WAS), Reverse Proxy
💡 학습 목표
1️⃣ Web Server와 Web Application Server(WAS)의 차이 이해
2️⃣ Reverse Proxy 이해 및 적용
이번 챕터에서는 Web Server의 정적 콘텐츠 호스팅과 Web Application Server의 동작 방식을 비교한 후, 직접 NGINX 호스팅을 구성하는 실습을 진행해 보려고 한다!
Web Server 정적 콘텐츠 호스팅
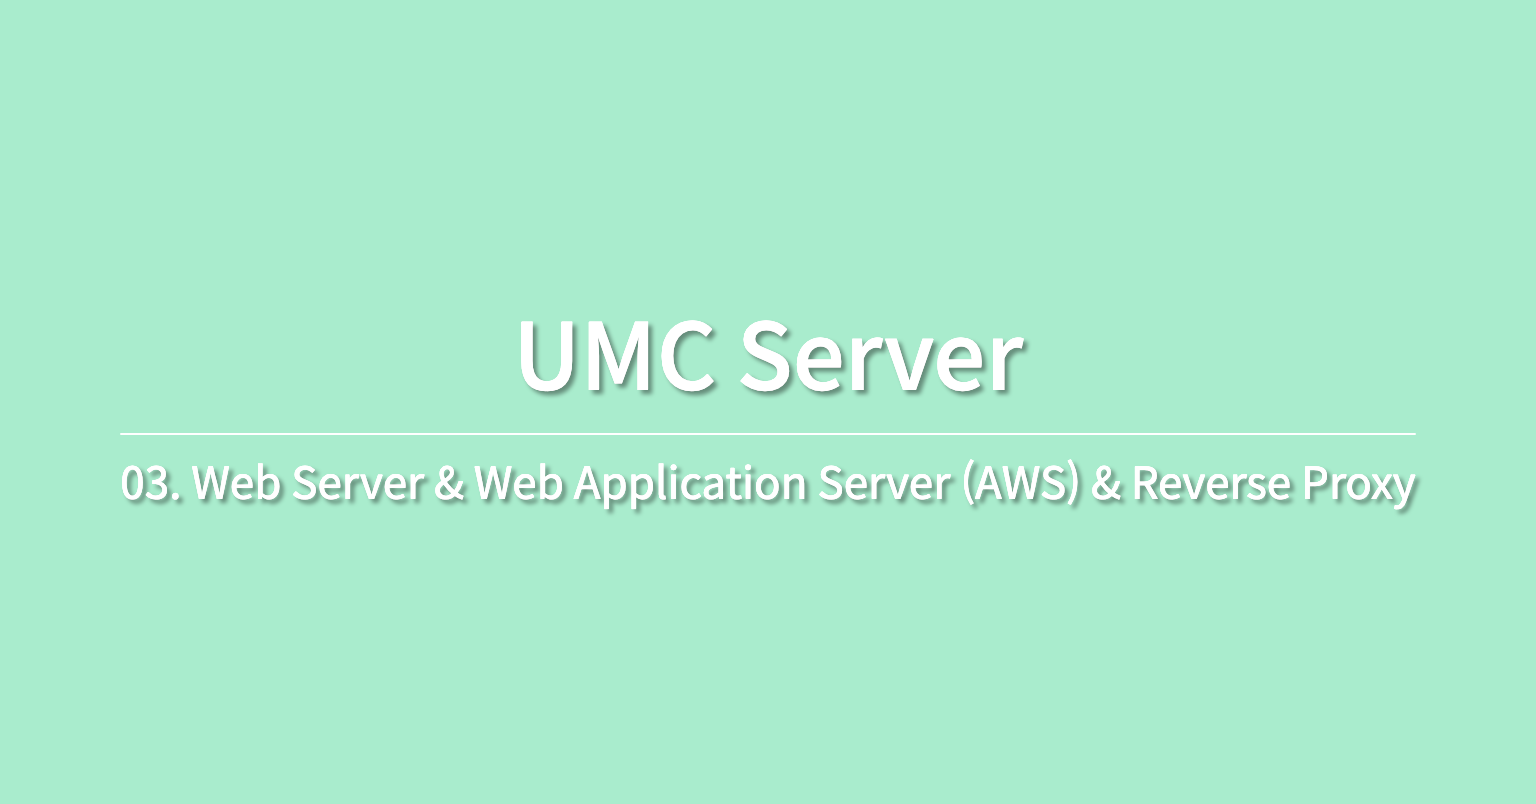
지난 2주차 실습에서 인바운드 규칙으로 TCP 80번 포트를 열어준 이유는 EC2의 IP 주소 로 EC2를 식별한 후, 80번 포트로 열린 NGINX (Web Server)로 요청을 보내기 위해서이다.
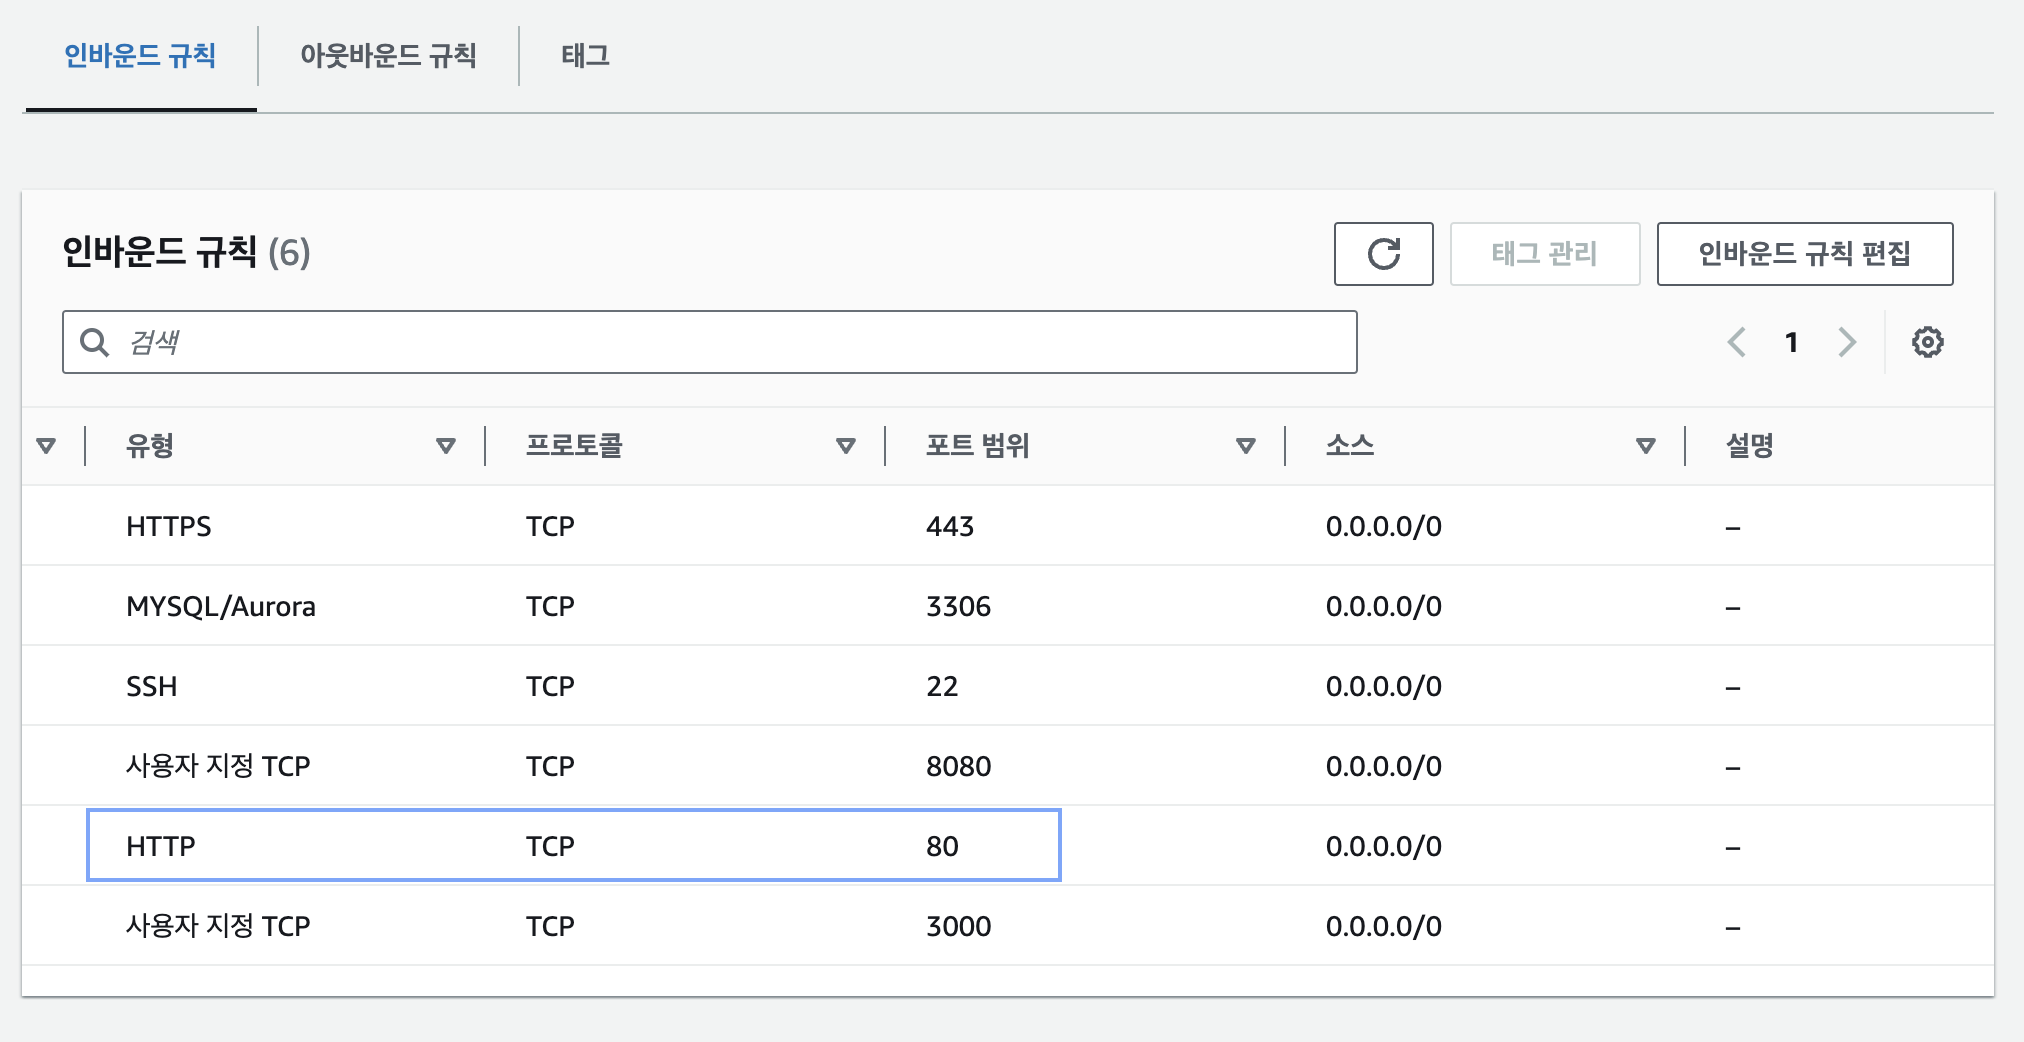
웹 브라우저에 탄력적 IP 주소를 입력했을 때, 아래와 같은 응답 화면을 확인할 수 있었다.
13.209.191.6 을 입력하면 자동으로 80번 포트가 붙어 13.209.191.6:80 으로 요청을 보내고, 응답으로 위 이미지의 내용을 구성하는 html 문서 (정적 콘텐츠)를 받는다.
크롬 개발자 도구로 확인해 보면 아래와 같은 html 문서를 볼 수 있다!
<html>
  <head> ... </head>
  <body>
    <h1>Welcome to nginx!</h1>
    <p>If you see this page, ...</p>
    <p>For online documentation ...</p>
    <p>Thank you for using nginx.</p>
</html>
NGINX 정적 콘텐츠 호스팅
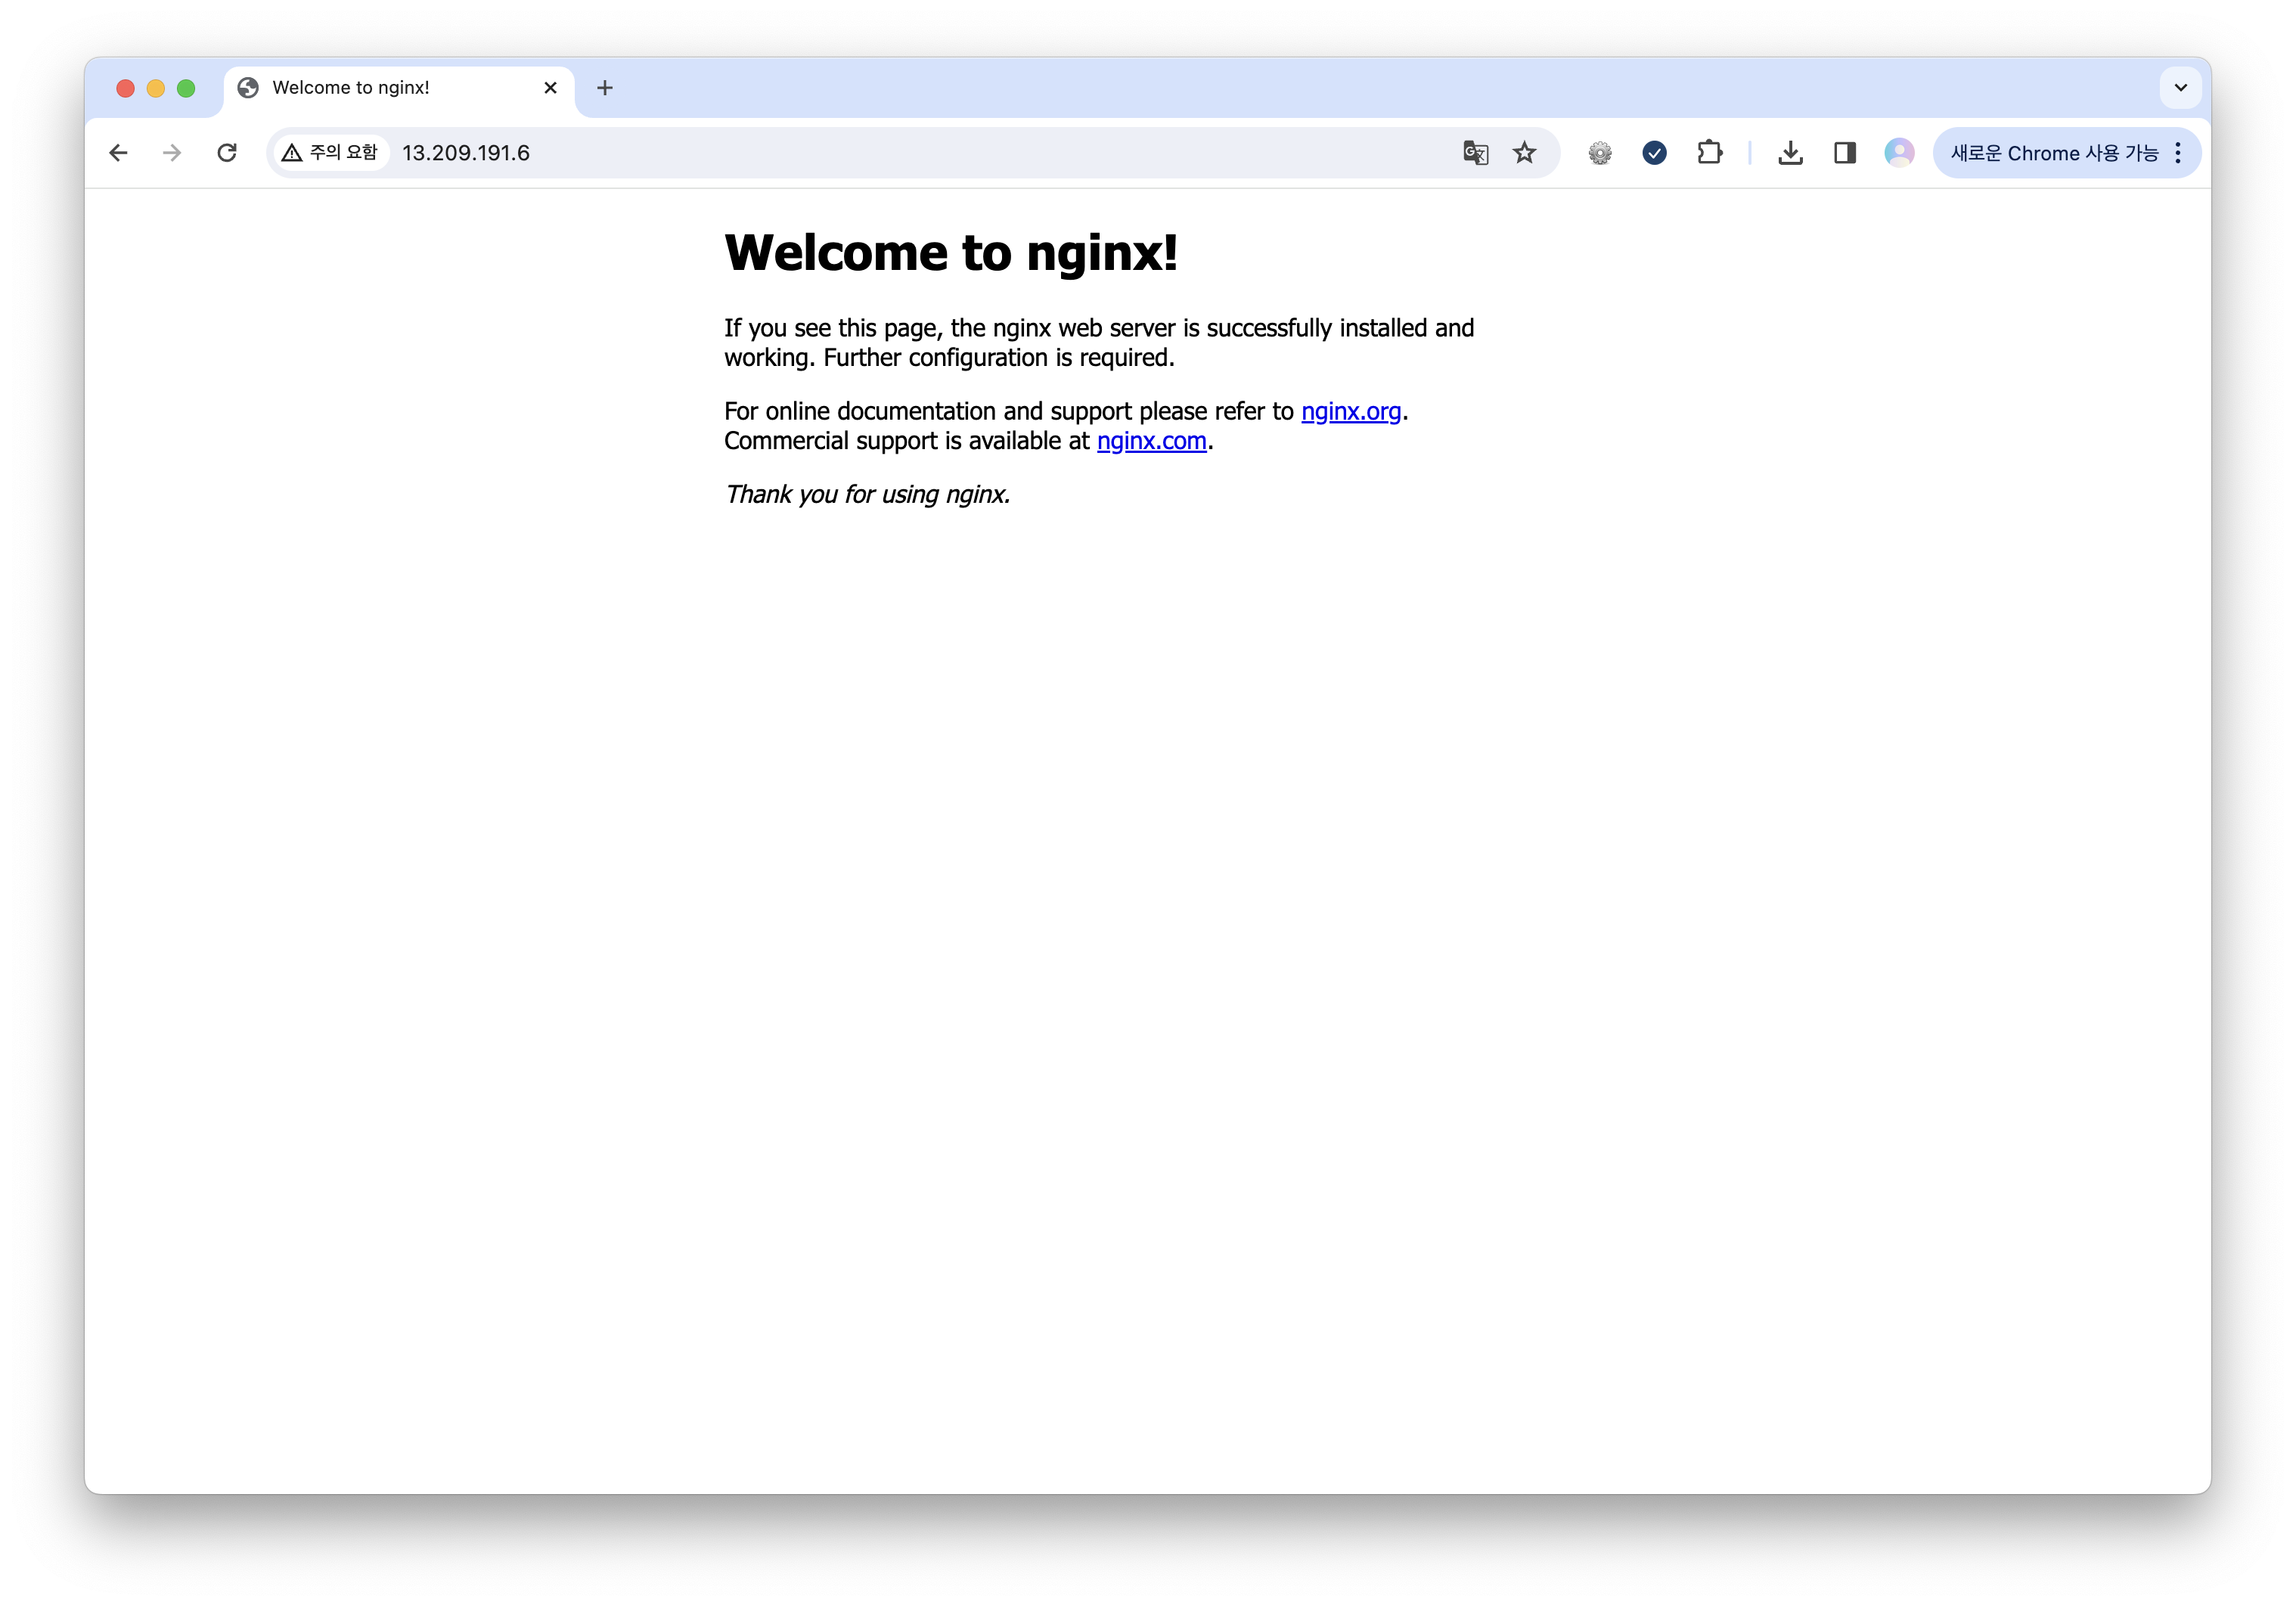
NGINX에는 설정 파일이 있고, 웹 서버가 실행될 때 설정 파일을 읽으면서 실행 된다.
ubuntu 기준으로 /etc/nginx/sites-available 디렉토리에서 default 가 설정 파일이다.
##
# You should look at the following URL's in order to grasp a solid understanding
# of Nginx configuration files in order to fully unleash the power of Nginx.
# https://www.nginx.com/resources/wiki/start/
# https://www.nginx.com/resources/wiki/start/topics/tutorials/config_pitfalls/
# https://wiki.debian.org/Nginx/DirectoryStructure
#
# In most cases, administrators will remove this file from sites-enabled/ and
# leave it as reference inside of sites-available where it will continue to be
# updated by the nginx packaging team.
#
# This file will automatically load configuration files provided by other
# applications, such as Drupal or Wordpress. These applications will be made
# available underneath a path with that package name, such as /drupal8.
#
# Please see /usr/share/doc/nginx-doc/examples/ for more detailed examples.
##

# Default server configuration
#
server {
	listen 80 default_server;
	listen [::]:80 default_server;

	# SSL configuration
	#
	# listen 443 ssl default_server;
	# listen [::]:443 ssl default_server;
	#
	# Note: You should disable gzip for SSL traffic.
	# See: https://bugs.debian.org/773332
	#
	# Read up on ssl_ciphers to ensure a secure configuration.
	# See: https://bugs.debian.org/765782
	#
	# Self signed certs generated by the ssl-cert package
	# Don't use them in a production server!
	#
	# include snippets/snakeoil.conf;

	root /var/www/html;

	# Add index.php to the list if you are using PHP
	index index.html index.htm index.nginx-debian.html;

	server_name _;

	location / {
		# First attempt to serve request as file, then
		# as directory, then fall back to displaying a 404.
		try_files $uri $uri/ =404;
	}

	# pass PHP scripts to FastCGI server
	#
	#location ~ \.php$ {
	#	include snippets/fastcgi-php.conf;
	#
	#	# With php-fpm (or other unix sockets):
	#	fastcgi_pass unix:/run/php/php7.4-fpm.sock;
	#	# With php-cgi (or other tcp sockets):
	#	fastcgi_pass 127.0.0.1:9000;
	#}

	# deny access to .htaccess files, if Apache's document root
	# concurs with nginx's one
	#
	#location ~ /\.ht {
	#	deny all;
	#}
}


# Virtual Host configuration for example.com
#
# You can move that to a different file under sites-available/ and symlink that
# to sites-enabled/ to enable it.
#
#server {
#	listen 80;
#	listen [::]:80;
#
#	server_name example.com;
#
#	root /var/www/example.com;
#	index index.html;
#
#	location / {
#		try_files $uri $uri/ =404;
#	}
#}
이렇게 긴 설정 파일 내용 중에서 Server block이 중요한데,
server {
	listen 80 default_server;
	listen [::]:80 default_server;

    root /var/www/html; # 정적 콘텐츠를 찾는 시작 디렉토리 ‼️

    # Add index.php to the list if you are using PHP
    index index.html index.htm index.nginx-debian.html;

    server_name _;

    location / {
            # First attempt to serve request as file, then
            # as directory, then fall back to displaying a 404.
            try_files $uri $uri/ =404;
    }
root /var/www/html; 은 정적 콘텐츠를 찾는 시작 디렉토리를 의미하고, index는 기본적인 요청에 대해 index.html index.htm index.nginx-debian.html 파일을 찾아서 웹 상으로 보여준다는 의미이다.
실제로 /var/www/html 디렉토리에 가보면, index.nginx-debian.html 파일이 존재하는 걸 확인할 수 있다.

그리고 이 파일이 바로 80번 포트로 요청을 보냈을 때 응답으로 오는 html 문서이다!
<!DOCTYPE html>
<html>
<head>
<title>Welcome to nginx!</title>
<style>
    body {
        width: 35em;
        margin: 0 auto;
        font-family: Tahoma, Verdana, Arial, sans-serif;
    }
</style>
</head>
<body>
<h1>Welcome to nginx!</h1>
<p>If you see this page, the nginx web server is successfully installed and
working. Further configuration is required.</p>

<p>For online documentation and support please refer to
<a href="http://nginx.org/">nginx.org</a>.<br/>
Commercial support is available at
<a href="http://nginx.com/">nginx.com</a>.</p>

<p><em>Thank you for using nginx.</em></p>
</body>
</html>
즉, root /var/www/html 로 정적 콘텐츠를 찾아낼 시작 디렉토리를 설정할 수 있고, index 로 기본 요청이 온 경우 어떤 파일을 줄지 설정할 수 있다. 🤗
nginx 설정 파일의 location 블록
이번에는 앞에서 살펴본 NGINX 설정 파일에 아래와 같은 location 블록 을 추가해 보자!
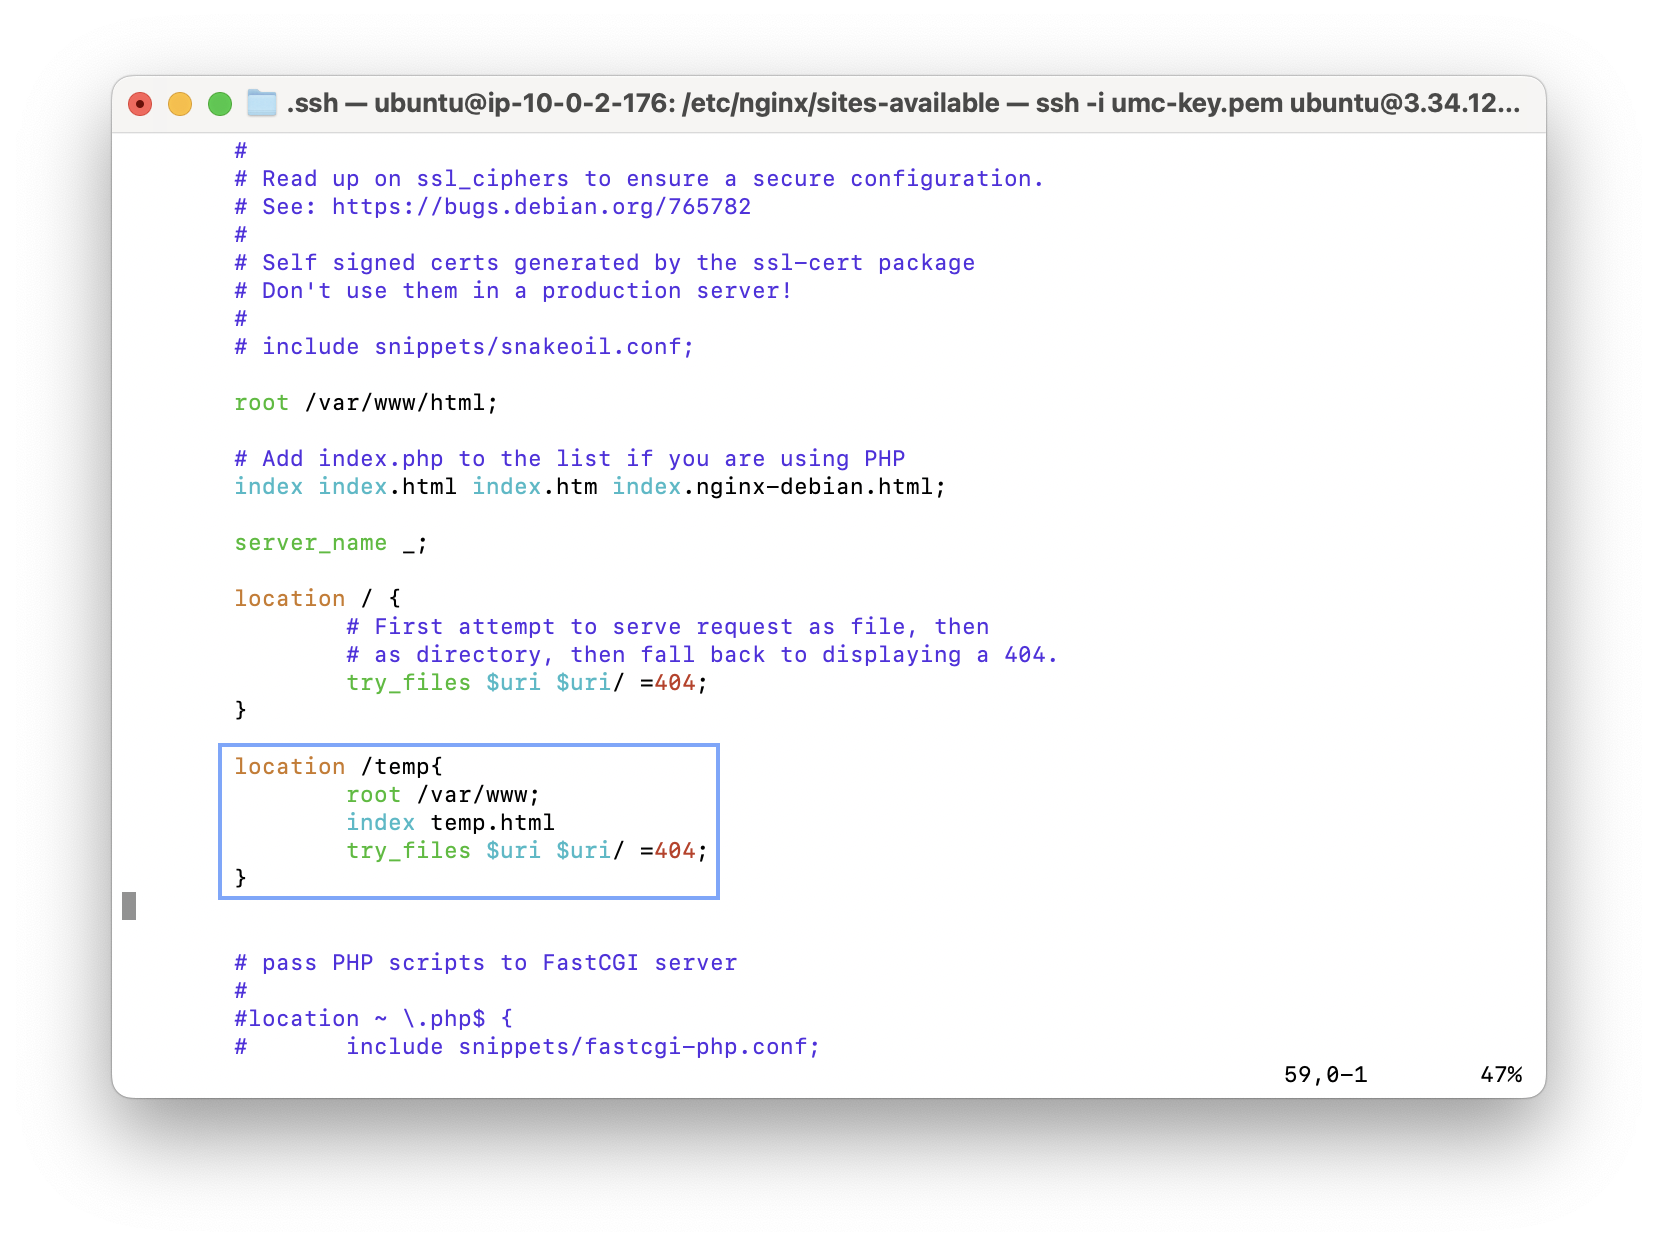
(💡 default 파일은 read-only 파일이므로, vi 에디터로 수정하려면 쓰기 권한을 추가해야 한다!)
location block을 추가해서 설정 파일이 변경된 경우에는 다음 명령어로 재실행해야 한다.
$ sudo systemctl restart nginx그리고 /var/www 로 이동해서 index로 설정한 temp.html 파일을 생성해야 한다.
<h1> hi UMC 6th! </h1>이렇게 설정을 완료했다면, (IP 주소)/temp 로 접속했을 때 temp.html 의 내용을 응답으로 받아올 수 있다.
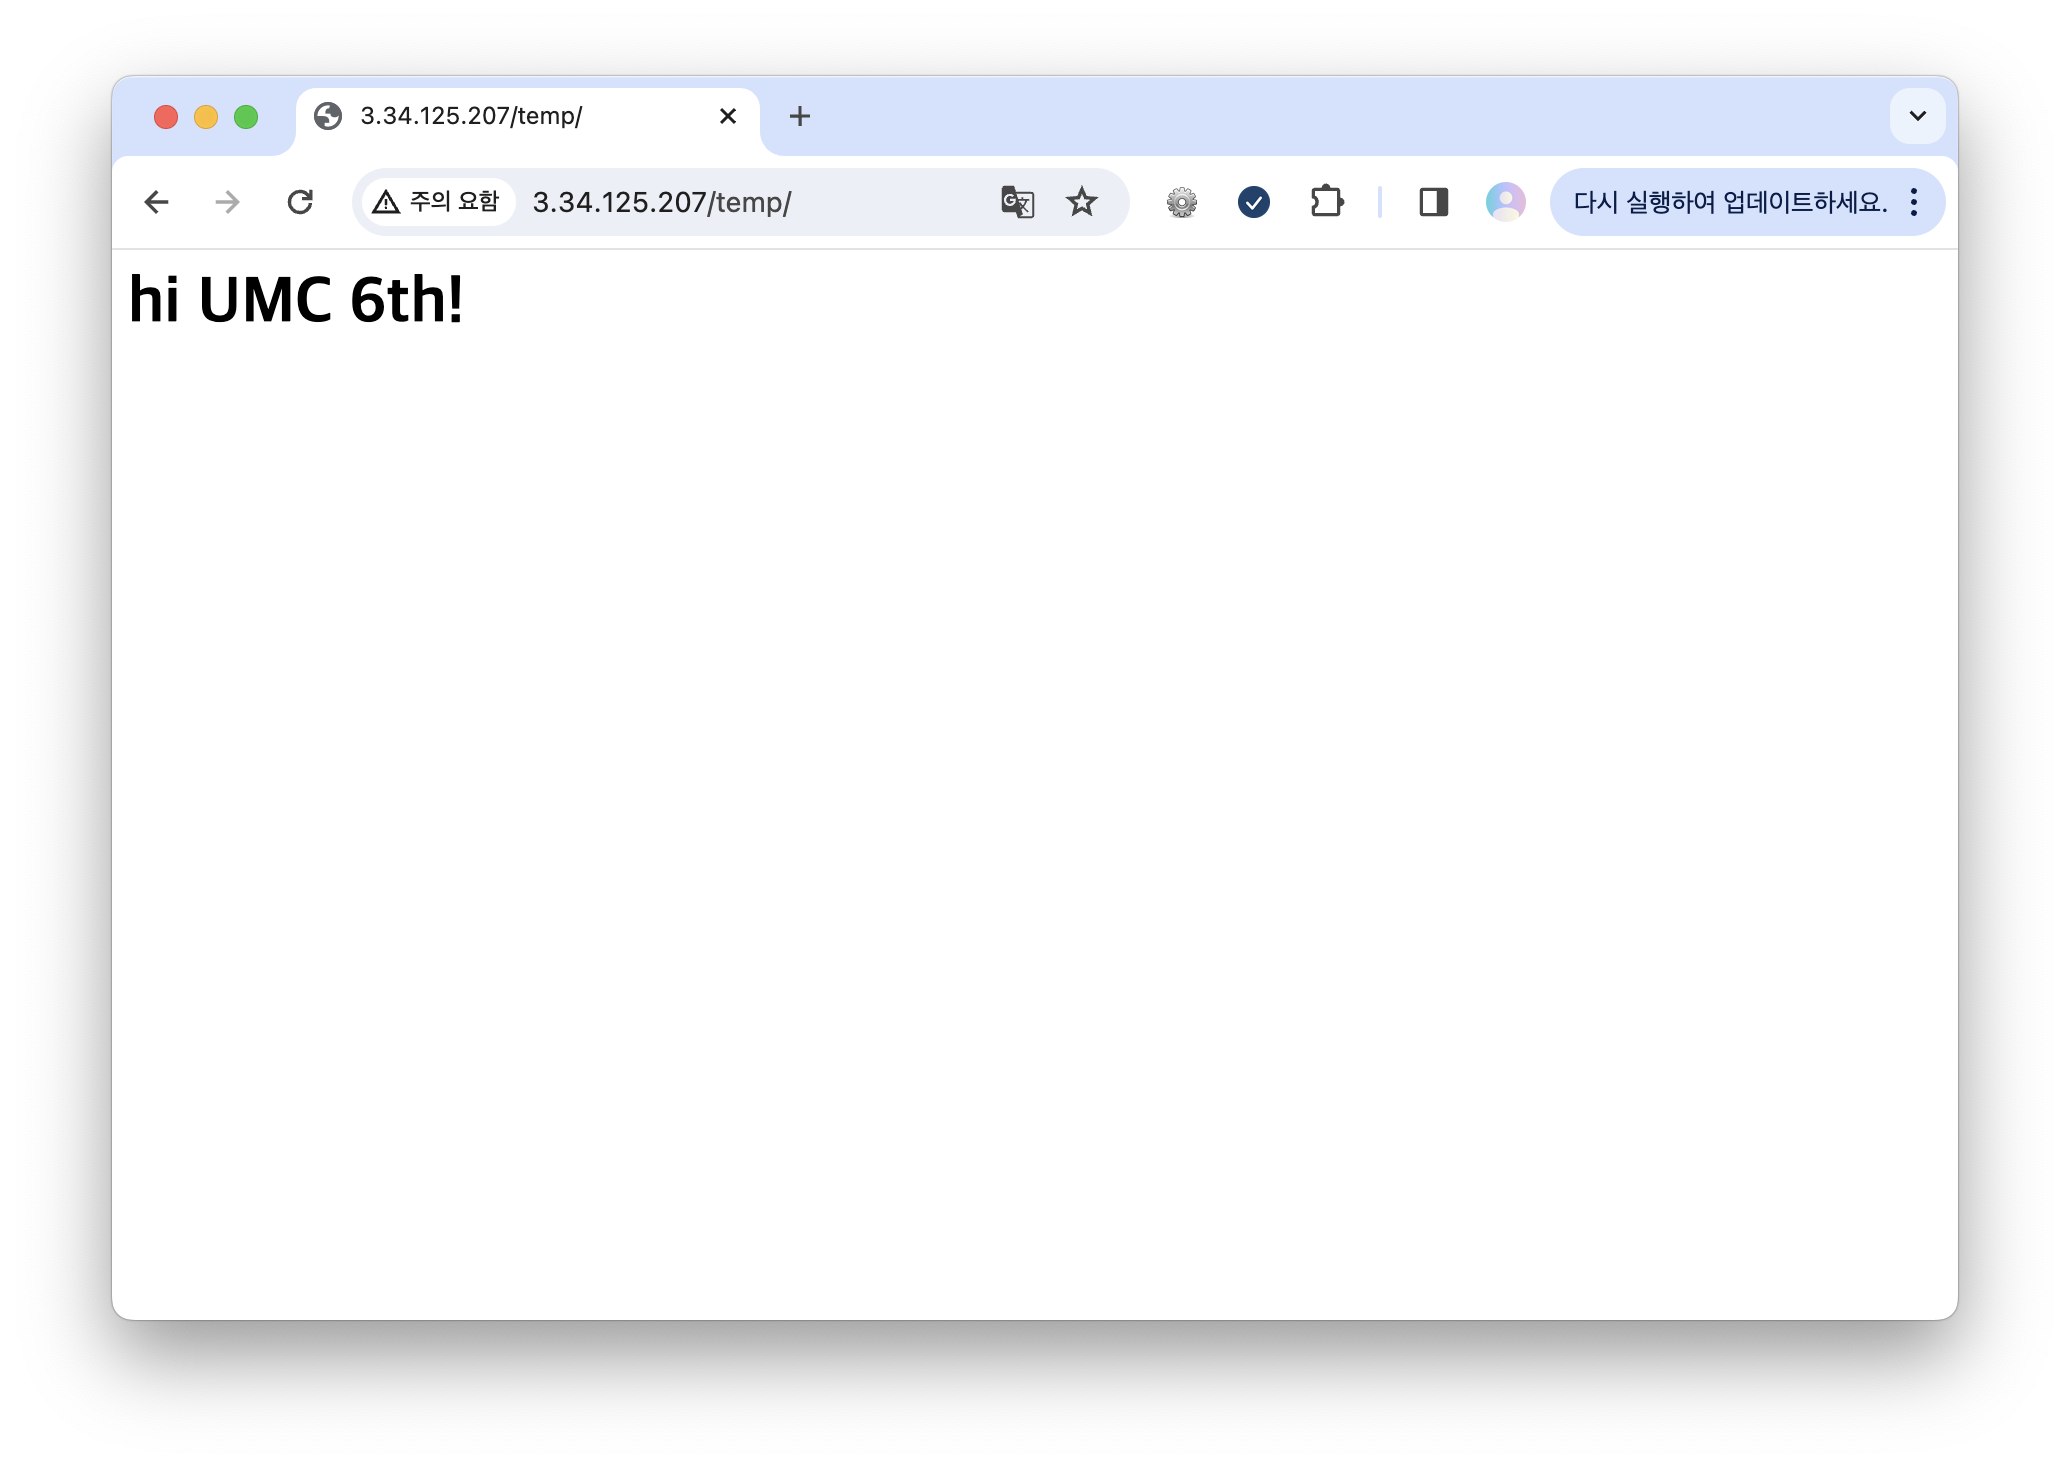
위에서 설정한 것처럼 /var/www/temp 디렉토리에서 정적 파일을 찾아온 것이다!
간단히 정리해 보면, location 블록은 아래와 같이 동작한다.
location /y {
	root /x
}
/y 로 요청이 온다면 /x/y 에서 파일을 찾으라는 의미이다.
/var/www/temp 에 test.html 을 만들고, 아래처럼 요청을 보내도 정적 콘텐츠 호스팅이 가능하다.
<!-- test.html -->
<h1> nginx static file hosting practice </h1>
<h2> let's do staic file hosting without index default setting</h2>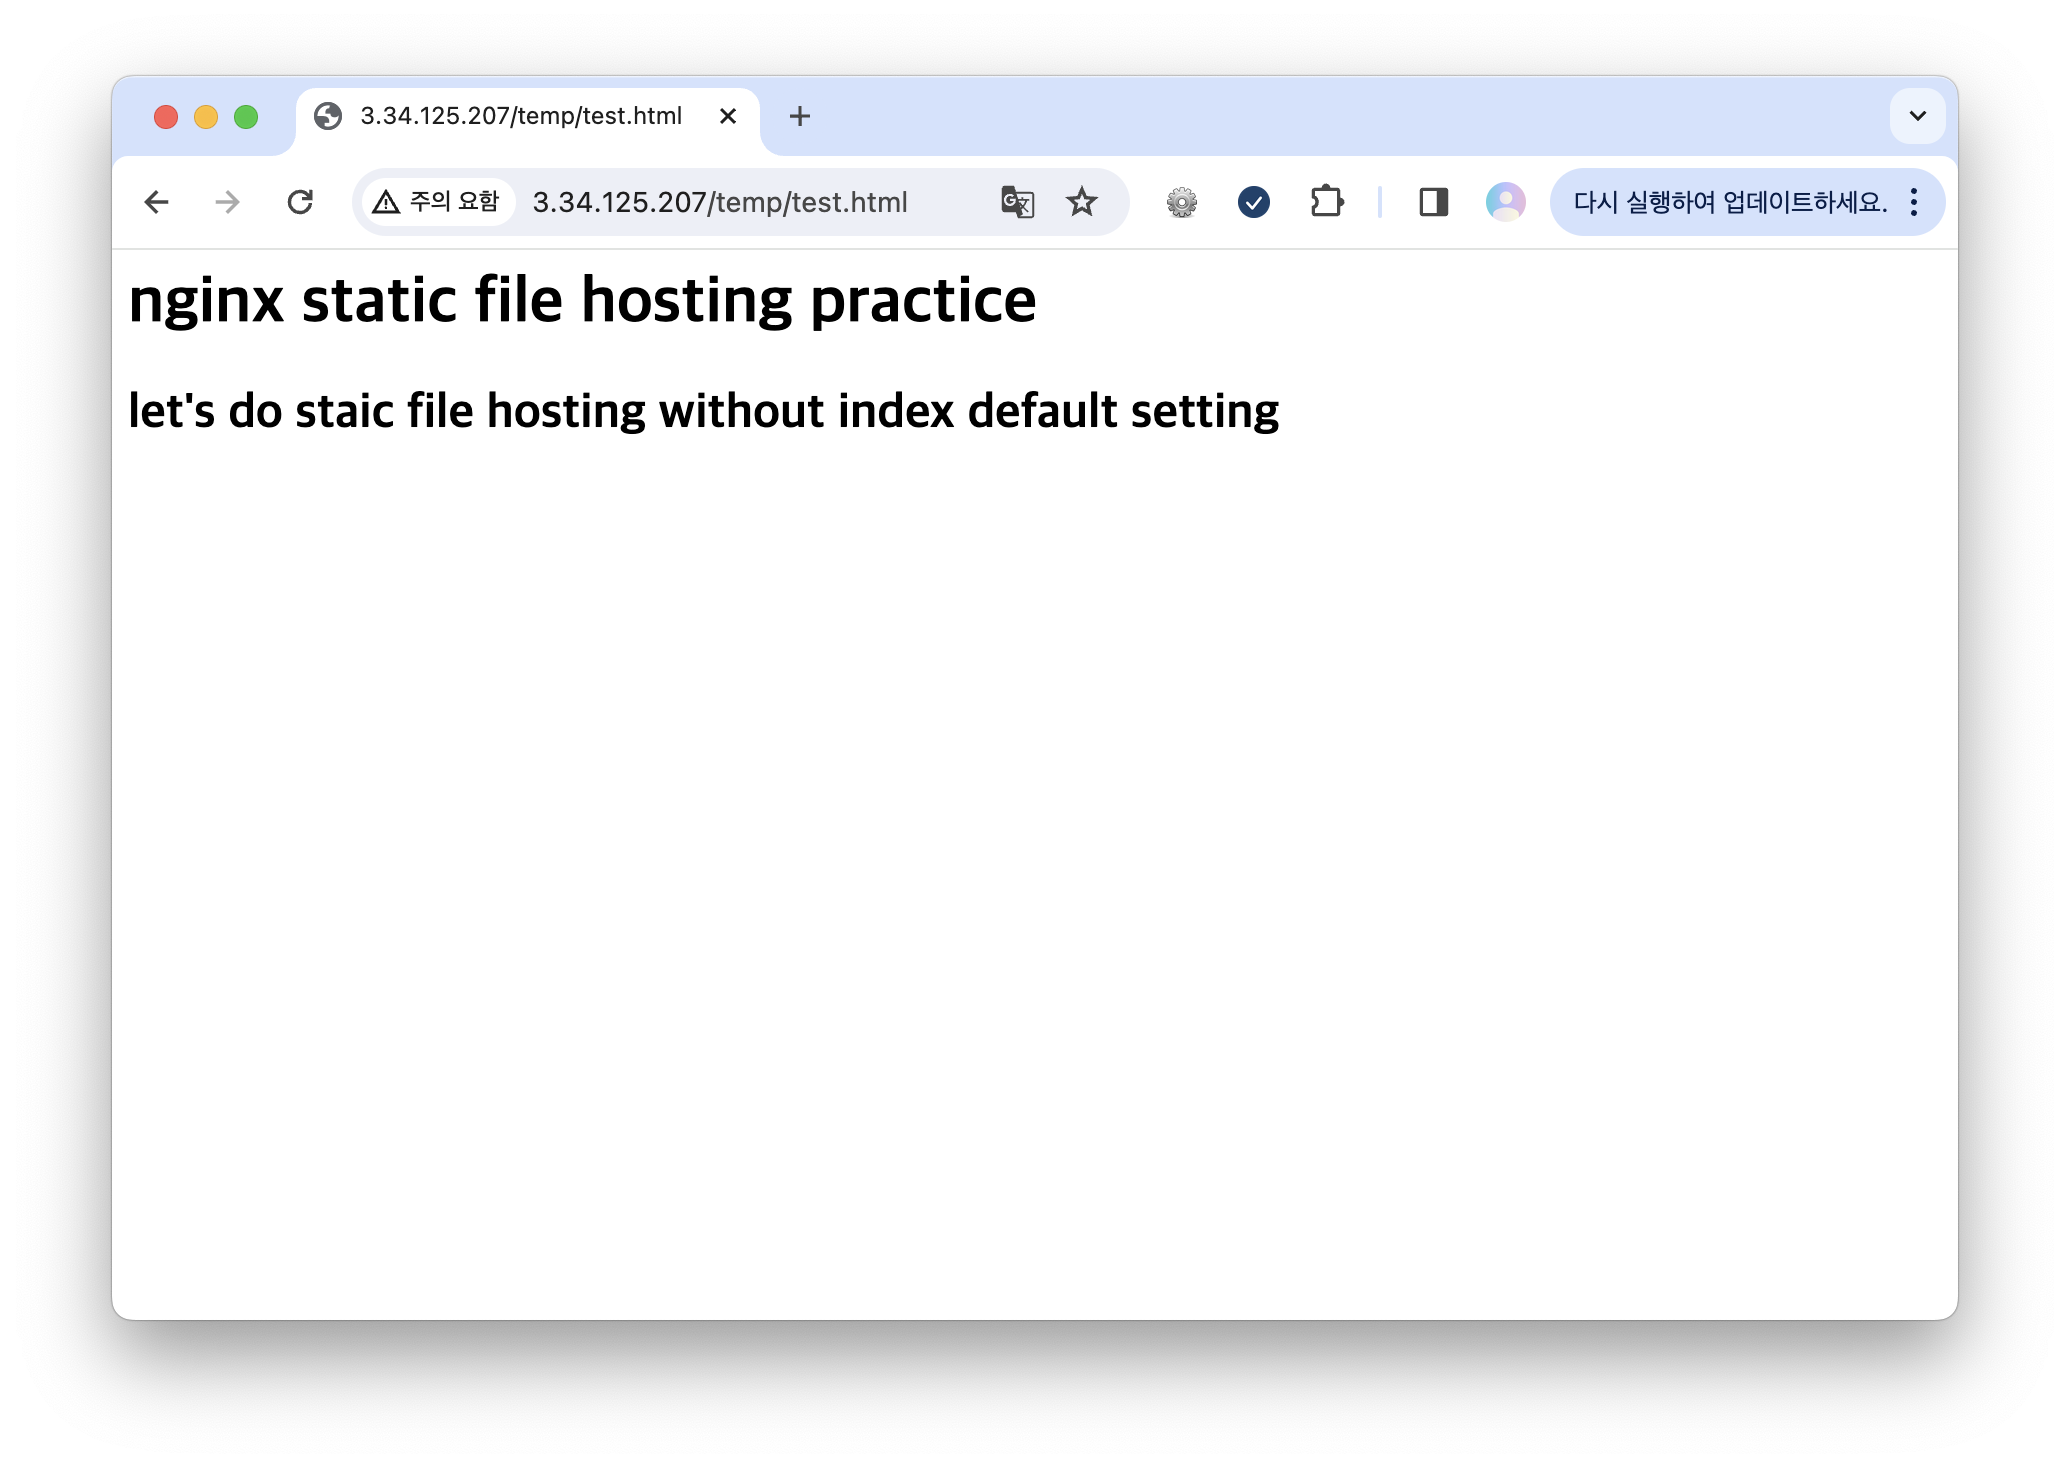
/var/www/temp 디렉토리에서 test.html을 찾아서 호스팅한 것이다.
location 블록으로 여러 경우 다르게 호스팅
이번에는 위에서 했던 실습을 응용해서 아래 요구사항을 충족하도록 호스팅해볼 것이다!
📝 요구사항
1️⃣ /web 경로에 대해 기본적으로 welcome!이 포함된 html을 보여주고 ddol.html 파일을 요청 할 경우 html 문서를 응답으로 주고 그 외의 경우는 에러 응답
2️⃣ /text 경로에 대해서는 기본 호스팅이 없고 hello.txt를 요청 시 hello world 문자열을 응답으로 주고 그 외의 경우는 에러 응답
요구사항 1 구현
/web 경로에 대한 요청이므로 location block을 아래와 같이 설정해야 한다.
location /web {
root /var/www;
index welcome.html
try_files $uri $uri/ =404;
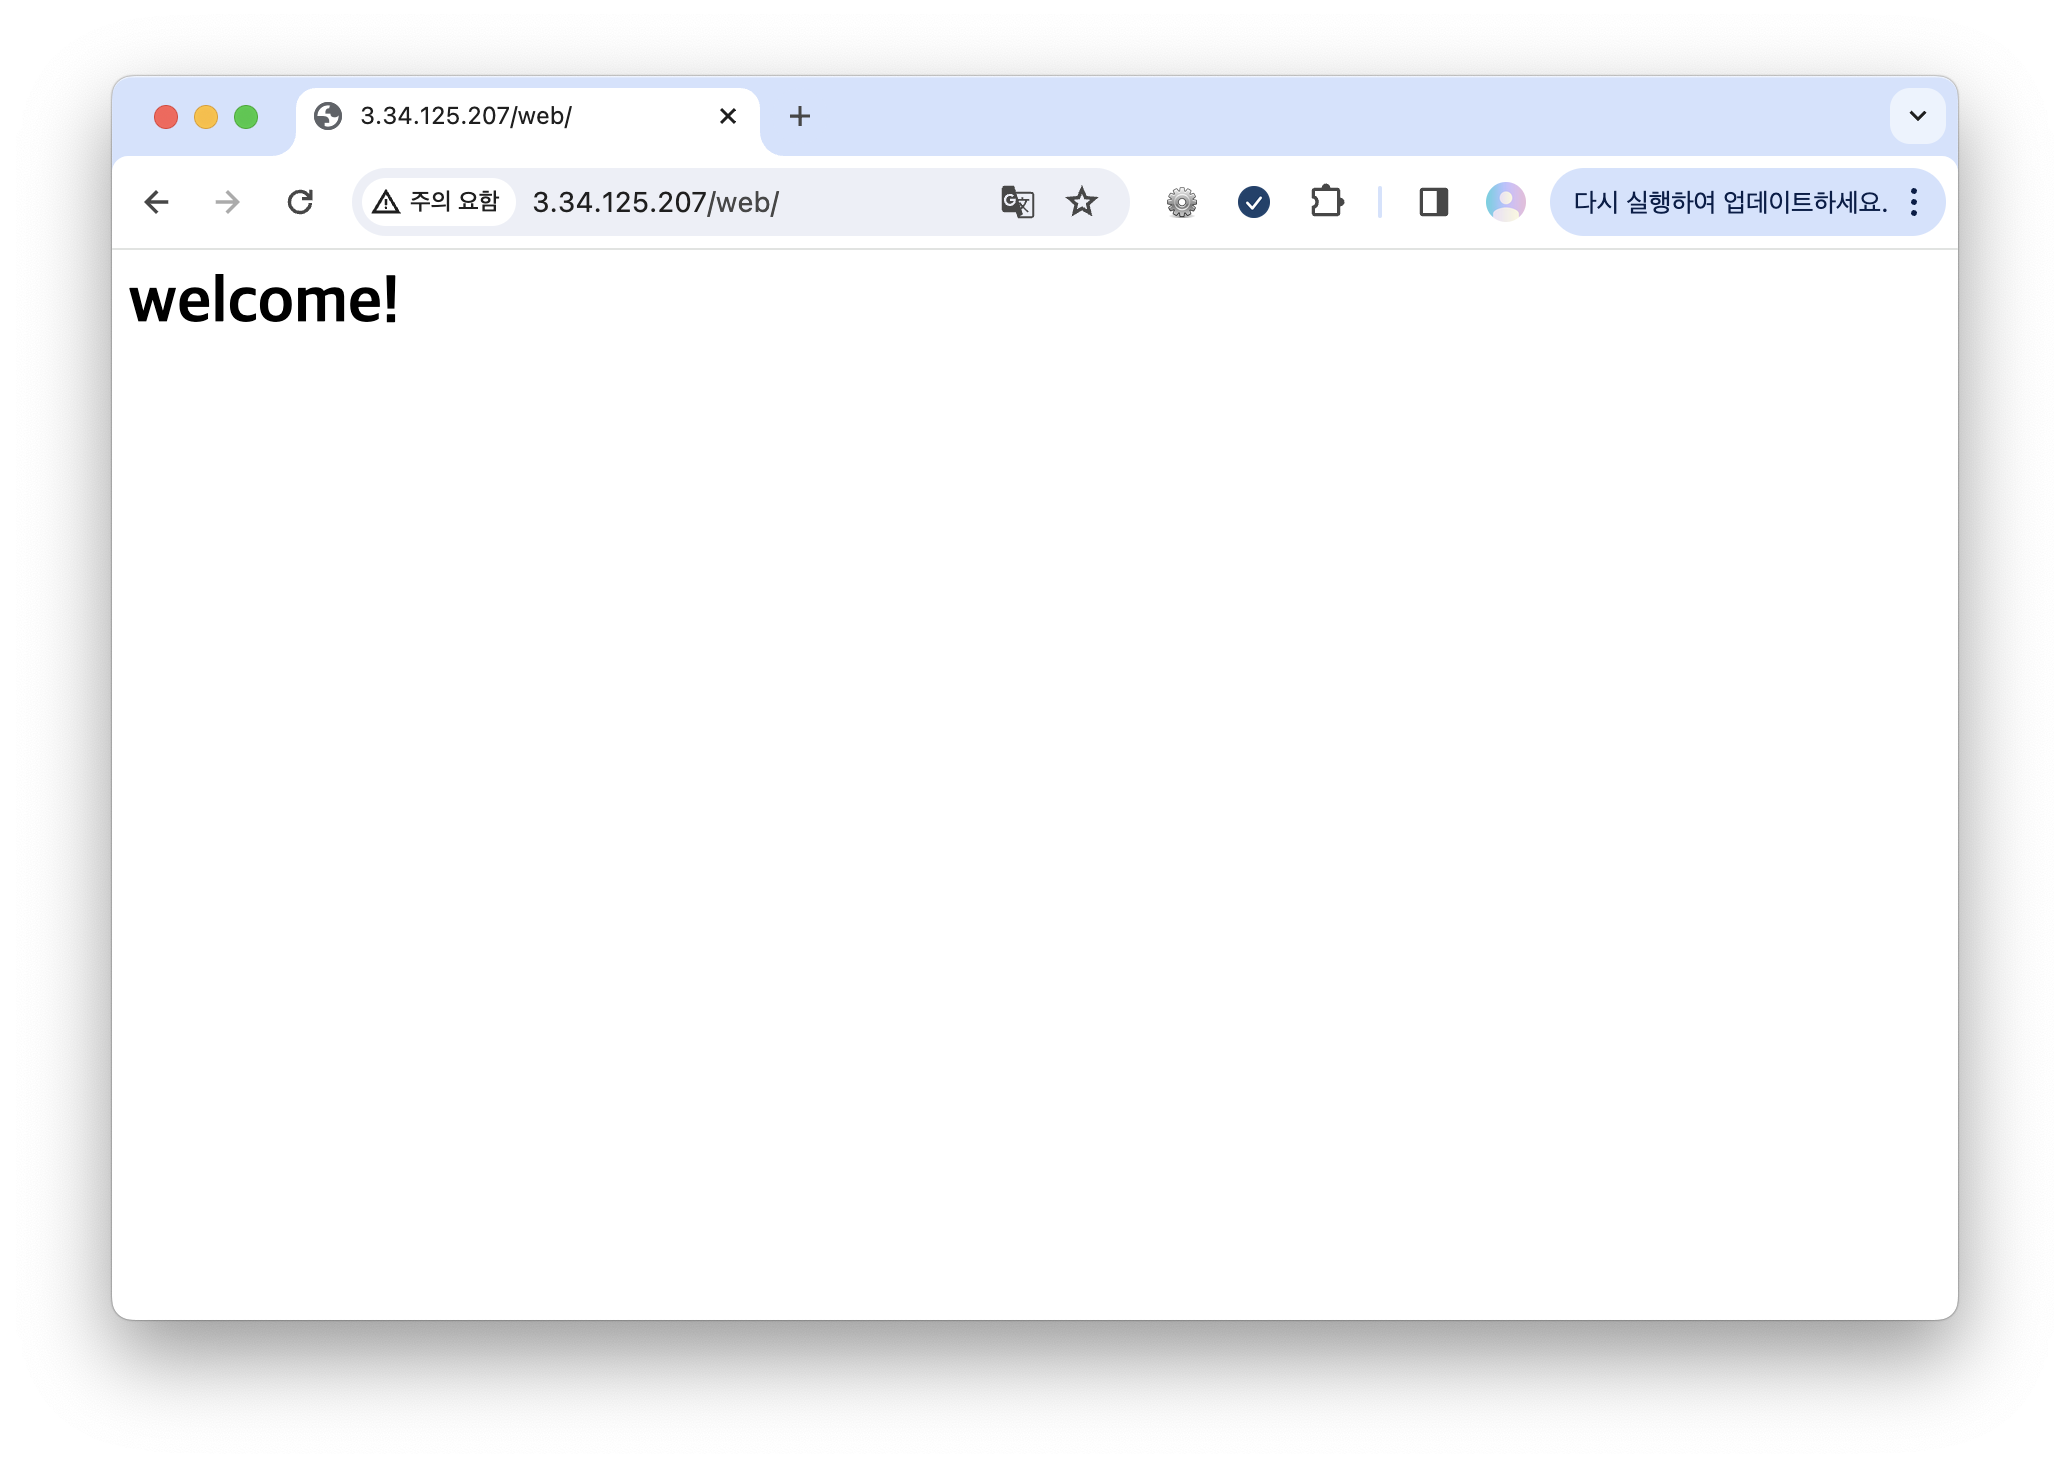
}기본적으로 welcome! 이 포함된 html을 보여주기 위해 index로 welcome.html 파일을 설정했다.
/var/www/web 디렉토리에는 아래 두 파일을 추가해주었다.
<!-- welcome.html -->
<h1> welcome! </h1>
<!-- ddol.html -->
<h1> ddol is chiwawa </h1>결과를 보면, /web 경로에 대해 기본적으로 welcome.html 을 보여준다.
ddol.html 파일을 요청 할 경우에는 html 문서를 /var/www/web 에서 찾아 응답을 주었다.
그리고 존재하지 않는 hello.html 파일을 요청하면 404 에러를 응답한다.
요구사항 2 구현
이번에는 /text 경로에 대한 요청이므로 location block을 다음과 같이 설정해야 한다.
location /text {
                root /var/www;
                try_files $uri $uri/ =404;
        }
기본 호스팅이 없으므로 index 설정을 하지 않고, /var/www/text 디렉토리에 hello.txt를 추가했다.

결과를 보면, /text 경로에 대한 기본 호스팅이 없으므로 403 에러가 발생한다.

hello.txt 파일을 요청 할 경우에는 텍스트 파일을 /var/www/text 에서 찾아 응답을 주었다.
Web Server vs WAS
지금까지 NGINX를 이용해서 Web Server가 어떻게 동작하고, 정적인 콘텐츠를 응답주는 것을 확인했다.
그렇다면 Node.js, Spring Boot 와 같은 Web Application Server (WAS)는 어떻게 Web Server와 함께 동작이 될까?
이때 WAS는 클라이언트의 요청에 대해 적절한 데이터를 만들어 주는 서버를 의미한다! 즉, 정적인 콘텐츠를 미리 준비해두는 것이 아닌, 요청이 올 때마다 해당 요청에 대한 동적인 콘텐츠를 만드는 것이다.
우리가 원하는 웹 시스템 구성은 다음과 같다.
만약 우리가 Web Server 없이 WAS 하나만 실행시킨다면, 웹사이트에 접속할 때 포트번호를 명시해야 할 것이다.
예를들어, 네이버의 경우에는 www.naver.com:8080 으로 접속해야 한다.
그러나 우리가 웹 서버인 www.naver.com 에 요청을 보냈을 때 (www.naver.com:80) 응답을 WAS에서 받을 수 있는 이유는 Reverse Proxy 와 관련이 있다.
Reverse Proxy
Reverse Proxy 는 Client와 Server 간의 통신을 중계하고 보안 및 성능 개선 등의 목적을 위해 중간에 위치하는 서버이다.
간단하게 프록시 서버는 Client의 요청을 받아 본 서버로 보낸다.
(서버는 요청을 받기만 하는 것이 아니라, connect() 시스템 콜 등을 통해 다른 서버 프로세스에 다시 요청을 보낼 수 있다.)
이때 Forward Proxy와 Reverse Proxy가 있는데, 이 둘의 차이는 다음과 같다.
- Forward Proxy : client의 요청을 또 다른 외부 서버로 보내줌
- Reverse Proxy : client의 요청을 내부의 다른 서버로 보내줌
즉, Reverse Proxy는 아래와 같이 동작한다고 이해할 수 있다.
NGINX에서 Reverse Proxy 설정
NGINX의 설정 파일을 다음과 같이 변경하면, / 요청에 대해 내부 컴퓨터의 3000번 포트의 프로세스로 요청을 보내도록 리버스 프록시를 설정할 수 있다.
location / {
                proxy_pass http://localhost:3000; # 프록시 설정
                # First attempt to serve request as file, then
                # as directory, then fall back to displaying a 404.
                try_files $uri $uri/ =404;
        }
그러나 아직 3000번 포트를 가진 프로세스가 없기 때문에 요청을 보내면 502 에러가 발생한다!
정상 작동을 위해서는 배포가 필요한데 이는 12주차에서 다시 다룰 것이다. 🙃
최용욱님의 [UMC Server Workbook]을 기반으로 작성했습니다.