2개의 Activity가 존재할 때, 버튼을 이용하여 다른 Activity로 이동하는 방법
1. New Project에서 Empty Activity 선택

-. Name : 파일명 설정 (예) activity_tranform
-. Package name : 설정되어 었음
-. Save location : 파일 저장 위치
-. Language : java 로 설정
-. Minimum SDK : 허용가능한 범위의 SDK
2. 2번째 Activity 만들기
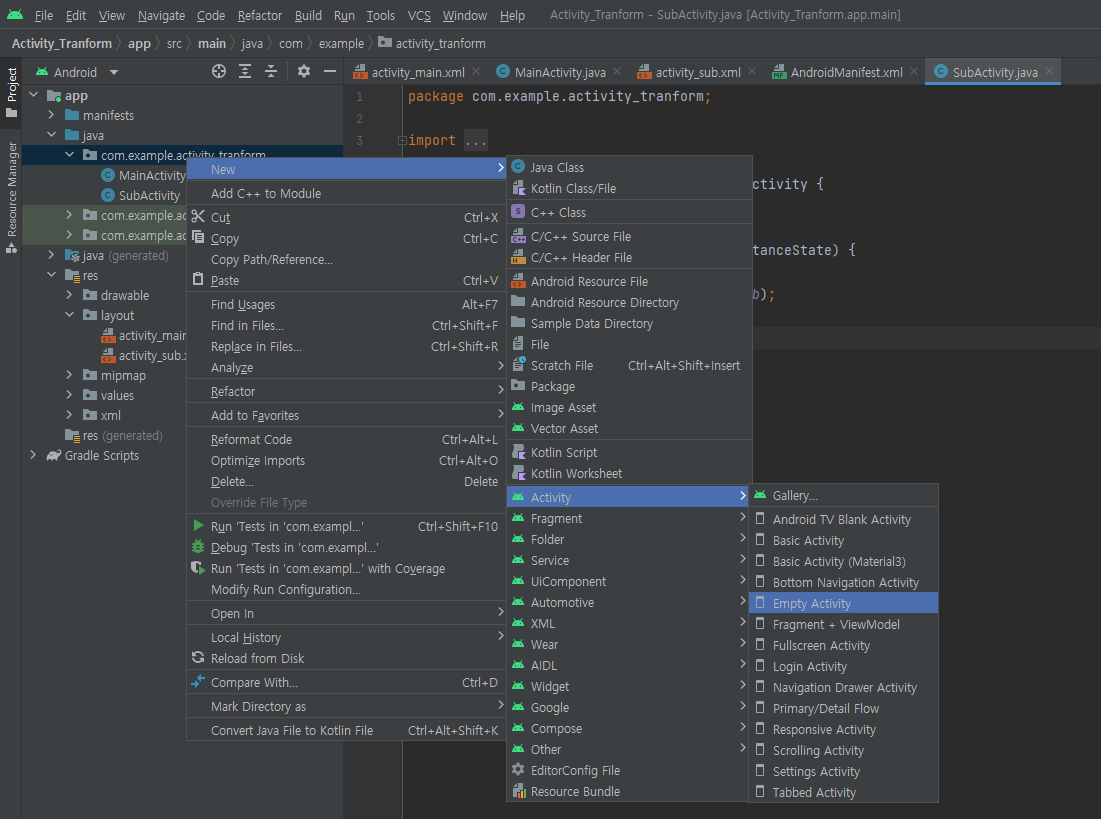
-. com.example.activity_tranform에서 마우스 오른쪽 버튼 -> New -> Activity -> Empty Activity 선택
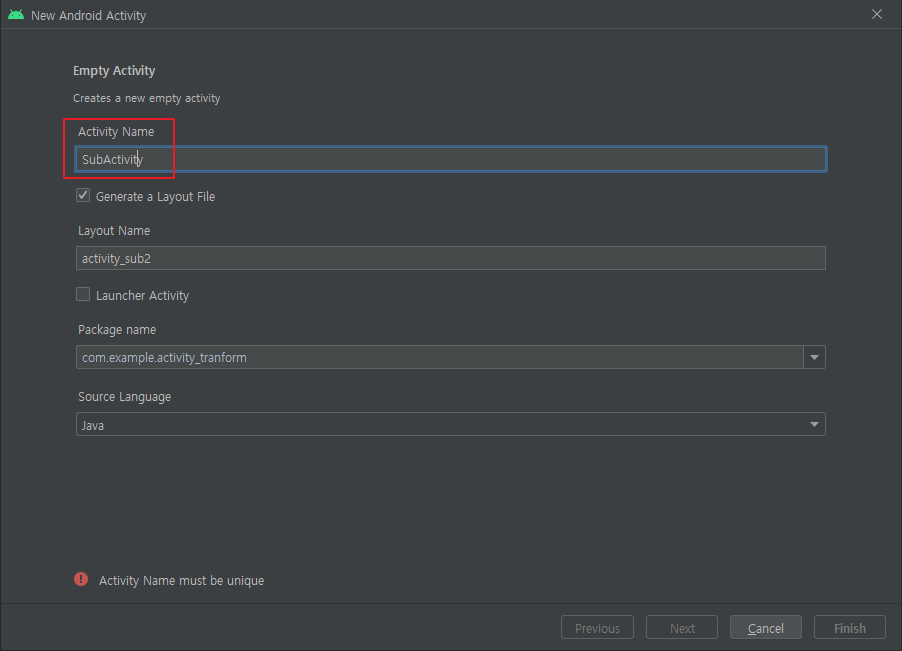
-. Activity Name : 파일명 설정 (예) SubActivity
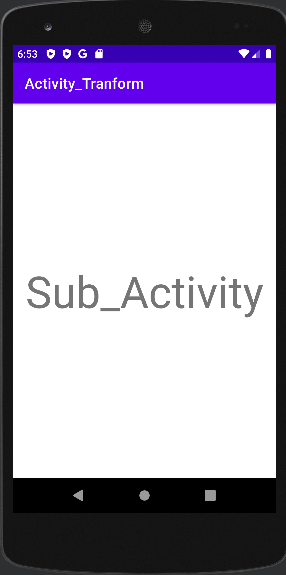
3. Activity_sub에 text 출력
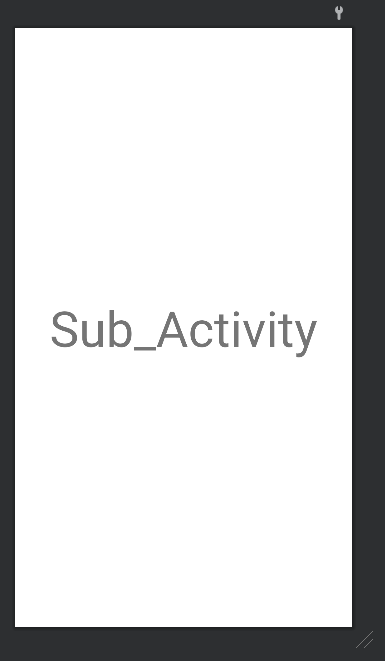
-. 상기와 같이 activity_sub.xml에 text 출력
    <TextView
        android:layout_width="wrap_content"
        android:layout_height="wrap_content"
        android:text="Sub_Activity"
        android:textSize="60sp"
        app:layout_constraintBottom_toBottomOf="parent"
        app:layout_constraintEnd_toEndOf="parent"
        app:layout_constraintStart_toStartOf="parent"
        app:layout_constraintTop_toTopOf="parent" />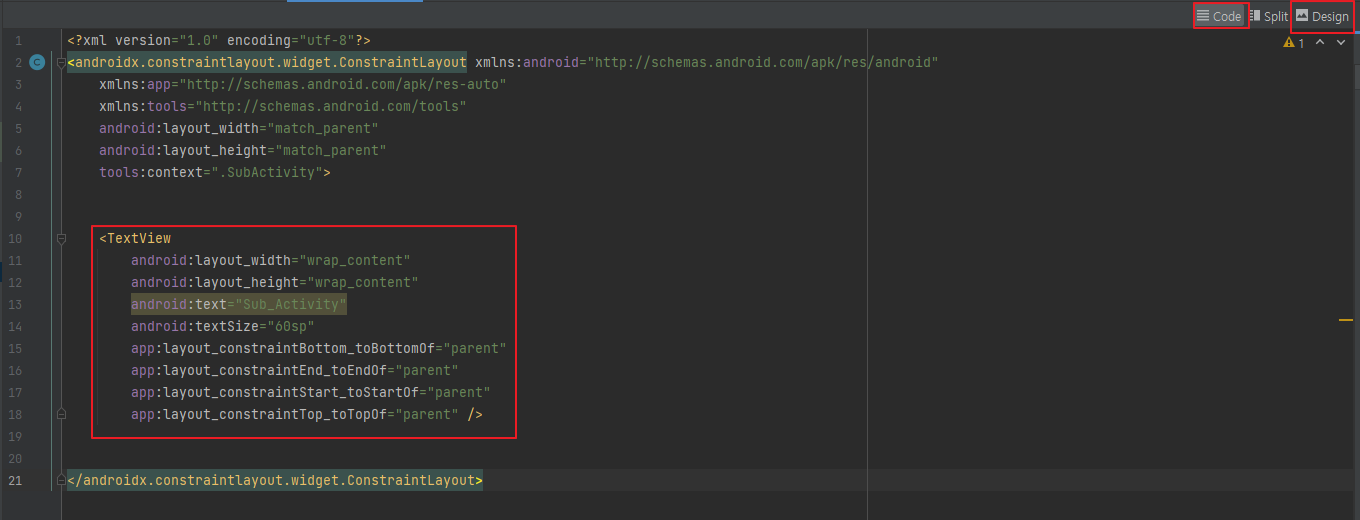
-. 위와 같이 code로 직접 입력해도 되고, Design에서 해당 text를 직접 조정 해도 됨.
<Button
android:id="@+id/button"
android:layout_width="wrap_content"
android:layout_height="wrap_content"
android:layout_marginTop="380dp"
android:onClick="clickBtn"
android:text="go to SubActivity"
android:textSize="24sp"
app:layout_constraintEnd_toEndOf="parent"
app:layout_constraintStart_toStartOf="parent"
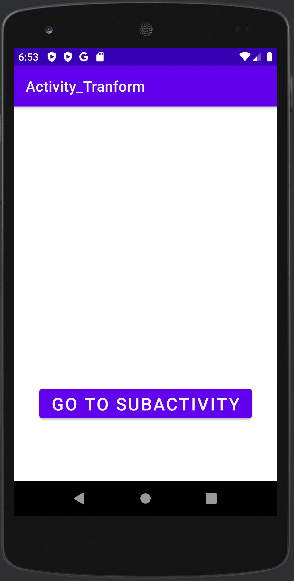
app:layout_constraintTop_toTopOf="parent" />4. activity_main.xml에 버튼 구성
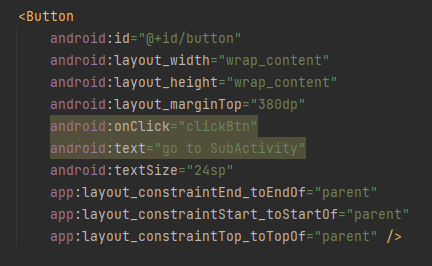
-. 위와 같이 code 및 Design으로 가능
5. MainActivity에 버튼 클릭시 subactivity 동작 되게 코드구현
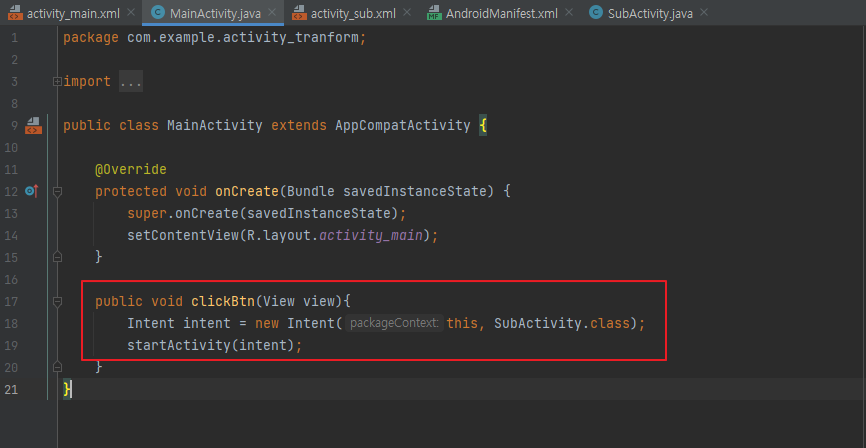
해당 코드
public void clickBtn(View view){
        Intent intent = new Intent(this, SubActivity.class);
        startActivity(intent);
-. clickBtn은 버튼에 대한 Id? class?를 선언했다고해야 되나? 뭐라고 해야 되는지 아직 잘 모르겠다.
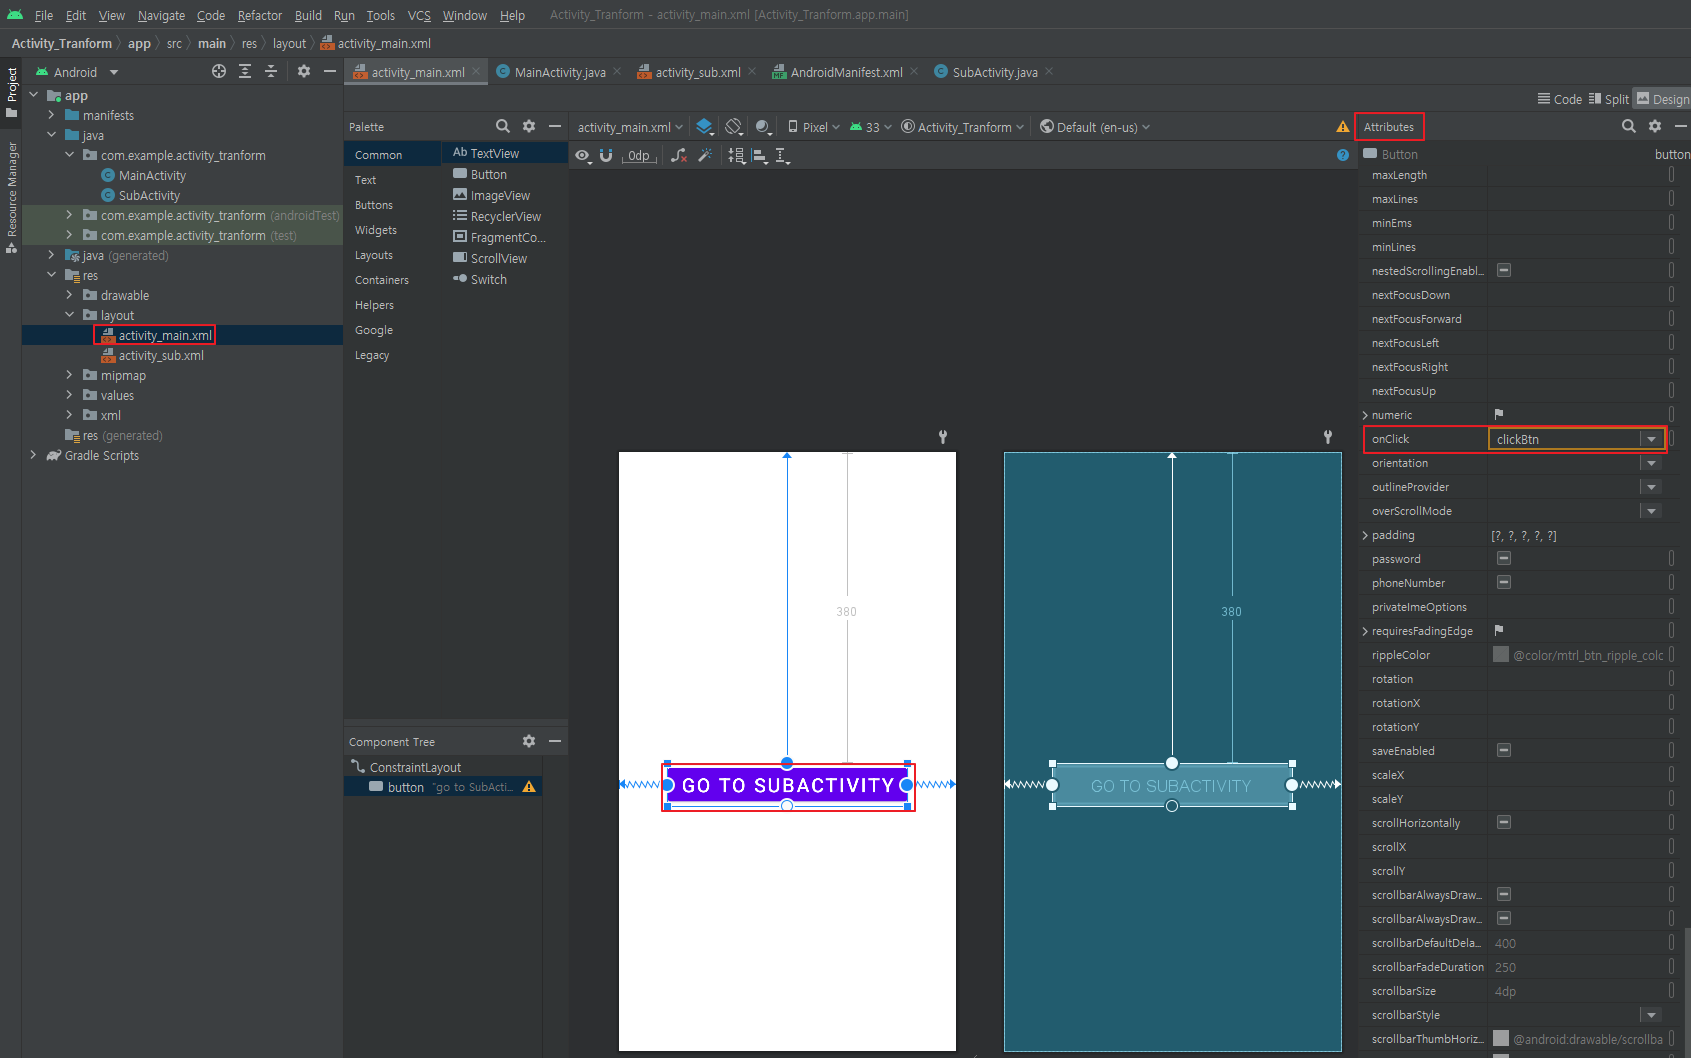
-. activity_main 클릭 -> sub로 이동하게할 버튼(go to subactivity) 클릭 -> Attributes -> onClick에 아까 선언한 clickBtn이 있다. 선택
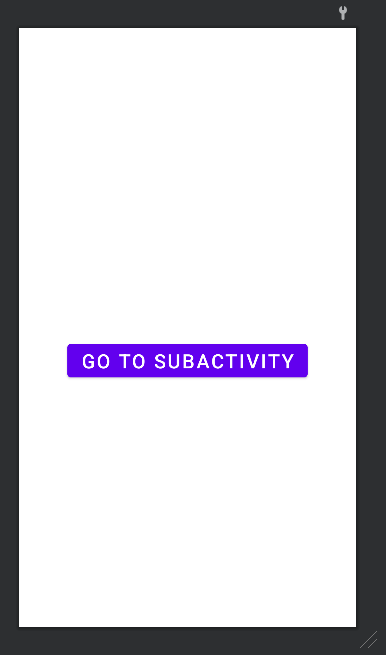
6. 실행
실행하고 go to activity를 누르면 subActivity로 잘 넘어 가는걸 볼 수 있다.

CEO를 꿈꾸며..