1. 문제 상황.
@RequiredArgsConstructor
@Configuration
@EnableWebSecurity
public class SecurityConfig {
    private final UserDetailsServiceImpl userDetailsServiceImpl;
    @Bean
    public SecurityFilterChain securityFilterChain(HttpSecurity httpSecurity) throws Exception {
        httpSecurity
                .authorizeHttpRequests(
                        (authorizeHttpRequests) -> authorizeHttpRequests.requestMatchers(new AntPathRequestMatcher("/**")).permitAll())
                .formLogin((formLogin -> formLogin.loginPage("/user/login")
                                                  .defaultSuccessUrl("/")))
                .logout((logout -> logout.logoutRequestMatcher(new AntPathRequestMatcher("/user/logout"))
                                         .logoutSuccessUrl("/article/list/logout")
                                         .invalidateHttpSession(true)
                                         .deleteCookies("JSESSIONID", "remember-user")))
                .rememberMe((rememberMe -> rememberMe.key("uniqueAndSecretKey")
                                                     .rememberMeParameter("remember-me")
                                                     .rememberMeCookieName("remember-user")
                                                     .tokenValiditySeconds(60 * 60 * 24 * 7)        // 24h * 7 = 1주일.
                                                     .userDetailsService(userDetailsServiceImpl)));
        return httpSecurity.build();
    }

    // PasswordEncoder 빈 등록. (BCryptPasswordEncoder : PasswordEncoder 구현체)
    @Bean
    public PasswordEncoder passwordEncoder() {
        return new BCryptPasswordEncoder();
    }

    // AuthenticationManager 빈 등록. (AuthenticationManager : 시큐리티의 인증을 처리함)
    @Bean
    public AuthenticationManager authenticationManager(AuthenticationConfiguration authenticationConfiguration) throws Exception {
        return authenticationConfiguration.getAuthenticationManager();
    }
}
@RestController
@RequiredArgsConstructor
@RequestMapping("/email")
public class MailController {
private final UserService userService;
private final MailService mailService;
@PostMapping("/send-verification")
public ResponseEntity<String> sendVerificationCode(@RequestBody MailSendDto mailSendDto) {
try {
if (userService.findByEmail(mailSendDto.getEmail()).isPresent()) {
return ResponseEntity.status(HttpStatus.CONFLICT).body(EMAIL_ALREADY_REGISTERED);
} else {
mailService.sendVerificationMail(mailSendDto);
return ResponseEntity.status(HttpStatus.OK).body(VERIFICATION_CODE_SENT);
}
} catch (Exception e) {
e.printStackTrace();
return ResponseEntity.status(HttpStatus.INTERNAL_SERVER_ERROR).body(SERVER_ERROR);
}
}
....
}에러 메시지
{
  "timestamp":"2025-09-24T08:14:31.572+00:00"
  ,"status":403
  ,"error":"Forbidden"
  ,"message":"Forbidden"
  ,"path":"/email/send-verification"
}
403, Forbidden에러가 발생하였음.403, Forbidden에러란?- 클라이언트의 요청이 서버에 도착했지만 서버가
클라이언트의 접근을 거부할 때 반환하는 HTTP 응답 코드.
- 클라이언트의 요청이 서버에 도착했지만 서버가
- 사용자의 이메일을 입력받아서 해당 이메일로 인증번호를 보내는 요청에서
403이 발생.- 자바스크립트로
POST요청을fetch()를 이용해서 보내는 요청임.
- 자바스크립트로
2. 문제의 원인.
- CSRF 복습 복습.
- 현재 CSRF 필터가 활성화 되어 있는 상태임.
- 즉, 클라이언트쪽에서
POST요청을fetch()를 이용해서 보냈는데CSRF 토큰이없어서스프링에서 해당 요청을거부하면서403으로 응답한 것.
3. 문제 해결 과정.
- 요청에
CSRF 토큰을 담아서 보내면 됨.
<!doctype html>
<html lang="ko">
	<head>
	    <!--  meta tags  -->
	    <meta charset="utf-8">
	    <meta name="viewport" content="width=device-width, initial-scale=1, shrink-to-fit=no">
		<th:block layout:fragment="head"></th:block>
				....
	</head>
	<body>
				....
	</body>
</html>
<th:block layout:fragment="head"></th:block>- 공통으로 사용하는
layout.html에 해당 코드를 추가해서다른 HTML파일이 해당 영역에 코드를 추가할 수 있도록 설정.
- 공통으로 사용하는
	<th:block layout:fragment="head">
		<!--  csrf 토큰  -->
		<meta name="_csrf" th:content="${_csrf.token}"/>
		<!--  csrf 헤더  -->
		<meta name="_csrf_header" th:content="${_csrf.headerName}"/>
</th:block>- 요청을 보낼
HTML파일에<meta>태그를 이용해서 작성.
<script>

 	  			....


    const csrfToken = document.querySelector("meta[name='_csrf']").content;
    const csrfHeader = document.querySelector("meta[name='_csrf_header']").content;

    const commonHeaders = {
        [csrfHeader]: csrfToken,
        'Content-Type': 'application/json'
    };


			....


    // 인증번호 전송 버튼 클릭 이벤트
    sendCodeBtn.addEventListener("click", function () {
        fetch('/email/send-verification', {
            method: 'POST',
            headers: commonHeaders,
            body: JSON.stringify({ email: emailInput.value })
        })
            .then(response => {


          			....
            })


....- 이런식으로
요청 헤더의CSRFHeader에CSRFToken을 담아서 보내면됨.
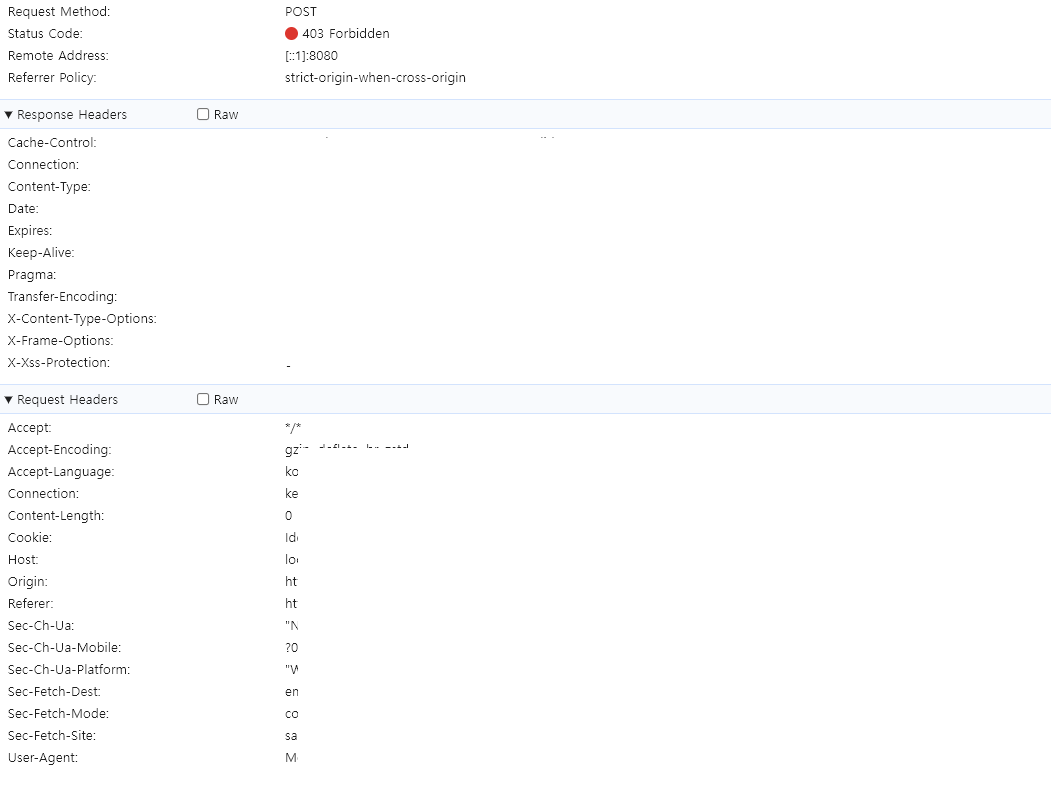
3-1. 눈으로 확인하기.
↓ 403
↓ 200
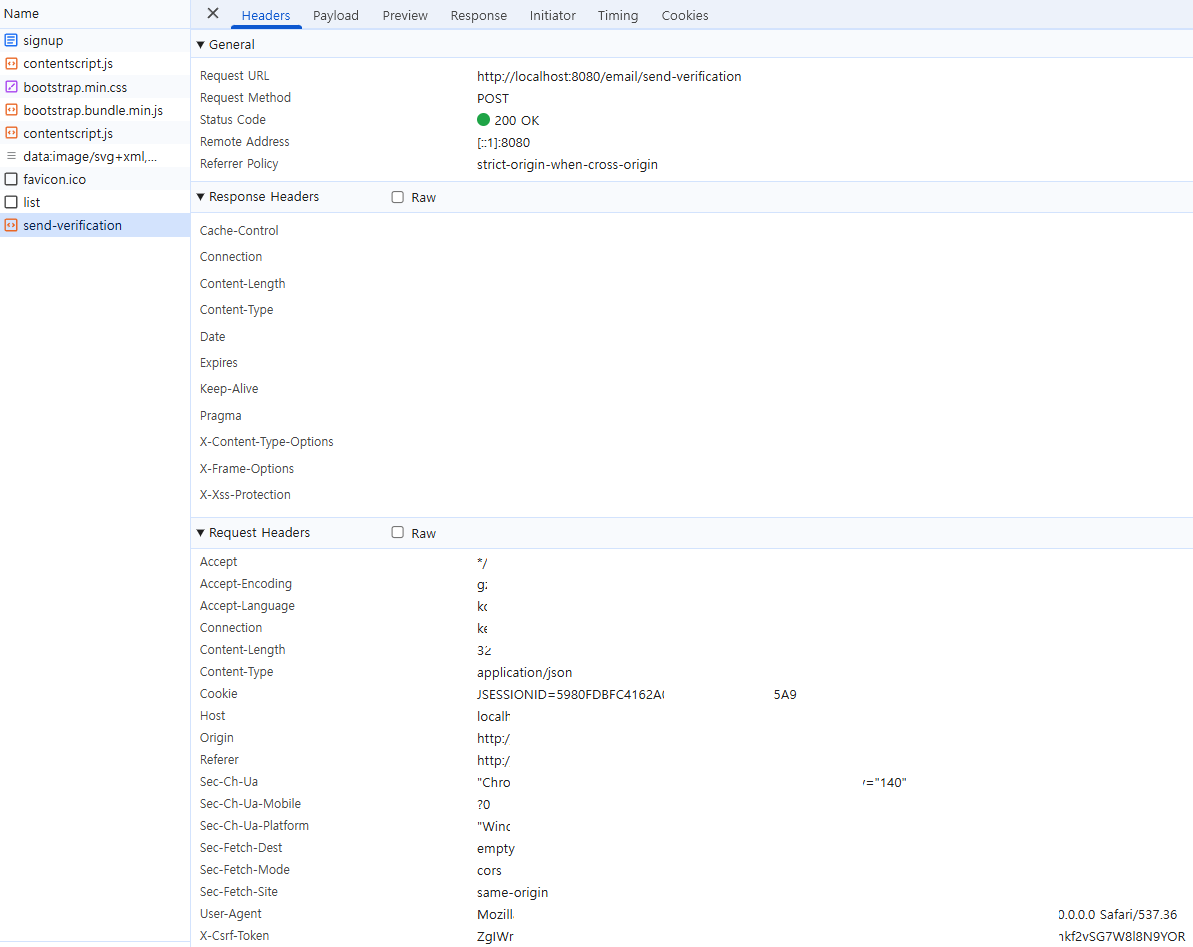
Request Headers가장 마지막에X-Csrf-Token이 있는 것을 확인.
4. 참고.

Every cloud has a silver lining.