버전 관리
1. Git 업로드 명령어
git init // Git 저장소를 생성하는 명령어

git config --global core.autocrlf input // macOS
git config --global core.autocrlf true // window
git config --global user.name 'orosy'
git config --global user.email 'hanei7632@gmail.com'
// 사용자 정보 등록 방법이며 한 번만 지정해주면 됨
git config --global --list
// 등록한 정보 확인 명령어

git status // 현재 저장소 내 파일들의 상태 확인 명령어

git add . // 파일들을 인덱스(Staging Area)로 보내는 명령어

git commit -m 'Start project' // 인덱스에 보낸 파일들을 커밋하는 명령어

git log // 커밋하여 등록한 버전을 확인하는 명령어
2. GitHub 업로드 과정
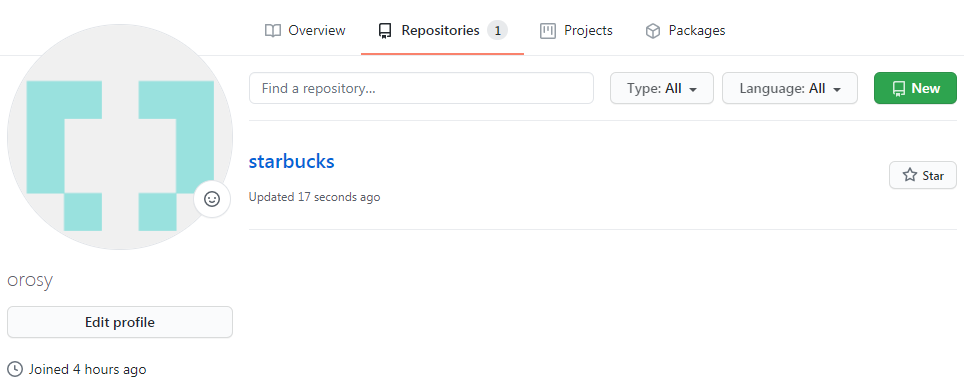
GitHub에 로그인하여 Your repositories > New 선택
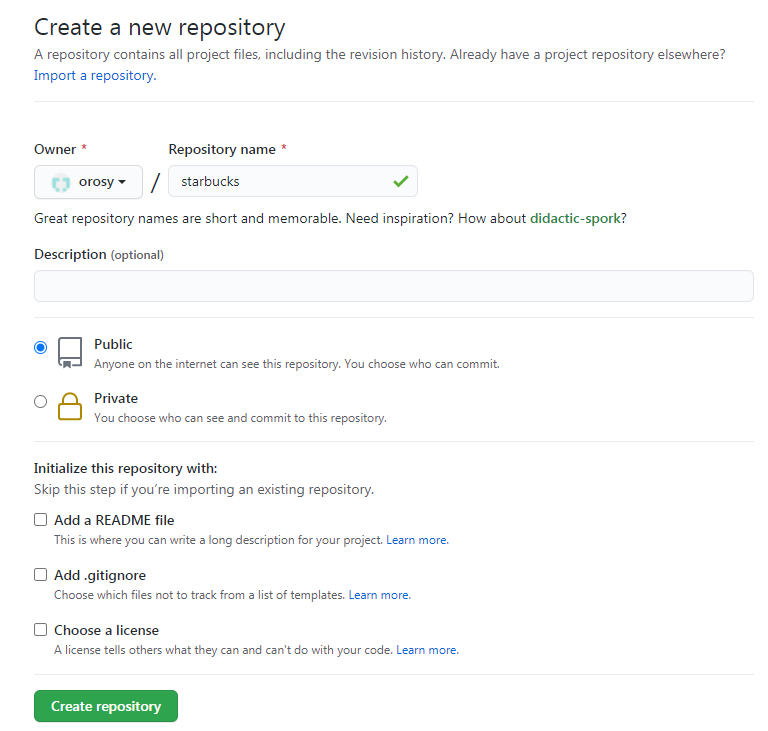
아래 화면에서 repository name 입력 > create repository
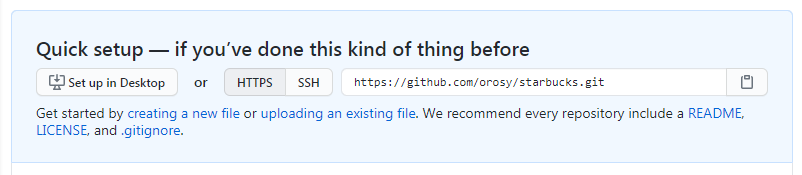
아래 화면에서 https://github.com/orosy 로 시작하는 주소를 복사
3. Git 업로드 명령어
git remote add origin https://github.com/orosy/starbucks.git
git push origin master
// 위에서 복사한 주소를 통해 GitHub 원격 저장소에 프로젝트를 업로드(push) 함
// 원격 저장소 이름은 origin 브랜치는 master에 업로드 진행
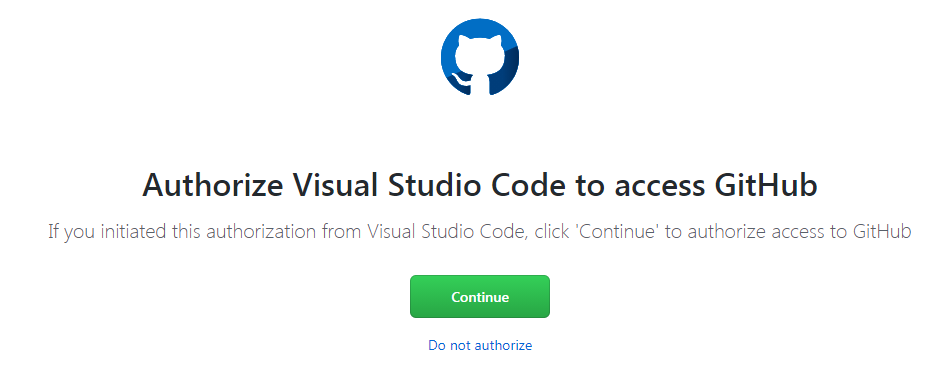
4. GitHub for VS Code
GitHub에 액세스 하기 위해 Visual Studio Code를 승인하는 과정 필요
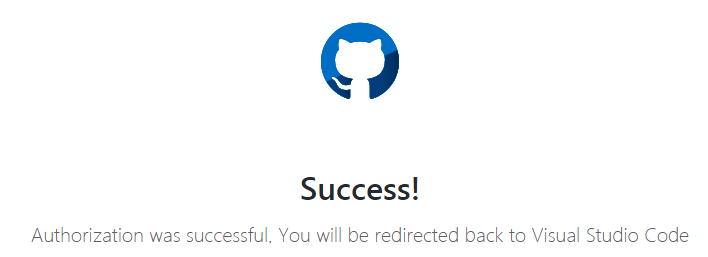
GitHub의 비밀번호를 입력하고 아래 화면이 뜨면 성공!
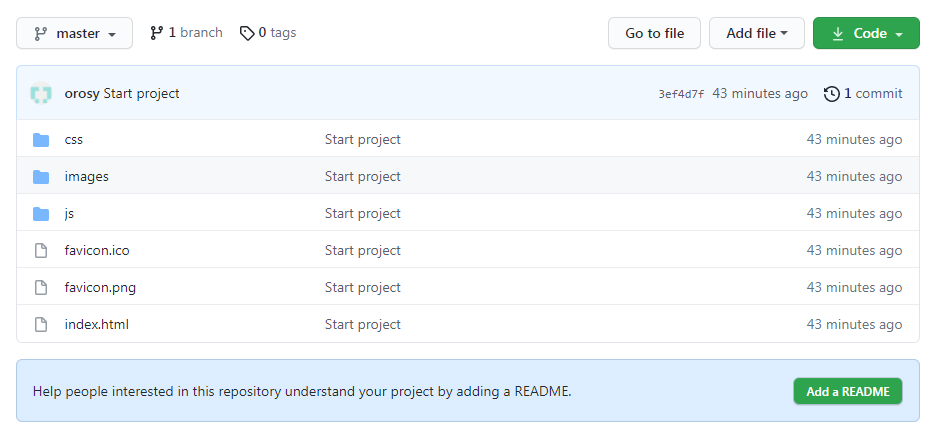
이렇게 GitHub 원격 저장소에 잘 업로드가 된 것을 확인 가능 :)

Life is a matter of a direction not a speed.