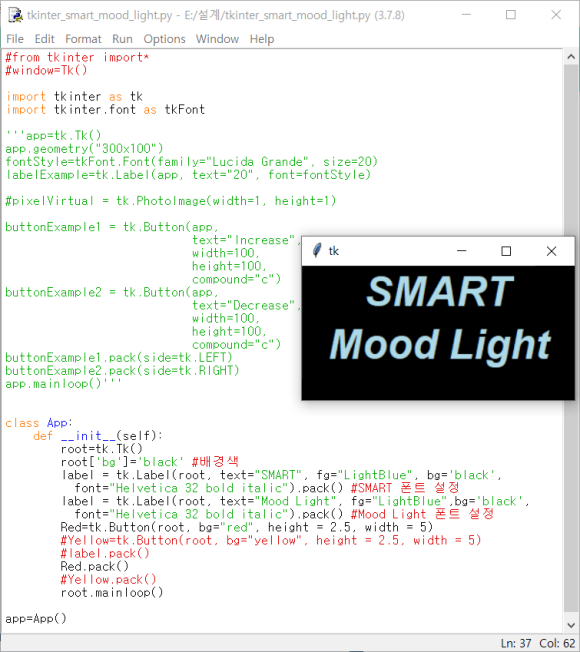
기본적인 창을 만들고 글씨를 적어주었습니다
저는 설계 프로젝트의 이름인 Smart Mood Light로 label의 text를 지정했습니다
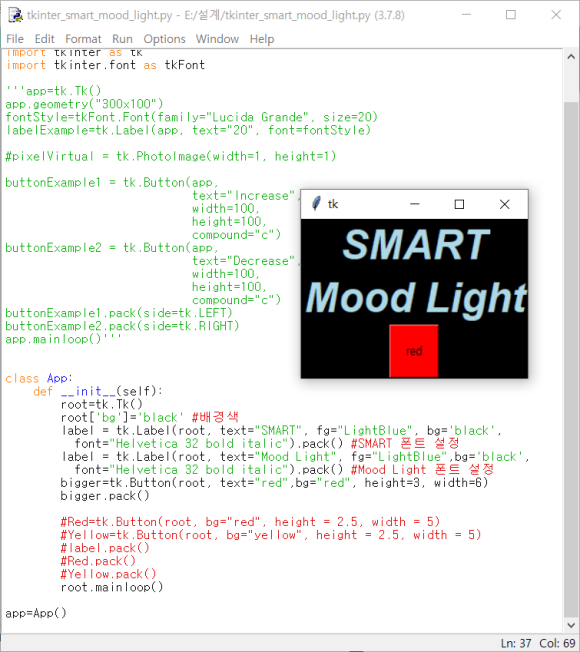
빨간 불빛으로 바꿔주는 버튼을 생성합니다
버튼의 위치를 좌표값을 응용하여 지정하여줍니다
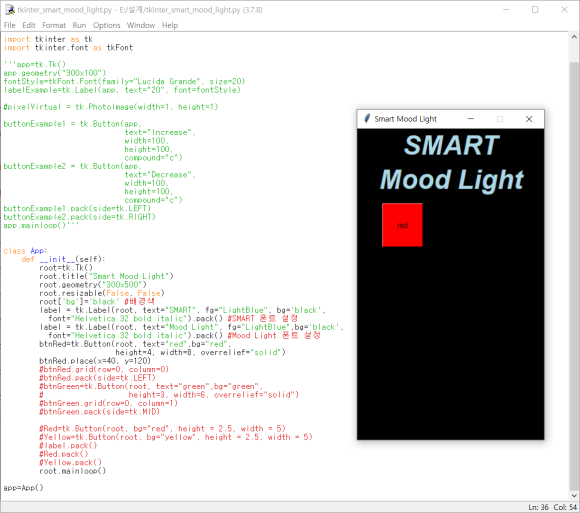
완성된 GUI는 다음과 같습니다
코드 업로드하겠습니다
import tkinter as tk
import tkinter.font as tkFont
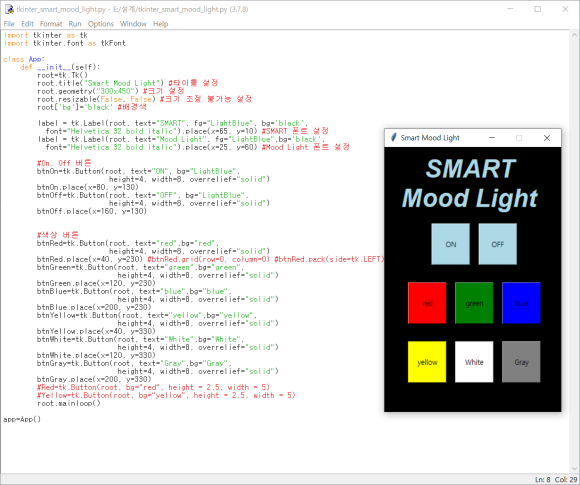
class App:
def __init__(self):
root=tk.Tk()
root.title("Smart Mood Light") #타이틀 설정
root.geometry("300x450") #크기 설정
root.resizable(False, False) #크기 조절 불가능 설정
root['bg']='black' #배경색
label = tk.Label(root, text="SMART", fg="LightBlue", bg='black',
font="Helvetica 32 bold italic").place(x=65, y=10) #SMART 폰트 설정
label = tk.Label(root, text="Mood Light", fg="LightBlue",bg='black',
font="Helvetica 32 bold italic").place(x=25, y=60) #Mood Light 폰트 설정
#On, Off 버튼
btnOn=tk.Button(root, text="ON", bg="LightBlue",
height=4, width=8, overrelief="solid")
btnOn.place(x=80, y=130)
btnOff=tk.Button(root, text="OFF", bg="LightBlue",
height=4, width=8, overrelief="solid")
btnOff.place(x=160, y=130)
#색상 버튼
btnRed=tk.Button(root, text="red",bg="red",
height=4, width=8, overrelief="solid")
btnRed.place(x=40, y=230) #btnRed.grid(row=0, column=0) #btnRed.pack(side=tk.LEFT)
btnGreen=tk.Button(root, text="green",bg="green",
height=4, width=8, overrelief="solid")
btnGreen.place(x=120, y=230)
btnBlue=tk.Button(root, text="blue",bg="blue",
height=4, width=8, overrelief="solid")
btnBlue.place(x=200, y=230)
btnYellow=tk.Button(root, text="yellow",bg="yellow",
height=4, width=8, overrelief="solid")
btnYellow.place(x=40, y=330)
btnWhite=tk.Button(root, text="White",bg="White",
height=4, width=8, overrelief="solid")
btnWhite.place(x=120, y=330)
btnGray=tk.Button(root, text="Gray",bg="Gray",
height=4, width=8, overrelief="solid")
btnGray.place(x=200, y=330)
#Red=tk.Button(root, bg="red", height = 2.5, width = 5)
#Yellow=tk.Button(root, bg="yellow", height = 2.5, width = 5)
root.mainloop()
app=App()
Now: Mobile Developer / ToDo : Front-End Full Stack Developer