STM32 개발환경 세팅 (VSCode + GCC + OpenOCD)
개요
STM32 임베디드 개발을 위한 통합 개발 환경을 구축합니다. STM32CubeMX로 프로젝트를 생성하고, GCC 컴파일러로 빌드하며, OpenOCD를 통해 디버깅하는 전체 워크플로우를 익힙니다.
학습 목표
- STM32CubeMX를 사용한 프로젝트 초기화
- ARM GCC 툴체인 설치 및 설정
- OpenOCD를 통한 플래싱 및 디버깅 환경 구축
- VSCode에서 통합 개발 환경 완성
필요한 도구
1. STM32CubeMX
- STM32 프로젝트 초기화 및 설정 도구
- 클럭 설정, 핀 배치, 코드 생성 자동화
- 다운로드: STM32CubeMX 공식 사이트
2. ARM GCC 툴체인
- C/C++ 컴파일러
- 다운로드: ARM GNU Toolchain
- 설치 후 환경 변수 PATH에 추가 필요
3. OpenOCD
- 온칩 디버거 (ST-Link 지원)
- 다운로드: OpenOCD
- Windows는 사전 컴파일된 바이너리 사용 권장
4. Visual Studio Code
- 확장 프로그램 설치:
- C/C++ (Microsoft)
- Cortex-Debug
- Makefile Tools (선택)
설치 과정
Windows 환경
# 1. ARM GCC 설치 확인
arm-none-eabi-gcc --version

# 2. OpenOCD 설치 확인
openocd --version

# 3. Make 도구 설치 (MinGW 또는 GNU Make)
make --version
Linux 환경
# ARM GCC 툴체인 설치
sudo apt-get install gcc-arm-none-eabi

# OpenOCD 설치
sudo apt-get install openocd

# Make 설치
sudo apt-get install build-essential
STM32CubeMX 프로젝트 생성
1. 새 프로젝트 생성
- STM32CubeMX 실행
- New Project → Board Selector
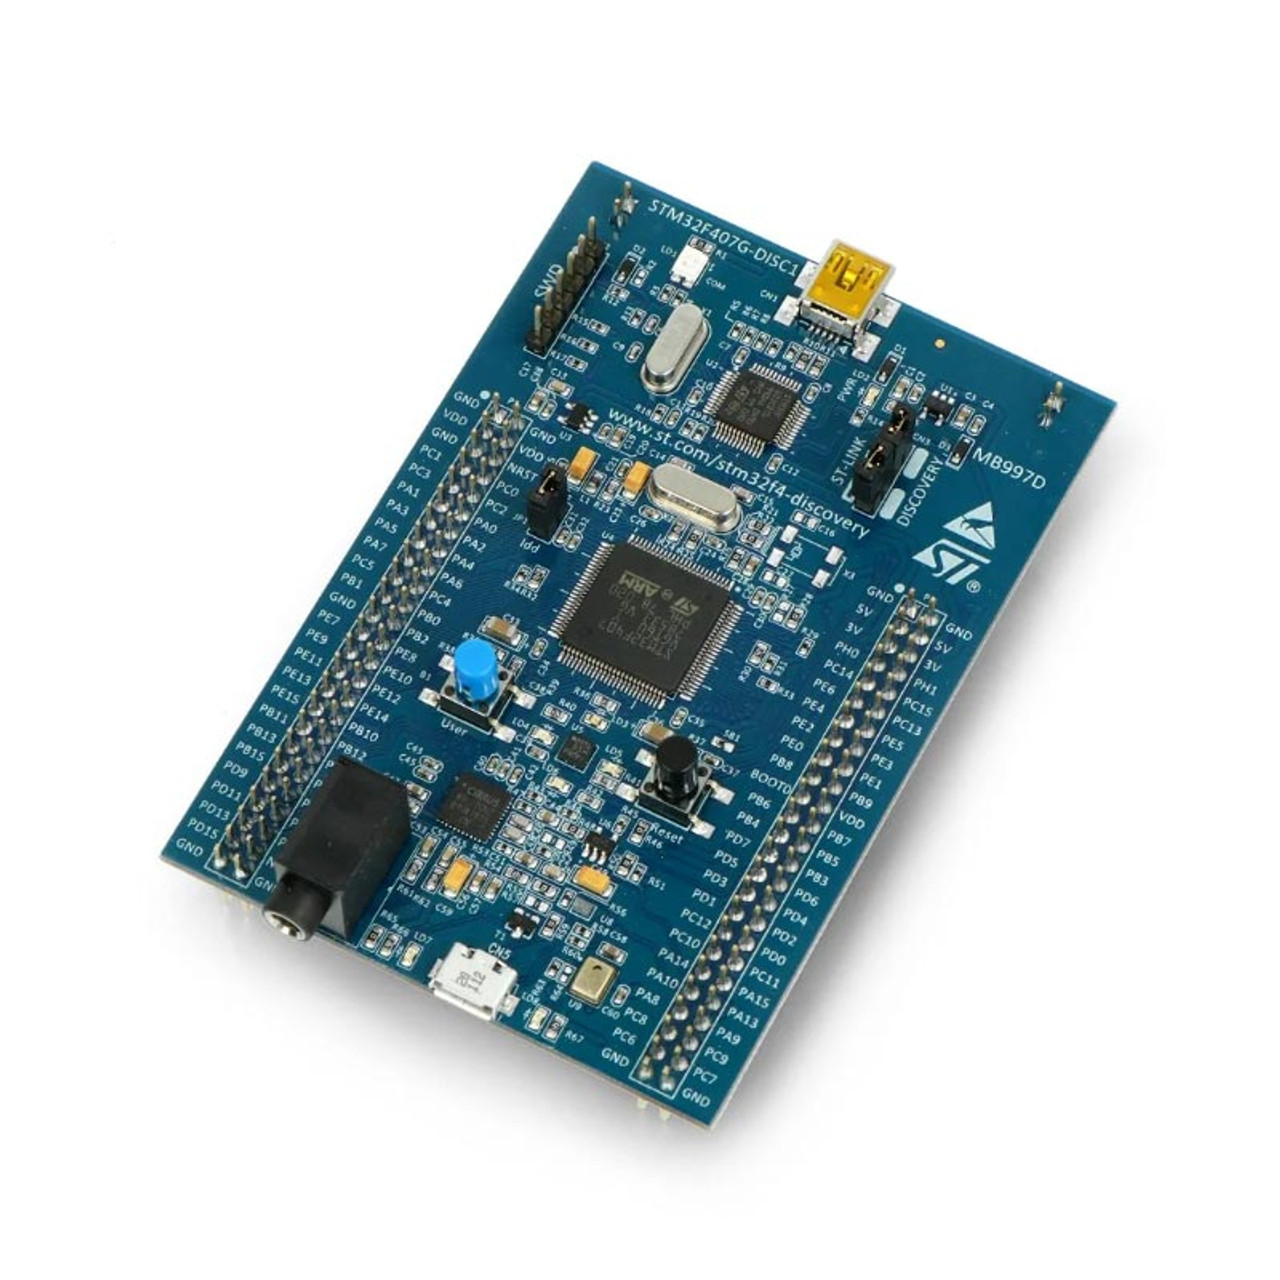
- 사용할 보드 선택 (예: STM32F407-Discovery)
- Start Project
2. 기본 설정
System Core → RCC
- High Speed Clock (HSE): Crystal/Ceramic Resonator

System Core → SYS
- Debug: Serial Wire

Clock Configuration
- HCLK: 168MHz (최대 클럭)
3. 프로젝트 설정
Project Manager → Project
- Project Name: led_blink
- Toolchain/IDE: Makefile

Project Manager → Code Generator
- Generate peripheral initialization as a pair of '.c/.h' files per peripheral
4. 코드 생성
- Generate Code 버튼 클릭
- 생성된 프로젝트 폴더 확인
VSCode 프로젝트 설정
1. 프로젝트 열기
cd led_blink
code .
2. tasks.json 생성
.vscode/tasks.json 파일 생성:
{
    "version": "2.0.0",
    "tasks": [
        {
            "label": "Build",
            "type": "shell",
            "command": "make",
            "group": {
                "kind": "build",
                "isDefault": true
            },
            "problemMatcher": ["$gcc"]
        },
        {
            "label": "Clean",
            "type": "shell",
            "command": "make clean"
        },
        {
            "label": "Flash",
            "type": "shell",
            "command": "openocd -f interface/stlink.cfg -f target/stm32f4x.cfg -c 'program build/led_blink.elf verify reset exit'",
            "dependsOn": ["Build"]
        }
    ]
}
3. launch.json 생성
.vscode/launch.json 파일 생성:
{
    "version": "0.2.0",
    "configurations": [
        {
            "name": "Debug (OpenOCD)",
            "type": "cortex-debug",
            "request": "launch",
            "servertype": "openocd",
            "cwd": "${workspaceRoot}",
            "executable": "${workspaceRoot}/build/led_blink.elf",
            "configFiles": [
                "interface/stlink.cfg",
                "target/stm32f4x.cfg"
            ],
            "svdFile": "${workspaceRoot}/STM32F407.svd"
        }
    ]
}
4. c_cpp_properties.json 생성
.vscode/c_cpp_properties.json 파일 생성:
{
    "configurations": [
        {
            "name": "STM32",
            "includePath": [
                "${workspaceFolder}/Core/Inc",
                "${workspaceFolder}/Drivers/STM32F4xx_HAL_Driver/Inc",
                "${workspaceFolder}/Drivers/CMSIS/Device/ST/STM32F4xx/Include",
                "${workspaceFolder}/Drivers/CMSIS/Include"
            ],
            "defines": [
                "STM32F407xx",
                "USE_HAL_DRIVER"
            ],
            "compilerPath": "/usr/bin/arm-none-eabi-gcc",
            "cStandard": "c11",
            "cppStandard": "c++17",
            "intelliSenseMode": "gcc-arm"
        }
    ],
    "version": 4
}
위의 환경설정은 STM32CubeIDE를 사용하지 않고 VScode에서 STM32를 개발하고자 할 때 필요한 파일들로, STM32CubeIDE를 사용하는 이용자라면 스킵하셔도 됩니다.
첫 번째 빌드
1. 빌드 실행
make출력 예시:
arm-none-eabi-gcc build/main.o ... -o build/led_blink.elf
arm-none-eabi-size build/led_blink.elf
   text    data     bss     dec     hex filename
   4824     108    1572    6504    1968 build/led_blink.elf
2. 빌드 결과 확인
build/led_blink.elf: 실행 파일build/led_blink.bin: 바이너리 파일build/led_blink.hex: HEX 파일
펌웨어 플래싱
OpenOCD를 통한 플래싱
openocd -f interface/stlink.cfg -f target/stm32f4x.cfg \
  -c "program build/led_blink.elf verify reset exit"
출력 예시:
Info : stm32f4x.cpu: hardware has 6 breakpoints, 4 watchpoints
Info : Listening on port 3333 for gdb connections
target halted due to debug-request
...
** Programming Finished **
** Verify Started **
** Verified OK **
** Resetting Target **
VSCode Task로 플래싱
Ctrl+Shift+P→ Tasks: Run Task- Flash 선택
디버깅
1. 브레이크포인트 설정
Core/Src/main.c 파일의 main() 함수에 브레이크포인트 설정
2. 디버깅 시작
F5키 또는 Debug 패널에서 시작- OpenOCD 서버 자동 실행
- 브레이크포인트에서 정지
3. 디버깅 기능
- Step Over (F10)
- Step Into (F11)
- Continue (F5)
- Variables 창: 변수 값 확인
- Registers 창: 레지스터 값 확인
일반적인 문제 해결
1. arm-none-eabi-gcc를 찾을 수 없음
# PATH 환경 변수 확인
echo $PATH

# ARM GCC 경로 추가 (예시)
export PATH=$PATH:/usr/local/gcc-arm-none-eabi/bin
2. OpenOCD 연결 실패
# ST-Link 드라이버 확인 (Windows)
# libusb 설치 확인 (Linux)
sudo apt-get install libusb-1.0-0-dev

# 권한 문제 (Linux)
sudo usermod -a -G plugdev $USER
3. 빌드 오류: Makefile not found
- STM32CubeMX에서 Toolchain을 Makefile로 선택했는지 확인
- 프로젝트 재생성
정리
오늘은 STM32 개발을 위한 기본 환경을 구축했습니다. 다음 시간에는 GPIO를 사용해 LED를 제어하는 첫 번째 프로그램을 작성하겠습니다.
체크리스트
- STM32CubeMX 설치 완료
- ARM GCC 툴체인 설치 및 PATH 설정
- OpenOCD 설치 완료
- VSCode에서 빌드 성공
- 보드에 펌웨어 플래싱 성공
- 디버깅 환경 동작 확인
참고 자료

당신의 코딩 메이트