클릭하면 해당 블럭 색 변환
테일윈드를 이용해서 블럭들을 만들어두었다.
html
<script src="https://cdnjs.cloudflare.com/ajax/libs/jquery/3.7.1/jquery.min.js"></script>

<script src="https://cdn.tailwindcss.com"></script>

<div class="box-1 border-2 border-red-500 min-h-screen flex">
  <section class="border-2 border-blue-500 flex-1"></section>
  <section class="border-2 border-blue-500 flex-1"></section>
  <section class="border-2 border-blue-500 flex-1"></section>
  <section class="border-2 border-blue-500 flex-1"></section>
  <section class="border-2 border-blue-500 flex-1"></section>
</div>
css
.active{
  background-color:gold;
}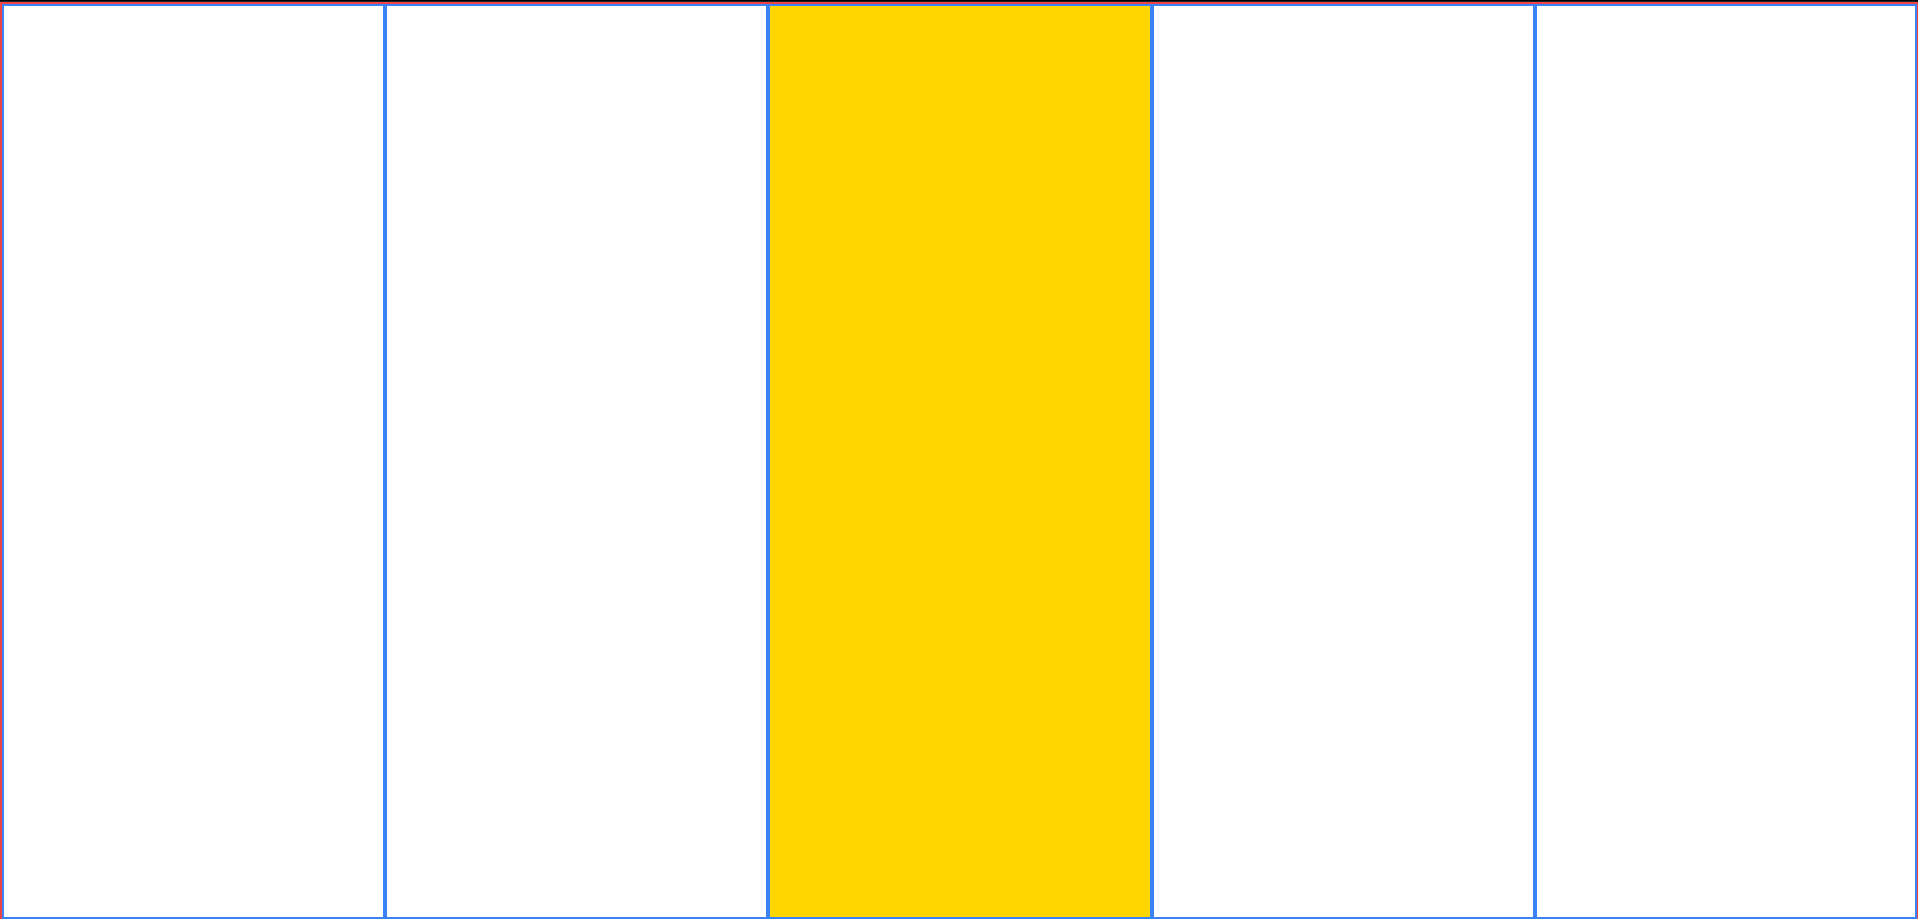
위 사진처럼 클릭당하면 배경색이 변하도록 JS코드를 작성해보자.
nth-child이용
첫번째는 nth-child를 이용하는 방식이다.
$('.box-1 > :nth-child(1)').click(function(){
  $('.box-1 > :nth-child(1)').addClass('active');
});
$('.box-1 > :nth-child(2)').click(function(){
  $('.box-1 > :nth-child(2)').addClass('active');
});
$('.box-1 > :nth-child(3)').click(function(){
  $('.box-1 > :nth-child(3)').addClass('active');
});
$('.box-1 > :nth-child(4)').click(function(){
  $('.box-1 > :nth-child(4)').addClass('active');
});
$('.box-1 > :nth-child(5)').click(function(){
  $('.box-1 > :nth-child(5)').addClass('active');
});div태그(.box-1)의 자식들에게 클릭하면 그 자식에게 클래스를 추가한다는 의미이다.
this
우리가 앞에서 배웠던 this키워드로 함수를 개선해보자.
// v1
$('.box-1 > *').click(function() {
  $(this).addClass('active');
});

// v2
let a = $('.box-1 > *');
a.click(function() {
  $(this).addClass('active');
});

// v3
let 교장__box1Item = $('.box-1 > *');
교장__box1Item.click(function() {
  $(this).addClass('active');
});

// v4
let $box1Item = $('.box-1 > *');
$box1Item.click(function() {
  $(this).addClass('active');
});

// v5
let $box1Item = $('.box-1 > *');
$box1Item.click(function() {
  let $this = $(this);
  $this.addClass('active');
});

// v6
$('.box-1 > *').click(function() {
  let $this = $(this);
  $this.addClass('active');
});
toggleClass
노란색이 바뀐 상태에서 다시 클릭하면 원래 색으로 돌아오는 것을 구현한다고 하면 우리는 이렇게 작성할 것이다.
*$('.box-1 > *').click(function() {
  let $this = $(this);

  if ( $this.hasClass('active') ) {
    $this.removeClass('active');
  }
  else {
    $this.addClass('active');
  }
});
하지만 toggleClass는 같은 요소를 클릭할 때마다 클래스가 추가되었다가 제거되기를 반복하도록 한다. toggleClass를 사용하여 다시 작성해보자.
$('.box-1 > *').click(function(){
  let $this = $(this);

  $this.toggleClass('active');
});
클릭하면 해당 블럭의 양 옆 요소 색 변환
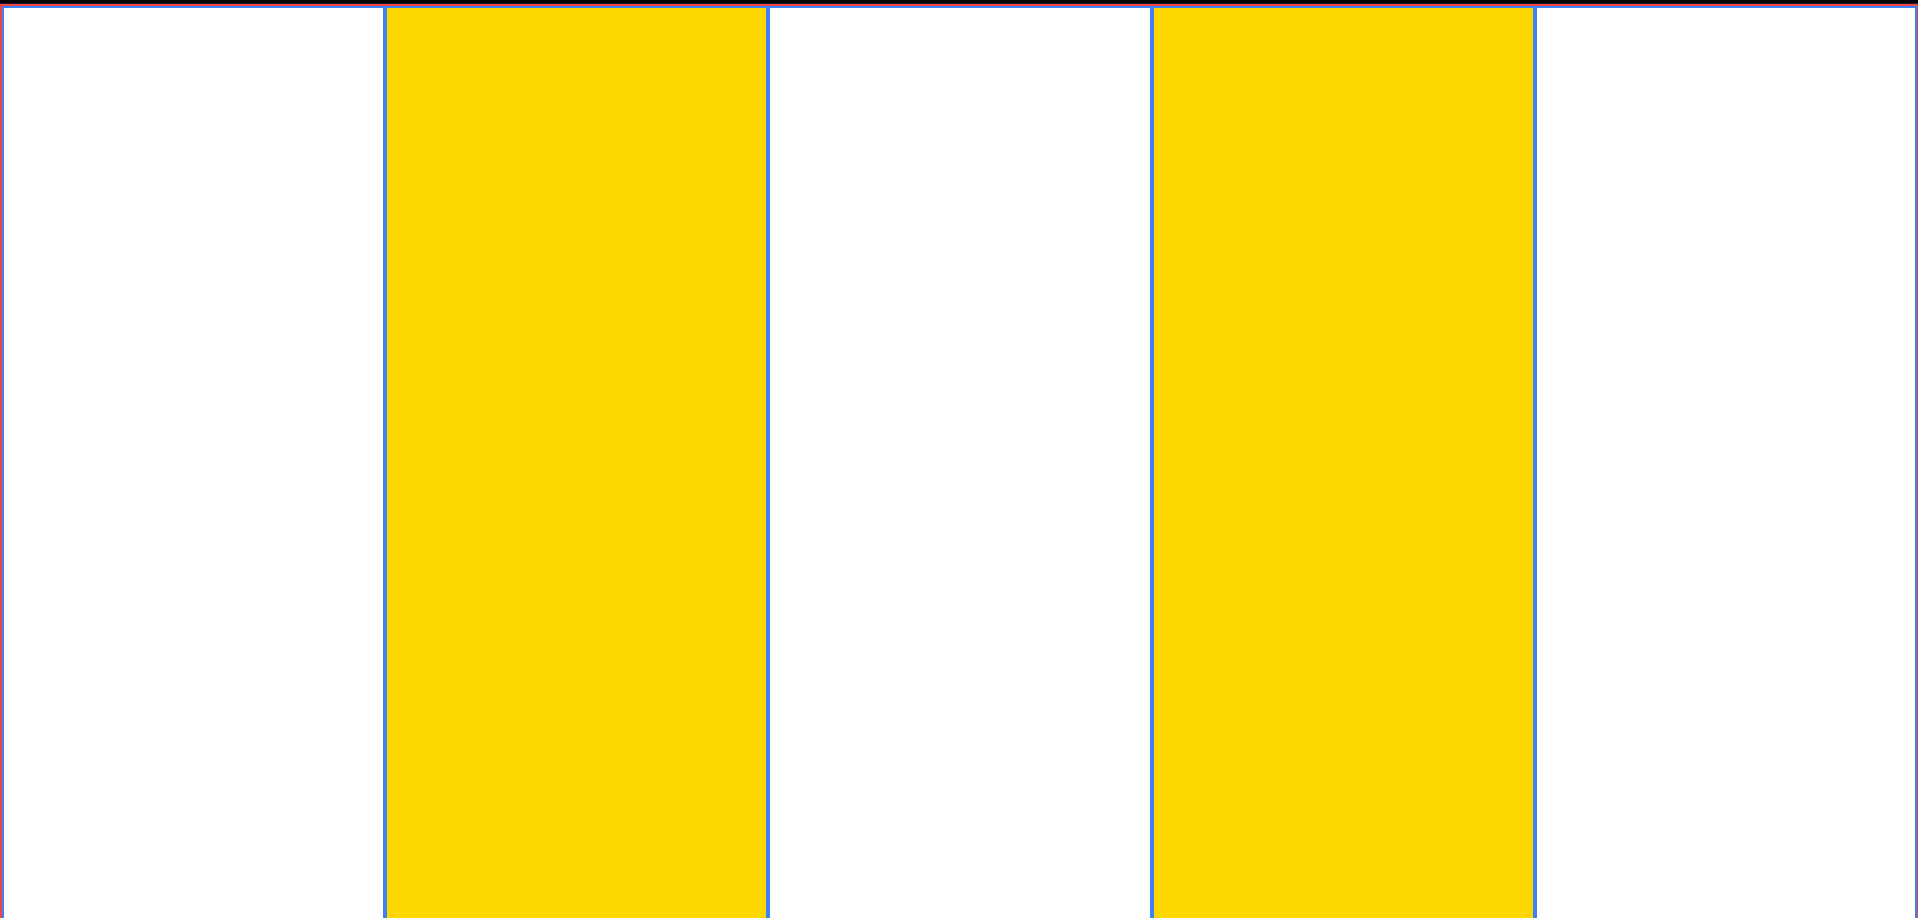
이번에는 요소를 클릭하면 양 옆의 블럭의 색이 변하도록 코드를 작성해보자.
next(), prev()
next()와 prev()는 형제 요소와 관련된 메소드들이다.
prev()는 이전에 위치한 형제 요소를 선택,
next()는 다음에 위치한 형제 요소를 선택한다.
$('.box-1 > *').click(function(){
  /*.box-1의 모든 자식 요소들 (section태그 블럭들)을 클릭하면*/
  $(this).removeClass('active')
  /*그 클릭당한 요소는 active클래스를 제거한다*/
  $(this).next().addClass('active');
  /*클릭당한 요소의 이전 형제 요소는 active클래스를 추가한다.*/
  $(this).prev().addClass('active');
  /*클릭당한 요소의 이후 형제 요소는 active클래스를 추가한다.*/
})
마우스를 가져다 대면 해당 블럭의 양 옆 요소 색 변환
이번에는 마우스를 가져다 대면 양 옆 블럭의 색이 변하도록 코드를 바꿔보자.
click()메소드만 mouseenter()로 바꾸어주면 된다.
$('.box-1 > *').mouseenter(function(){
  /*.box-1의 모든 자식 요소들 (section태그 블럭들)을 클릭하면*/
  $(this).removeClass('active')
  /*그 클릭당한 요소는 active클래스를 제거한다*/
  $(this).next().addClass('active');
  /*클릭당한 요소의 이전 형제 요소는 active클래스를 추가한다.*/
  $(this).prev().addClass('active');
  /*클릭당한 요소의 이후 형제 요소는 active클래스를 추가한다.*/
})
클리하면 해당 요소를 제외한 모든 요소 색 변환
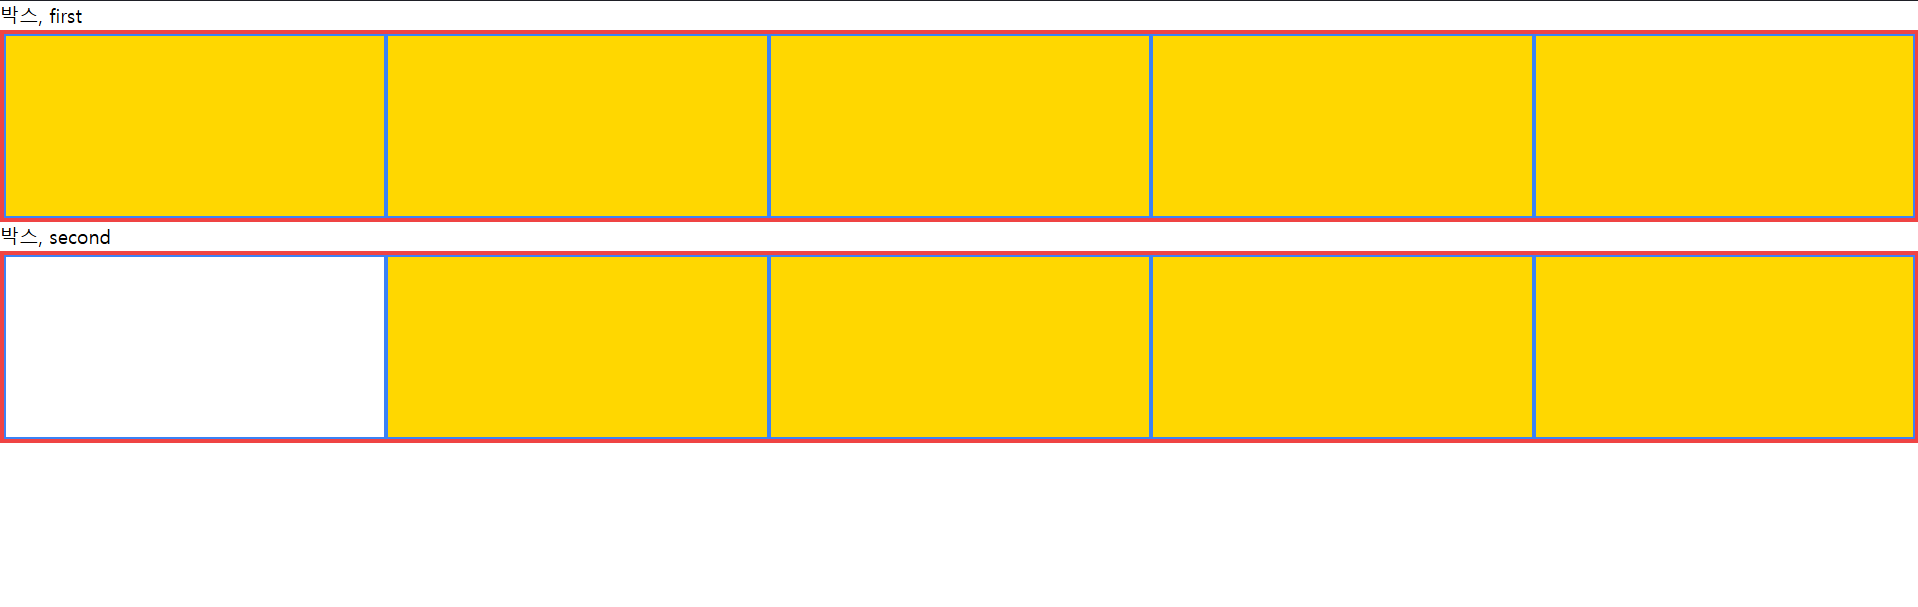
이번에는 해당 요소를 클릭했을 때, 그 요소를 제외한 모든 요소의 색이 바뀌도록 코드를 작성해보자
html
<script src="https://cdnjs.cloudflare.com/ajax/libs/jquery/3.6.0/jquery.min.js"></script>

<script src="https://cdn.tailwindcss.com"></script>

<h1>박스, first</h1>

<div class="box-1 border-4 border-red-500 h-40 flex">
  <section class="border-2 border-blue-500 flex-1"></section>
  <section class="border-2 border-blue-500 flex-1"></section>
  <section class="border-2 border-blue-500 flex-1"></section>
  <section class="border-2 border-blue-500 flex-1"></section>
  <section class="border-2 border-blue-500 flex-1"></section>
</div>

<h1>박스, second</h1>

<div class="box-1 border-4 border-red-500 h-40 flex">
  <section class="border-2 border-blue-500 flex-1"></section>
  <section class="border-2 border-blue-500 flex-1"></section>
  <section class="border-2 border-blue-500 flex-1"></section>
  <section class="border-2 border-blue-500 flex-1"></section>
  <section class="border-2 border-blue-500 flex-1"></section>
</div>
css
.box-1 > .active {
  background-color:gold;
}
not() <- 내가 선택한 답변
not(selector)는 인자로 전달된 selector와 일치하지 않는 모든 요소를 가져온다.
JS
$('.box-1 > *').click(function(){
  /*.box-1의 모든 자식 요소들 (section태그 블럭들)을 클릭하면*/
  $(this).removeClass('active');
  /*클릭당한 요소는 active클래스를 제거한다.*/
  $('.box-1 > *').not(this).addClass('active');
});
/*.box-1의 모든 자식 요소들 (section태그 블럭들)중에 클릭당한 요소를 제외한
모든 요소들에게 active클래스를 추가한다.*/
더 쉬운 답변
나는 not()을 이용해 함수를 작성했는데 그냥 전체를 바꾸고 해당 요소만 클래스를 지우면 되는 거였다........
$('.box-1 > *').click(function(){
  $(this).removeClass('active');
  $('.box-1 > *').not(this).addClass('active');
});
교훈: ...어렵게 생각하지 말자....
parent(), children()
parent()는 부모요소를 선택하고 children()은 직계 자식 요소를 선택한다.
$('.box-1 > *').click(function() {
  /*.box-1의 모든 자식 요소들 (section태그 블럭들)을 클릭하면*/
  $(this).parent().children().addClass('active');
  /*해당 요소의 부모 요소를 선택하고 그 요소의 직계 자식 요소들만 선택해 클래스를 추가한다.*/
  $(this).removeClass('active');
  /*해당 요소의 클래스는 제거한다.*/
});
하지만 이 방법은 그 클릭당한 요소 부모 태그의 자식들만 선택하기 때문에 부모가 달라지는 경우 적용이 어렵다.
find()
find(selector)는 하위 요소 중 selector를 포함한 요소들을 모두 찾는다.
children()과 비슷하지만 children()는 직계 자식 바로 아래 요소만 찾지만, find()는 자식 및 하위 태그를 모두 찾을 때 사용한다.(find는 인자가 있는 상태로 호출해야한다. 인자가 없으면 의미있는 값을 반환하지 않음)
$('.box-1 > *').click(function() {
  /*.box-1의 모든 자식 요소들 (section태그 블럭들)을 클릭하면*/
  $(this).parent().find( > *).addClass('active');
  /*해당 요소의 부모 요소를 선택하고 그 요소의 후손 요소들중 바로 아래 요소들만 선택해 클래스를 추가한다.*/
  $(this).removeClass('active');
  /*해당 요소의 클래스는 제거한다.*/
});
위 함수와 아래 함수는 동일한 의미를 가진다.
siblings()
siblings()는 자신을 제외한 형제 요소들을 찾는 함수이다.
$('.box-1 > *').click(function() {
  /*.box-1의 모든 자식 요소들 (section태그 블럭들)을 클릭하면*/
  $(this).removeClass('active');
  /*해당 요소의 클래스는 제거한다.*/
  $(this).siblings().addClass('active');
  /*해당 요소를 제외한 형제요소들에게는 클래스를 추가한다.*/
});