
Intro
- Firebase Auth를 사용하여 사용자 아이디를 데이터 베이스에 저장해 보도록 하겠습니다.
- 먼저 Firebase 프로젝트를 생성하고, React 프로젝트에서 Firebase DB에 데이터를 저장하겠습니다.
Firebase
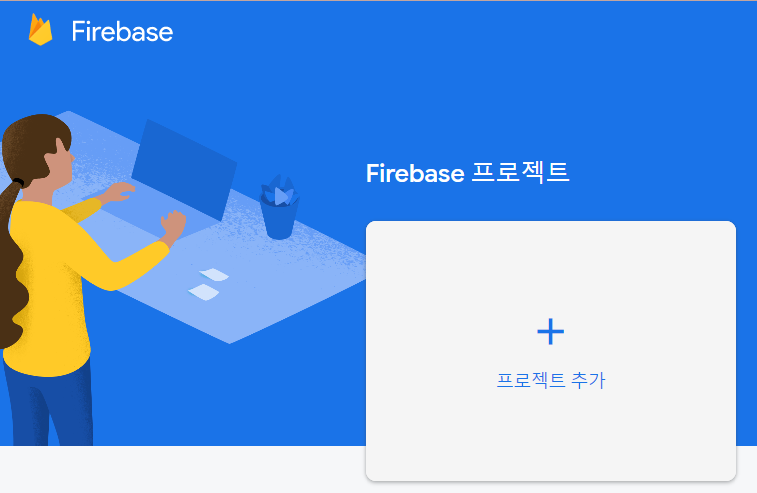
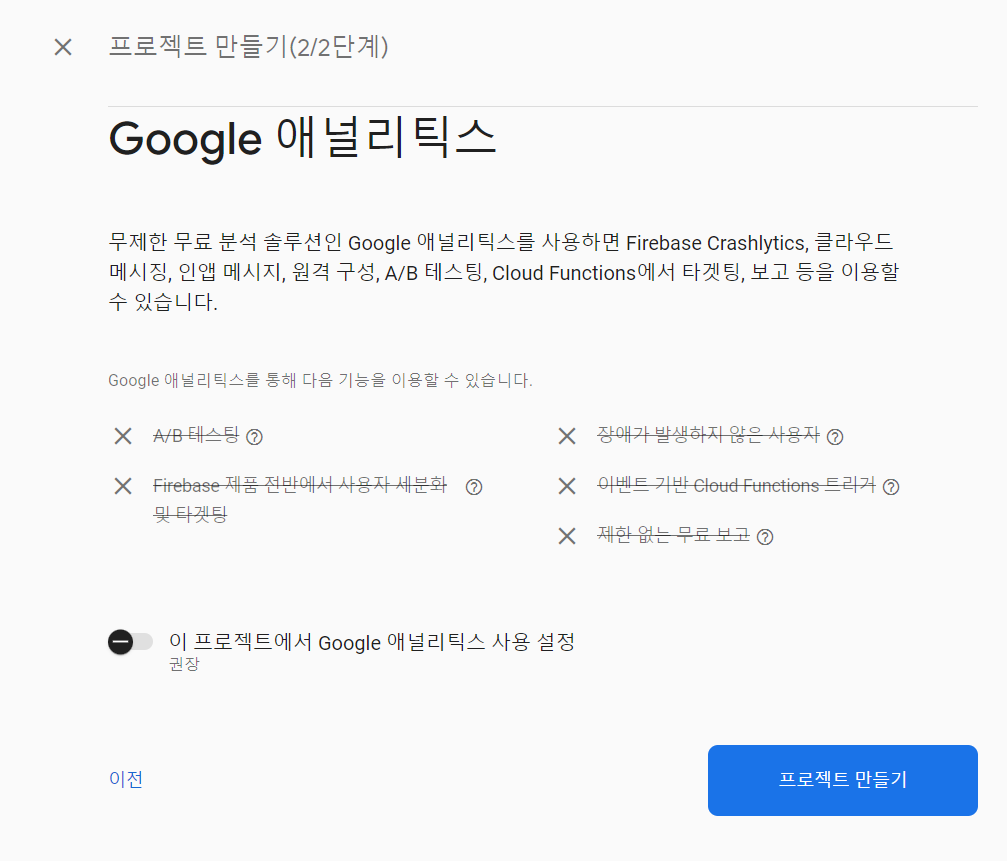
1. Firebase 프로젝트 생성

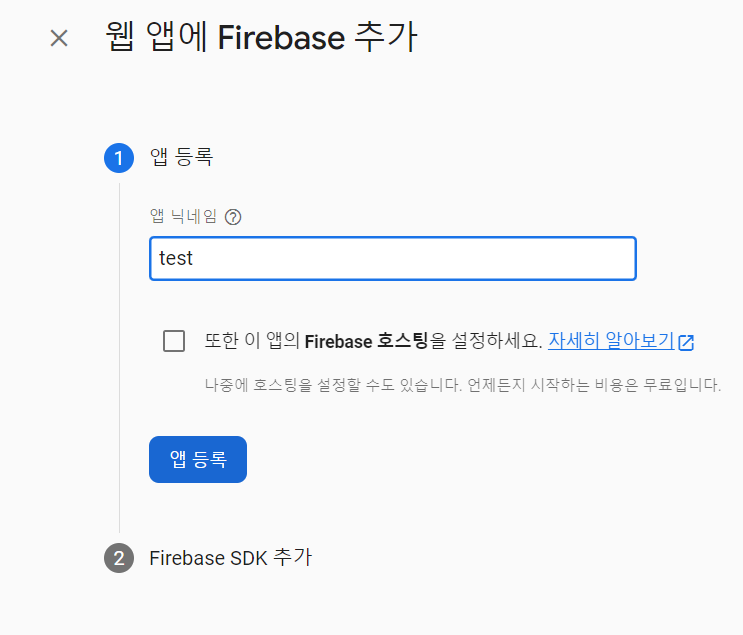
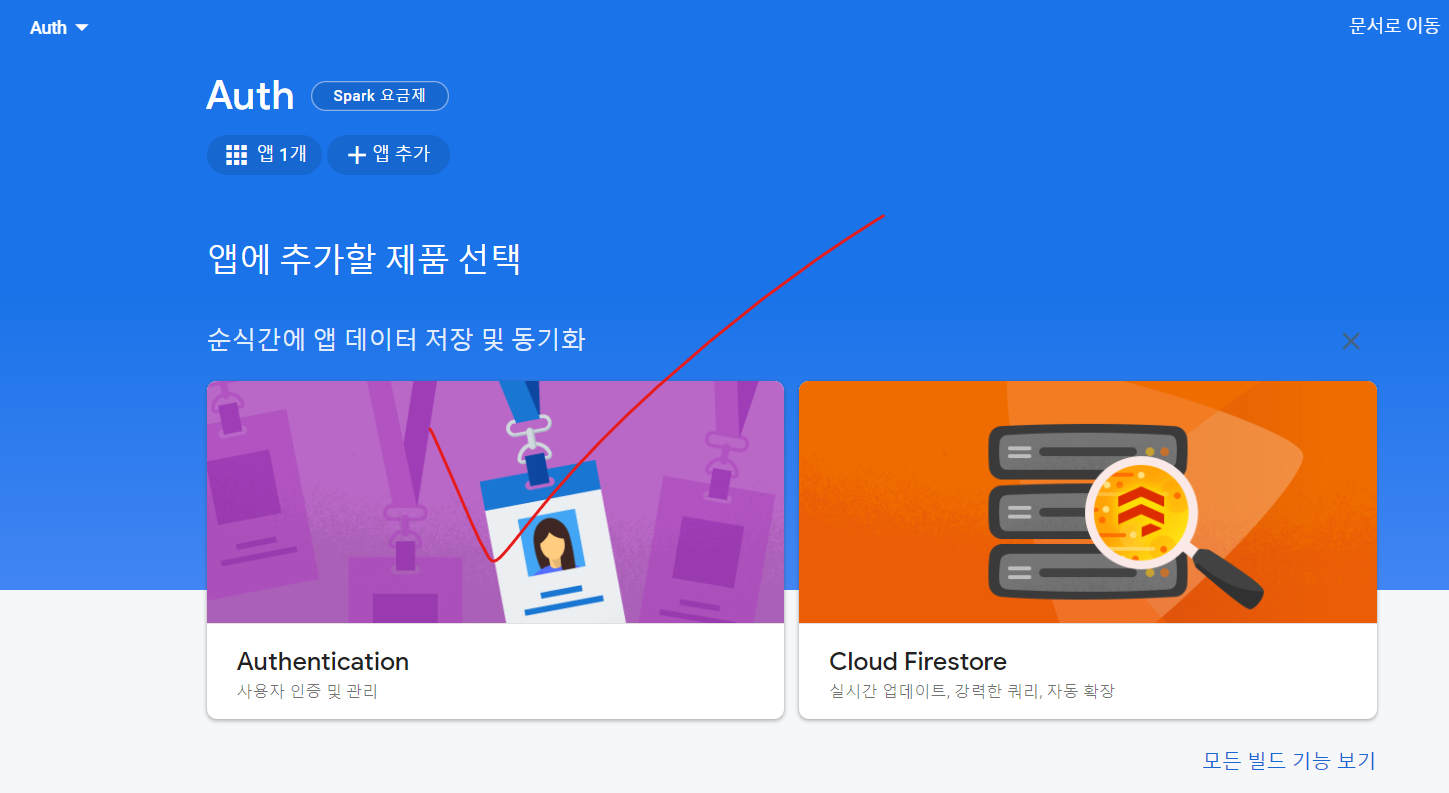
2. 웹 앱에 Firebase 추가

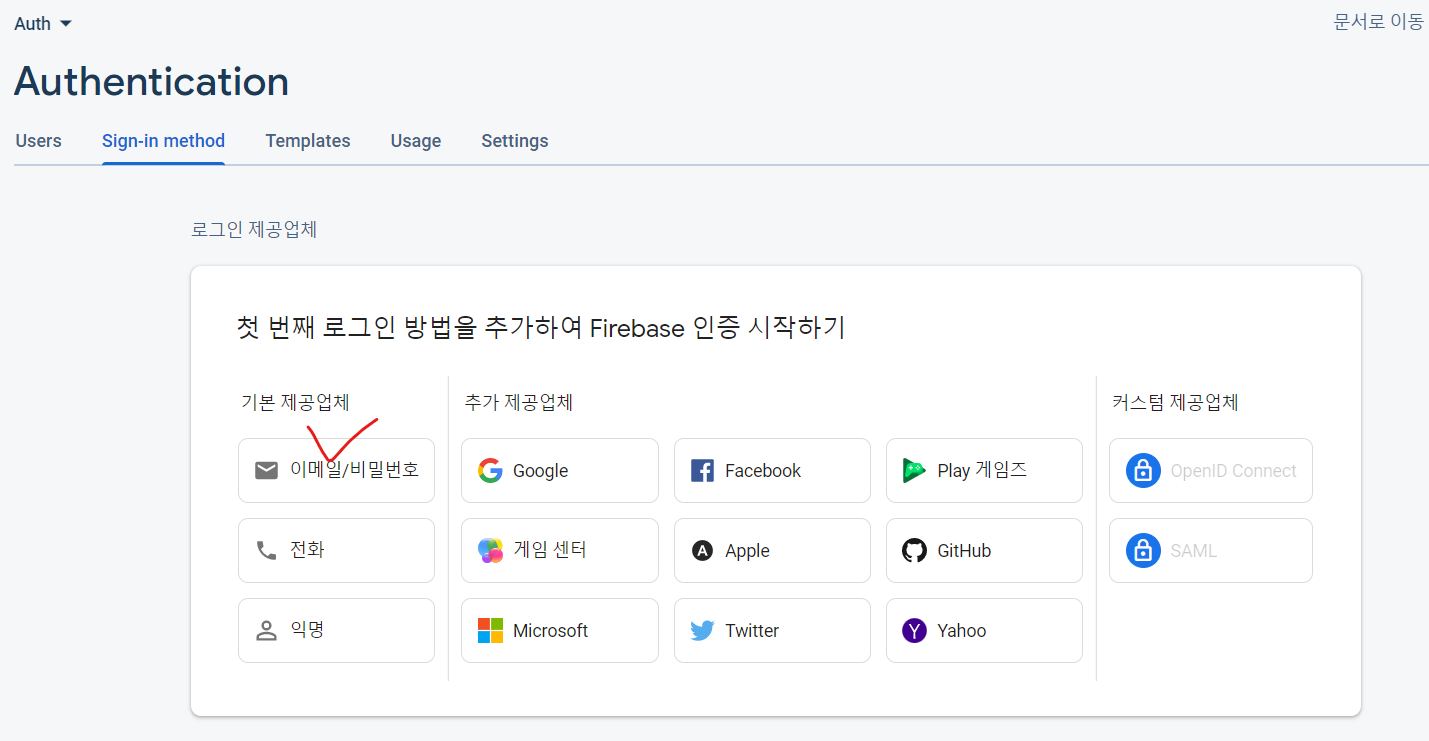
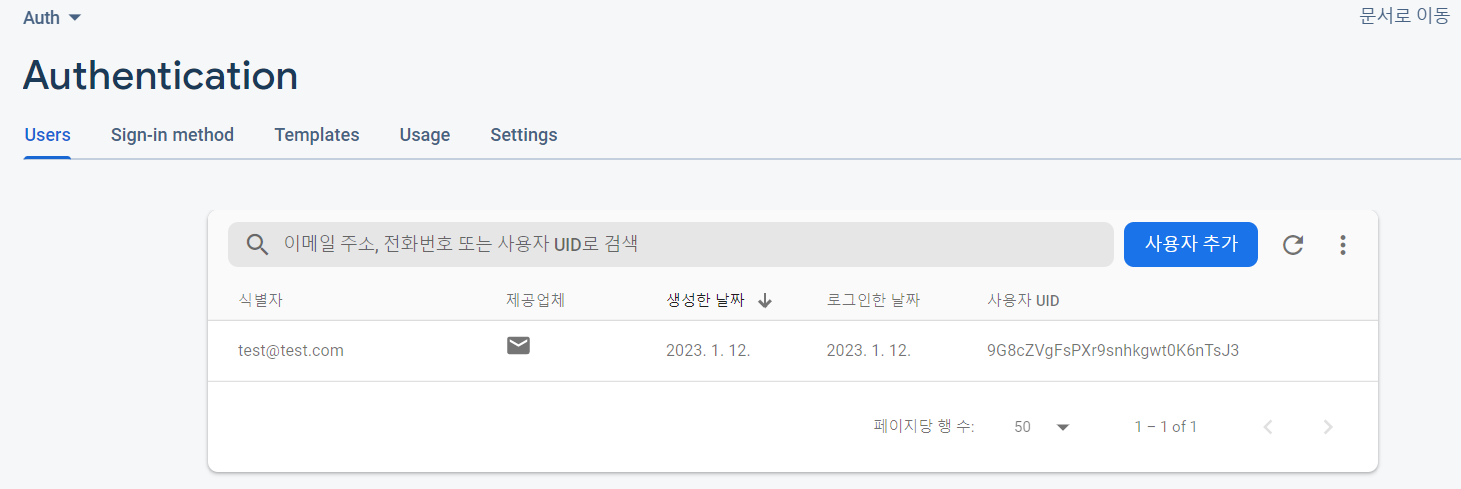
3. Authentication 클릭

4. 이메일/비밀번호 클릭
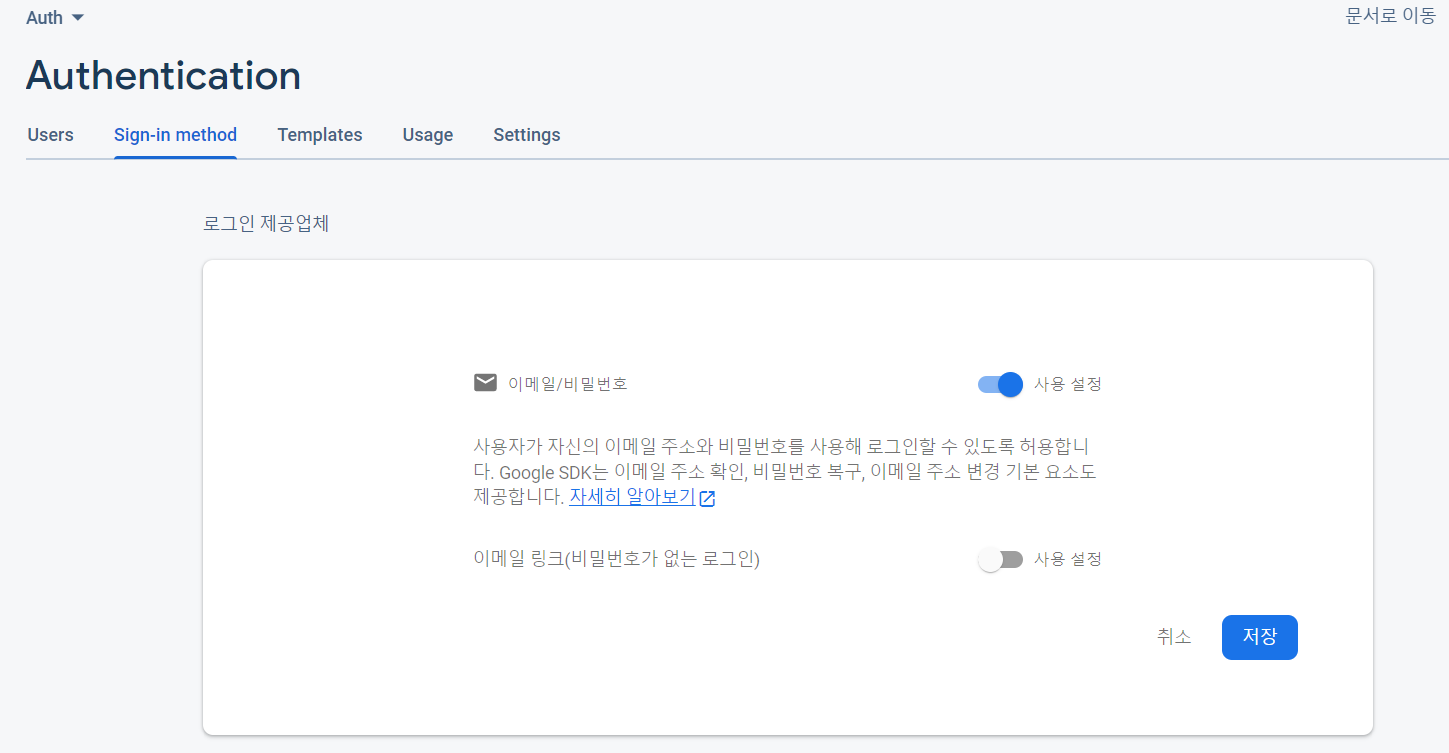
5. 세팅 완료

React Project
src / firebase.js
- 프로젝트 설정을 클릭한 후 하단에 있는 firebaseConfig 정보를 firebase.js에 입력합니다.

import { initializeApp } from "firebase/app";
import { getAuth } from "firebase/auth";

const firebaseConfig = {
  apiKey: "",
  authDomain: "",
  projectId: "",
  storageBucket: "",
  messagingSenderId: "",
  appId: "",
  measurementId: ""
};

const app = initializeApp(firebaseConfig);
export const auth = getAuth(app);
src / App.js
import { useState, useEffect } from "react";
import {
  createUserWithEmailAndPassword,	// 🔥 1
  signInWithEmailAndPassword,		// 🔥 2
  onAuthStateChanged,				// 🔥 3
  signOut,							// 🔥 4
  getAuth,							// 🔥 5
  updatePassword,					// 🔥 6
} from "firebase/auth";
import { auth } from "./firebase";

function App() {
  const [registerEmail, setRegisterEmail] = useState("");
  const [registerPassword, setRegisterPassword] = useState("");
  const [loginEmail, setLoginEmail] = useState("");
  const [loginPassword, setLoginPassword] = useState("");
  const [newPassword, setNewPassword] = useState("");

  const [user, setUser] = useState({});

  const auth2 = getAuth(); // 🔥 5
  const currentUser = auth2.currentUser;
  // console.log(currentUser);

  useEffect(() => {
    onAuthStateChanged(auth, (currentUser) => {  // 🔥 3
      setUser(currentUser);
    });
  }, [user]);

  console.log(user);

  const register = async () => {  // 🔥 1
    try {
      const user = await createUserWithEmailAndPassword(auth, registerEmail, registerPassword);
      console.log(user);
    } catch (error) {
      console.log(error.message);
    }
  };

  const login = async () => {  // 🔥 2
    try {
      const user = await signInWithEmailAndPassword(auth, loginEmail, loginPassword);
      console.log(user);
    } catch (error) {
      console.log(error.message);
    }
  };

  const logout = async () => { await signOut(auth); };   // 🔥 4

  const handleNewPassword = async () => { // 🔥 6
    try {
      if (user) {
        updatePassword(user, newPassword);
      } else {
        alert("로그인 하세요.");
      }
    } catch (error) {
      console.log(error);
    }
  };

  return (
    <div className="App">
      <div>
        <h3> Register User </h3>
        <input placeholder="Email..." onChange={(event) => {setRegisterEmail(event.target.value); }} />
        <input placeholder="Password..." onChange={(event) => { setRegisterPassword(event.target.value); }} />
        <button onClick={register}> Create User</button>
      </div>

      <div>
        <h3> Login </h3>
        <input placeholder="Email..." onChange={(event) => { setLoginEmail(event.target.value); }} />
        <input placeholder="Password..." onChange={(event) => { setLoginPassword(event.target.value); }} />
        <button onClick={login}> Login</button>
      </div>

      <h4> User Logged In: </h4>
      {user?.email}
      <button onClick={logout}> Sign Out </button>

      <h4>Change Password</h4>
      <input placeholder="NewPassword..." onChange={event => { setNewPassword(event.target.value); }} />
      <button onClick={handleNewPassword}> New Password </button>
    </div>
  );
}

export default App;
🔥 1. createUserWithEmailAndPassword
- 문법
(alias) function createUserWithEmailAndPassword(auth: Auth, email: string, password: string): Promise<UserCredential> import createUserWithEmailAndPassword - 정의
- 지정된 이메일 주소 및 비밀번호와 연결된 새 사용자 계정을 생성합니다.
- 설명
- 사용자 계정이 성공적으로 생성되면, 이 사용자는 우리의 애플리케이션에 로그인됩니다.
- 계정이 이미 존재하거나 암호가 유효하지 않은 경우, 사용자 계정 생성에 실패할 수 있습니다.
- 참고
- 이메일 주소는 사용자의 고유 식별자 역할을 하며 이메일 기반 비밀번호 재설정을 가능하게 합니다.
- 이 기능은 새로운 사용자 계정을 생성하고 사용자 암호를 설정합니다.
- 인자
- auth — Auth 인스턴스
- email — 사용자의 이메일 주소
- password — 사용자의 비밀번호
🔥 2. signInWithEmailAndPassword
- 문법
(alias) function signInWithEmailAndPassword(auth: Auth, email: string, password: string): Promise<UserCredential> import signInWithEmailAndPassword - 정의
- 이메일과 비밀버너호를 사용하여 비동기식으로 로그인합니다.
- 설명
- 이메일 주소와 비밀번호가 일치하지 않으면 오류와 함께 실패합니다.
- 참고
- 사용자의 비밀번호는 사용자의 이메일 계정에 엑세스 하는 데 사용되는 비밀번호가 아닙니다.
- 이메일 주소는 사용자의 고유 식별자 역할을 하며 비밀번호는 Firebase 프로젝트에서 사용자 계정에 엑세스하는 데 사용됩니다.
참조: createUserWithEmailAndPassword
- 인자
- auth — Auth 인스턴스
- email — 사용자의 이메일 주소
- password — 사용자의 비밀번호
🔥 3. onAuthStateChanged
- 문법
(alias) function onAuthStateChanged(auth: Auth, nextOrObserver: NextOrObserver<User>, error?: ErrorFn, completed?: CompleteFn): Unsubscribe import onAuthStateChanged - 정의
- 사용자의 로그인 상태 변경에 대한 관찰자를 추가합니다.
- 설명
- 이전 동작을 유지하려면 onIdTokenChanged를 참조하세요.
- 인자
- auth — Auth 인스턴스
- nextOrObserver - 변경 시 콜백이 활성화됩니다.
🔥 4. signOut
- 문법
(alias) function signOut(auth: Auth): Promise<void> import signOut - 정의
- 현재 사용자를 로그아웃합니다.
- 인자
- auth - Auth 인스턴스
🔥 5. getAuth
- 문법
(alias) function getAuth(app?: FirebaseApp): Auth import getAuth - 정의
- 제공되는 @firebase/app#FirebaseApp과 연결된 Auth 인스턴스를 반환합니다.
- 만약 인스턴스가 없으면, 플랫폼별 기본 종속성을 사용하여 Auth 인스턴스를 초기화 합니다.
- 인자
- app — Firebase 앱
🔥 6. updatePassword
- 문법
(alias) function updatePassword(user: User, newPassword: string): Promise<void> import updatePassword - 정의
- 사용자의 비밀번호를 업데이트합니다.
- 참고
- 중요: 이 작업은 사용자가 최근에 로그인해야 하는 보안에 민감한 작업입니다.
- 만약 이 요구 사항에 충족되지 않으면, 사용하에게 다시 인증하도록 요청한 다음 reauthenticateWithCredential을 호출합니다.
- 인자
- user - 사용자
- newPassword - 새 비밀번호
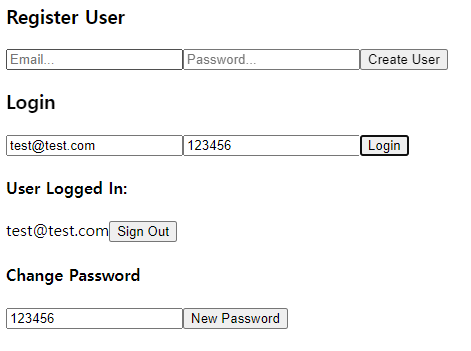
Register User 입력 결과
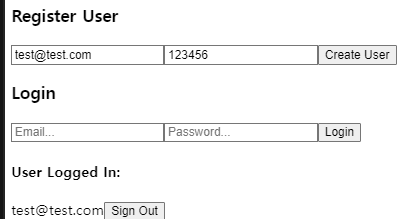
비밀번호 수정 결과
- test@test.com 의 비밀번호가 '112233'에서 '123456' 으로 변경한 상황입니다.
나가면서
- Firebase Auth를 사용하는 방법에 대해서 알아보았습니다.
- Firebase 에서 DB를 생성하고, React 프로젝트에서 Firebase 모듈을 설치후 Firebase 함수를 사용하면 됩니다.
- 이메일 인증방식은 생각보다 간단합니다. 추가적인 내용은 참고사항을 확인해 주세요!😎
참고
- 공식문서 - Firebase Authentication
- Youtube - React Firebase Authentication Tutorial | Firebase 9 Tutorial
더 볼것

Here and Now. 🧗♂️