Get started with Apollo Server

GraphQL 공부 및 실습을 위해 서버를 만들었다.
  npm init -y
  npm i express apollo-server-express graphql mongoose
  npm i nodemon -g
다음의 명령어들을 작성하면 프로젝트가 생성이 된다.
생성된 package.json에 type을 추가해 준다.
// package.json
{"type": "module",}
1. 스키마 정의
GraphQL 서버에서 쿼리에 사용할 데이터의 구조를 정의한다.
// server/index.js
import { gql } from 'apollo-server-express';

const typeDefs = gql`
  type Book {
    title: String
    author: String
  }
  type Query {
  	books: [Book]
  }
`;
Book은 title과 author 속성을 가지고 있고,
books는 Book타입 배열을 반환한다.
2. 데이터 정의
정의된 Book의 구조대로 데이터를 정의한다.
동적으로 데이터를 넣거나 뺄 수 있지만 실습을 위해 데이터를 하드코딩한다.
// server/index.js
const books = [
  {
    title: "The Awakening",
    author: "Kate Chopin",
  },
  {
    title: "City of Glass",
    author: "Paul Auster",
  },
];
3. 리졸버 정의
데이터를 정의했지만 Apollo Server에서 쿼리를 실행 할 때 어떤 데이터를 사용해야 하는지 알지 못하기 때문에 리졸버를 통해 알려주어야한다.
// server/index.js
const resolvers = {
  Query: {
    books: () => books,
  },
};
리졸버는 데이터를 가져오는 방법을 알려준다.
Book 정보가 하드코딩되어 있기 때문에 간단하게 데이터를 리턴한다.
4. 인스턴스 생성(Apollo Server)
스키마와 리졸버를 정의했으면 그 정보를 Apollo Server에 제공하면 된다.
// server/index.js
import express from "express";
import { ApolloServer } from "apollo-server-express";

const app = express();
const apolloServer = new ApolloServer({ typeDefs, resolvers });
await apolloServer.start();
apolloServer.applyMiddleware({ app });

const PORT = process.env.PORT || 5000;
app.listen(PORT, () =>
  console.log(`Express server is running on port ${PORT}`)
);
5. 서버 시작
nodemon index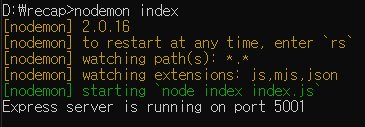
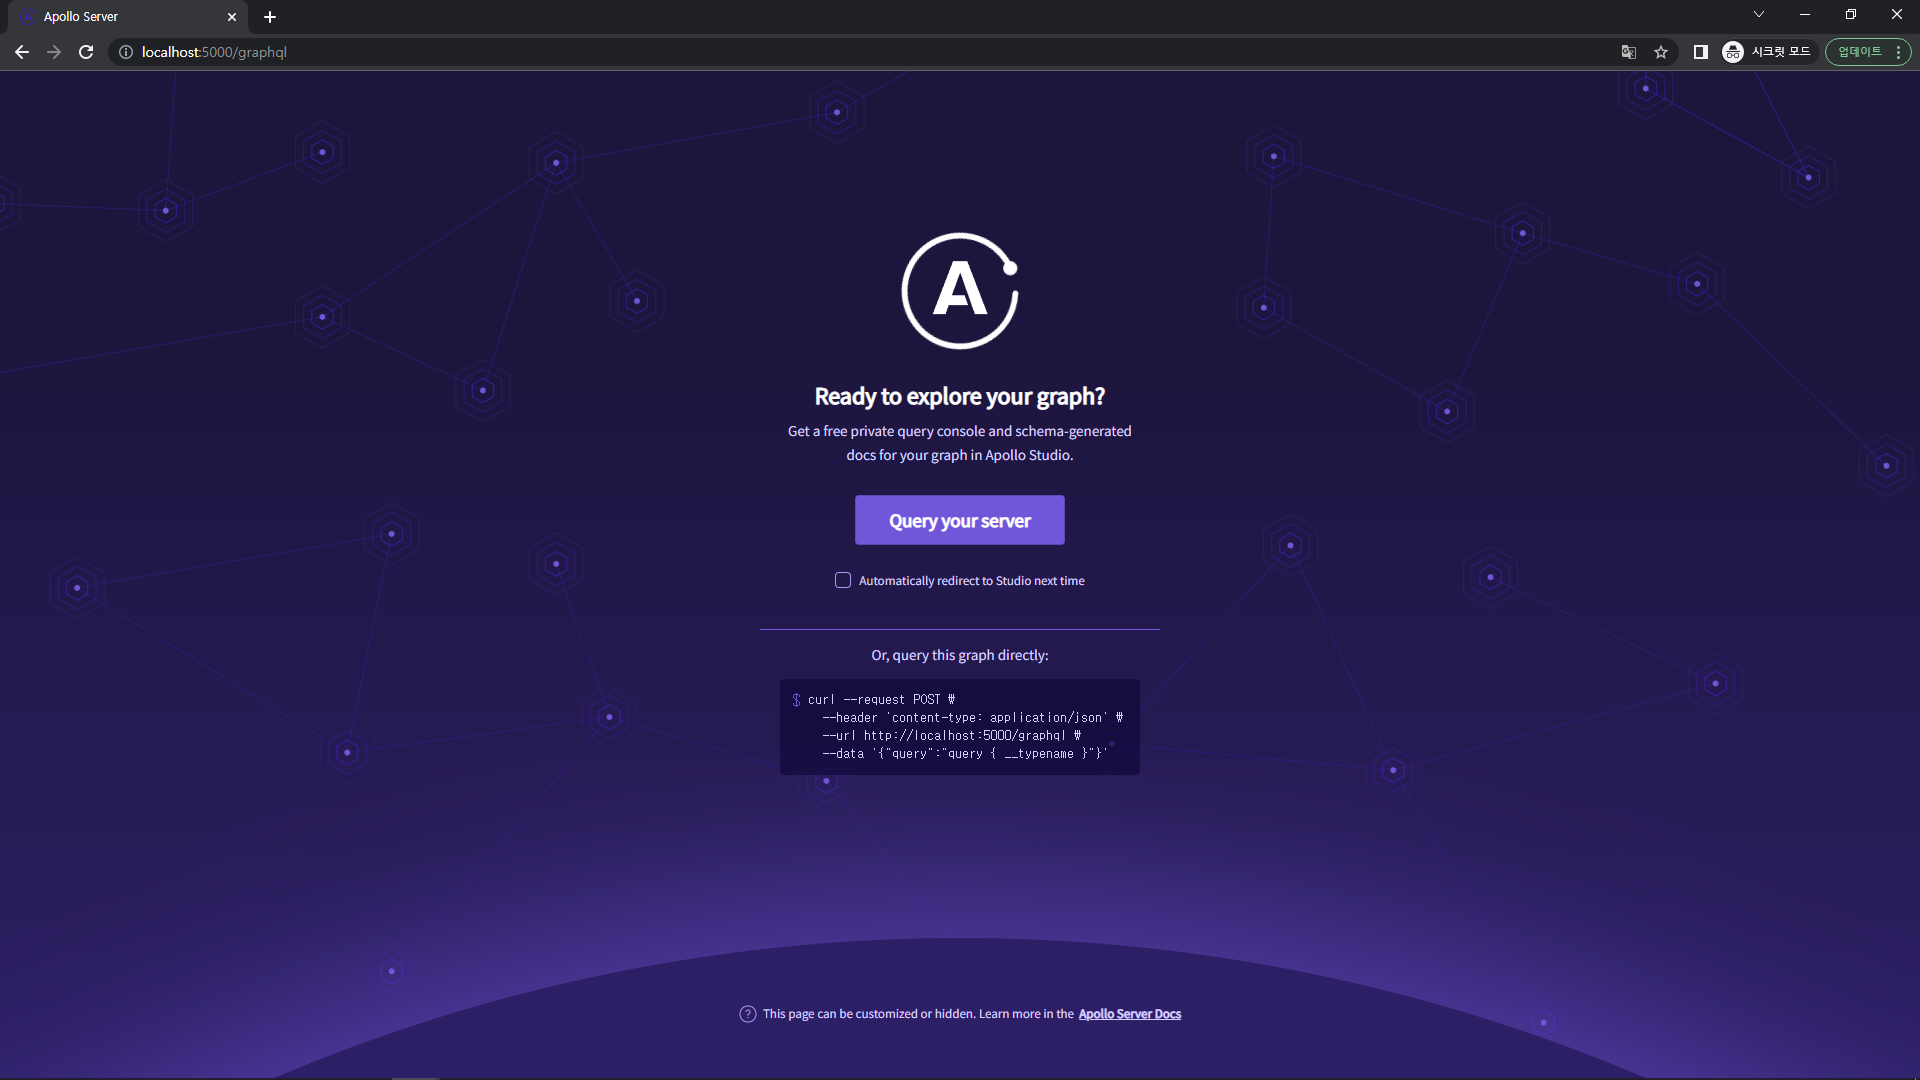
서버가 실행된 것을 확인 하고
http://localhost:5000/graphql에 접속하면 Apollo Server의 기본 방문 페이지에 접속된다.
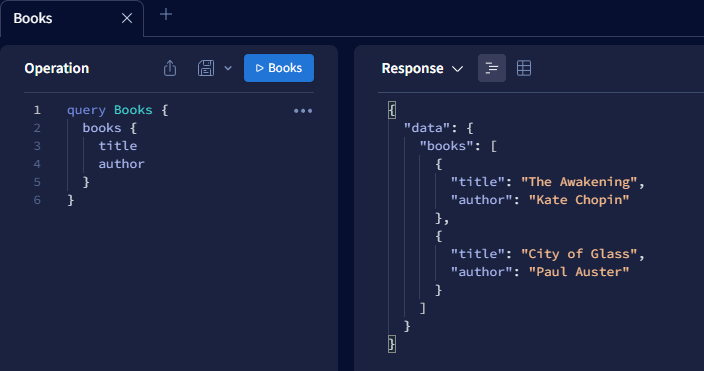
6. 쿼리 실행
Operation에 다음과 같이 입력하고 실행하면 정의한 Book데이터가 출력되는 것을 확인할 수 있다.
query Books {
  books {
    title
    author
  }
}
참고 문헌
Get started with Apollo Server
https://www.apollographql.com/docs/apollo-server/getting-started/

:)