iOS with UIKit
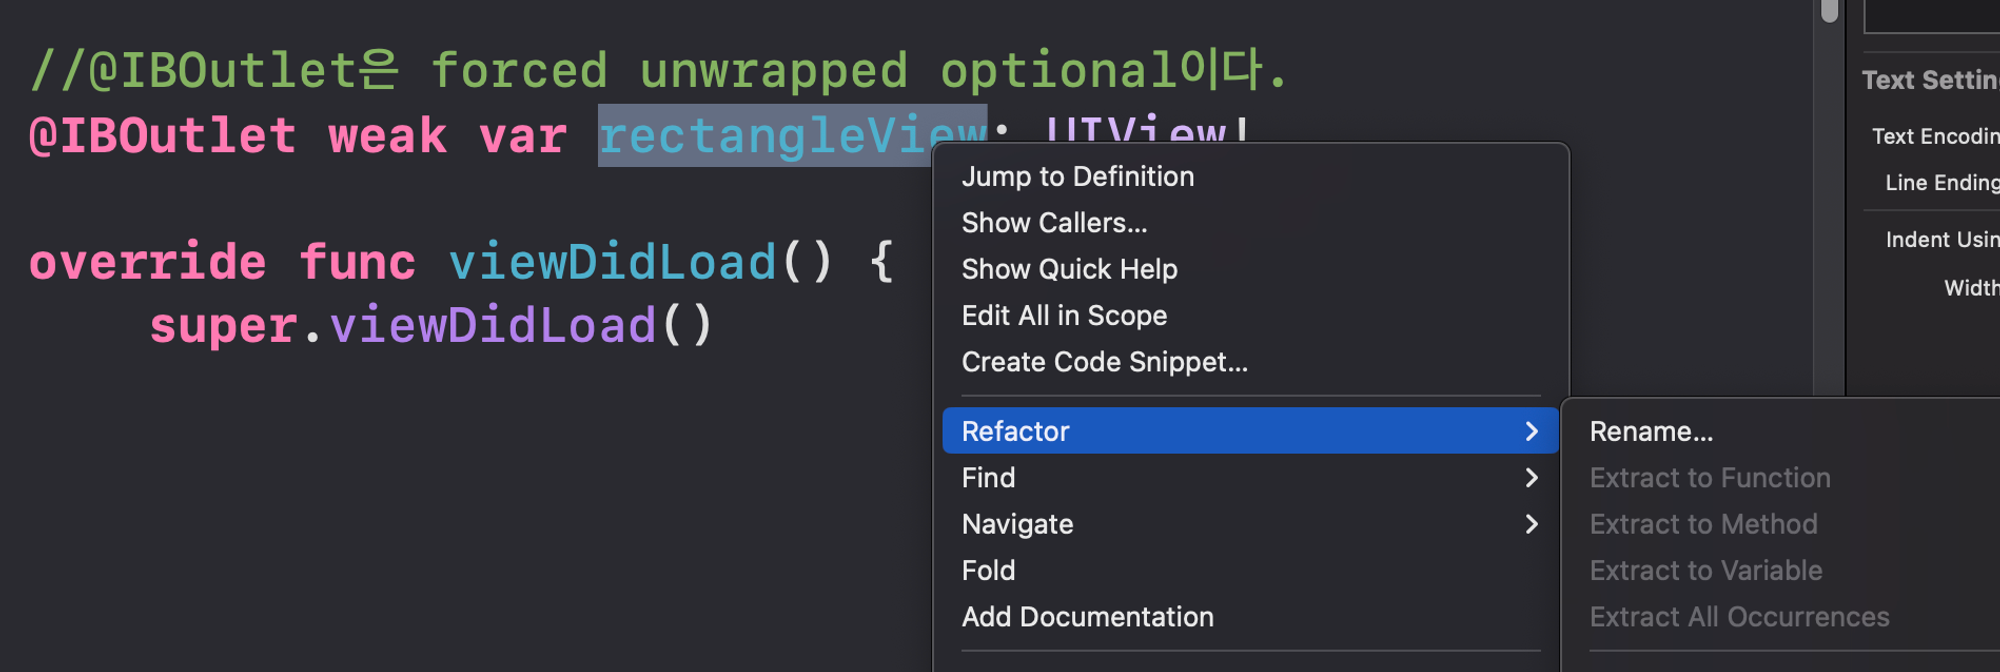
- refactor 하는 법 중 한가지- 이름을 바꾸고 싶은 뷰에 마우스 오른쪽 클릭 후 Refactor → Rename 을 누른다
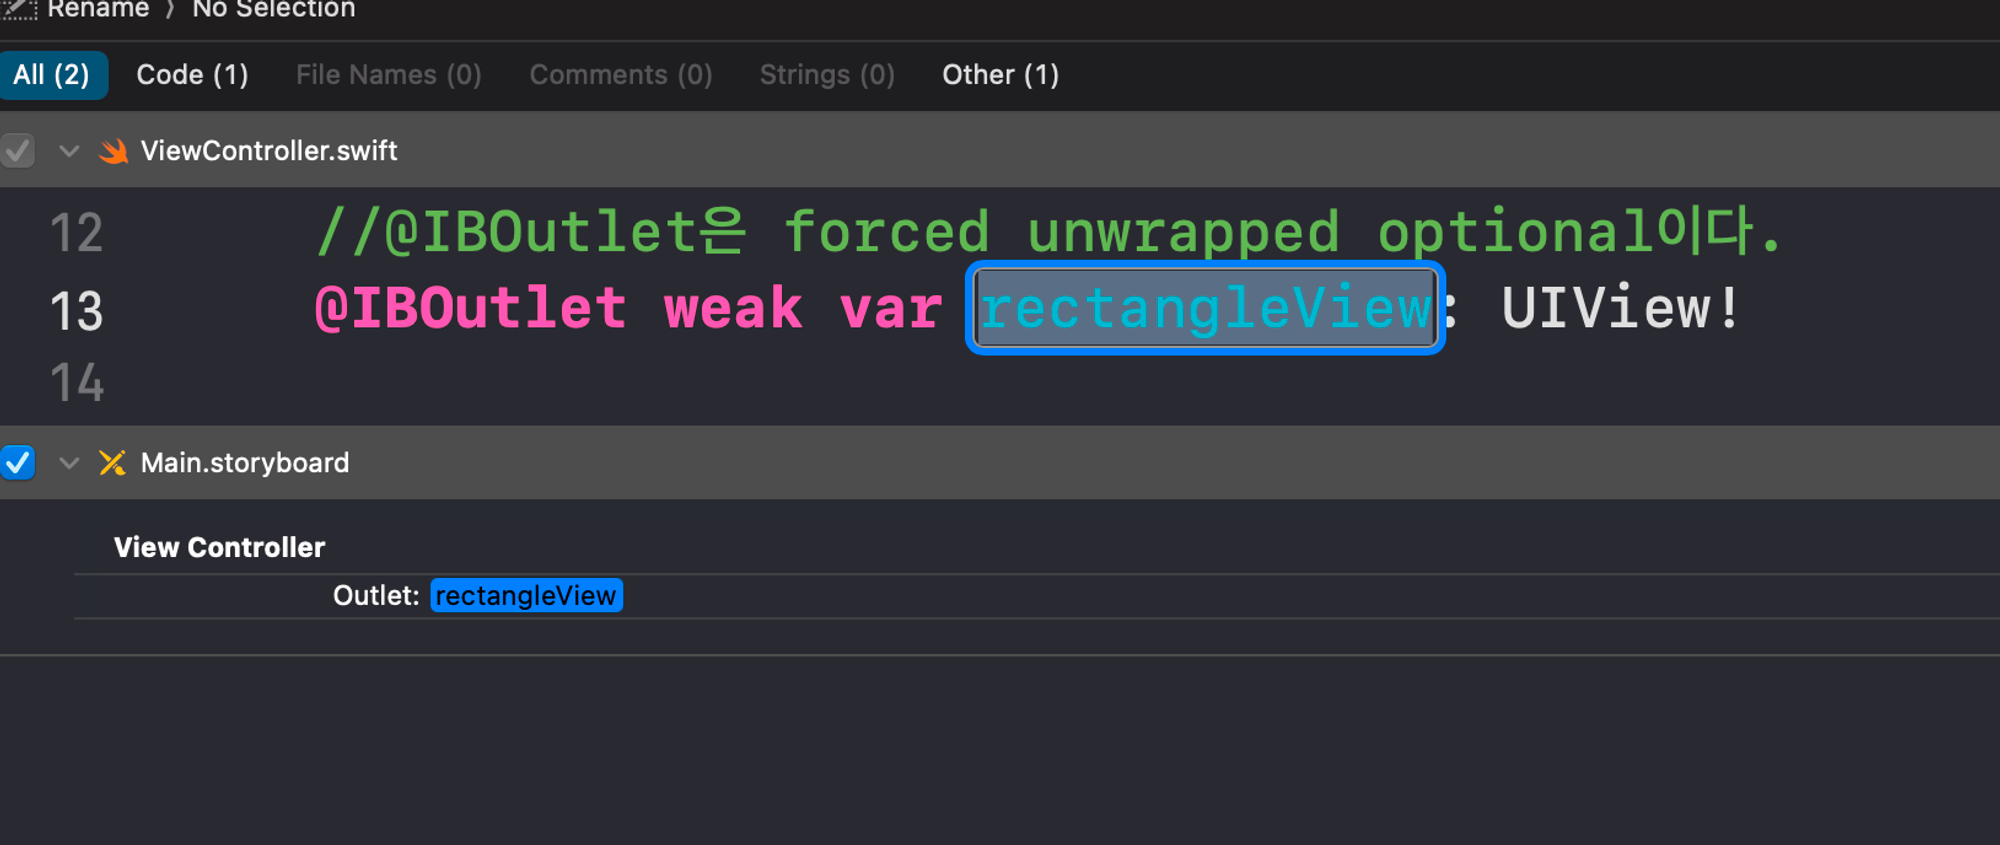
- 그러면 아래와 같은 창이 뜬다. 여기서 이름을 수정하면 된다.(수정사항은 전체에 적용됨)
import UIKit

class ViewController: UIViewController {

		//스토리보드에서 ctrl을 눌러서 여기에 끌고올 수도 있다.
    //@IBOutlet은 forced unwrapped optional이다.
    @IBOutlet weak var greenView: UIView!

    override func viewDidLoad() {
        super.viewDidLoad()

   //-----------------------------------------------------

        //이렇게 아래와 같이 코딩을 해서 화면을 보여줄 수도 있지만,
		//코딩을 하지않고도 스토리보드를 통해 화면을 보여줄 수도 있다.

        view.backgroundColor = .green

        let myView = UIView(frame: CGRect(x: 50, y: 50, width: 200, height: 100))
        myView.backgroundColor = .magenta
        myView.clipsToBounds = true
        //투명도 -> 50% of transparency.
        //myView뿐만 아니라 myView의 subview인 myView2에도 동일한 투명도가 적용된다.
        //myView.alpha = 0.5
        myView.transform = CGAffineTransform(rotationAngle: CGFloat.pi/4.0)
		//-> it'll give us 45 degrees angle.


        //every view also has the properties bellow
        //view의 위치를 변경할 수 있다
        //print() 를 이용해서 현재 위치를 확인할 수 있다.
        print(myView.frame)
        print(myView.bounds)
        print(myView.center)

        let myView2 = UIView(frame: CGRect(x: 50, y: 50, width: 200, height: 100))
        myView2.backgroundColor = .blue
        //hiding a view -> the view is still there, but it's invisible.
        //myView2.isHidden = true

        //myView2를 myView에 subview로 추가
		//-> main view가 아닌 다른 섭뷰에도 또다른 섭뷰를 추가할 수 있는 것 같다
        myView.addSubview(myView2)

        //myView를 main view에 subview로 추가
        view.addSubview(myView)


        //label
        let label = UILabel(frame: CGRect(x: 50, y: 200, width: 200, height: 100))
        label.text = "Hello!"
        label.textAlignment = .center
        view.addSubview(label)
        label.transform = CGAffineTransform(rotationAngle: CGFloat.pi/4.0)


        //image view
        let imageView = UIImageView(frame: CGRect(x: 50, y: 400, width: 200, height: 100))
        //이미지 불러오기
        //imageView.image = UIImage(named: "photo1")
        //시스템 이미지 사용하기
        imageView.image = UIImage(systemName: "pencil")
        imageView.contentMode = .scaleAspectFit
        view.addSubview(imageView)

        //button
        let button = UIButton()

    }
}