
Part 26. 게시물의 조회화 첨부파일
26.2 BoardController의 변경과 화면 처리
- BoardController는 특정한 게시물 번호를 이용해 첨부팡리과 관련된 데이터를 JSON으로 반환하도록 처리한다.
< BoardController 클래스 >
	@GetMapping(value = "/getAttachList", produces = MediaType.APPLICATION_JSON_UTF8_VALUE)
	@ResponseBody
	public ResponseEntity<List<BoardAttachVO>> getAttachList(Long bno) {
		log.info("getAttachList " + bno);
		return new ResponseEntity<>(service.getAttachList(bno), HttpStatus.OK);
	}
- BoardController는 @RestController로 작성되지 않았기 때문에 직접 @ResponseBody를 적용해 JSON 데이터를 반환하도록 처리한다.
26.2.1 게시물 조회 화면의 처리
- 게시물을 조회하는 화면은 views 내에 /board/get.jsp에서 이루어진다.
- 가장 먼저 해당 게시물의 댓글을 가져오는 부분이 자동으로 동작하게 처리하는 작업부터 시작한다.
< get.jsp >
<script>
			$(document).ready(function(){
				(function(){
					var bno = '<c:out value="${board.bno}"/>';
					$.getJSON("/board/getAttachList", {bno: bno}, function(arr){
						console.log(arr);
					}); //end getjson
				})(); //end function
			});
</script>
- get.jsp 내에 < script > 태그를 추가하고, $(document).ready()를 이용해 첨부파일의 데이터를 가져오는 부분을 즉시 실행 함수를 이용해 처리한다.
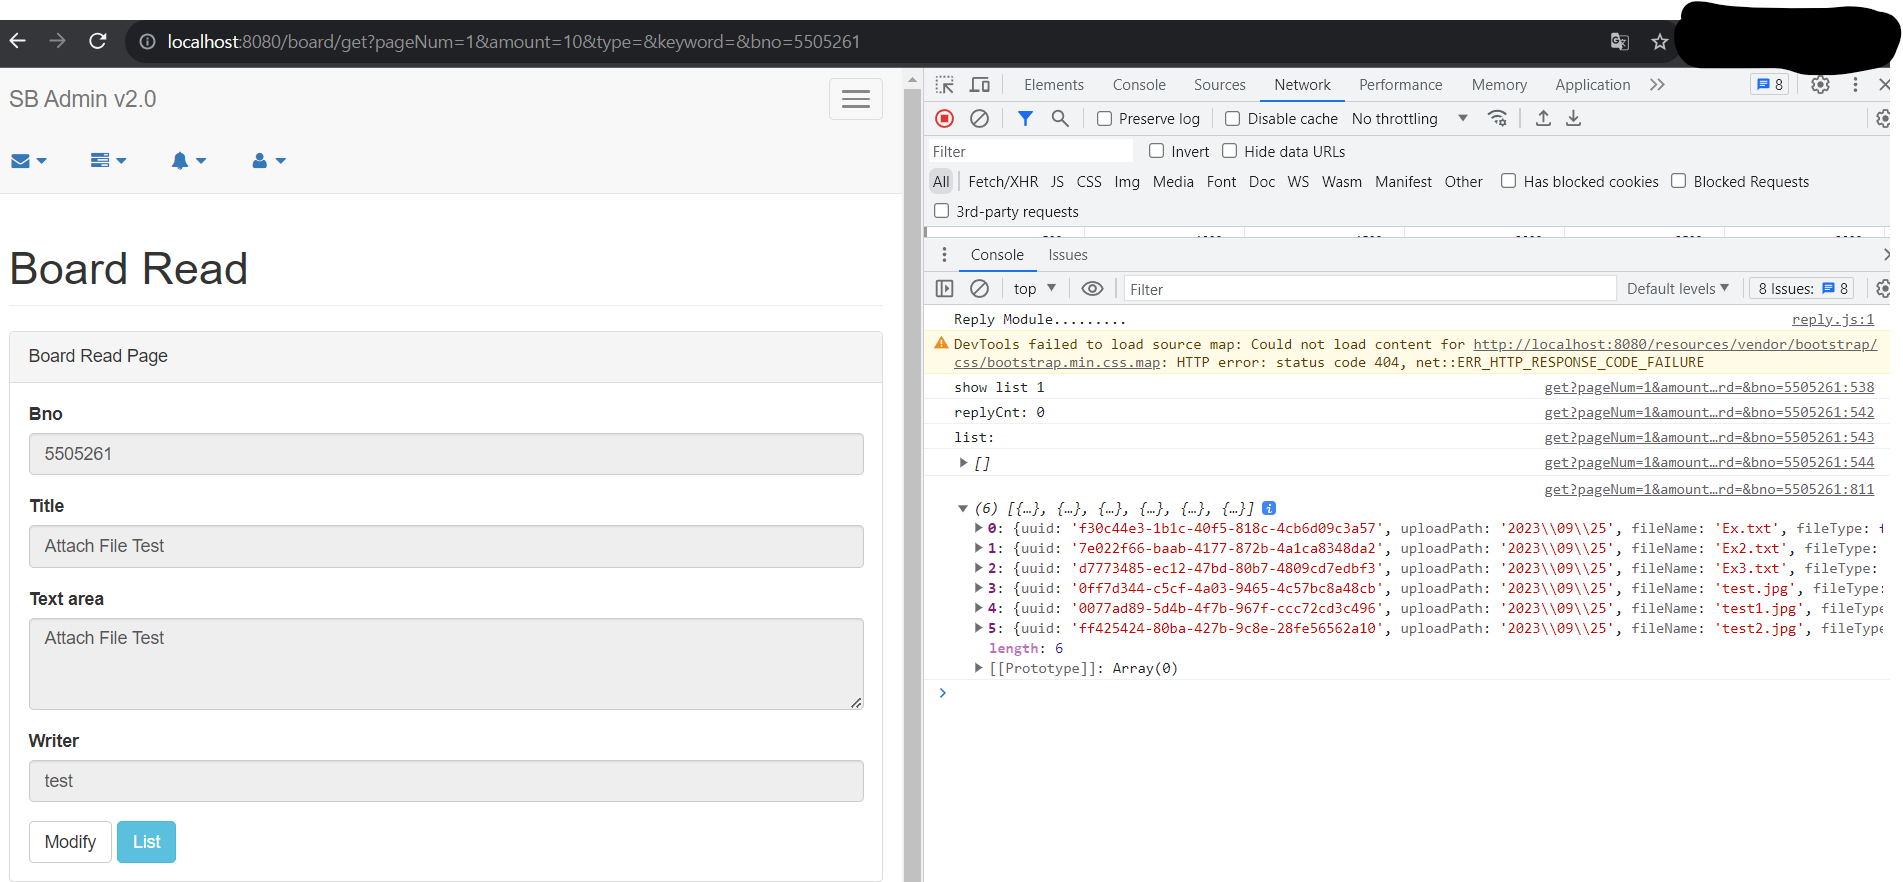
- 브라우저에서 첨부파일이 추가된 게시물를 선택하면 아래 그림과 같이 콘솔창에 해당 게시물의 첨부파일의 목록을 볼 수 있다.
- 첨부파일 데이터를 가져왔다면 파일들을 보여줄 수 있도록 < div >를 생성한다.
- 기존의 게시물이 보여지는 < div class='row' >의 아래쪽에 별도의 < div class='row' >를 생성해서 처리한다.
< get.jsp >
<div class='bigPictureWrapper'>
  <div class='bigPicture'>
  </div>
</div>
<style>
.uploadResult {
  width:100%;
  background-color: gray;
}
.uploadResult ul{
  display:flex;
  flex-flow: row;
  justify-content: center;
  align-items: center;
}
.uploadResult ul li {
  list-style: none;
  padding: 10px;
  align-content: center;
  text-align: center;
}
.uploadResult ul li img{
  width: 100px;
}
.uploadResult ul li span {
  color:white;
}
.bigPictureWrapper {
  position: absolute;
  display: none;
  justify-content: center;
  align-items: center;
  top:0%;
  width:100%;
  height:100%;
  background-color: gray;
  z-index: 100;
  background:rgba(255,255,255,0.5);
}
.bigPicture {
  position: relative;
  display:flex;
  justify-content: center;
  align-items: center;
}
.bigPicture img {
  width:600px;
}
</style>
<div class="row">
  <div class="col-lg-12">
    <div class="panel panel-default">
	  <div class="panel-heading">Files</div>
      <!-- /.panel-heading -->
      <div class="panel-body">
        <div class='uploadResult'>
          <ul>
          </ul>
        </div>
      </div>
      <!--  end panel-body -->
    </div>
    <!--  end panel-body -->
  </div>
  <!-- end panel -->
</div>
<!-- /.row -->
- get.jsp 내에 추가되는 < div > 는 크게 첨부파일의 목록을 보여주는 < div class='uploadResult' > 와 원본 이미지를 보여주는 < div class='bigPicture' > 부분이다.
26.2.2 첨부파일 보여주기
- JSON으로 가져온 첨부파일 데이터는 작성된 < div > 안에서 보이도록 처리해주어야 한다.
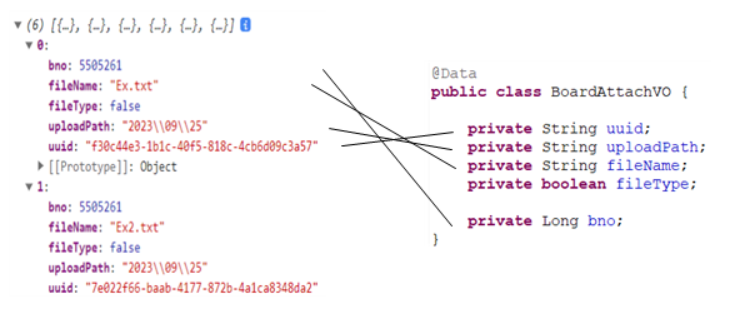
- 전달된 JSON 데이터는 BoardAttachVO 객체다.
- JavaScript에서는 다음과 같은 처리를 통해 화면에 보여주는 부분을 작성한다.
< get.jsp >
$.getJSON("/board/getAttachList", {bno: bno}, function(arr){
						console.log(arr);
						var str = "";
						$(arr).each(function(i, attach){
							//image type
							 if(attach.fileType){
           var fileCallPath =  encodeURIComponent( attach.uploadPath+ "/s_"+attach.uuid +"_"+attach.fileName);
           str += "<li data-path='"+attach.uploadPath+"' data-uuid='"+attach.uuid+"' data-filename='"+attach.fileName+"' data-type='"+attach.fileType+"' ><div>";
           str += "<img src='/display?fileName="+fileCallPath+"'>";
           str += "</div>";
           str +"</li>";
         }else{
           str += "<li data-path='"+attach.uploadPath+"' data-uuid='"+attach.uuid+"' data-filename='"+attach.fileName+"' data-type='"+attach.fileType+"' ><div>";
           str += "<span> "+ attach.fileName+"</span><br/>";
           str += "<img src='/resources/img/attach.png'></a>";
           str += "</div>";
           str +"</li>";
         }
       });
       	$(".uploadResult ul").html(str);
	}); //end getjson
- 게시물의 등록과 달리 첨부파일의 삭제 표시 등의 필요 없는 부분은 조금 정리해 출력하도록 한다.
26.2.3 첨부파일 클릭 시 이벤트 처리
- 첨부파일의 목록이 보인다면 이미지 파일의 경우 화면에서 원본 이미지, 일반 파일의 경우에는 다운로드 처리가 필요하다.
< get.jsp >
$(".uploadResult").on("click","li", function(e){
    console.log("view image");
    var liObj = $(this);
    var path = encodeURIComponent(liObj.data("path")+"/" + liObj.data("uuid")+"_" + liObj.data("filename"));
    if(liObj.data("type")){
      showImage(path.replace(new RegExp(/\\/g),"/"));
    }else {
      //download
      self.location ="/download?fileName="+path
    }
 });
  function showImage(fileCallPath){
	alert(fileCallPath);
    $(".bigPictureWrapper").css("display","flex").show();
    $(".bigPicture")
    .html("<img src='/display?fileName="+fileCallPath+"' >")
    .animate({width:'100%', height: '100%'}, 1000);
  }
- 첨부팡리과 관련된 정보는 모두 < li > 태그 내에 존재하므로 이를 이용해 이미지 파일과 일반 파일을 구분해 처리한다.
- 파일 경로의 경우 함수로 전달될 때 문제가 생기므로 replace()를 이용해 변환한 뒤에 전달한다.
- showImage()는 해당 경로의 이미지를 보여주는 역할을 한다.
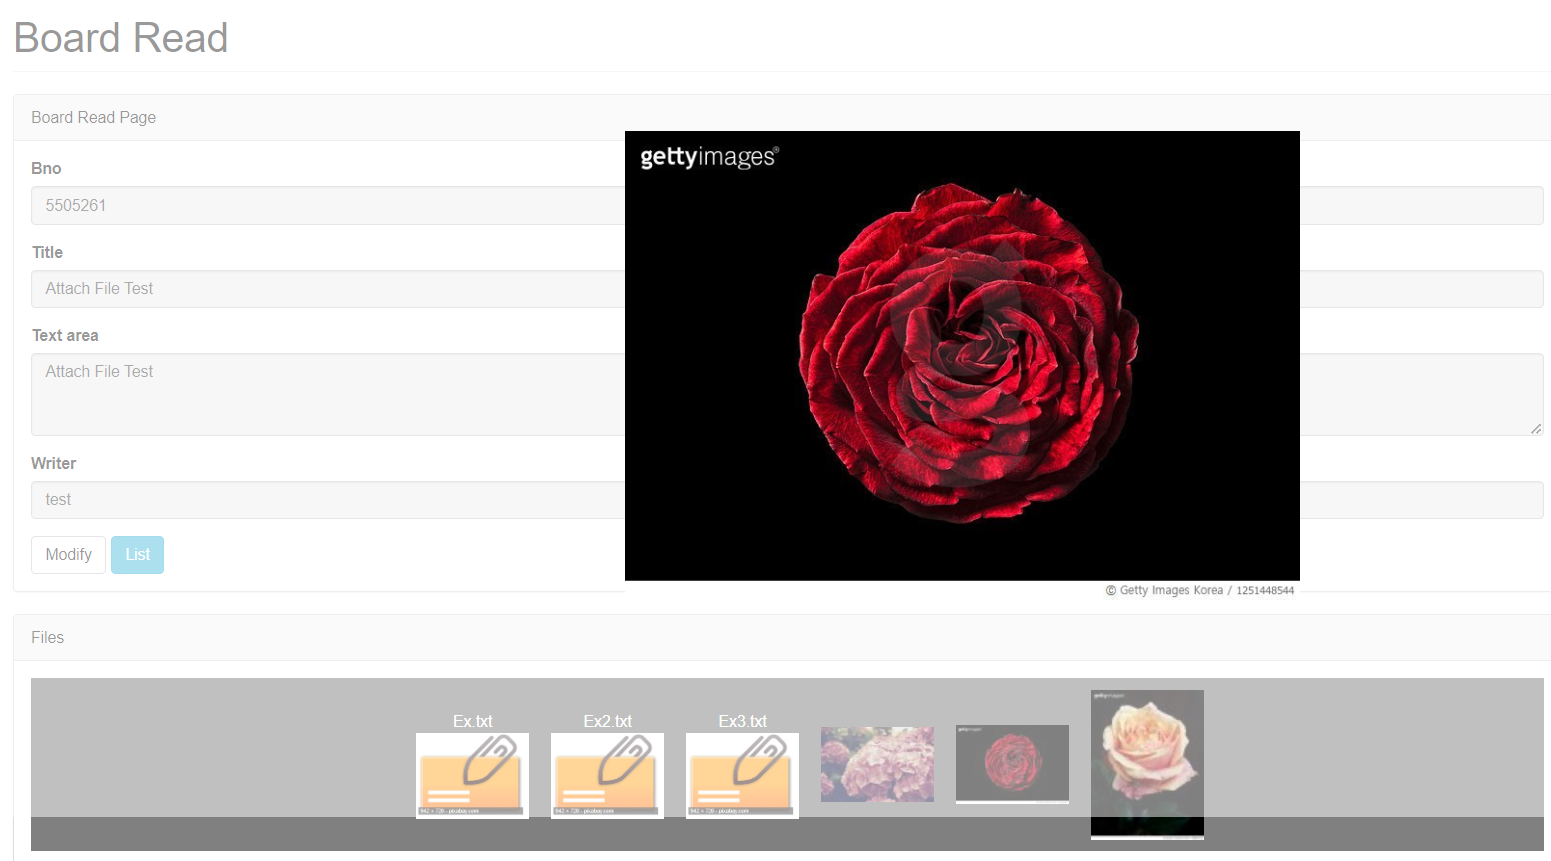
- 위의 코드가 추가되면 화면에서 원본 이미지를 클릭했을 때 크게 보이게 된다.
배경이 흐려진 상태에서 원본 이미지가 점체 크게 보여지는 효과
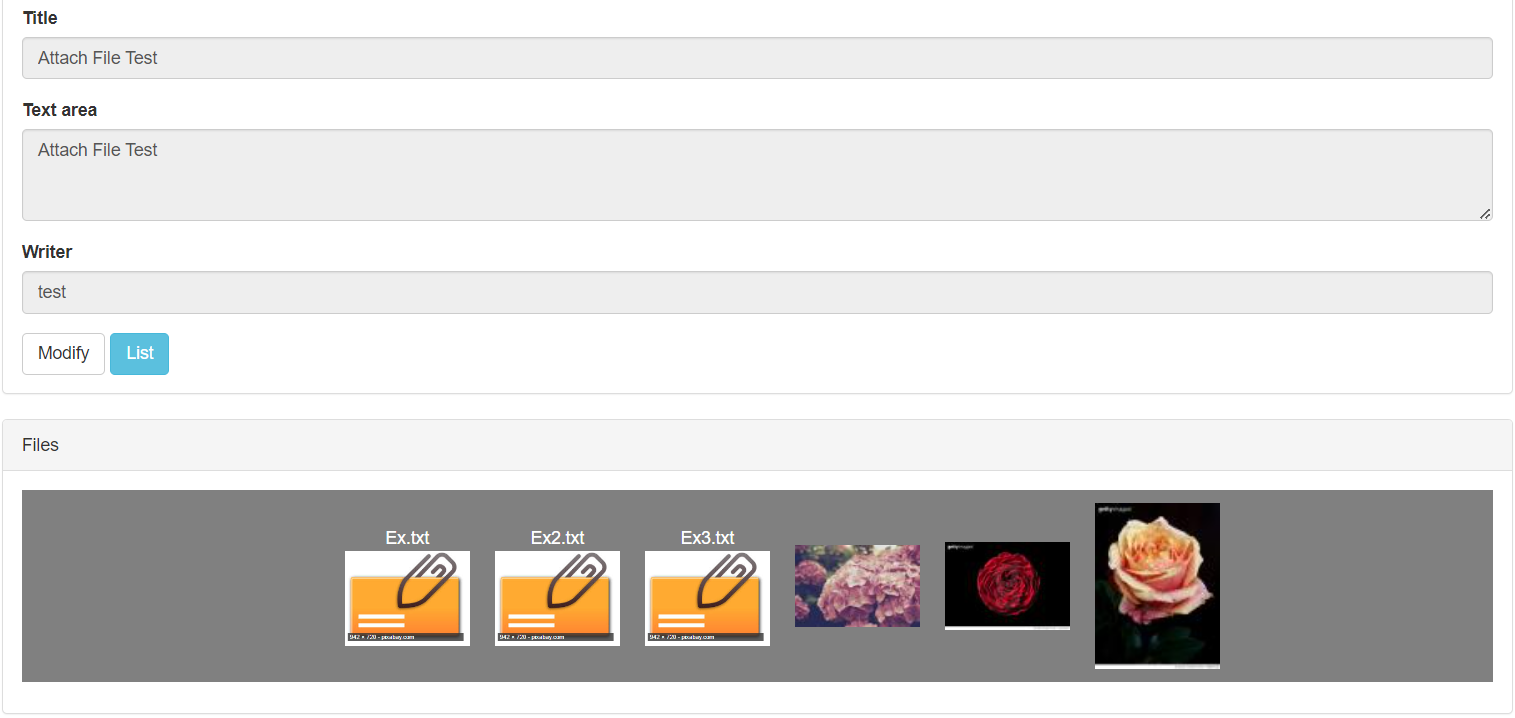
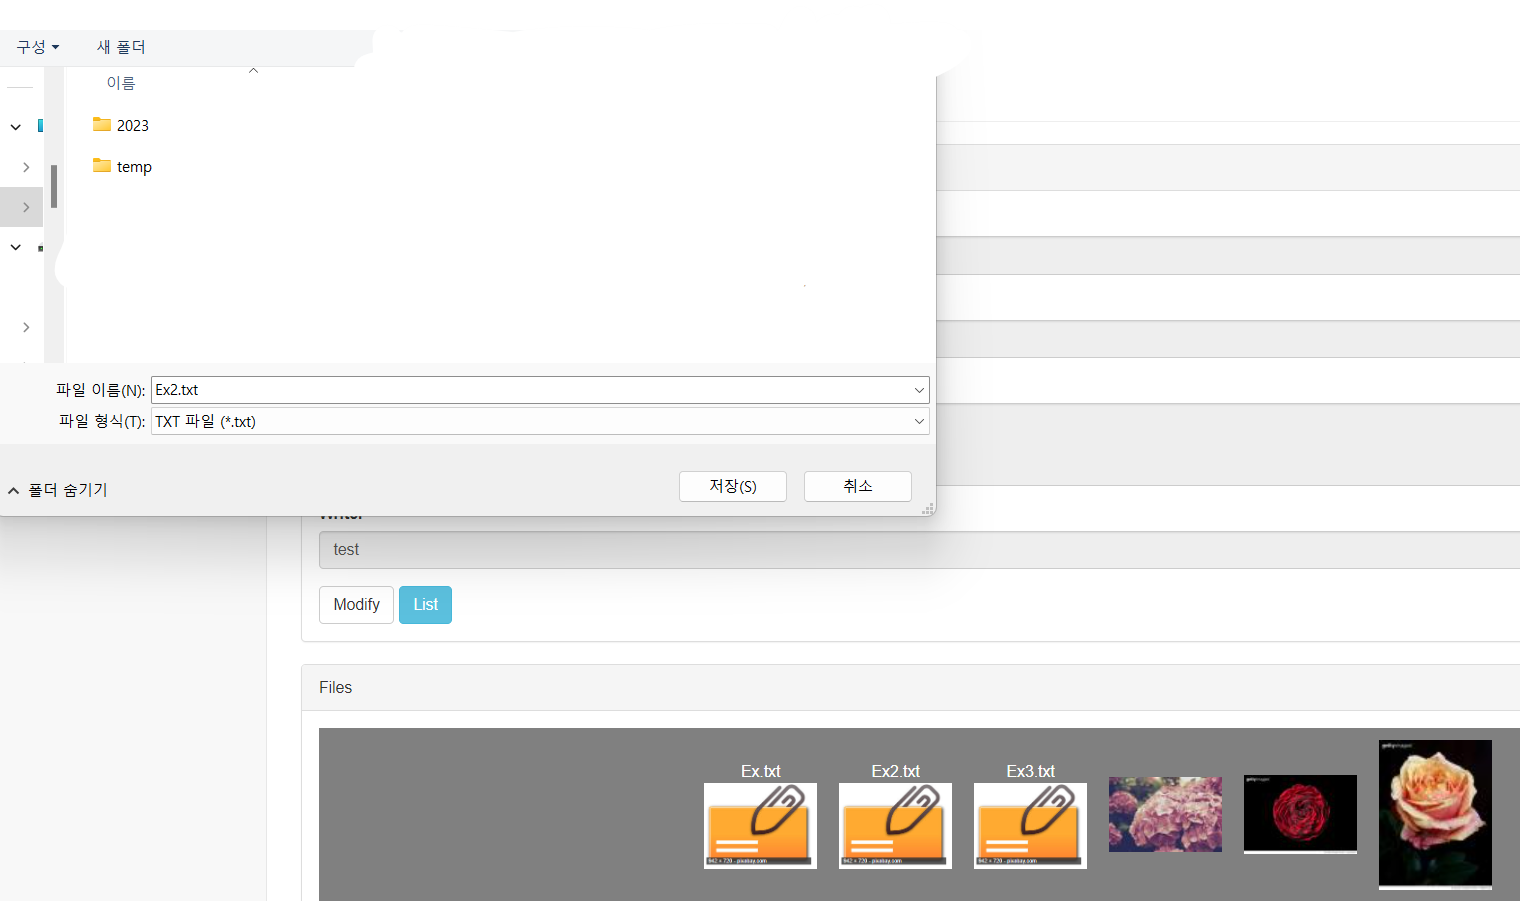
일반 파일의 경우 파일 이름을 같이 출력하고 클릭 시 다운로드
26.2.4 원본 이미지 창 닫기
- 게시물의 조회에서 마지막 처리는 원본 이미지가 보이는 창을 닫는 작업이다.
- 앞의 예제와 동일하게 < div > 를 감추는 형태로 작성한다.
< get.jsp >
  $(".bigPictureWrapper").on("click", function(e){
    $(".bigPicture").animate({width:'0%', height: '0%'}, 1000);
    setTimeout(function(){
      $('.bigPictureWrapper').hide();
    }, 1000);
  });

한 걸음 한 걸음 나아가는 개발자