노마드코더 Flutter로 웹툰 앱 만들기 강의를 들으면서 만들었던 웹툰 앱을 리팩토링해봤다.
리팩토링 항목은 다음과 같다. 링크 클릭 시 해당 커밋으로 이동한다.
3번에 대해서는 별도로 글을 작성했다. 링크
- ColorScheme, AppBarTheme 적용 링크
- 반복 사용되는 WebtoonThumb 위젯 분리 링크
- Column을 ListView.builder로 변경하기 링크
- 에피소드 리스트에 섬네일 이미지 추가 링크
- 위젯에서 클래스 메소드 호출 시 인자 전달하기 링크
ColorScheme, AppBarTheme 적용
// main.dart
class MyApp extends StatelessWidget {
const MyApp({super.key});
Widget build(BuildContext context) {
return MaterialApp(
debugShowCheckedModeBanner: false,
theme: ThemeData(
colorScheme: ColorScheme.fromSeed(
seedColor: Colors.indigo,
primary: Colors.indigo.shade400,
),
appBarTheme: AppBarTheme(
centerTitle: true,
foregroundColor: Colors.indigo.shade400,
elevation: 2,
surfaceTintColor: Colors.white, // elevation 추가 후 앱바 어두워지는 문제 해결
shadowColor: Colors.black,
),
),
home: HomeScreen(),
);
}
}- 메인으로 사용하고 있는 컬러를 전역적으로 일관성 있게 사용하기 위해
MaterialApp에colorScheme를 추가했다. seedColor에는shade가 적용되지 않는 거 같아서 나중에context로 접근할 때 사용하기 위해primary color까지 추가했다.이 방법 외에 클래스를 따로 생성해서 커스텀 컬러를 상수로 지정하는 방법도 있다. 블로그 참고
- 홈 스크린과 디테일 스크린에서 동일한 디자인의
AppBar를 사용하고 있었기 때문에MaterialApp에appBarTheme을 추가하고 각 스크린에 중복되었던AppBar코드는title을 제외하고 지워주었다. - 다른 위젯에서
primary컬러에 접근하고 싶을 때는color: Theme.of(context).colorScheme.primary이렇게 작성하면 된다. - 이렇게 하면
MaterialApp에서primary컬러를 바꾸기만 하면 앱의 모든primary컬러를 한 번에 바꿀 수 있는 장점이 있다. - [공식문서] Use themes to share colors and font styles
반복 사용되는 WebtoonThumb 위젯 분리
class WebtoonThumb extends StatelessWidget {
final String thumb;
const WebtoonThumb({
super.key,
required this.thumb,
});
Widget build(BuildContext context) {
return Container(
width: 200,
clipBehavior: Clip.hardEdge,
decoration: BoxDecoration(
borderRadius: BorderRadius.circular(15),
boxShadow: [
BoxShadow(
blurRadius: 10,
offset: const Offset(10, 10),
color: Colors.black.withOpacity(0.3),
),
],
),
child: Image.network(
thumb,
),
);
}
}
// 실제 사용 시
Hero(
tag: id,
child: WebtoonThumb(thumb: thumb),
),- 홈 스크린과 디테일 스크린에서 웹툰 섬네일 이미지 위젯을 동일하게 사용하기 때문에 위젯을 분리해서 재사용하기로 했다.
- 섬네일을 보여주기 위해 이미지
src가 필요하기 때문에 클래스 호출 시thumb값을 받는다.
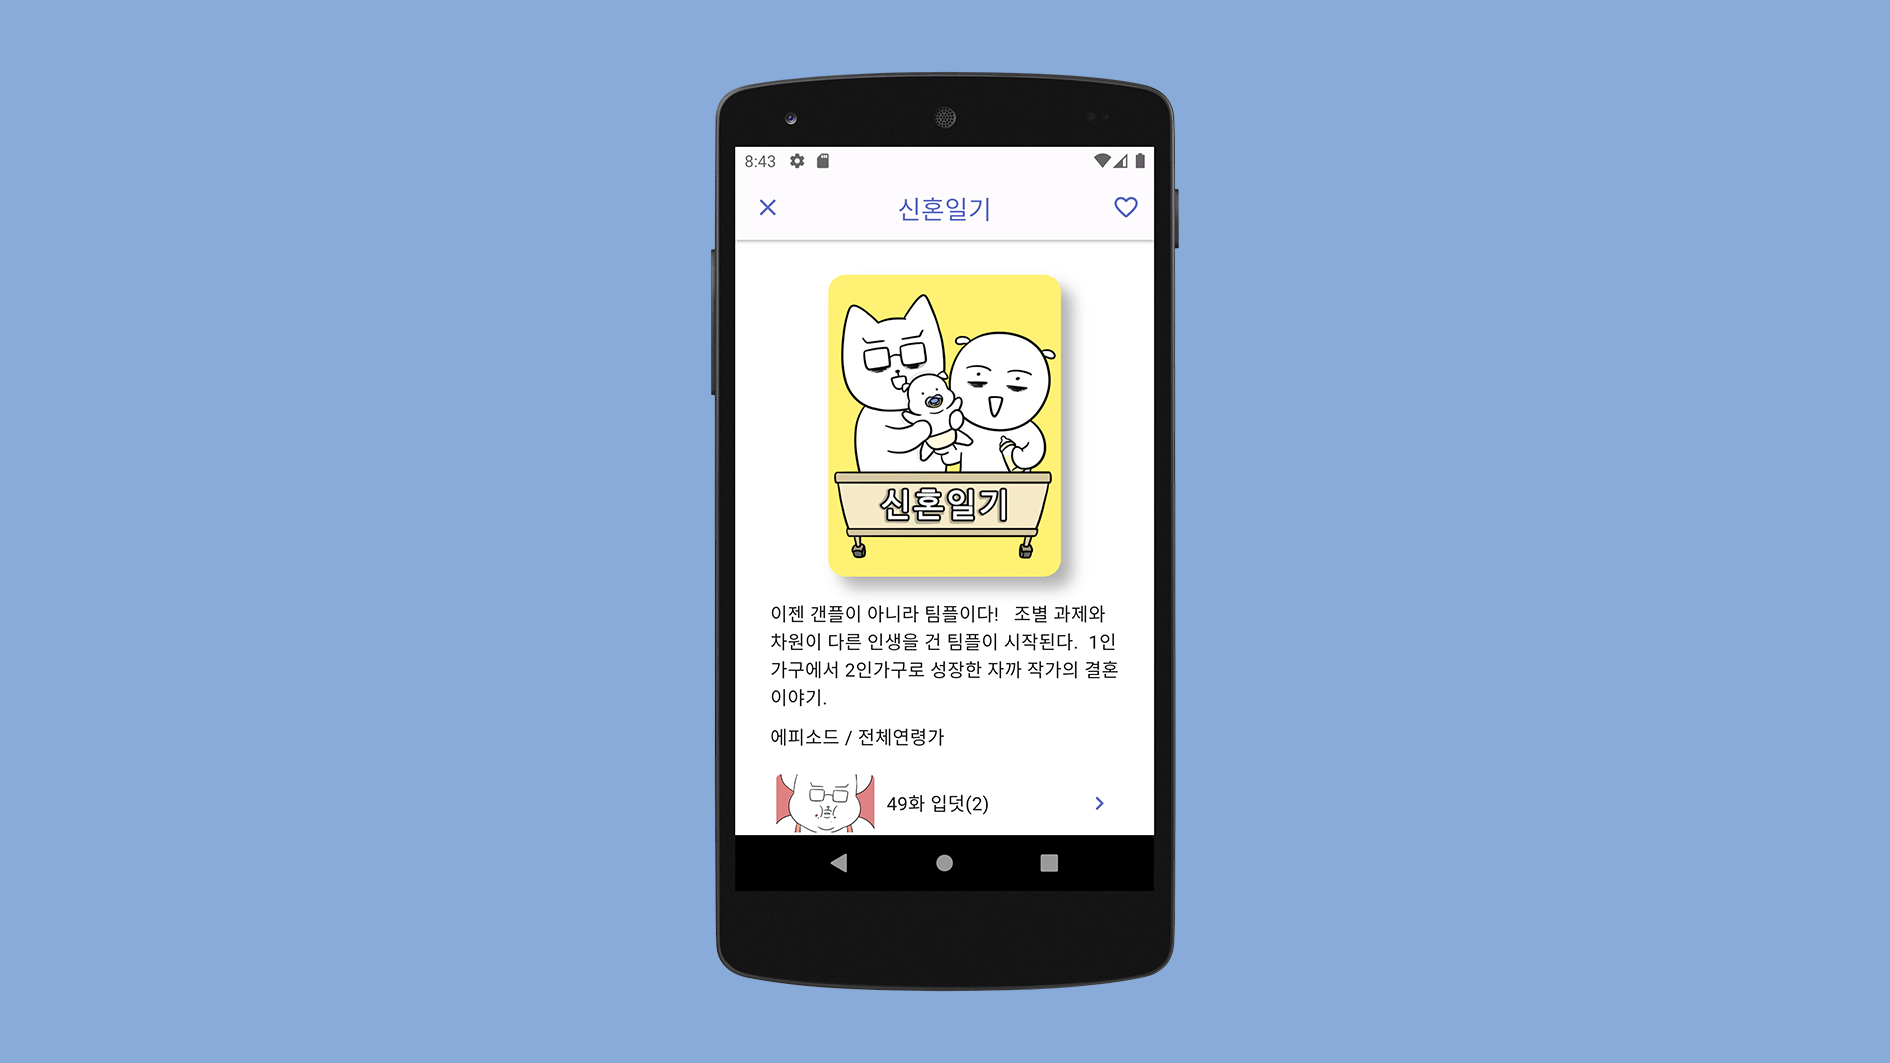
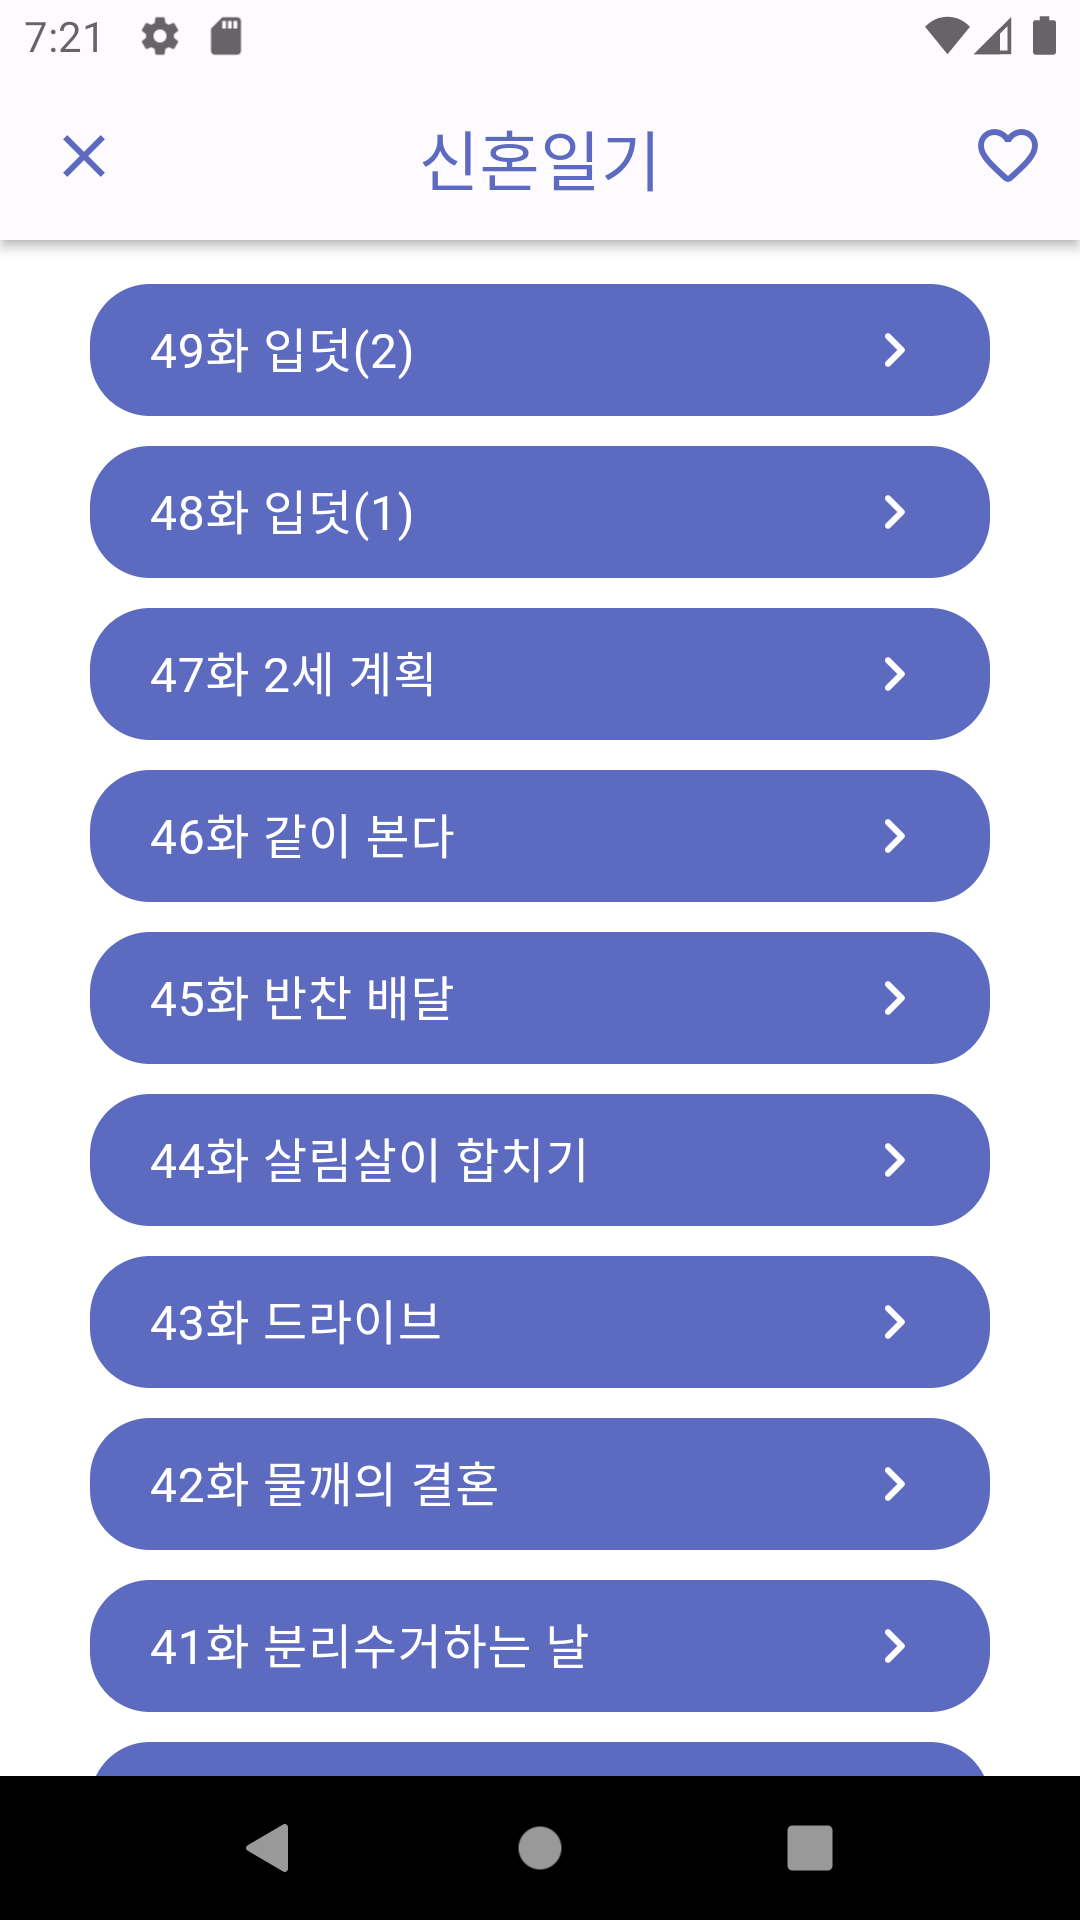
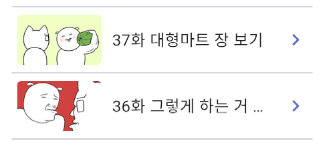
에피소드 리스트에 섬네일 이미지 추가
| 수정 전 | 수정 후 |
 |
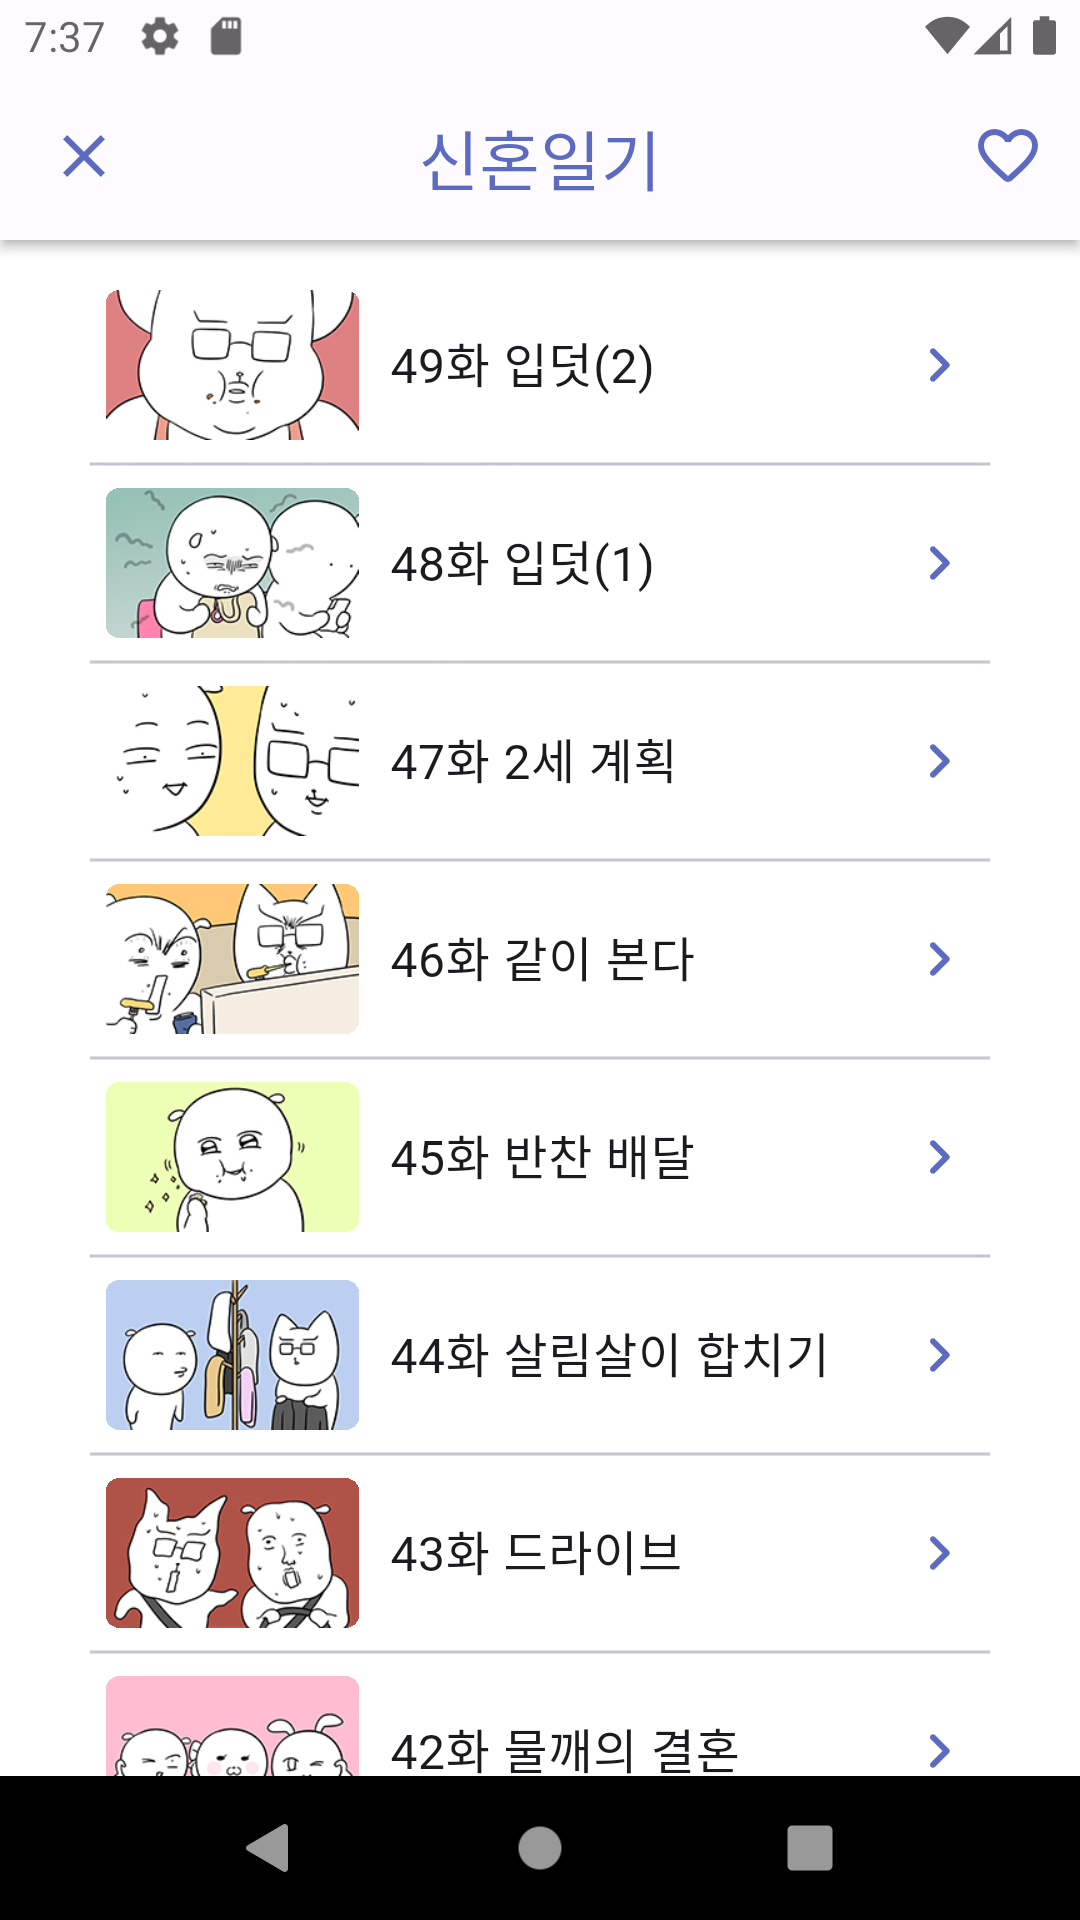 |
- 에피소드 리스트 api에서 에피소드별 섬네일 url도 제공받는데 사용하지 않는 게 아쉬워서 에피소드 리스트에 각 에피소드별 섬네일까지 추가했다. 개인적으로 UI가 훨씬 깔끔해진 거 같아서 마음에 든다!
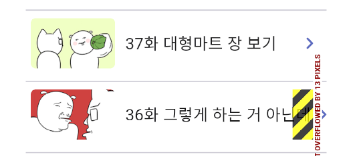
| 수정 전 | 수정 후 |
 |
 |
- UI를 수정하는 과정에서 에피소드 버튼에 텍스트가 넘치면서 에러가 발생했다.
// 텍스트가 넘치는 문제를 해결하기 위해 Row와 Text에 Flexible 위젯 추가
Flexible(
  child: Row(
    children: [
      Container(
        height: 50,
        width: 85,
        margin: const EdgeInsets.only(right: 10),
        // 자식의 부모 영역 침범을 제어함 (BorderRadius 적용 위해 추가)
        clipBehavior: Clip.hardEdge,
        decoration: BoxDecoration(
          borderRadius: BorderRadius.circular(5),
        ),
        child: Image.network(
          episode.thumb,
        ),
      ),
      Flexible(
        child: Text(
          episode.title,
          style: const TextStyle(
              fontSize: 16,
          ),
          overflow: TextOverflow.ellipsis,
        ),
      ),
    ],
  ),
),- 이를 해결하기 위해 섬네일 이미지
Container위젯에width값을 고정하고,Row와Text위젯 상위에Flexible위젯들 추가하고,Text위젯에overflow: TextOverflow.ellipsis속성을 추가했다.
위젯에서 클래스 메소드 호출 시 인자 전달하기
// StatelessWidget에서 불가능
Future<WebtoonDetailModel> webtoon = ApiService.getToonById(id);- 메소드를 호출할 때
id를 인자로 전달해야 했는데 인스턴스 변수(webtoon)를 초기화할 때 다른 프로퍼티(id)에는 접근할 수 없기 때문에, 강의에서는 메소드 호출을 위해 기존의StatelessWidget을StatefulWidget으로 변환한 후 메소드를 호출하는 방법을 알려주었다.
class DetailScreen extends StatefulWidget {
final String title, thumb, id;
const DetailScreen({
super.key,
required this.title,
required this.thumb,
required this.id,
});
State<DetailScreen> createState() => _DetailScreenState();
}
class _DetailScreenState extends State<DetailScreen> {
// Constructor에서는 widget을 참조할 수 없기 때문에 변수를 선언만 함
late Future<WebtoonDetailModel> webtoon;
// initState에서는 widget으로 참조 가능
void initState() {
super.initState();
webtoon = ApiService.getToonById(widget.id);
}
Widget build(BuildContext context) {
return Scaffold(...)
}
}StatefulWidget의initState()메소드에서ApiService.getToonById()메소드를 호출하는 방식을 사용했는데, 메소드 호출을 위해state가 필요 없는데도StatelessWidget을StatefulWidget으로 변환하는 과정이 불필요하게 느껴졌다.
class DetailScreen extends StatelessWidget {
final String title, thumb, id;
late final Future<WebtoonDetailModel> webtoon;
late final Future<List<WebtoonEpisodeModel>> episodes;
DetailScreen({
super.key,
required this.title,
required this.thumb,
required this.id,
}) : webtoon = ApiService.getToonById(id),
episodes = ApiService.getLatestEpisodesById(id);
Widget build(BuildContext context) {
return Scaffold(...)
}
}- 마침 노마드코더 강의 댓글란에 어떤 분이
StatelessWidget을 이용하는 방법을 알려주셔서 이 방법을 사용해봤다. - 클래스 생성자를 정의할 때 인스턴스 변수를 초기화하는 방법을 사용해서 메소드에 인자를 전달할 수 있었다.

Small Steps make a Big Difference.🚶🏻♀️