Pong
2월 19일 강의 정리
Pong
오늘부터 새로운 게임을 만들어 볼 것이다. 바로 최초의 게임이라고 불리던 탁구 게임 Pong. 일단 배트와 공을 만들어서 벽에 튕기는것을 구현해볼 것이다.
일단 저번에 만든 프레임워크에서 급한대로 InputMgr 만 가져와서 입력 받기를 지원해보자. 기능 구현부터 연습할 것이다
inputMgr 업그레이드
가장 중요한것은 inputMgr에 새로운 기능들을 추가하는것이다.
키보드의 방향키를 누르면 해당 방향으로 벡터값으로 쓸 -1, 1을 리턴하고 아무것도 입력하지 않으면 0을 리턴하며, 가속도와 속도 제어까지 해보자.
#pragma once

enum class Axis
{
	Horizontal, // 수평
	vertical, // 수직
};

struct AxisInfo
{
	Axis axis;

	std::list<sf::Keyboard::Key> positives;
	std::list<sf::Keyboard::Key> negatives;

	float sensi; // 가속도
	float value; // 속도
};


class InputMgr
{
private:
	static std::map<Axis, AxisInfo> axisInfoMap;

	static std::list<sf::Keyboard::Key> downList;
	static std::list<sf::Keyboard::Key> upList;
	static std::list<sf::Keyboard::Key> ingList;

public:
	static void Init();

	static void UpdateEvent(const sf::Event& ev);
	static void Update(float dt);

	static void Clear();

	static float GetAxisRaw(Axis axis); // -1.0 0 1.0
	static float GetAxis(Axis axis); // -1.0 ~ 1.0
	static bool GetKeyDown(sf::Keyboard::Key key);
	static bool GetKeyUp(sf::Keyboard::Key key);
	static bool GetKey(sf::Keyboard::Key key);

	static const sf::Vector2f& GetMousePos();
	static bool GetMouseButtonDown(sf::Mouse::Button key);
	static bool GetMouseButtonUp(sf::Mouse::Button key);
	static bool GetMouseButton(sf::Mouse::Button key);

};
수평과 수직을 뜻하는 열거형 Axis를, 그리고 양수방향 이동 positives와 음수방향 이동 negatives 키 입력을 저장할 리스트를 두개 만든다.
그리고 속도와 가속도를 입력할 변수도 저장한다.
마지막으로 이 리스트들을 관리할 구조체 AxisInfo를 만들어서
map형 컨테이너 axisInfoMap에 저장할 수 있도록 만들어준다.
map은 키 - 값의 쌍으로 구성되어 있다.
이제 구현해보자.
void InputMgr::Init()
{
    // Horizontal
    AxisInfo infoH;
    infoH.axis = Axis::Horizontal;
    infoH.positives.push_back(sf::Keyboard::D);
    infoH.positives.push_back(sf::Keyboard::Right);
    infoH.negatives.push_back(sf::Keyboard::A);
    infoH.negatives.push_back(sf::Keyboard::Left);
    infoH.sensi = 10.0;
    infoH.value = 0.f;

    axisInfoMap.insert({ infoH.axis, infoH });

    AxisInfo infoV;
    infoV.axis = Axis::vertical;
    infoV.positives.push_back(sf::Keyboard::S);
    infoV.positives.push_back(sf::Keyboard::Down);
    infoV.negatives.push_back(sf::Keyboard::W);
    infoV.negatives.push_back(sf::Keyboard::Up);
    infoV.sensi = 10.0;
    infoV.value = 0.f;

    axisInfoMap.insert({ infoV.axis, infoV });

}
초기화 메소드 Init에는 AxisInfo형 구조체 infoH와 infoV를 만들어서, 각각 수평입력과 수직입력을 관리한다. 키를 Horizontal로, 리스트에 각각 키보드 해당 키를 넣어주고 속도와 가속도까지 초기화 해주어서 map형 컨테이너 axisInfoMap에 insert로 등록해준다.
void InputMgr::UpdateEvent(const sf::Event& ev)
{

    switch (ev.type)
    {
    case sf::Event::KeyPressed:
        if (!GetKey(ev.key.code))
        {
            ingList.push_back(ev.key.code);
            downList.push_back(ev.key.code);
        }
        break;
    case sf::Event::KeyReleased:
        ingList.remove(ev.key.code);
        upList.push_back(ev.key.code);
        break;

    case sf::Event::MouseButtonPressed:
        if (!GetMouseButton(ev.mouseButton.button))
        {
            ingList.push_back(ev.key.code);
            downList.push_back(ev.key.code);
        }
        break;
    case sf::Event::MouseButtonReleased:
        ingList.remove(ev.key.code);
        upList.push_back(ev.key.code);
        break;
    }
}
업데이트이벤트는 기존의 키보드 입력부분만 있었지만 마우스 입력도 받도록 해두었다.
void InputMgr::Update(float dt)
{
    for (auto& pair : axisInfoMap) // 여기랑
    {
        AxisInfo& axisInfo = pair.second; // 여기는 컨테이너를 수정할 용도로 &붙이기 안붙이면 복사됨
        float raw = GetAxisRaw(axisInfo.axis); // -1 0 1
        float speed = raw;
        if (speed == 0.f && axisInfo.value != 0.f) // 입력이 없고 속도가 있으면, 0에 가까워지게 속도 떨어짐
        {
            speed = axisInfo.value > 0.f ? -1.f : 1.f;
        }
        axisInfo.value += speed * axisInfo.sensi * dt; // speed 라지만 입력(방향) * 예민도 * dt
        axisInfo.value = Utils::Clamp(axisInfo.value, -1.f, 1.f); // -1 , 1 못넘게 막음

        if (raw == 0.f && abs(axisInfo.value) < 1.f / 60.f)  // 0에 가까워질때, 입력이 없으면 0으로 고정. raw는 입력임
        {
            axisInfo.value = 0.f;
        }
    }


    if (InputMgr::GetMouseButton(sf::Mouse::Button::Left))
    {
        ingList.push_back(sf::Keyboard::Left);
        downList.push_back(sf::Keyboard::Left);
    }... 이하 생략
map형 컨테이너를 pair, 즉 키-값 쌍의 변수로 순회한다. 컨테이너 내부의 값 자체를 수정하기 위해 레퍼런스 & 를 붙인다. GetAxisRaw는 벡터값을 리턴할 함수로 -1 0 1을 리턴한다. 따라서 speed가 붙은 조건문은 입력이 없어 0이고, 속도가 0이 아닐때, 즉 이전에 입력을 받아서 속도가 났지만 입력을 그만했을 때, 속도를 줄이는 역할이다. 브레이크라고 생각하면 편하다.
axisInfo.value += speed axisInfo.sensi dt; 는 속도를 적용하는 식,
axisInfo.value = Utils::Clamp(axisInfo.value, -1.f, 1.f);는 -1과 1을 넘으면 -1과 1로 반환시키고 그외의 값은 자신을 리턴하는 함수이다. 간편하니 Utils에 추가해두었다.
마지막으로 if (raw == 0.f && abs(axisInfo.value) < 1.f / 60.f)는 입력이 없고, 속도가 0에 가까워지면 0으로 고정시켜두는 식이다.
아래쪽 GetMouseButton은 마우스 좌클릭, 우클릭을 키보드에 대응하도록 임시로 만들어두었다.
float InputMgr::GetAxisRaw(Axis axis)
{
    auto findInfo = axisInfoMap.find(axis);
    if (findInfo == axisInfoMap.end())
        return 0.f;
    const AxisInfo& info = findInfo->second;
    auto it = ingList.rbegin();
    while (it != ingList.rend())
    {
        sf::Keyboard::Key key = *it;
        if (std::find(info.positives.begin(), info.positives.end(), key)
            != info.positives.end())
        {
            return 1.0f;
        }
        if (std::find(info.negatives.begin(), info.negatives.end(), key)
            != info.negatives.end())
        {
            return -1.0f;
        }
        ++it;
    }

    return 0.0f;
}
벡터값을 리턴하는 GetAxisRaw이다. axisInfoMap를 순회하며 입력이 없으면 0을, 키 입력이 있다면 AxisInfo 리스트에서 그 키를 찾아 키-값 쌍의 second 값을 판단한다.
또한 rbegin은 뒤에서부터 시작해서 rend는 앞에서 끝나는, find의 반대방향으로 순회하는 메소드인데, 키를 동시에 입력했을때 나중에 입력된것이 좀더 뒤에 위치할테니 나중에 입력한것을 뒤에서부터 찾아서 적용하겠다는 코드이다.
float InputMgr::GetAxis(Axis axis)
{
    auto findInfo = axisInfoMap.find(axis);
    if (findInfo == axisInfoMap.end())
        return 0.f;

    return findInfo->second.value;
}
속도를 반환하는 GetAxis 이다. 훨씬 간단하다.
bat 구현
bat는 간단하게 사각형을 그려서 만든다. 배트 자체의 속도와 rectangleshape형 변수 하나만 있으면 된다.
class Bat
{
protected:

public:
	Bat();
	float speed = 500.f;

	sf::RectangleShape shape;

	void Update(float dt);
	void Draw(sf::RenderWindow& window);
};
Bat::Bat()
{
shape.setSize({ 100.f, 5.f });
shape.setPosition({ 1920.f / 2.f , 1080.f - 20.f });
shape.setFillColor(sf::Color::White);
Utils::SetOrigin(shape, Origins::TC);
}
void Bat::Update(float dt)
{
float h = InputMgr::GetAxisRaw(Axis::Horizontal);
sf::Vector2f pos = shape.getPosition();
pos.x += h * speed * dt;
shape.setPosition(pos);
}
void Bat::Draw(sf::RenderWindow& window)
{
window.draw(shape);
}단순히 사각형을 설정해서 그려주고, 대신 수평 입력을 받도록 GetAxisRaw를 받는 변수 h를 넣어주었다. 이후 위치를 h와 속도, dt를 곱해서 표시해주면 된다.
ball
배트 다음은 공을 구현한다.
#pragma once
class Bat;

class Ball
{
protected:
	sf::Vector2f direction = { 0.f, 0.f };
	Bat& bat;
	sf::FloatRect windowbounds;
public:
	Ball(Bat& b, const sf::FloatRect& bounds);

	sf::CircleShape shape;
	float speed = 0.f;
	bool isDead = false;
	bool isBoundBat = false;
	bool isBatCollision = false;


	void fire(sf::Vector2f d, float s);

	void Update(float dt);
	void Draw(sf::RenderWindow& window);
};
공에는 배트의 참조, 윈도우 창의 크기, 게임종료와 충돌판정 등의 변수를 많이 넣어줬다.
#include "pch.h"
#include "Bat.h"
#include "Ball.h"

Ball::Ball(Bat& b, const sf::FloatRect& bounds) : bat(b) , windowbounds(bounds)
{
	shape.setRadius(10.f);
	//shape.setPosition({ 1920.f / 2.f , 1080.f - 35.f });
	shape.setFillColor(sf::Color::White);
	Utils::SetOrigin(shape, Origins::BC);
}

void Ball::fire(sf::Vector2f d, float s)
{
	direction = d;
	speed = s;
	isDead = false;
}

void Ball::Update(float dt)
{

	isBoundBat = false;
	sf::Vector2f pos = shape.getPosition();
	pos += direction * speed * dt;
	shape.setPosition(pos);


	const sf::FloatRect& ballBounds = shape.getGlobalBounds();
	const sf::FloatRect& batBounds = bat.shape.getGlobalBounds();
	if (ballBounds.intersects(batBounds) && !isBatCollision)
	{
		isBatCollision = true;
		isBoundBat = true;
		direction.y *= -1.f;
	}
	if (!ballBounds.intersects(batBounds))
	{
		isBatCollision = false;
	}

	//충돌처리
	if (windowbounds.top > shape.getGlobalBounds().getPosition().y)
	{
		Utils::SetOrigin(shape, Origins::TC);
		shape.setPosition(shape.getPosition().x, windowbounds.top);
		direction.y *= -1.f;
	}

	if (windowbounds.left > shape.getGlobalBounds().getPosition().x)
	{
		Utils::SetOrigin(shape, Origins::ML);
		shape.setPosition(windowbounds.left, shape.getPosition().y);
		direction.x *= -1.f;
	}

	if (windowbounds.width < shape.getGlobalBounds().getPosition().x)
	{
		Utils::SetOrigin(shape, Origins::MR);
		shape.setPosition(windowbounds.width, shape.getPosition().y);
		direction.x *= -1.f;
	}

	if (windowbounds.height < shape.getGlobalBounds().getPosition().y)
	{
		Utils::SetOrigin(shape, Origins::BC);
		isDead = true;
	}
}

void Ball::Draw(sf::RenderWindow& window)
{
	window.draw(shape);
}
공은 원형이니 setRadius로 반경을 선택해서 그려준다.
fire 함수는 공의 발사 속도를 정하는 메소드로 벡터값과 속도를 받는다.
이후 업데이트에서 공의 위치를 계속해서 변경해주고, getGlobalBouns, 런타임중 화면 상에서 오브젝트가 차지하는 영역을 계산해주는 함수로 배트와 공의 충돌판정을 계산했다.
intersects가 서로의 영역의 충돌을 계산해주는 함수이다.
또한 벽에 공이 닿아도 반대편으로 튕겨나가기 위해 3개의 벽에 충돌판정을 실시해 방향을 변경해줬다. 구조상 공이 너무 빠르게 넘어가면 충돌판정이 생기지 않는 버그가 생기기 때문에 공이 벽에 닿을때마다 미세하게 위치를 조정해줬다. 배트와 공의 충돌시에도 같은 버그가 생기는데, isBatCollision변수를 키고 꺼서 방향 전환이 한번만 일어나게 해줬다.
메인 함수 구현
int main()
{
sf::RenderWindow window(sf::VideoMode(1920, 1080), "Pong");
Bat bat;
Ball ball(bat, {{ 0.f, 0.f }, { 1920.f, 1080.f }});
bool isBallActive = false;
sf::Font font;
font.loadFromFile("fonts/DS-DIGI.ttf");
sf::Text uiScore;
int i = 0;
uiScore.setFont(font);
uiScore.setCharacterSize(40);
uiScore.setFillColor(sf::Color::White);
/ Utils::SetOrigin(uiScore, Origins::MC);
uiScore.setPosition(1920 / 2, 1080 / 2);/
InputMgr::Init();
sf::Clock clock;
while (window.isOpen())
{
    sf::Time deltaTime = clock.restart();
    float dt = deltaTime.asSeconds();
    InputMgr::Clear();

    sf::Event event;
    while (window.pollEvent(event))
    {
        if (event.type == sf::Event::Closed)
            window.close();

        InputMgr::UpdateEvent(event);
    }

    InputMgr::GetMousePos();
    InputMgr::Update(dt);
    bat.Update(dt);

    if (!isBallActive && InputMgr::GetKeyDown(sf::Keyboard::Space))
    {
        ball.fire({-1.f , 1.f } , -500.f);
        isBallActive = true;
    }

    if (!isBallActive)
    {
        ball.shape.setPosition(bat.shape.getPosition());
    }

    ball.Update(dt);

    if (ball.isDead)
    {
        isBallActive = false;
        i = 0;
        ball.fire({ 0.f ,0.f }, 0.f);
    }
    else if (ball.isBoundBat)
    {
        ball.isBoundBat = false;
        i += 100;
    }


    window.clear();
    uiScore.setString("Score : " + std::to_string(i));
    bat.Draw(window);
    ball.Draw(window);
    window.draw(uiScore);

    window.display();

}

return 0;
```
이번에는 씬매니저가 없기 때문에, 공과 배트 인풋매니저를 업데이트 해주어야 한다.
스페이스바를 통해 fire함수를 호출해서 공에 벡터와 속도를 주어 발사하도록 했다.
isBallActive변수를 통해 발사하기 전까지는 공이 배트에 붙어있을 수 있도록 해주었다.
공을 치지 못해서 밑으로 빠지거나, 점수를 올리고 초기화 하는 등의 작업도 마무리했다.
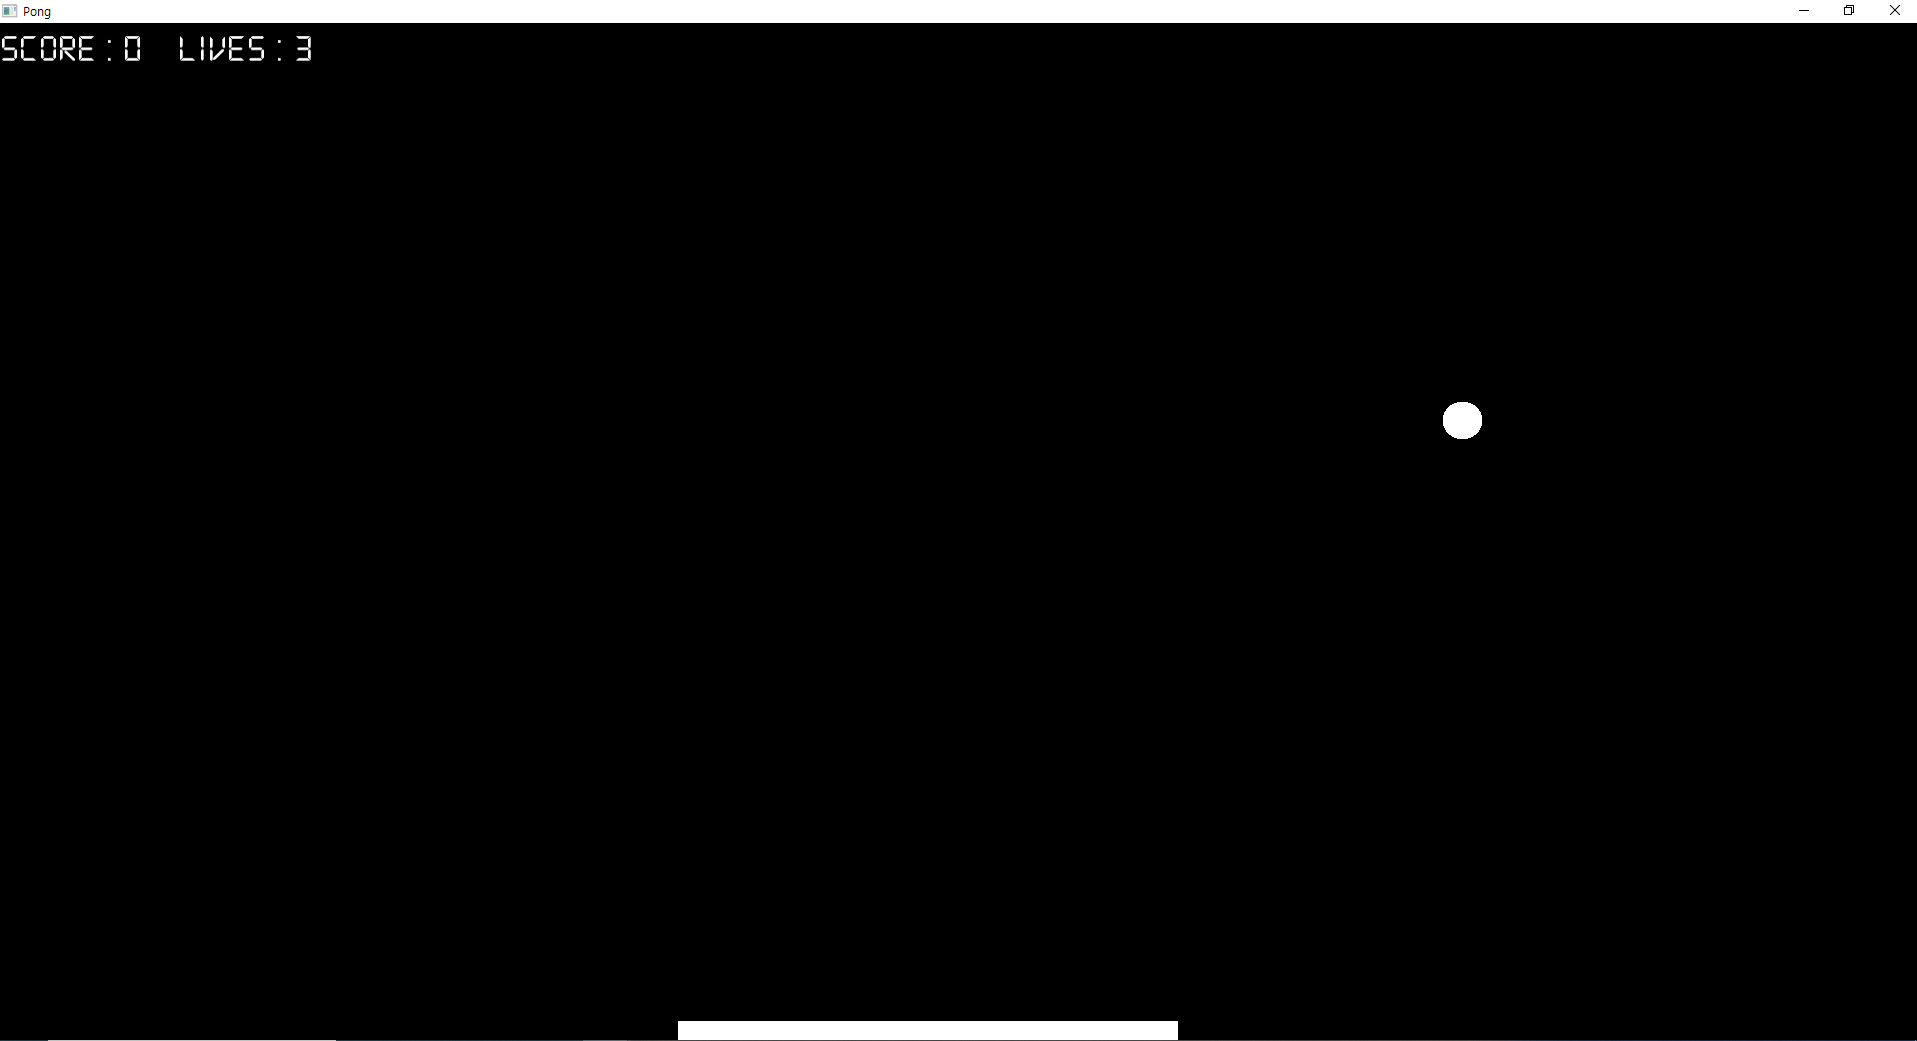
draw를 통해 출력해주면 기본적인 게임의 기능 구현은 완성이다!
다음에는 이 기본적인 코드들을 다시 framework로 정리해서 제대로 된 게임처럼 포장해볼 것이다.