- 인증키 받아오기
wget -q -O - https://dl-ssl.google.com/linux/linux_signing_key.pub | sudo apt-key add -- 크롬 패키지를 다운로드받을 PPA(Personal Package Archive)를 sources.list.d에 추가.
sudo sh -c 'echo "deb [arch=amd64] http://dl.google.com/linux/chrome/deb/ stable main" >> /etc/apt/sources.list.d/google.list'- 패키지 리스트를 업데이트
sudo apt update- 크롬 설치
sudo apt-get install google-chrome-stable설치 중간에 Y눌러 진행!
google-chrome설치한 크롬!! 하지만 한글이 깨지는모습!
- 나눔폰트 설치
sudo apt-get install fonts-nanum fonts-nanum-coding fonts-nanum-extra- locale 확인
locale- locale 변경, ko_KR.UTF8 선택(방향키로 변경)
sudo dpkg-reconfigure locales- WSL 다시 시작(Windows PowerShell에서 작성)
wsl —shutdownfcitx을 이용하여 한글입력기 설치하는 방법
- apt 로 fcitx 입력기와 한글 폰트, 언어팩을 설치
$ sudo apt install fcitx fcitx-hangul fonts-noto-cjk dbus-x11 language-pack-ko- 위 과정중 나눔폰트를 설정하였다면
루트로 다음 명령을 실행해서 fcitx 용 초기화 파일을 생성.
sudo vi /etc/profile.d/fcitx.sh- vi 파일이 열렸으면
o => 작성
ESC + : + w + q => 저장후 나오기
export QT_IM_MODULE=fcitx
export GTK_IM_MODULE=fcitx
export XMODIFIERS=@im=fcitx
export DefaultIMModule=fcitx

#optional
fcitx-autostart &>/dev/null- WSL 다시 시작(Windows PowerShell에서 작성)
wsl —shutdown설치 지우기
sudo apt remove fcitx-hangul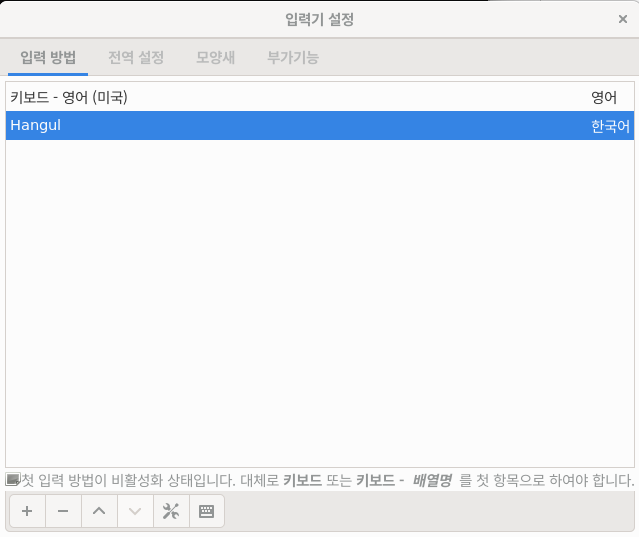
sudo autoremove- fcitx-config-gtk3 실행
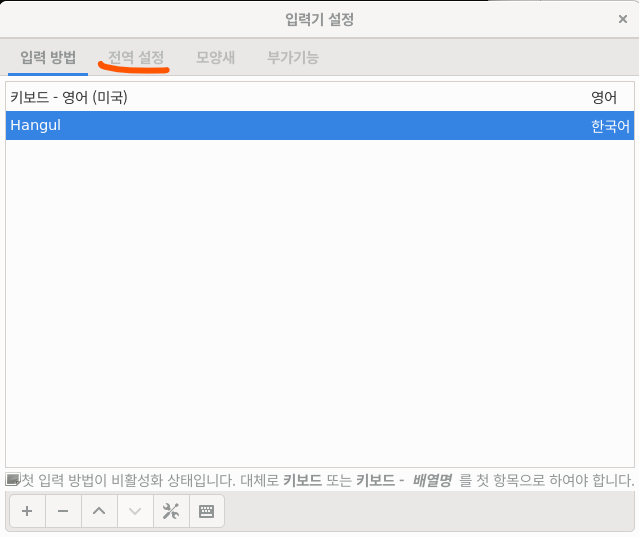
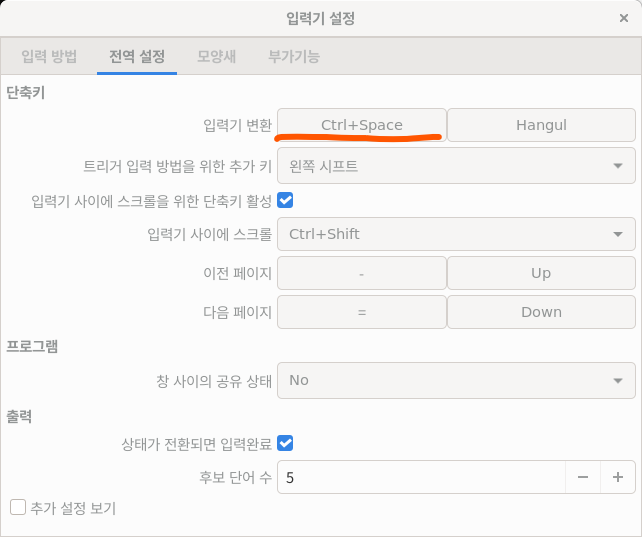
- 원하는 단축키설정
기본값은 Ctrl + Space
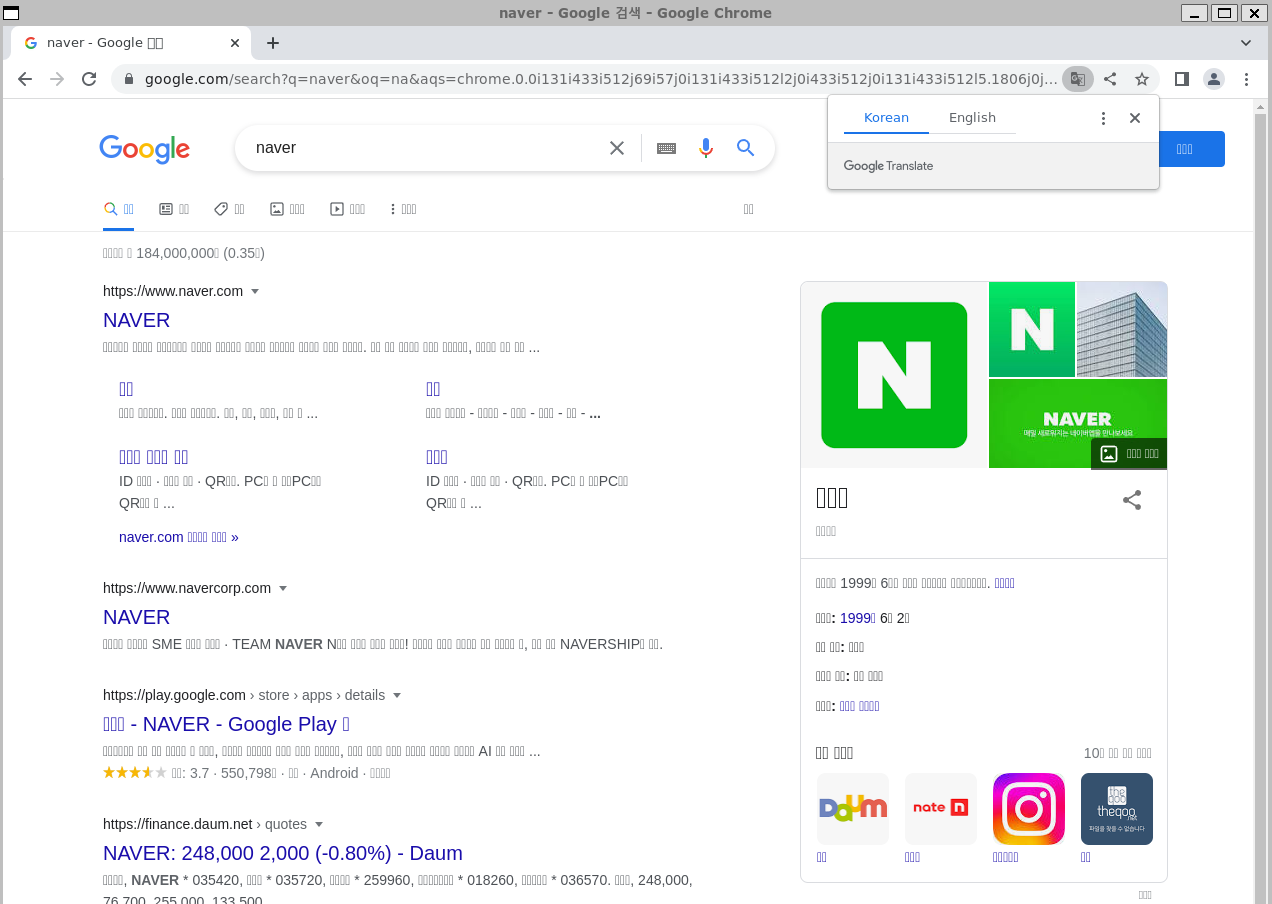
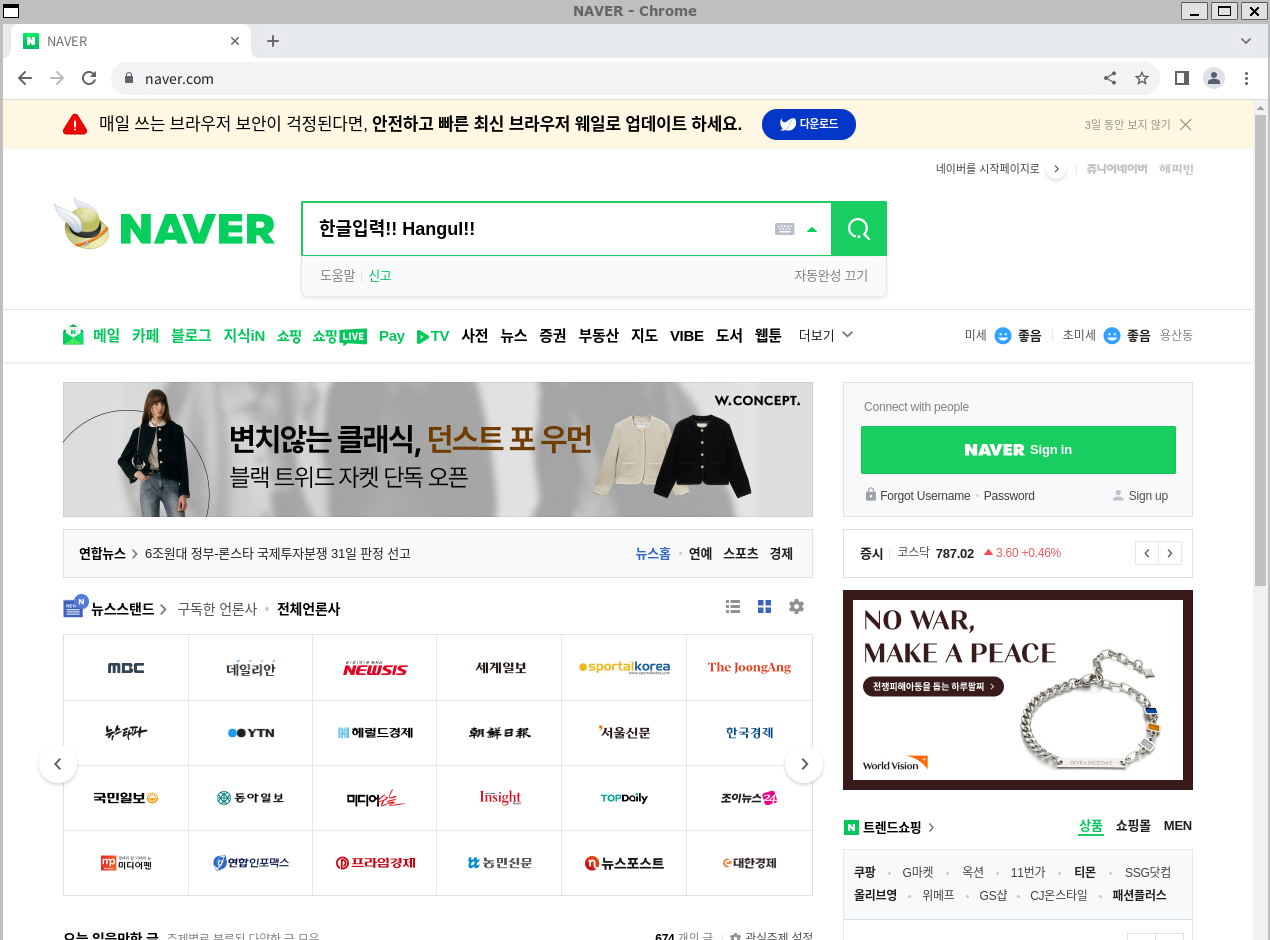
최종적으로 우분투 크롬환경에서 한글 잘 나오는 모습과, 언어입력 전환 가능해짐!!

개발공부 기록

중간에 설치 지우기는 몬가요?