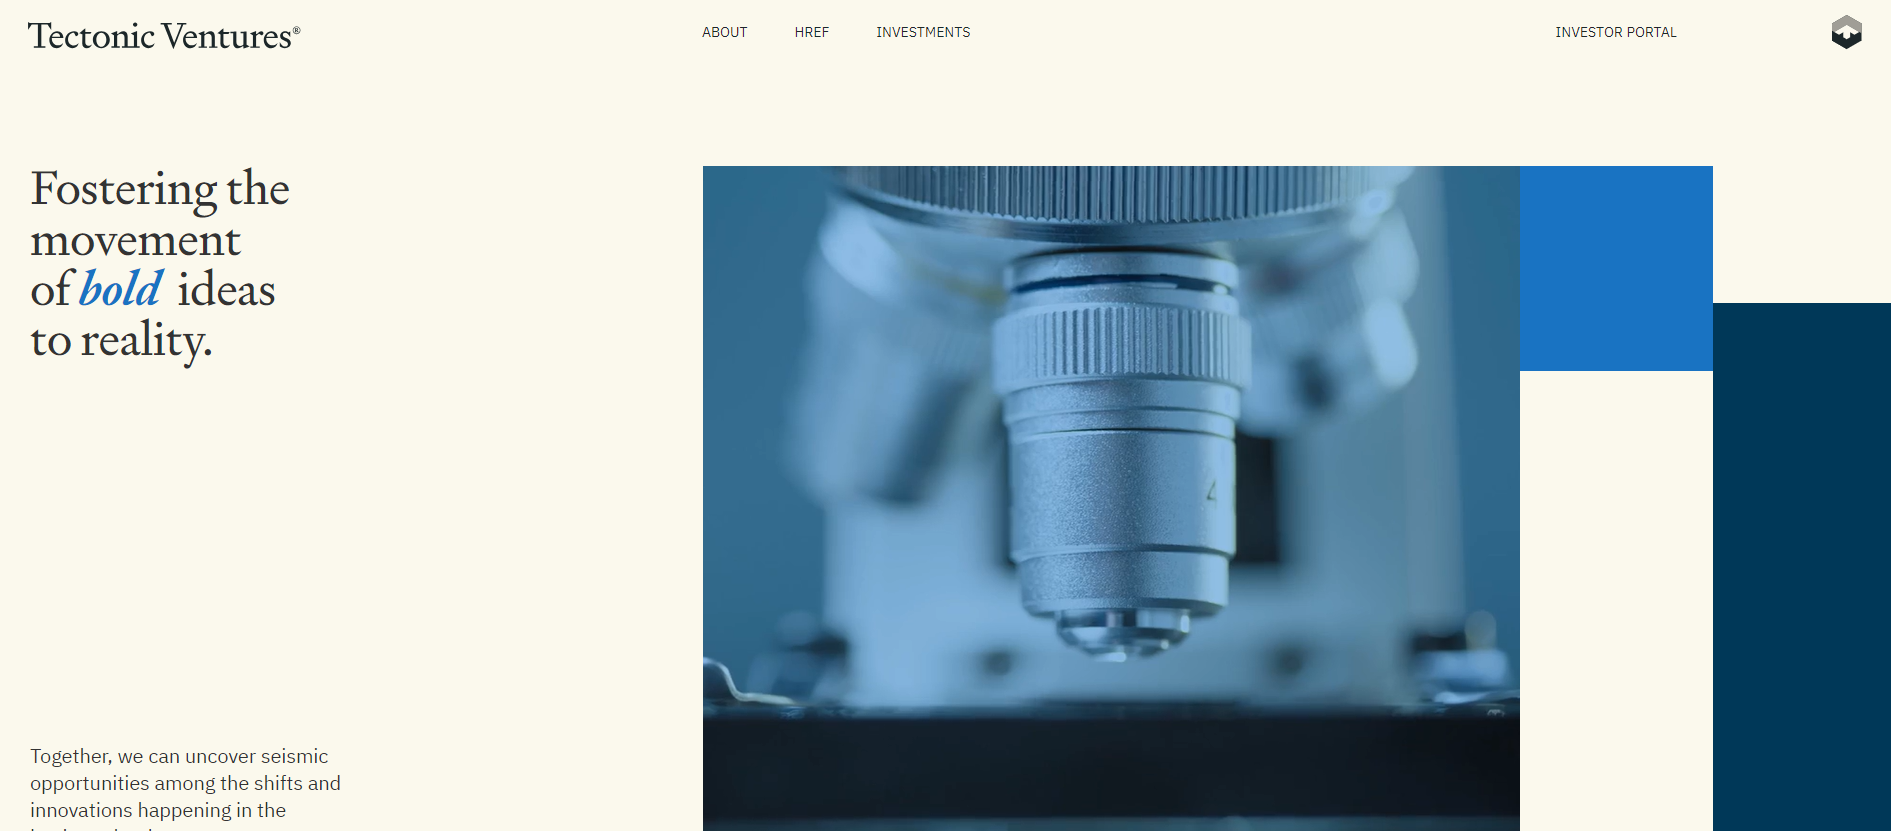
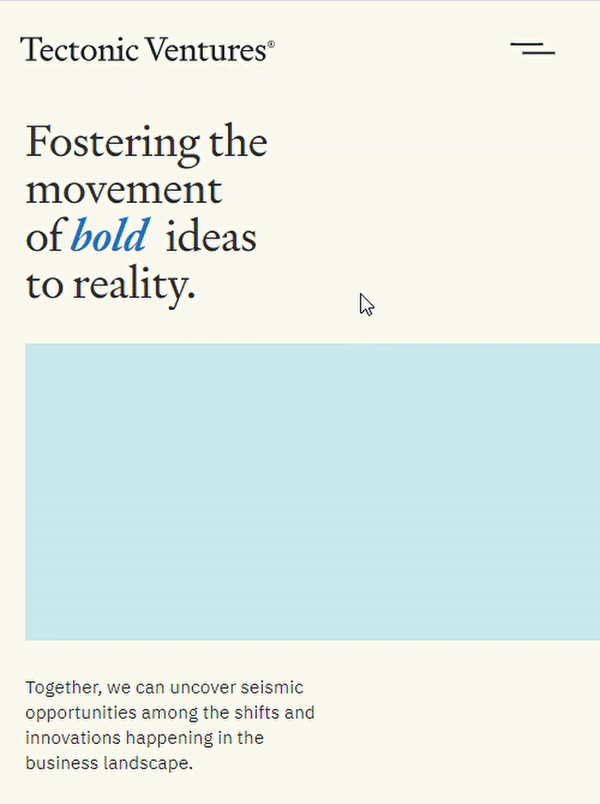
📀 Tectonic Ventures
- 사이트명: Tectonic Ventures
- 작업기간: 5일
- 사용언어: HTML5, SCSS, JS
- 라이브러리: jquery, gsap, ScrollTrigger, Draggable, Lottie
- 유형: PC 적응형
- 💻 https://leehh0203.github.io/tectonicventures/
✅ Check Point
✔ Lottie Animation
✔ gsap
✔ footer 구현하기
1.Lottie Animation
Tectonic Ventures를 클론코딩하면서 움직이는 도형을 접했다! 이것은 무엇인가...🧐 찾아보니 'Lottie'였다
🔍Lottie란?
에어비앤비에서 개발한 라이브러리이다. After Effects(에프터 이펙트)으로 추출한 애니메이션 데이터(json)를 Bodymovin(오픈소스)를 이용하여 웹, 앱(Android, iOS React-native)에 적용할 수 있는 백터기반의 애니메이션이다.
📌사용장점
✅ 백터기반인대 불구하고 용량이 작고 해상도 저하가 없다
✅ 사용자의 인터렉션에 따라 제어 가능(play,stop)🚫사용단점
✅ After Effects(에프터 이펙트) 외에 쓸만한 작업툴x
✅ 제작 과정이 복잡하여 숙련도 필요
처음 인트로 과정에서도 로고 부분에 로티를 사용하였고 중간 카드 이미지에도 로티를 사용, 또한 버튼 부분도 로티, 모바일 메뉴 버튼도 로티를 사용하였다!
참 많이도 사용하였다..🤣아! 추가적으로 하단 문서 부분에 링크 부분도 로티를 사용하였다 덕분에 로티에 대한 지식 습득을 많이 할 수 있는 기회가 되었다..🤛
1. lottie-player
lottie-player는 쉽고 편리하게 사용할 수 있도록 도와주는 라이브러리이다
https://lottiefiles.com/web-player 여기에는 lottie-player를 어떤 식으로 컨트롤할지에 대해 나와있어 이곳을 참고하여 구현하였다
👉 카드도형
사용방법이 정말 간단했다!
<lottie-player src="./assets/data/motion2.json" speed = "1" direction="1" loop autoplay></lottie-player>
speed: 속도 조절
direction: 재생 방향 direction:-1을 하면 역방향
loop: 무한 반복재생
autoplay: 자동재생
이런 식으로 컨트롤하였다 거기에 추가적으로 hover기능으로 마우스를 올렸을 때 play가 되도록 할 수도 있었다
문제에 부딪혔다! lottie-player로만 컨트롤하는 데에 한계가 있었다
바로 이 부분 더 보기 버튼인데 마우스가 올라가져 있을 때는 정방향으로 재생되고 마우스가 나가면 역방향으로 재생하면서 끝나는 것이었다..
lottie-player이에 hover는 한 방향으로만 사용이 가능했다👀(동공지진)

💻Code
//버튼 로티 호버했을때 모션
const btnContainers = document.querySelectorAll(".btn-lottie");
btnContainers.forEach(container => {
  container.addEventListener("mouseover", () => {
    const player = container.querySelector("lottie-player");
    player.setDirection(1);
    player.play();
  });

  container.addEventListener("mouseleave", () => {
    const player = container.querySelector("lottie-player");
    player.setDirection(-1);
    player.play();
  });
});
정말 다양한 방법을 시도했다.. 결국 위에 코드를 사용하여 마우스 이벤트를 주었다
👉 모바일메뉴
마찬가지로 모바일메뉴 또한 같은 방법으로 구현하였다
💻Code
var isAnimationReversed = false; // 애니메이션의 방향을 추적하는 변수

$('.btn-menu').click(function(){
    if (isAnimationReversed){
        menuTl.reverse();
        menuAnimation.setDirection(-1); // 애니메이션 방향을 역으로 설정
        menuAnimation.play(); // 역재생 시작
        document.body.style.overflow = 'unset';
    } else {
        menuAnimation.setDirection(1); // 애니메이션 방향을 다시 정방향으로 설정
        menuAnimation.play(); // 정방향 재생 시작
        menuTl.play();
        document.body.style.overflow = 'hidden';
    }
    isAnimationReversed = !isAnimationReversed;
});
2. lottie
로고 같은 경우 처음 시작할 때 바로 플레이되는 것이 아닌 딜레이를 주어 다른 도형과 함께 움직이는 듯한 느낌을 주었다
💻Code
//로고 로티
var logoAnimation = bodymovin.loadAnimation({
    container: $('.logo-lottie')[0],
    path: './assets/data/logo-motion.json',
    renderer: 'svg',
    loop: false,
    autoplay: false,
  });

//딜레이
  setTimeout(() => {
    logoAnimation.play();
  }, 3000);
2.gsap
1. stagger: grid로 효과 쉽게 주기
gsap 효과 중에 Staggers가 있다 이건 반복문을 굳이 사용하지 않더라도 안에 있는 아이템들을 각각 움직이는듯한 느낌을 줄 수 있는 효과이다
👉 advisors list

💻Code
    gsap.from('.sc-advisors .advisors-item',{
        scrollTrigger: {
            trigger:".sc-advisors",
            start:"0 70%",
            end:"50% 70%",
            // markers:true,
        },
        duration:2,
        yPercent:100,
        stagger: {
            grid: [5,5],
            from:"edges",
            axis: "x",
            amount: 0.3
        },
    })
💻사이트- https://gsap.com/resources/getting-started/Staggers
gsap 사이트를 참고하여 grid효과를 주어 만들었다
2.forEach대신 batch!
그동안 여러 개의 아이템에 반복적으로 효과를 주기 위해서는 forEach를 사용하였다 찾아보니 forEach대신 gsap에서 제공하는 batch를 사용하면 더욱 간편하게 효과를 줄 수 있었다
✅1단계: 변수로 만들어 사용
const textList = document.querySelectorAll(".sc-definition .text");
textList.forEach(item => {});✅2단계: toArray로 조금 더 쉽게 사용
gsap.utils.toArray('.sc-definition .text').forEach(item => {});✅3단계: batch
ScrollTrigger.batch('.sc-definition .text', {})3.gsap 반응형작업
gsap을 계속 작업을 하면서 느낀 게 scrollTrigger를 사용하다 보면 trigger만 잘 걸면 모바일에서 사용하는데 문제는 없다. 하지만 가끔 PC와 모바일을 따로 모션을 줄 때나 모바일에서는 모션이 잘 안 보이기 때문에 빼는 경우가 있다.

이 부분은 PC에서 스크롤을 내리면 움직이는 효과를 주었지만 모바일에서는 사용하고 싶지 않을 때 사용하는 것이
💻Code
//card pc,테블릿만 적용
gsap.registerPlugin(ScrollTrigger);

let mm = gsap.matchMedia();

mm.add("(min-width: 1025px)", () => {
    const newideaT2 = gsap.timeline({
        scrollTrigger: {
            trigger:".sc-newidea",
            start:"0 50%",
            end:"100% 50%",
            // markers:true,
            scrub:3,
        },
    })
    newideaT2.from('.sc-newidea .group-shapes-box2',{yPercent: -30,},)
    newideaT2.to('.sc-newidea .inner2',2,{yPercent: 10,},'a')
    newideaT2.to('.sc-newidea .inner3',2,{yPercent: 20,},'a')
});
요 코드를 사용하였다 다른 방법으로 아래의 코드가 있다
ScrollTrigger.matchMedia({

	"(min-width: 800px)": function() {
  },

	"(max-width: 799px)": function() {
  },

	"all": function() {
  }

});
3.footer 구현하기
👉 footer 모션
footer부분에 다양한 모션이 들어갔다!🤨 단계를 하나씩 밟아가면서 클리어하기!
📌footer구현리스트
✅ footer도달 시 도형 위로 올라가게 하기
✅ 마우스 올렸을 때 마우스 모양 바뀌기
✅ 백그라운드 투명 효과 주기
✅ 도형 Y축으로 움직이게 하기
✅ footer도달 시 도형 위로 올라가게 하기
💻Code
const footerTl = gsap.timeline({
    scrollTrigger: {
        trigger:".footer-graphic",
        start:"0 100%",
        end:"100% 100%",
        // markers:true,
        scrub:20,
        duration:3,
    },
})
footerTl
.to('.footer-graphic ._1',{height: '40%',ease:'power3'},"a")
.to('.footer-graphic ._2',{top: '127.287px',ease:'power3'},"a")
.to('.footer-graphic ._3',{height: '55%',ease:'power3'},"a")
.to('.footer-graphic ._4',{top: '0',ease:'power3'},"a")
.to('.footer-graphic ._5',{height: '55%',ease:'power3'},"a")
.to('.footer-graphic ._6',{top: '214.15px',ease:'power3'},"a")
.to('.footer-graphic ._7',{height: '40%',ease:'power3'},"a")
✅ 마우스 올렸을 때 마우스 모양 바뀌기
const customCursor = document.querySelector(".mouse");
$('.footer-graphic').mousemove(function(e){
    gsap.to(customCursor,{
        x: e.clientX,
        y: e.clientY,
    });
})
✅ 백그라운드 투명 효과 주기
마우스를 올리면 투명해지는 동시에 마우스가 보이도록 하였다
📕 CSS
background-color에 transparent 을 주면 투명해지는 효과가 난다
        .graphic_item{
            cursor: none;
            z-index: 3;
            transition: background 0.5s;
            &.on{ background-color:transparent;  }
📁 gasp
$('.graphic_item').hover(function(){
    $('.graphic_item').addClass('on')
    $('.mouse').addClass('show')

},function(){
    $('.mouse').removeClass('show')
    $('.graphic_item').removeClass('on')
})
✅ 도형 Y축으로 움직이게 하기
마지막으로 도형 움직이게 하는 건 gsap에 Draggable을 사용해 움직일 수 있도록 하였다
💻Code
//도형 y축이동
Draggable.create(".graphic_item", {
    type:"y",
	bounds:".footer-graphic",
	// edgeResistance:0,
	// throwProps:true
});
bounds는 컨테이너라고 생각하면 되고 type을 통해 y축으로 움직이게 할 것인지 x축으로 움직이게 할 것 인지를 설정할 수 있었다 주석 처리한건 효과였는데 컨테이너 끝부분에 닿았을 때 바운스 한 느낌을 주는 효과였다
사실 이 프로젝트를 하면서 정말 많은 걸 느꼈다 계속해서 추가할 예정이지만 PC-> 모바일로 반응형 작업을 하면서 grid를 활용하면 불필요하게 마크업을 낭비할 필요가 없다는 것도 느꼈다🧐
