기본기를 탄탄히하기위해 개념들을 다시 정리해보자!
Document Object Model?
Document Object Model이하 DOM은 HTML, XML 문서의 프로그래밍 Interface이다. 이들 문서의 구조, 스타일, 내용등을 변경하기 위해선 각각의 요소(element)에 접근할 필요가 있다. 웹페이지는 일종의 문서지만 DOM은 이 문서를 Object로 표현하는 것이다. Object로써 DOM은 nodes, property, method를 갖고 있다.
즉, 문서를 각 요소에 접근 가능하도록 만든 Object가 DOM이다.
DOM을 사용하는 API
DOM을 이용한 CRUD(create, read, update, delete) 구현
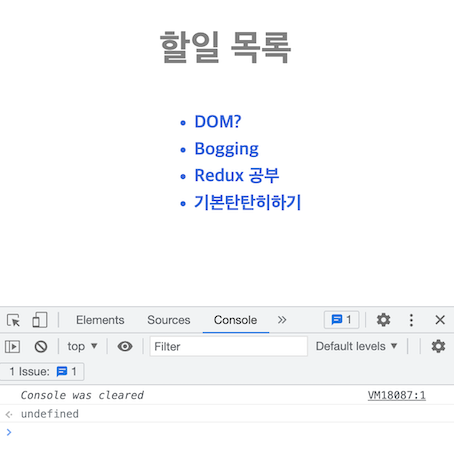
연습용 HTML, CSS
//HTML
<!DOCTYPE html>
<html lang="en">
  <head>
    <meta charset="UTF-8" />
    <meta http-equiv="X-UA-Compatible" content="IE=edge" />
    <meta name="viewport" content="width=device-width, initial-scale=1.0" />
    <title>DOM practice</title>
    <link rel="stylesheet" href="./style.css" />
  </head>
  <body>
    <div id="container">
      <h1 id="title">할일 목록</h1>
      <ul id="group">
        <li class="list">DOM?</li>
        <li class="list">Bogging</li> // 😱 blogging을 쓴다는게...오타가
        <li class="list">Redux 공부</li>
        <li class="list">기본탄탄히하기</li>
      </ul>
    </div>
  </body>
</html>
/* CSS */
#container {
margin: auto;
width: 200px;
display: flex;
flex-direction: column;
align-items: center;
}
#title {
color: gray;
}
.list {
margin-bottom: 5px;
color: royalblue;
font-weight: 700;
}
1. 태그 추가하기
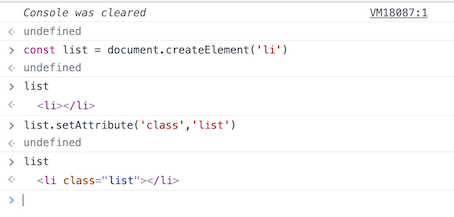
creatElement, 먼저 태그를 생성하는 DOM method 통해 <li> 태그 생성
const list = documnet.createElement('li') //<li></li> 생성및 변수 list에 할당, 참조데이터
📌 잠깐 createElement는 어디서나온거야??
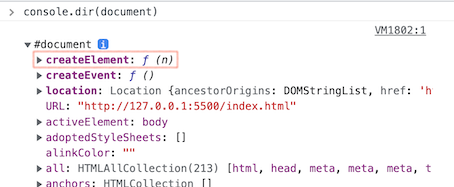
document를 살펴보면 해당 메서드를 가지고 있는것을 확인 할 수 있다.
console.log(documnet)를 사용하면 HTML만 확인되기때문에, console.dir(document)를 통해 확인 할수 있다. 프로토타입을 들어가보면 추가로 다양한 method들을 확인 할 수 있다.
setAttribute, 생성된 태그에 class 부여
list.setAttribute('class','list') // list에 class 속성 값으로 'list' 추가, 다양한 속성을 추가할수 있다.생성된 태그에 스타일이 적용될 수 있도록 class 부여
textContent, 태그에 text 추가
해당 태그에 text 추가 할 수 있다.
list.textContent='건강을위한 운동'
이제 list를 <ul></ul>내에 추가해줘야한다.
그러기 위해서는 <ul> tag를 선택하고 하위태그로 추가하겟다는 명령을 내려줘야하기 때문에 <ul> tag를 선택하는게 우선이다.
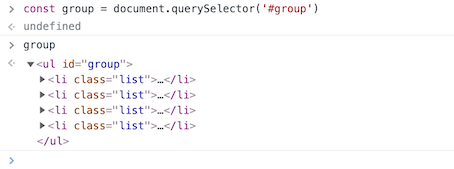
querySelector, 원하는 태그를 선택한다.
const group = documnet.querySelector('#group')
//또는
const group = documnet.getElementById('group')
원하는 태그를 선택하는 method는 몇가지가 더 있다.
document.querySelectorAll 해당 태그, ID,class를 갖는 모든 태그를 선택
document.getElementById 해당 ID 값을 가진 태그를 선택
document.getElementsByClassName 해당 class를 가진 태그를 선택
이외에도 몇가지 더있지만.. querySelector, querySelectAll을 통해 대부분 선택이 가능.
변수에 <ul id="group"> 태그를 할당한다. 이때 이 태그는 참조 데이터이다.
appendChild 또는 append를 이용해 list를 #gropu 하위태그로 추가한다.
group.appendChilld(list)
//또는
gropu.append(list) // text 추가 가능, 여러개 추가가능.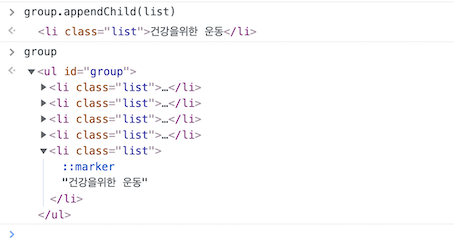
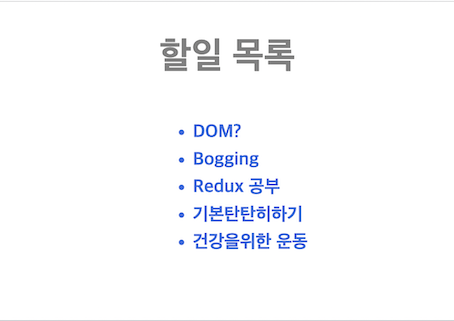
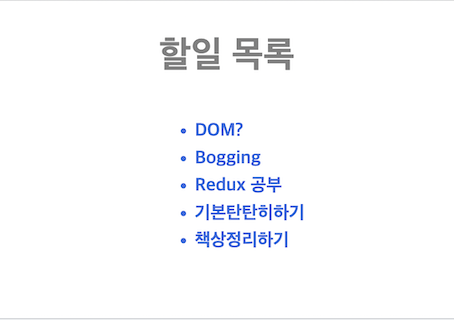
페이지에 list가 추가된 모습을 확인 할 수 있다. 물론 class에 맞는 스타일도 잘 적용 된것을 확인 할 수 있다.
2. 태그 업데이트 하기
내용수정
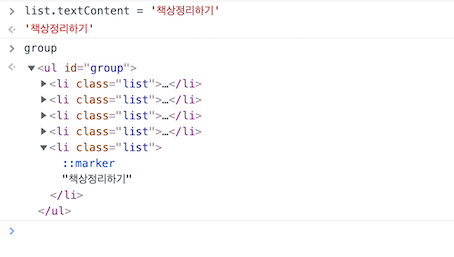
태그의 내용을 봐꾸거나 스타일을 수정해보자. textContent에 값을 재할당하여 내용을 수정할 수 있다.
스타일 수정
css 파일에 해당 코드를 추가한다.
.underline {
  text-decoration: underline;
}
태그에 class를 추가한다.
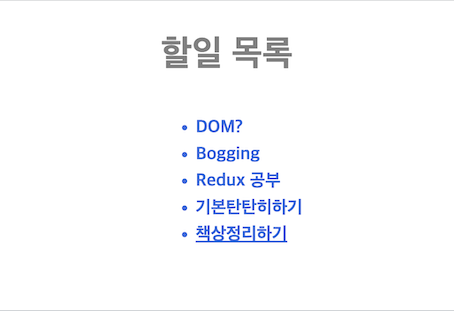
list.classList.add('underline')

//참고! 삭제도 가능하다!
list.calssList.remove('underline')
해당태그는 추가된 class의 스타일이 중복적용된다.

3. 태그 삭제
list.remove() // 를 통해 변수 list를 삭제할 수 있다.

//만일 할일 목록을 모두 지우고 싶다면
//할일 목록의 리스트를 모두 선택한다.

const allList = document.querySelectorAll('.list')
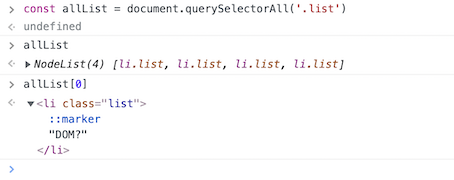
변수 allList에 class가 list인 모든 <li>가 배열로 할당된것을 확인 할 수 있다. 배열이기 때문에 모든인자를 순회하며 remove()를 사용하면 모두 삭제가 가능하다.
//고차함수 이용하기
allList.forEach(el => el.remove())

//반복문 이용하기
for(el of allList) {
  el.remove()
}
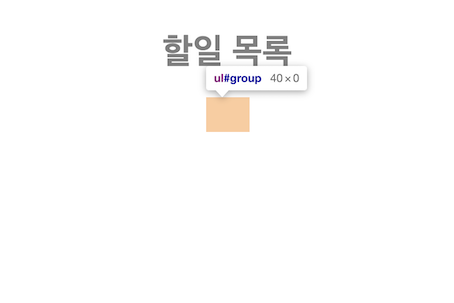
결과는 아래와 같다.

