가상화(Virtualization), Windowing
대량의 데이터(예: 수천 개의 목록 항목)를 한 번에 렌더링하면 성능 문제가 발생할 수 있습니다. 가상화는 이 문제를 해결하기 위해 현재 화면에 보이는 항목들만 렌더링하고, 스크롤할 때 필요한 항목들을 동적으로 추가 및 제거하는 기술입니다.
무한 스크롤을 적용했던 다른 프로젝트에서 가상화의 개념을 알게 되어 새로운 프로젝트에 적용해보았습니다. 일반적으로 페이지네이션이 없는 페이지나, 무한스크롤이 적용되어서 스크롤을 내릴수록 DOM 요소가 쌓일 때 가상화 기법으로 렌더링 최적화를 할 수 있습니다.
라이브러리 소개
프로젝트 환경은 Next14 App router 입니다.
react-window와 react-virtuoso 2개의 라이브러리를 사용해봤습니다. react-virtualized 라이브러리도 많이 사용됩니다.
첫번째로 react-window 를 선택한 이유는 가벼운 패키지이며, 게시물 리스트의 높이가 고정되어 있어서 크기를 동적으로 계산할 필요가 없었습니다.
리스트의 모양이 한 열에 하나의 UI가 보이는 리스트면 구현이 어렵지 않습니다. 저는 한 줄에 2개의 게시물이 보이는 UI 구성이어서 커스텀이 필요했습니다.
react-window를 먼저 사용해보고 불편함을 느껴서 react-virtuoso를 적용했습니다.
display: 'grid',
gridTemplateColumns: 'repeat(2, 1fr)'
크기가 고정적이라면 가벼운 라이브러리인 react-window를 사용하고, 동적인 크기라면 react-virtualized와 react-virtuoso를 이용하는게 더 편리합니다.
react-window 적용예시

import { FixedSizeList as List } from 'react-window';

const Row = ({ index, style }) => (
  <div style={style}>Row {index}</div>
);

const Example = () => (
  <List
    height={150}
    itemCount={1000}
    itemSize={35}
    width={300}
  >
    {Row}
  </List>
);
react-window의 예시를 확인할 수 있는 사이트입니다.
https://react-window.vercel.app/#/examples/grid/fixed-size
FixedSizeGrid 사용과 문제점
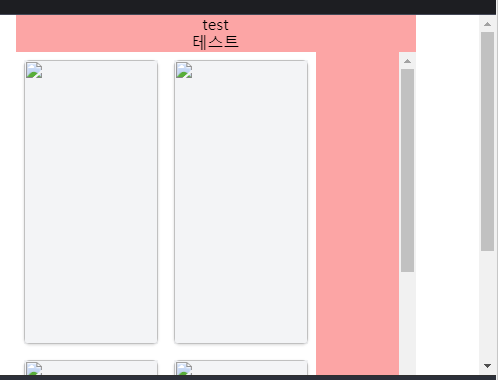
단일 게시물을 일렬로 표시할 때는 문제가 없지만, grid를 이용해서 여러 게시물을 한줄에 보여줘야 할때는 css 문제가 있습니다.

<div className="flex flex-col items-center bg-red-300">
<p>test </p>
  <div>테스트</div>
  <Grid 속성생략>
</div>
코드를 간략히 보면 flex와 items-center의 영향으로 p 태그와 div 태그는 가운데 정렬이 되었지만 Grid 태그는 적용이 안되는 문제가 있습니다.
import faker from "https://cdn.skypack.dev/faker@5.5.3";
import { FixedSizeGrid as Grid } from "https://cdn.skypack.dev/react-window@1.8.6";
faker.seed(2);

const COLUMNS = 4;
const ROWS = 10;

const data = Array.from({ length: ROWS }, () =>
  Array.from({ length: COLUMNS }, faker.internet.avatar)
);

function App() {
  return (
    <main className="grid place-items-center min-h-screen">
      <div className="flex flex-col items-center bg-red-300">
        <p>test </p>
        <div>테스트</div>
      <Grid
        columnCount={2}
        rowCount={6}
        columnWidth={150}
        rowHeight={300}
        height={500}
        width={400}
        className="flex items-center"
      >
        {({ rowIndex, columnIndex, style }) => {
          return (
            <div style={style} className="border-8 border-white bg-gray-100">
              <img
                className="object-cover w-full h-full rounded-md shadow"
                src={data[rowIndex][columnIndex]}
                alt=""
              />
            </div>
          );
        }}
      </Grid>
      </div>
    </main>
  );
}

ReactDOM.render(<App />, document.getElementById("app"));
위과 같은 react-window를 사용해볼 수 있는 사이트입니다.
https://codepen.io/smhmd/pen/MWmbPeX
react-window 스크롤 분리 문제
react-window의 경우는 리스트 내부에 스크롤이 생겨서 메인 스크롤과 분리되는 문제가 있으며 이를 해결한 글을 참고로 올립니다.
- 리스트 내부 스크롤과 윈도우 스크롤로 나뉘게 됨
react-virtuoso의 Window Scrolling
동일한 문제의 경우 react-virtuoso는 제공하는 속성 useWindowScroll를 이용하면 해결할 수 있습니다.
function App() {
  return (
    <Virtuoso
      useWindowScroll
      totalCount={200}
      itemContent={(index) => ( <div style={{ padding: '1rem 0.5rem' }}>Item {index}</div>)}
    />
  )
}
위의 예시 확인하기
https://virtuoso.dev/window-scrolling/
react-virtuoso로 Grid 리스트 가상화 하기
예시를 확인할 수 있는 사이트입니다.
https://virtuoso.dev/grid-responsive-columns/
적용 전
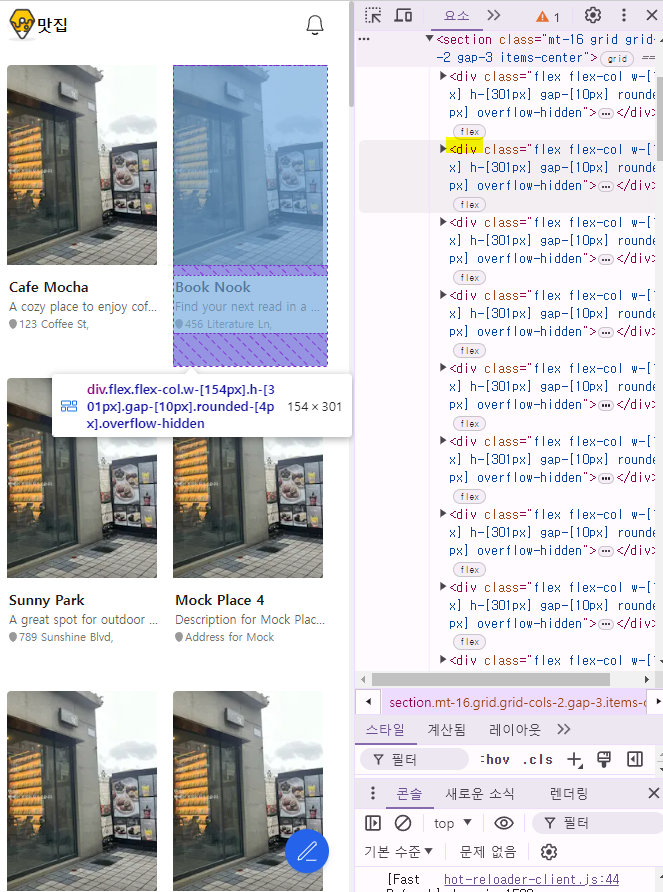
- 페이지네이션이 없는 상태
- div 요소가 많고 전부 렌더링되어 우측 스크롤이 길다
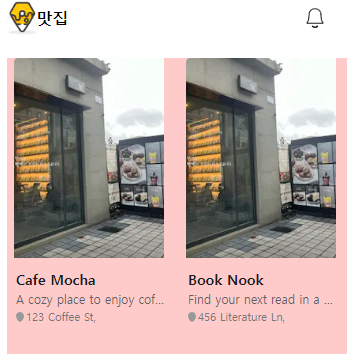
적용 후
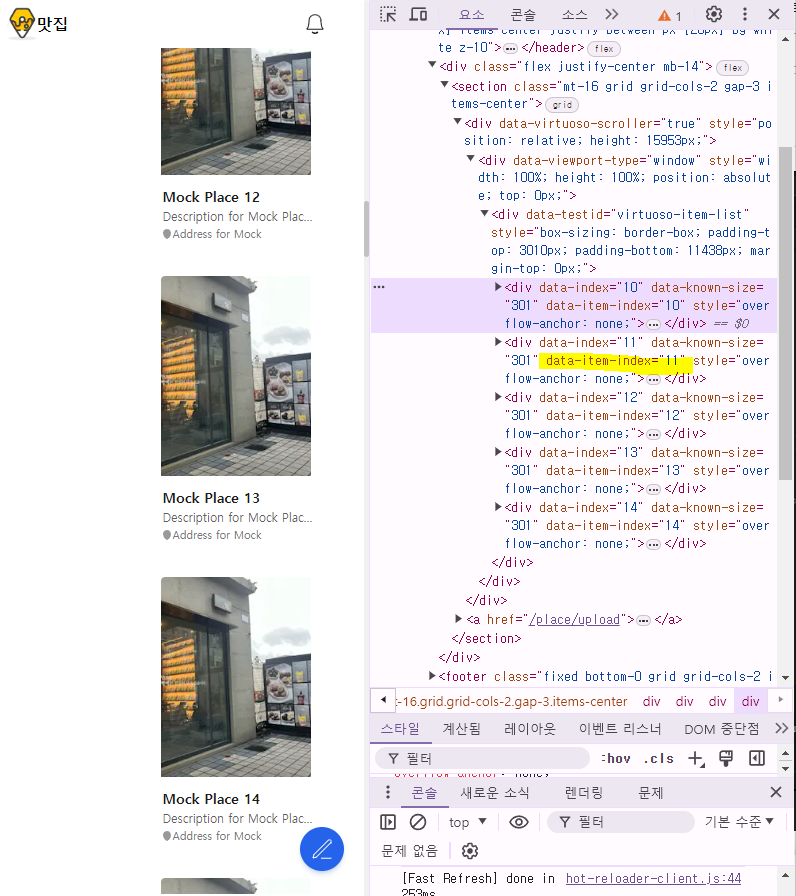
- grid 적용이 안됨
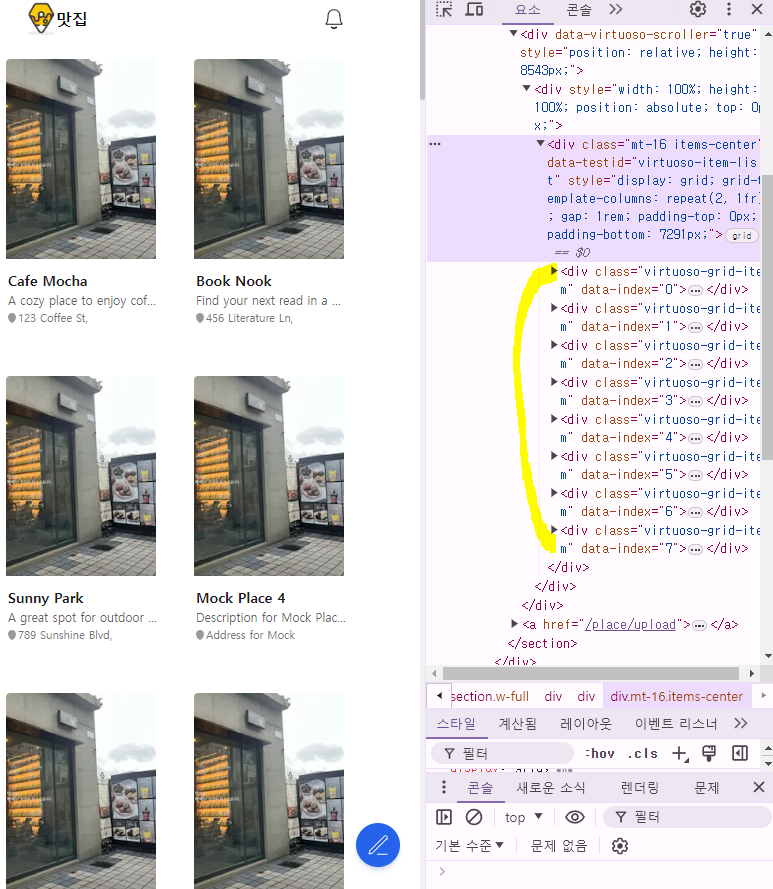
단순하게 리스트가 1열로 표시되는 UI라면 아래처럼 간단히 적용할 수 있습니다.
grid UI를 사용하려면 <VirtuosoGrid /> 를 사용해야 합니다.
'use client'
import { Virtuoso } from 'react-virtuoso'

const HoneyPlaceListClinet = ({ initialPlaces }: { initialPlaces: HoneyPlace[] }) => {
  const [places, setPlaces] = useState(initialPlaces)

  return (
    <div className='flex justify-center mb-14'>
      <section className='mt-16 grid grid-cols-2 gap-3 items-center'>
        <Virtuoso
          useWindowScroll
          increaseViewportBy={0} // 시작점
          data={places}
          itemContent={(index, place) => {
            return <HoneyPlaceCard key={place.id} place={place} />
          }}
        />
        <PlaceFloatingButton />
      </section>
    </div>
  )
}- useWindowScroll로 윈도우 스크롤 사용
- increaseViewportBy 시작 지점 설정
- data에는 기존에 places.map()으로 사용하던 데이터인 places를 넣을 수 있습니다.
- itemContent는 첫번째 props로는 인덱스, 두번째는 데이터를 받습니다.
프로젝트 코드에 적용하기
적용 전 기존 코드
// firebase db 데이터를 가져오는 함수를 서버컴포넌트에서 실행
const HoneyPlaceListServer = async () => {
  const places = await getHoneyPlaces()
  return <HoneyPlaceListClinet initialPlaces={places} />
}

// props로 받은 데이터로 렌더링
const HoneyPlaceListClinet = ({ initialPlaces }: { initialPlaces: HoneyPlace[] }) => {
  const [places, setPlaces] = useState(initialPlaces)

  return (
    <div className='flex justify-center'>
      <section className='grid grid-cols-2 gap-3 items-center'>
        {places.map((place) => (
          <HoneyPlaceCard key={place.id} place={place} />
        ))}
      </section>
    </div>
  )
}
react-window
import { FixedSizeGrid as Grid } from 'react-window'

const HoneyPlaceListClinet = ({ initialPlaces }: { initialPlaces: HoneyPlace[] }) => {
  const [places, setPlaces] = useState(initialPlaces)

  const columnCount = 2
  const rowCount = Math.ceil(places.length / columnCount)
  const columnWidth = 154 + 10 // 카드 너비 + 간격

  return (
    <div className='flex justify-center mb-14'>
      <section className='mt-16 w-full flex justify-center'>
        <Grid
          columnCount={columnCount}
          columnWidth={columnWidth} // 카드 너비 + 간격
          height={800} // 그리드의 높이
          rowCount={rowCount}
          rowHeight={300} // 카드 높이 + 간격
          width={columnCount * columnWidth + 10} // 그리드의 너비
          itemData={places}
        >
          {({ columnIndex, rowIndex, style, data }) => {
            const index = rowIndex * columnCount + columnIndex
            if (index >= data.length) return null
            const place = data[index]
            return (
              <article style={style}>
                <HoneyPlaceCard key={place.id} place={place} />
                </article>
            )
          }}
        </Grid>
      </section>
    </div>
react-virtuoso의 VirtuosoGrid
import { forwardRef, useState } from 'react'
import { VirtuosoGrid } from 'react-virtuoso'

const gridComponents = {
  List: forwardRef(({ style, children, ...props }: any, ref) => (
    <div
      ref={ref}
      {...props}
      style={{
        display: 'grid',
        gridTemplateColumns: 'repeat(2, 1fr)',
        gap: '1rem',
        ...style,
      }}
      className='mt-16 items-center'
    >
      {children}
    </div>
  )),

  Item: ({ children, ...props }: any) => (
    <div className='p-3' {...props}>
      {children}
    </div>
  ),
}


const HoneyPlaceListClinet = ({ initialPlaces }: { initialPlaces: HoneyPlace[] }) => {
  const [places, setPlaces] = useState(initialPlaces)

   return (
    <div className='flex justify-center mb-14'>
      <section className='w-full'>
        <VirtuosoGrid
          useWindowScroll
          components={gridComponents}
          itemContent={(index) => <HoneyPlaceCard key={places[index].id} place={places[index]} />}
          data={places}
        />
        <PlaceFloatingButton />
      </section>
    </div>
)- useWindowScroll는 스크롤 분리를 없애줍니다.
- components는 가상화 리스트로 보여줄 컴포넌트의 바깥 속성을 지정할 수 있습니다.
- data에는 map으로 넘기던 데이터를 설정합니다.
- itemContent에는 렌더링 할 리스트 요소를 담습니다.
최종 적용 코드
수직 정렬
배경색을 임시로 지정해서 수평 정렬을 확인했습니다.
gridComponents 함수의 className으로 적용하는 css가 일부는 적용되고 일부는 적용이 안되는 문제가 있습니다.
style에 직접 작성하니 가운데로 정렬되는 css가 적용 됩니다!
const gridComponents: any = {
  List: forwardRef(({ style, children, ...props }: any, ref) => (
    <div
      ref={ref}
      {...props}
      style={{
        display: 'grid',
        gridTemplateColumns: 'repeat(2, 1fr)',
        gap: '0.25rem', // 1rem = 4 * 0.25rem
        paddingBottom: '30px',
        justifyItems: 'center', // 수평 정렬
        alignItems: 'center', // 수직 정렬
        ...style,
      }}
      className='mt-16 ml-5 bg-red-200'
    >
      {children}
    </div>
  )),

  Item: ({ children, ...props }: any) => (
    <div className='' {...props}>
      {children}
    </div>
  ),
}
Footer에 가려지는 문제
VirtuosoGrid의 components={gridComponents}로 작성한
className으로 적용한 mt는 반영이 되었지만 mb과 pb는 적용이 되지 않는 문제가 있었습니다.
<div
  ref={ref}
  {...props}
  style={{...style}}
  className='mt-16 bg-red-100 grid grid-cols-2 mb-16 items-center justify-center'
  >
  {children}
</div>- mt-16, bg-red-100, grid, grid-cols-2는 적용이 됨
- 그 외에는 적용이 안됨
return부의 VirtuosoGrid의 부모 태그인 section에 인라인으로 css를 적용하니 해결되었습니다.
정확한 원인은 찾지 못했지만 Tailwind CSS보다 style 속성에 명시된 인라인 스타일이 더 높은 우선순위를 가집니다.
VirtuosoGrid는 가상화 라이브러리임으로 DOM 조작과 스타일 적용 과정이 일반 태그와 다를 수 있어서 tailwind css 클래스 일부가 제대로 적용되지 않은 것 같습니다.

기존 코드
const gridComponents: any = {
  List: forwardRef(({ style, children, ...props }: any, ref) => (
    <div
      ref={ref}
      {...props}
      style={{
        display: 'grid',
        gridTemplateColumns: 'repeat(2, 1fr)',
        gap: '0.25rem',
        justifyItems: 'center', // 수평 정렬
        alignItems: 'center', // 수직 정렬
        ...style,
      }}
      className='mt-16 bg-red-100 mb-16'
      // mb-16 적용 X
    >
      {children}
    </div>
  )),

  Item: ({ children, ...props }: any) => (
    <div className='p-3' {...props}>
      {children}
    </div>
  ),
}
변경 코드
return (
    <div className='flex justify-center mb-20'>
      <section
        className='w-full'
        style={{ paddingBottom: '20px' }}>
        // 추가한 부분
        <VirtuosoGrid
          useWindowScroll
          components={gridComponents}
          itemContent={(index) => <HoneyPlaceCard key={places[index].id} place={places[index]} />}
          data={places}
        />
        <PlaceFloatingButton />
      </section>
    </div>
  )