SAP Fiori App을 개발하기위해 SAP Web IDE, SAP Business Application Studio(BAS), Visual Studio Code등의 개발환경을 이용한다. 이 글에서는 VSC(Visual Studio Code) 개발환경에서 어떻게 SAP Fiori App 생성을 하는지 단계별로 알아보자! 📝📝📝
📌 step1. 사전작업
VSC 설치
Visual Studio Code 다운로드 해당 링크에 들어가서 우선 VSC를 설치하자.
NODE JS 설치
VSC에서 UI5/Fiori app을 실행시키기위해 다양한 node 모듈들을 사용한다. 그렇기 때문에 Node.JS를 먼저 설치해주길 바란다.
📌 step2. extension 설치
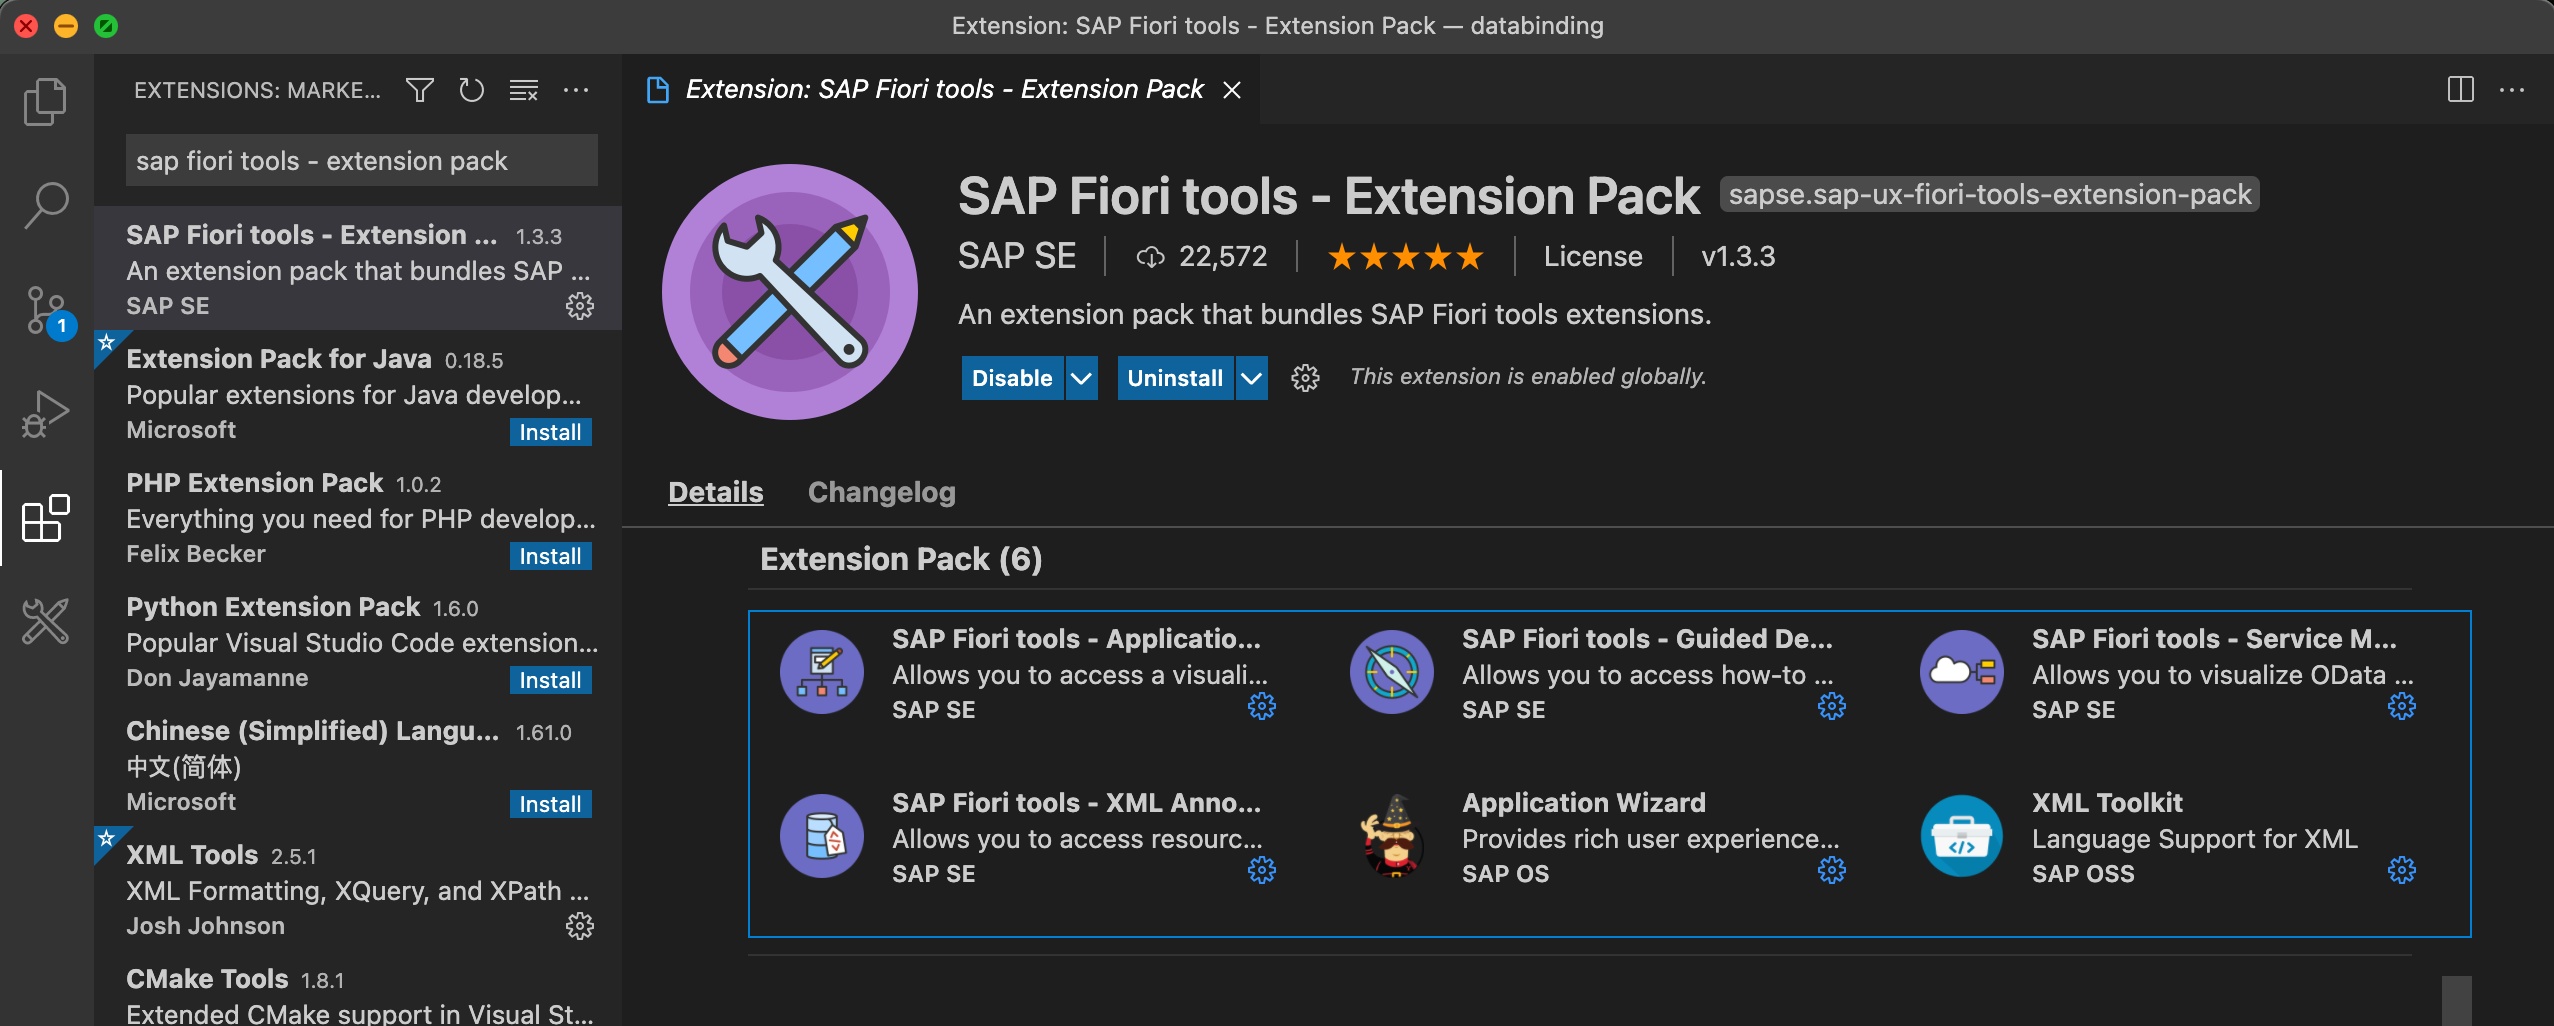
Marketplace에서 SAP Fiori tools -Extension Pack 익스텐션을 다운받자. 해당 익스텐션은 모든 필수 및 권장 익스텐션들이 포함되어 있다.
📌 step3. Application Generator
F1 또는 cmd/ctrl + shift + p 를 눌러 Command Pallet를 열고 Fiori: Open Application Generator를 선택한다.

🌟 VSC에서 Command Pallete는 다양한 명령에 대한 편리한 접근을 제공한다.
📌 step4. Template Wizard
step1. Floorplan Selection
Application Type 에 SAP Fiori Element와 SAPUI5 freestyle이 있는데 참조한 예시를 바탕으로해서 SAP Fiori Element로 하겠다. (사용자가 원하는 형식에 따라 선택하면 된다.) 그리고 floorplan은 list Report Object Page를 선택한다.

step2. Data Source and Service Selection
Data Sourece를 OData Service로 선택하고 OData service URL를 하단의 url로 설정한다.
https://sapes5.sapdevcenter.com/sap/opu/odata/sap/SEPMRA_PROD_MAN/
service username과 password는 해당 사이트를 참고해서 본인의 username과 password를 적는다.

step3. Entity Selection
Main Entity과 Navigation Entity를 선택한다. 현재 글에서는 fiori app 생성에 초점을 뒀기 때문에 다음 화면처럼 구성한다.

step4. Project Attributes
필수 값만 세팅해주고 Finish 버튼을 눌러 앱 생성을 완료한다.

📌 start app
생성한 프로젝트의 경로에 들어가서 npm run start를 해준다.
- 🌟 package.json 파일에 script 관련 명령어가 있으니 참고해서 알맞게 사용하면 된다.
	"scripts": {
		"start": "fiori run --open 'test/flpSandbox.html#project1-tile'",
		"start-local": "fiori run --config ./ui5-local.yaml --open 'test/flpSandboxMockServer.html#project1-tile'",
		"start-noflp": "fiori run --open 'index.html'",
		"build": "ui5 build -a --clean-dest --include-task=generateManifestBundle generateCachebusterInfo",
		"deploy": "fiori verify",
		"deploy-config": "fiori add deploy-config",
		"start-mock": "fiori run --open 'test/flpSandboxMockServer.html#project1-tile'"
	},

그러면 app이 실행이되고 다음과 같은 화면을 볼 수 있을 것이다.

🔗 참고 링크
- Set up sap fiori tools develops
- settig up vscode blog 해당 블로그에서 webide, bas 개발환경 동향, vscode 특징들이 간단히 잘 소개되어있다.