📌 색깔 적용하기
웹 디자인에 있어서 색깔을 적용할 수 있는 부분은 아주 많다.
폰트, 배경, 도형이나 그림자 등 모두 색깔을 적용해줄 수 있다.
Question. 폰트에는 흰색, 전체 배경에는 초록색을 입혀보자.
html
<!DOCTYPE html>
<html lang="en">
<head>
    <meta charset="UTF-8">
    <meta http-equiv="X-UA-Compatible" content="IE=edge">
    <meta name="viewport" content="width=device-width, initial-scale=1.0">
    <title>Document</title>
  	<link rel="stylesheet" href="../css/question.css">
</head>
<body>
  <div>안녕하세요. 김형준입니다.</div>
</body>
</html>
css
div{
	color: white;
    background-color: green;
}
출력결과

🔥심화개념🔥
여기서 텍스트의 색갈을 각기 다르게 설정하고 싶을 때는?
각각의 텍스를 <span>태그로 감싸준다!!
(<span> : 줄바꿈을 하지 않고 일정 범위를 지정하는 태그!!)
html
<html lang="en">
<head>
    <meta charset="UTF-8">
    <meta http-equiv="X-UA-Compatible" content="IE=edge">
    <meta name="viewport" content="width=device-width, initial-scale=1.0">
    <title>Document</title>
  	<link rel="stylesheet" href="../css/question.css">
</head>
<body>
    <div><span>안</span><span>녕</span><span>하</span><span>세</span><span>요</span><span>.</span>
    <span>김</span><span>형</span><span>준</span><span>입</span><span>니</span><span>다</span><span>.</span></div>
</body>
</html>
css
div {
  color: white;
  background-color: green;
}

div span:nth-child(1) {
  color: white;
}

div span:nth-child(2) {
  color: tomato;
}

div span:nth-child(3) {
  color: turquoise;
}

div span:nth-child(4) {
  color: violet;
}

div span:nth-child(5) {
  color: yellow;
}

div span:nth-child(6) {
  color: yellowgreen;
}

div span:nth-child(7) {
  color: blue;
}

div span:nth-child(8) {
  color: black;
}

div span:nth-child(9) {
  color: blueviolet;
}

div span:nth-child(10) {
  color: chartreuse;
}

div span:nth-child(11) {
  color: cyan;
}

div span:nth-child(12) {
  color: darkcyan;
}

div span:nth-child(13) {
  color: darkred;
}
출력결과

📢 css 문서에서 div span:nth-child(n){ }은
'div의 n번째 자식 span을 ~~색으로 설정한다!' 라는 의미이다!!
📌 글자의 크기와 굵기
div {
  font-size: 50px;
  font-weight: bold;
}
출력결과

✔ 크기는 font-size로 설정할 수 있다.
- medium : 보통 크기
- larger : 상대적으로 큰 크기
- smaller : 상대적으로 작은 크기
- length : px, %, em, rem
✔ 굵기는 font-weight로 설정할 수 있다.
- normal : 보통 굵기
- bolder : 상대적으로 굵은 굵기
- lighter : 상대적으로 얇은 굵기
- number : 100, 200, 300, 400, 500, 600, 700, 800, 900
다양한 속성으로 세밀하게 변경이 가능하다!!
📌 폰트 적용하기
-
구글 폰트 사이트로 접속 후 한국어로 설정
-
원하는 폰트 고르기
-
+Select this style 클릭하기
우측<link>와@import고르기 -
html과 css에 적용하기
(<style>은 html의<head>안에, font-family는 cssdml body안에 적용하면 끝!!
html
    <style>
        @import url('https://fonts.googleapis.com/css2family=Nanum+Myeongjo:wght@700&display=swap');
    </style>
css
font-family: 'Nanum Myeongjo', serif;출력결과

⭐Mission⭐

html
<!DOCTYPE html>
<html lang="kr">
<head>
    <meta charset="UTF-8">
    <meta http-equiv="X-UA-Compatible" content="IE=edge">
    <meta name="viewport" content="width=device-width, initial-scale=1.0">
    <title>Document</title>
    <link rel="stylesheet" href="../css/day5.css">
    <style>
        @import url('https://fonts.googleapis.com/css2?family=Nanum+Myeongjo:wght@700&display=swap');
        @import url('https://fonts.googleapis.com/css2?family=Cute+Font&display=swap');
    </style>
</head>
<body>
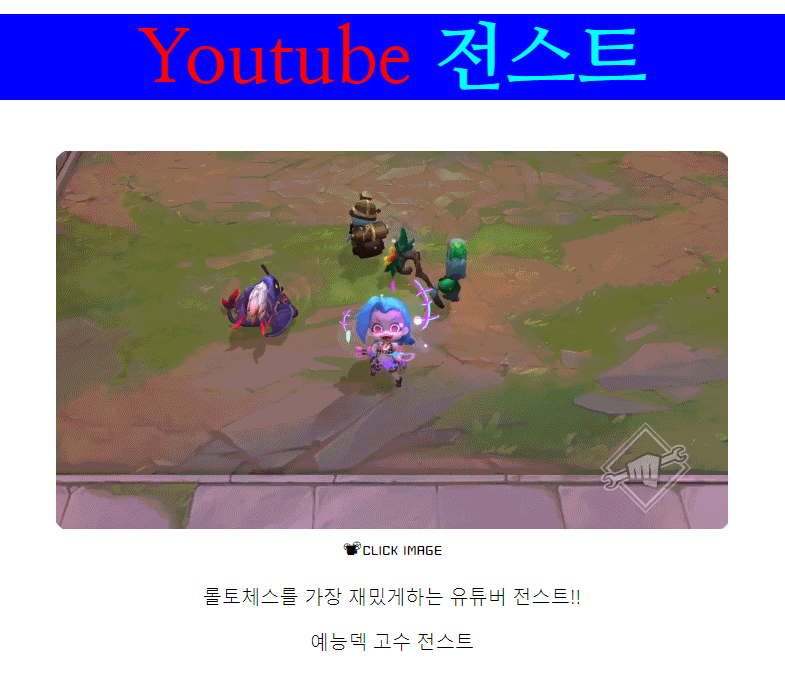
    <div>
        <h1><span>Youtube</span> <span>전스트</span></h1>
        <a href="https://www.youtube.com/channel/UCD8r5Jgns2V64-NcUmXclpg" target="_blank"><img src="../img/1634819315.gif"></a>
        <br>
        <span>📽CLICK IMAGE</span>
        <p>롤토체스를 가장 재밌게하는 유튜버 전스트!!</p>
        <p>예능덱 고수 전스트</p>
    </div>
</body>
</html>
css
div {
  text-align: center;
}

h1 span:nth-child(1) {
  color: red;
}

h1 span:nth-child(2) {
  color: aqua;
}

h1 {
  background-color: blue;
  font-family: 'Nanum Myeongjo', serif;
  font-size: 75px;
  font-weight: bold;
}

div > span {
  font-family: 'Cute Font', cursive;
  font-size: 20px;
}

p {
  font-size: larger;
  font-weight: lighter;
}- 그냥
<span>태그만 css에서 조작하려하면 모든<span>태그가 함께 조작됨
따라서 개별적인 조작을 위해서는 부모, 자손, 후손을 이용해야하는 것 같다. - css 문서에서 개별적으로 text-align 조작이 되지않아서 4일차 코뮤의 정답 예시를 보고
<body>의 컨텐츠 전체를<div>로 감싼 후에text-align: center;을 하니 정상적으로 조작된 모습을 보였다.
