1. Firebase Cloud Messaging(Firebase 푸시 알림) 개요
FCM은 Firebase가 제공하는 클라우드 기반의 푸시 알림 서비스.
이를 통해 앱과 웹사이트로 알림을 쉽게 전송할 수 있으며, 사용자가 앱을 실행하지 않아도 백그라운드에서 중요한 정보를 전달할 수 있다.
Next.js와 같은 웹 애플리케이션 환경에서도 FCM을 사용해 알림 기능을 구현할 수 있다.
2. Firebase 프로젝트 및 FCM 설정
2-1. Firebase 프로젝트 생성
- Firebase 콘솔로 이동: Firebase 콘솔에 접속하여 로그인한다.
- 프로젝트 추가: ‘프로젝트 만들기’를 클릭하여 새로운 Firebase 프로젝트를 생성.
- 프로젝트 이름 입력: 원하는 프로젝트 이름을 입력하고 ‘계속’을 클릭.
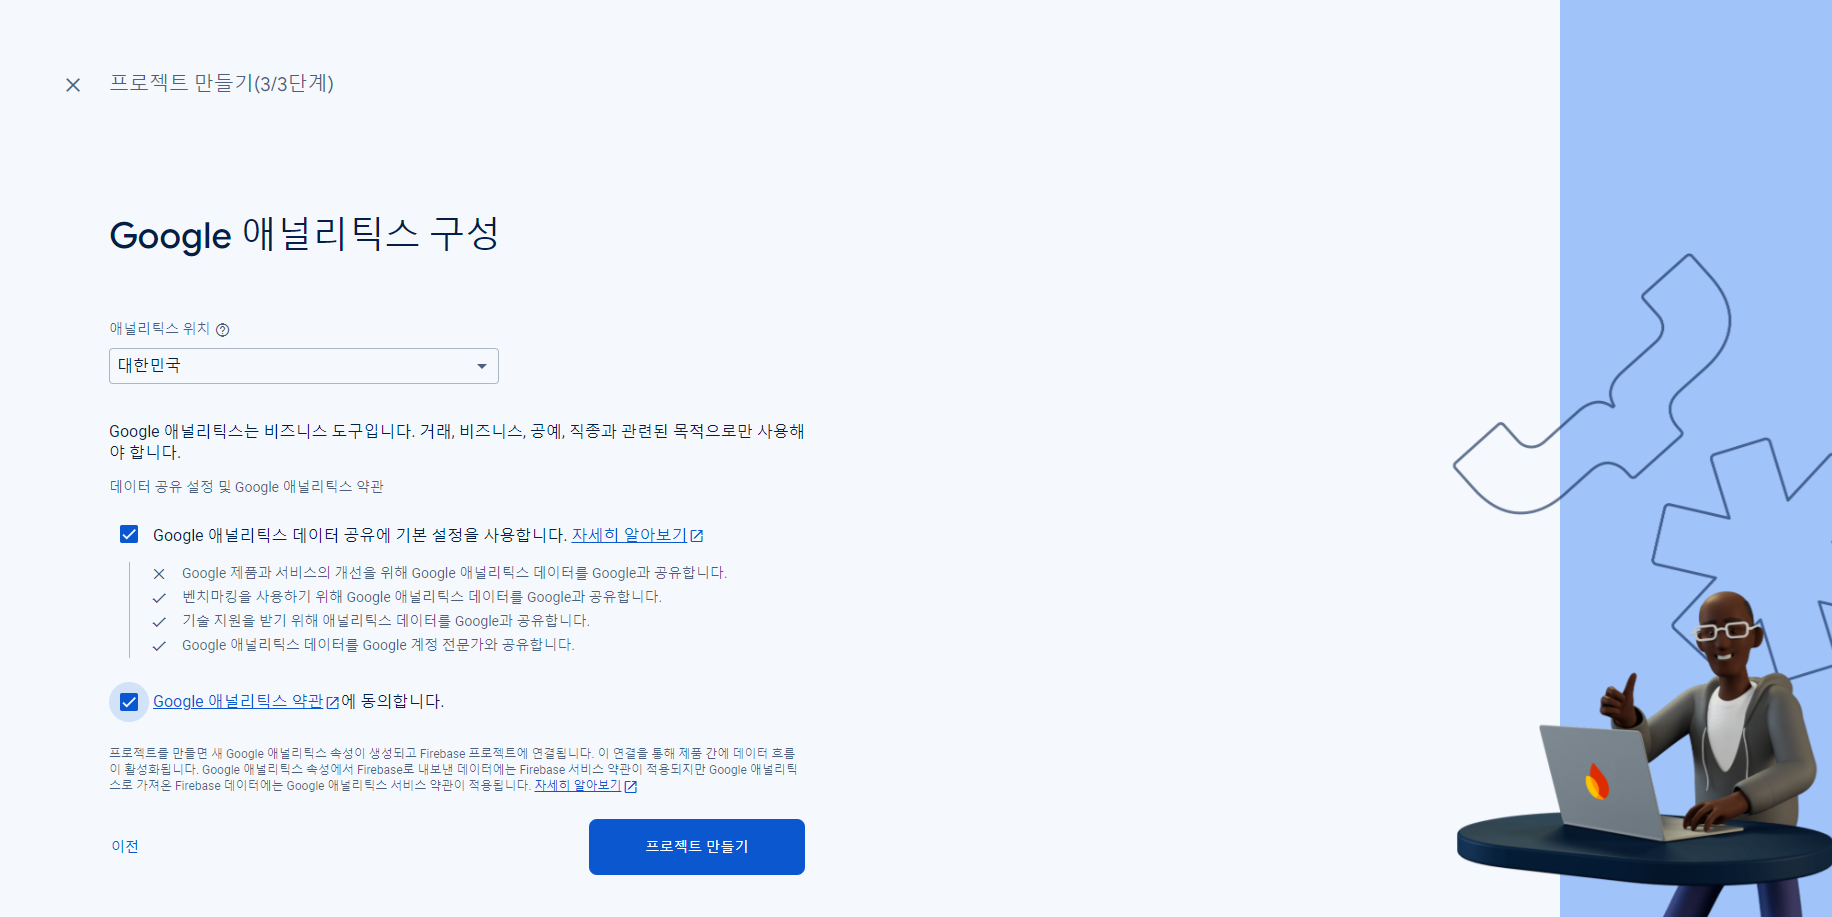
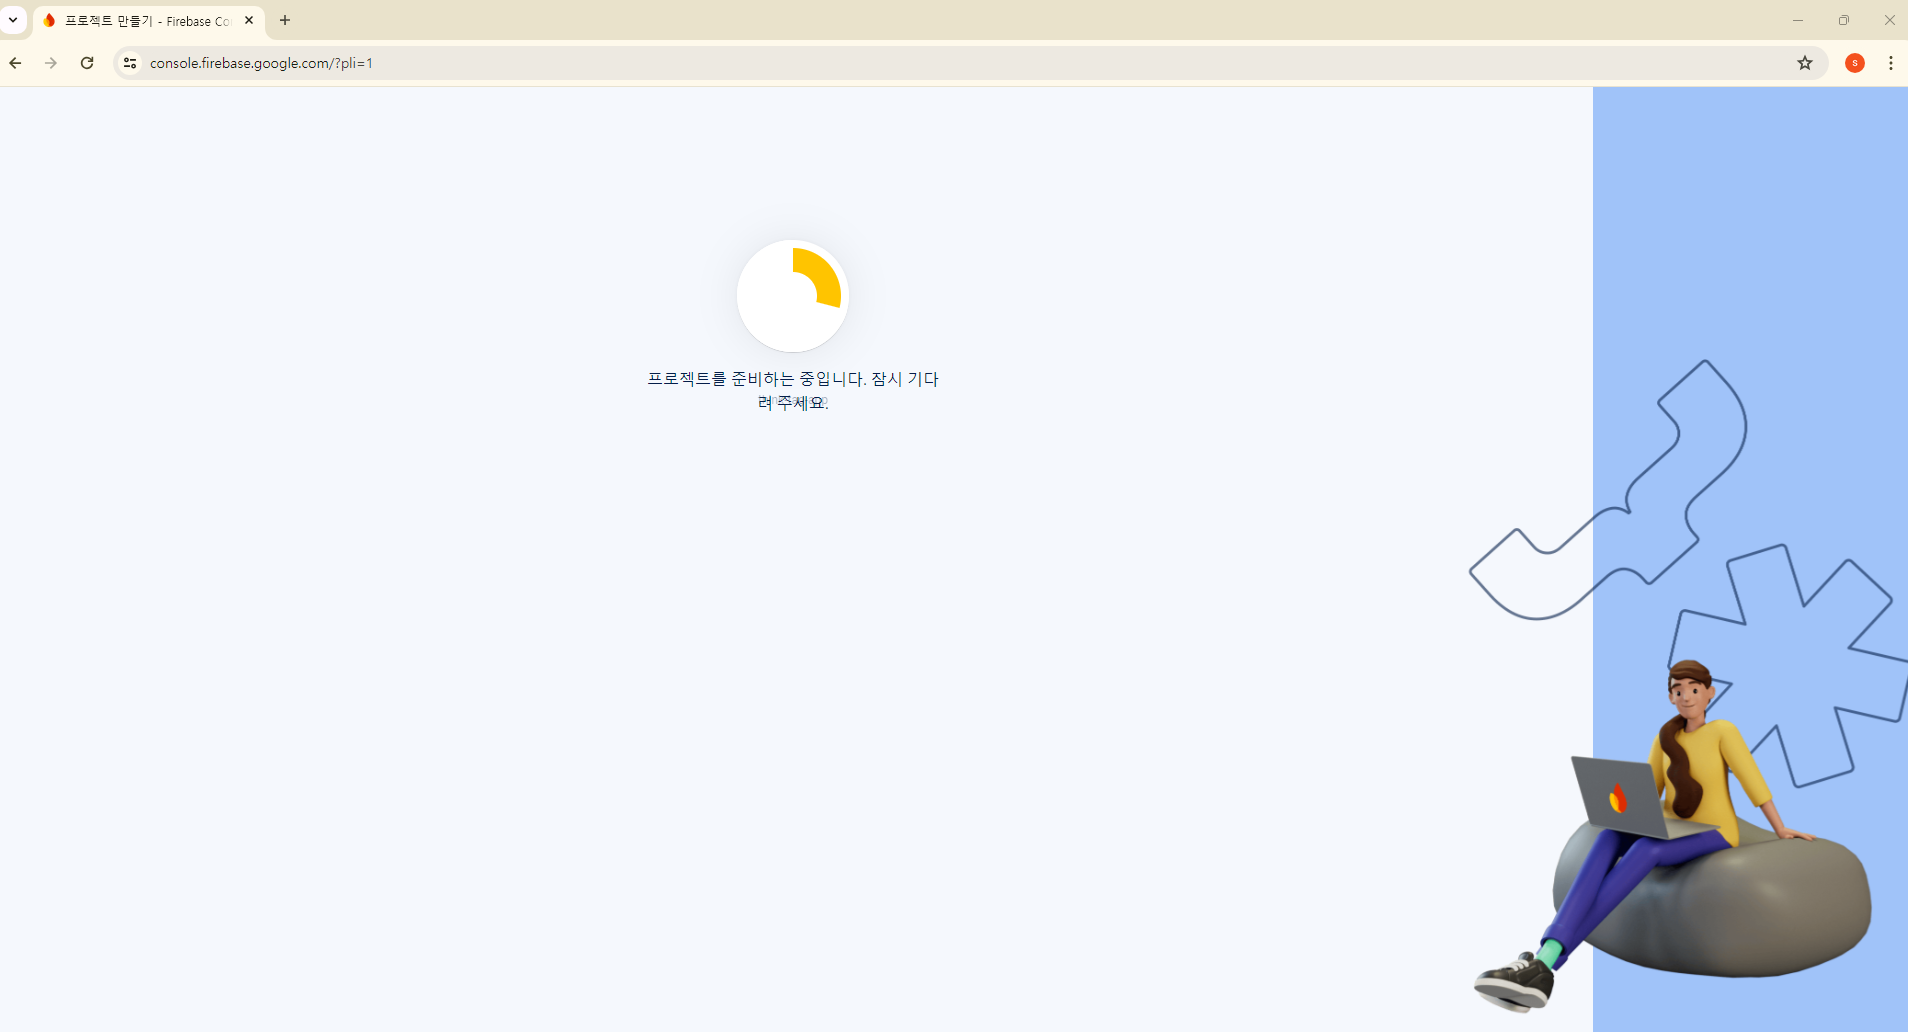
- Firebase 설정 완료: Firebase Analytics와 기타 옵션을 선택하여 프로젝트를 생성.
Firebase Cloud Messaging 설정
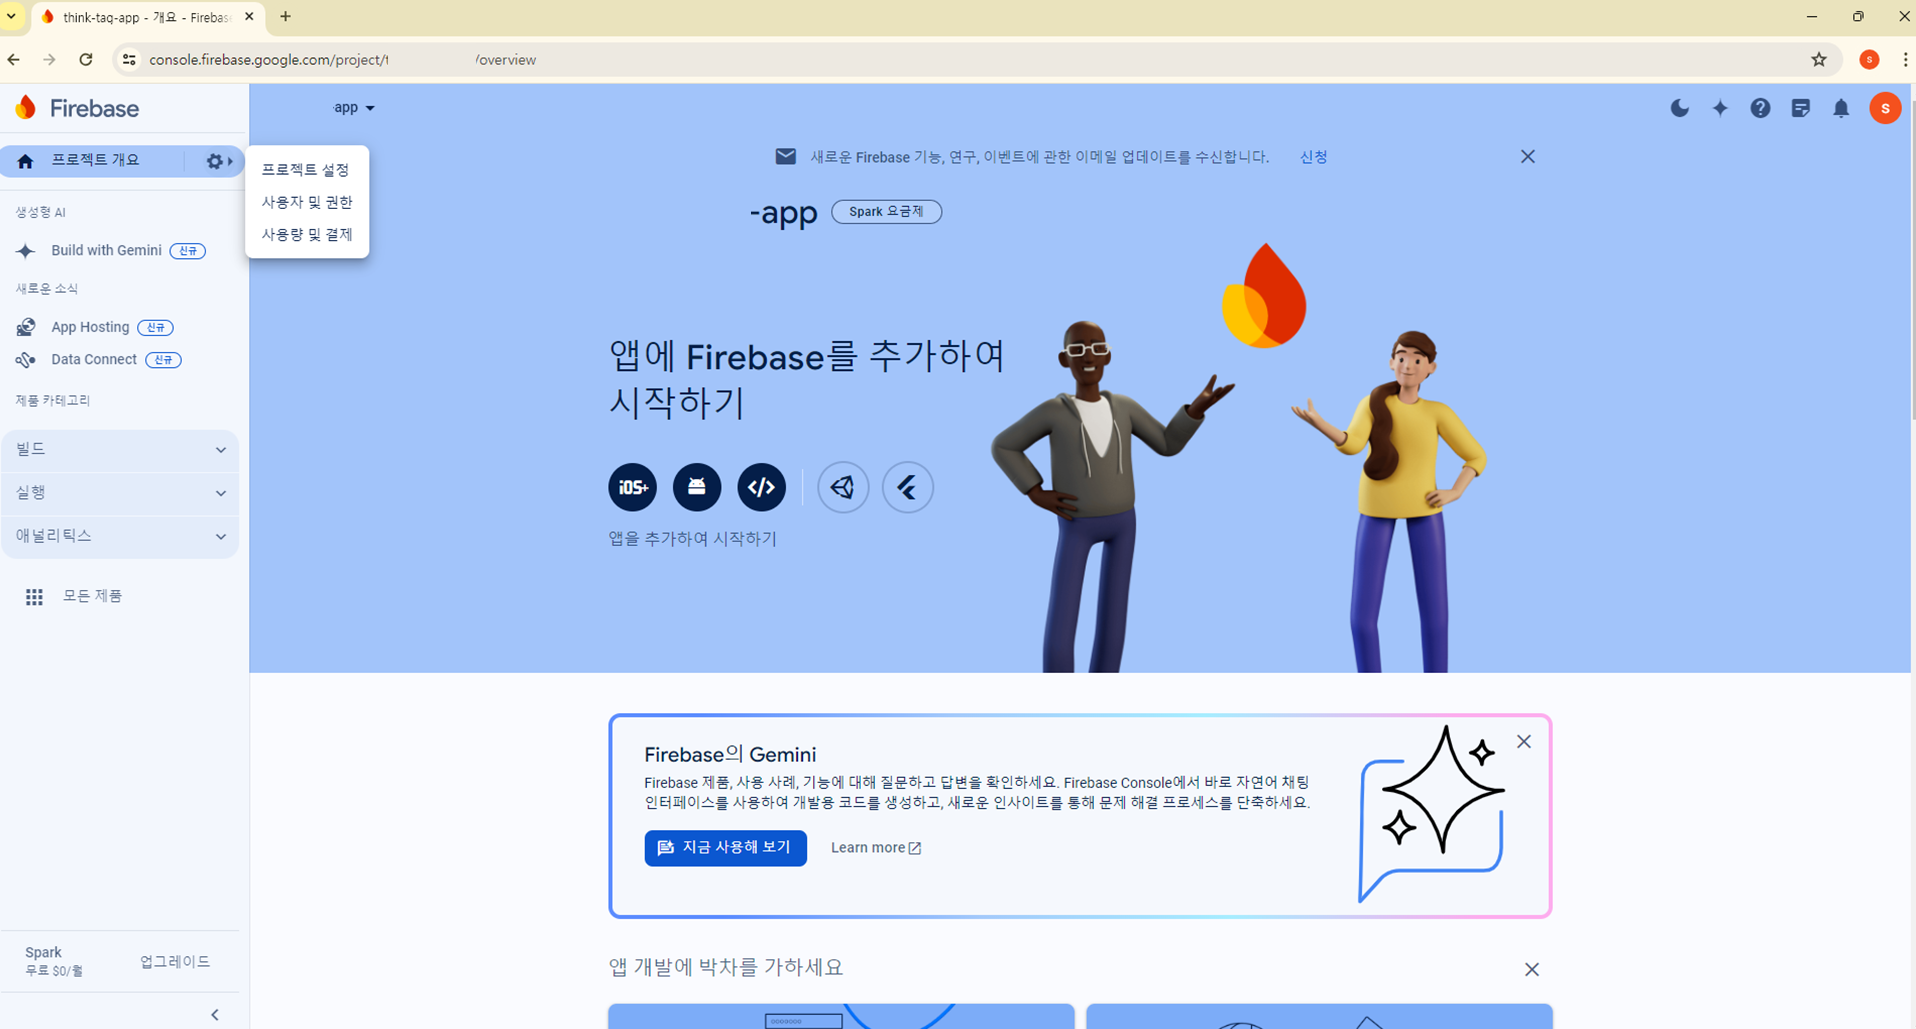
- Firebase 프로젝트 선택: 생성한 Firebase 프로젝트의 대시보드로 이동.
- 프로젝트 설정으로 이동: 왼쪽 사이드 메뉴에서 프로젝트 설정을 클릭.
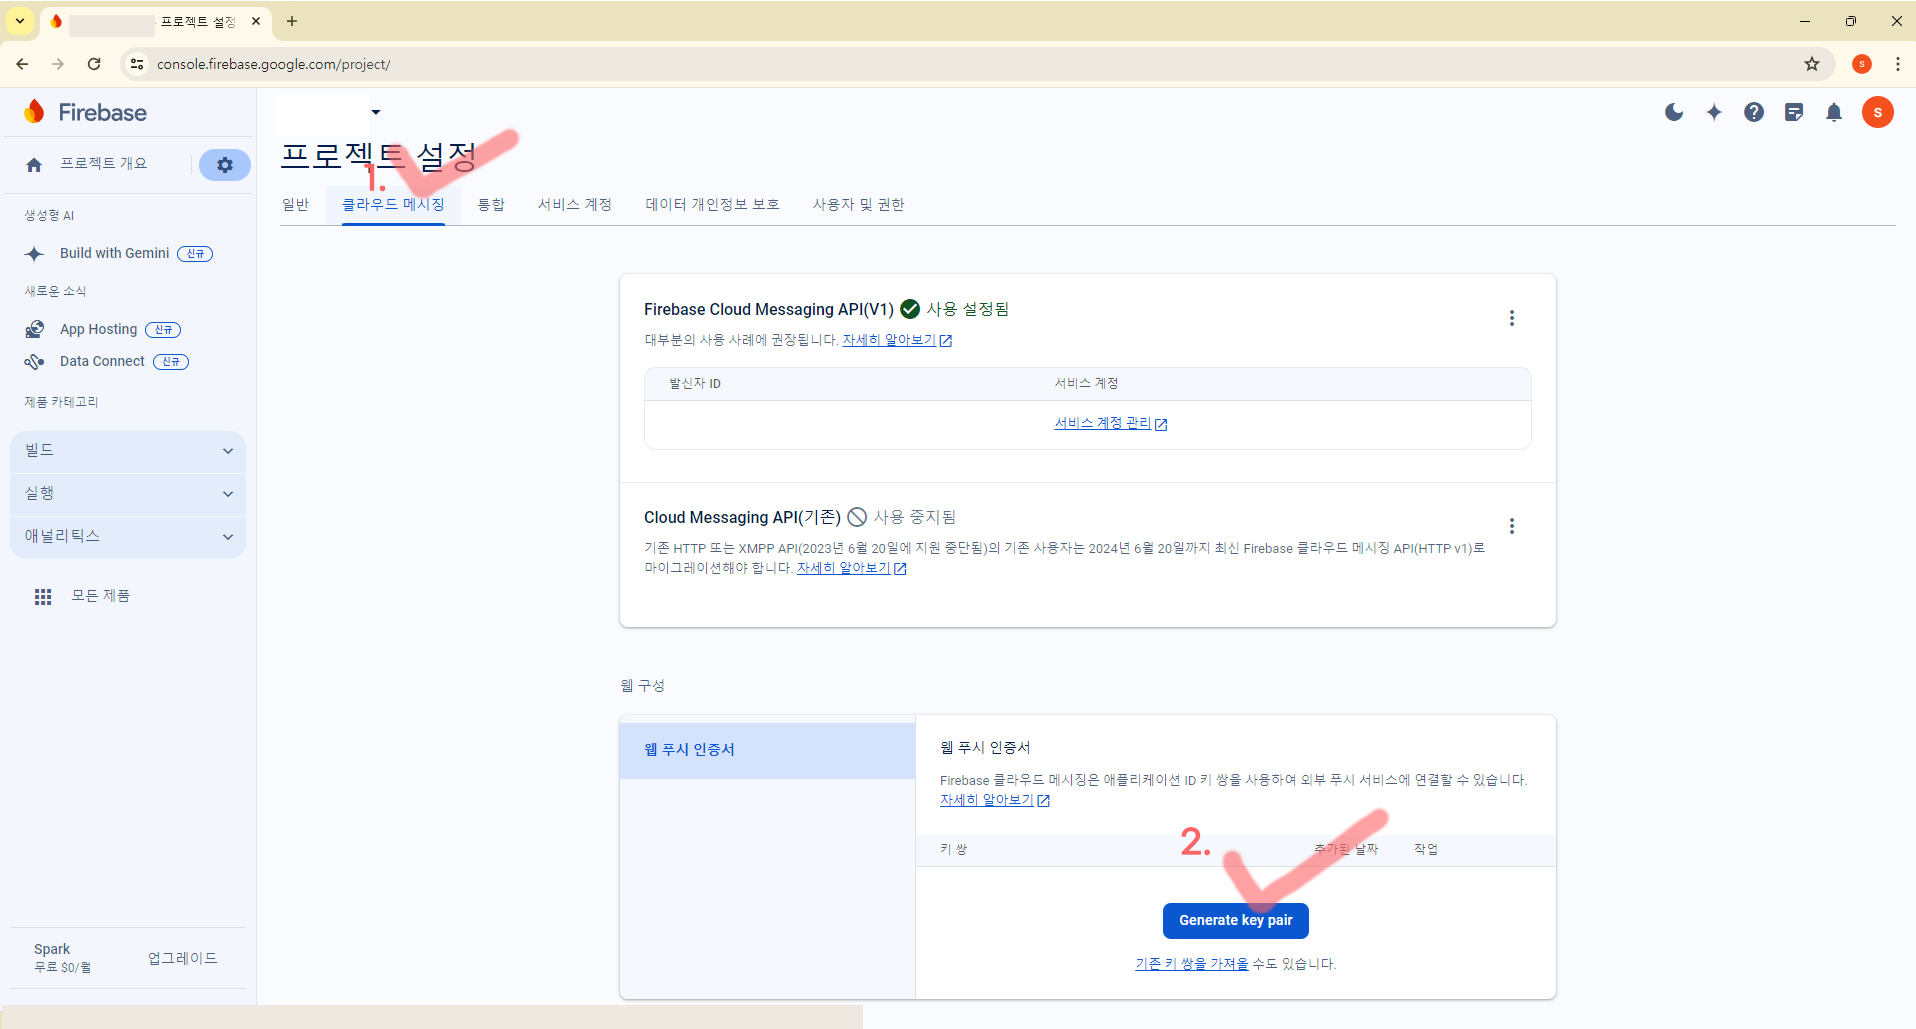
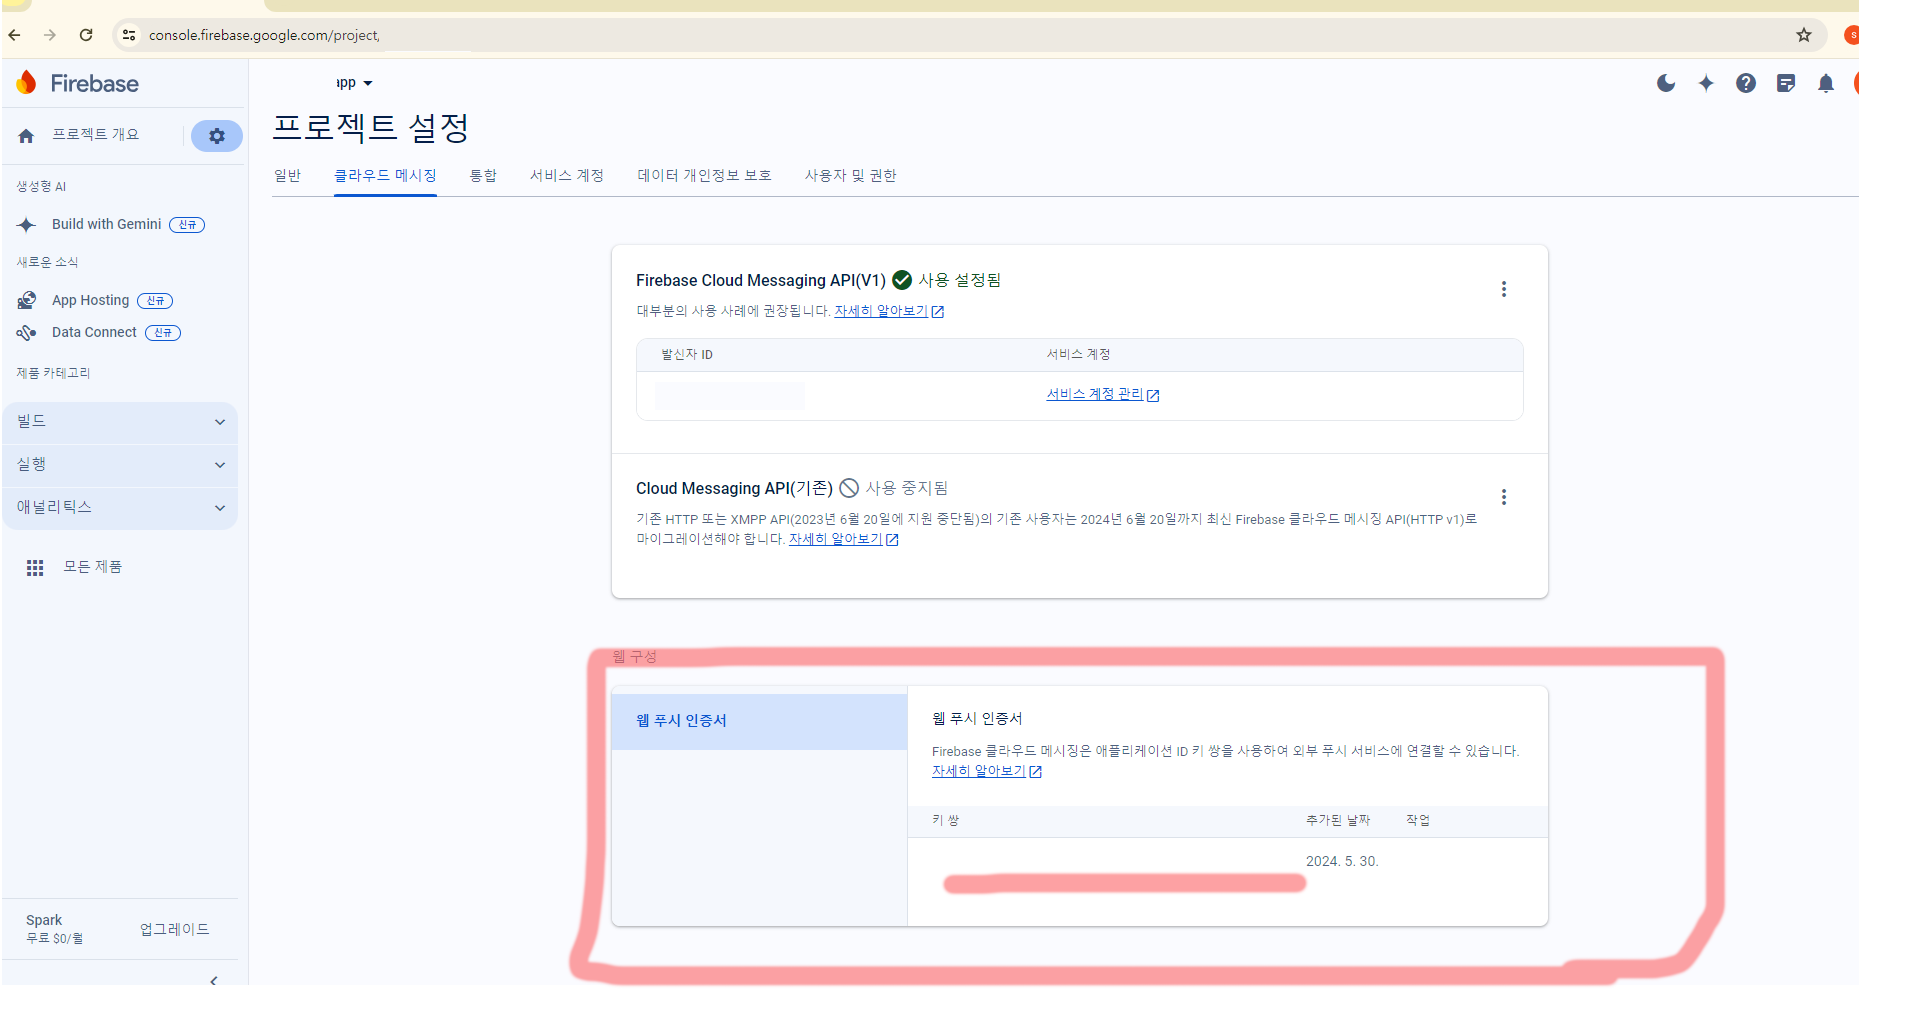
- 클라우드 메시징 설정: 상단의 ‘클라우드 메시징’ 탭으로 이동하여 서버 키를 확인하고 복사해 둔다. 이 키는 푸시 알림을 보낼 때 서버에서 FCM으로 요청을 전송할 때 사용된다.
- 웹 앱 추가: Firebase 프로젝트에 웹 애플리케이션을 추가하여 웹용 FCM을 활성화.
최하단에 자세히 설명
3. FCM 웹 푸시 설정 (Next.js 프로젝트)
Firebase 웹 푸시 알림을 사용하려면 firebase 라이브러리를 설치하고, 클라이언트 및 서버 측에서 토큰을 관리하며 알림을 보내는 설정을 해주어야 한다.
3-1. Firebase 및 Firebase Messaging 설치
pnpm install firebase3-2. Firebase 초기화 및 Firebase Cloud Messaging 설정
firebase-messaging-sw.js 서비스 워커 파일을 프로젝트의 public 폴더에 추가하여 브라우저에서 알림을 수신할 수 있게 합니다.
	// /public/firebase-messaging-sw.js
importScripts("https://www.gstatic.com/firebasejs/9.14.0/firebase-app-compat.js");
importScripts("https://www.gstatic.com/firebasejs/9.14.0/firebase-messaging-compat.js");

// FIRE-BASE 앱 등록할때 받은 'firebaseConfig' 값을 넣어주세요.
const config = {
  apiKey: "YOUR_API_KEY",
  authDomain: "YOUR_AUTH_DOMAIN",
  projectId: "YOUR_PROJECT_ID",
  storageBucket: "YOUR_STORAGE_BUCKET",
  messagingSenderId: "YOUR_MESSAGING_SENDER_ID",
  appId: "YOUR_APP_ID",
  measurementId: "YOUR_MEASUREMENT_ID",
};

// Initialize Firebase
firebase.initializeApp(config);

const messaging = firebase.messaging();

messaging.onBackgroundMessage((payload) => {
  console.log("[firebase-messaging-sw.js] Received background message ", payload);
  const { title, body, image, click_action } = payload.data;
  self.registration.showNotification(title, { body, image, click_action });
});

self.addEventListener("push", function (event) {
  if (event.data) {
    // 알림 메세지일 경우엔 event.data.json().notification;
    const { title, body, image, click_action } = event.data.json().data;
    event.waitUntil(self.registration.showNotification(title, { body, image, data: { click_action } }));
  } else {
    console.log("This push event has no data.");
  }
});

// 클릭 이벤트 처리
self.addEventListener("notificationclick", function (event) {
  event.preventDefault();
  // 알림창 닫기
  event.notification.close();

  // 이동할 url
  const urlToOpen = event.notification.data.click_action;

  // 사이트 열려있는지 체크
  const promiseChain = clients
    .matchAll({
      type: "window",
      includeUncontrolled: true,
    })
    .then(function (windowClients) {
      let matchingClient = null;

      for (let i = 0; i < windowClients.length; i++) {
        const windowClient = windowClients[i];
        if (windowClient.url.includes(urlToOpen)) {
          matchingClient = windowClient;
          break;
        }
      }

      if (matchingClient) {
        return matchingClient.focus();
      } else {
        return clients.openWindow(urlToOpen);
      }
    });

  event.waitUntil(promiseChain);
});
3-3. 클라이언트 측 FCM 초기화
firebaseConfig를 Next.js 클라이언트에 설정하고, FCM 토큰을 요청합니다.
// firebaseConfig.js
import { initializeApp } from "firebase/app";
import { getMessaging, getToken, onMessage } from "firebase/messaging";

const firebaseConfig = {
  apiKey: "YOUR_API_KEY",
  authDomain: "YOUR_AUTH_DOMAIN",
  projectId: "YOUR_PROJECT_ID",
  storageBucket: "YOUR_STORAGE_BUCKET",
  messagingSenderId: "YOUR_MESSAGING_SENDER_ID",
  appId: "YOUR_APP_ID",
};

// Firebase 초기화
const app = initializeApp(firebaseConfig);

// 메시징 초기화
const messaging = getMessaging(app);

export const requestForToken = async () => {
  try {
    const currentToken = await getToken(messaging, { vapidKey: "YOUR_VAPID_KEY" });
    if (currentToken) {
      console.log("FCM 토큰:", currentToken);
      return currentToken;
    } else {
      console.log("토큰을 받아올 수 없습니다. 알림 권한을 확인하세요.");
    }
  } catch (error) {
    console.error("토큰 요청 에러:", error);
  }
};

export const onMessageListener = () =>
  new Promise((resolve) => {
    onMessage(messaging, (payload) => {
      resolve(payload);
    });
  });
4. Next.js 서버에서 FCM 푸시 알림 전송
4-1. FCM알림 전송 API
FCM API에 HTTP POST 요청을 보내려면, 서버 측에서 알림을 보낼 API 엔드포인트를 설정한다.
이 예제에서는 FCM_SERVER_KEY로 Firebase 서버 키를 사용해 FCM에 요청을 전송
// pages/api/sendNotification.ts
import type { NextApiRequest, NextApiResponse } from "next";

const FCM_SERVER_KEY = "YOUR_FCM_SERVER_KEY";

const sendNotification = async (req: NextApiRequest, res: NextApiResponse) => {
  const { token, title, body } = req.body;

  const message = {
    to: token,
    notification: {
      title,
      body,
    },
  };

  const response = await fetch("https://fcm.googleapis.com/fcm/send", {
    method: "POST",
    headers: {
      Authorization: `key=${FCM_SERVER_KEY}`,
      "Content-Type": "application/json",
    },
    body: JSON.stringify(message),
  });

  if (response.ok) {
    res.status(200).json({ success: true, message: "Notification sent successfully" });
  } else {
    res.status(response.status).json({ success: false, message: "Notification failed" });
  }
};

export default sendNotification;- FCM 서버 키 설정: Authorization 헤더에 FCM 서버 키를 추가하여 인증을 처리합니다.
- 알림 내용: message 객체에 푸시 알림의 제목과 내용을 설정합니다.
- fetch 요청 전송: fetch 메서드를 통해 FCM API로 요청을 전송합니다.
5. FCM 알림 테스트 (클라이언트 API 호출)
이제 FCM 알림이 설정되었으므로 클라이언트에서 API를 호출해 특정 FCM 토큰으로 알림을 보낼 수 있다.
import { useEffect, useState } from "react";
import { requestForToken, onMessageListener } from "../firebaseConfig";

export default function NotificationComponent() {
  const [token, setToken] = useState(null);
  const [notification, setNotification] = useState(null);

  useEffect(() => {
    requestForToken().then((fcmToken) => setToken(fcmToken));

    onMessageListener().then((payload) => {
      setNotification({
        title: payload.notification.title,
        body: payload.notification.body,
      });
    });
  }, []);

  const sendNotification = async () => {
    await fetch("/api/sendNotification", {
      method: "POST",
      headers: { "Content-Type": "application/json" },
      body: JSON.stringify({
        token: token,
        title: "Test Notification",
        body: "This is a test message",
      }),
    });
  };

  return (
    <div>
      <button onClick={sendNotification}>Send Test Notification</button>
      {notification && (
        <div>
          <h2>Notification</h2>
          <p>Title: {notification.title}</p>
          <p>Body: {notification.body}</p>
        </div>
      )}
    </div>
  );
}- 토큰 요청: requestForToken 함수로 Firebase에서 발급된 FCM 토큰을 가져옵니다.
- 알림 수신: onMessageListener로 알림을 수신하고, 이를 notification 상태에 저장하여 UI에 표시합니다.
- 알림 전송 버튼: sendNotification 버튼을 클릭하면 /api/sendNotification API를 호출하여 푸시 알림을 전송합니다.
FCM의 경우, 너무 잦은 푸시 알림 요청이나 비정상적인 트래픽이 발생하면 Google에서 해당 프로젝트를 제한할 수 있으므로 적절한 빈도와 정책을 준수하는 것이 중요
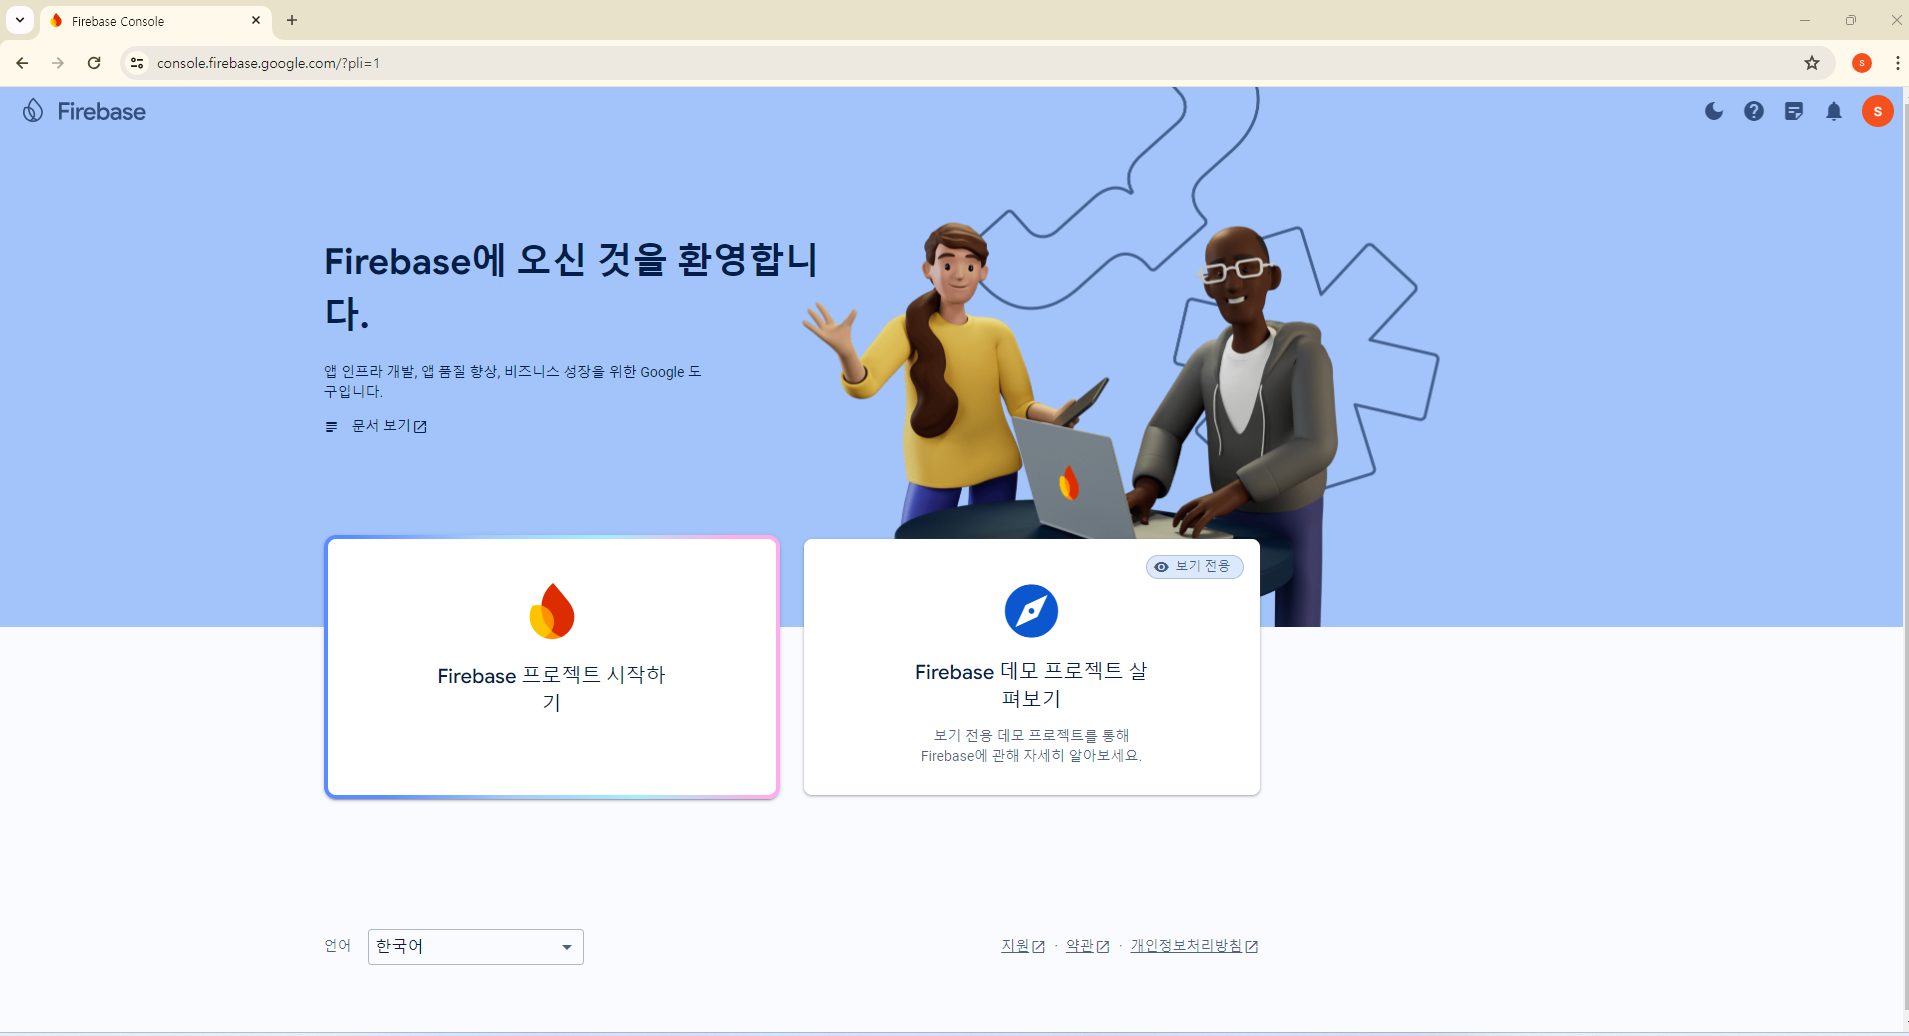
Firebase 프로젝트 설정
-
Firebase 프로젝트 시작하기
-
프로젝트 이름 생성
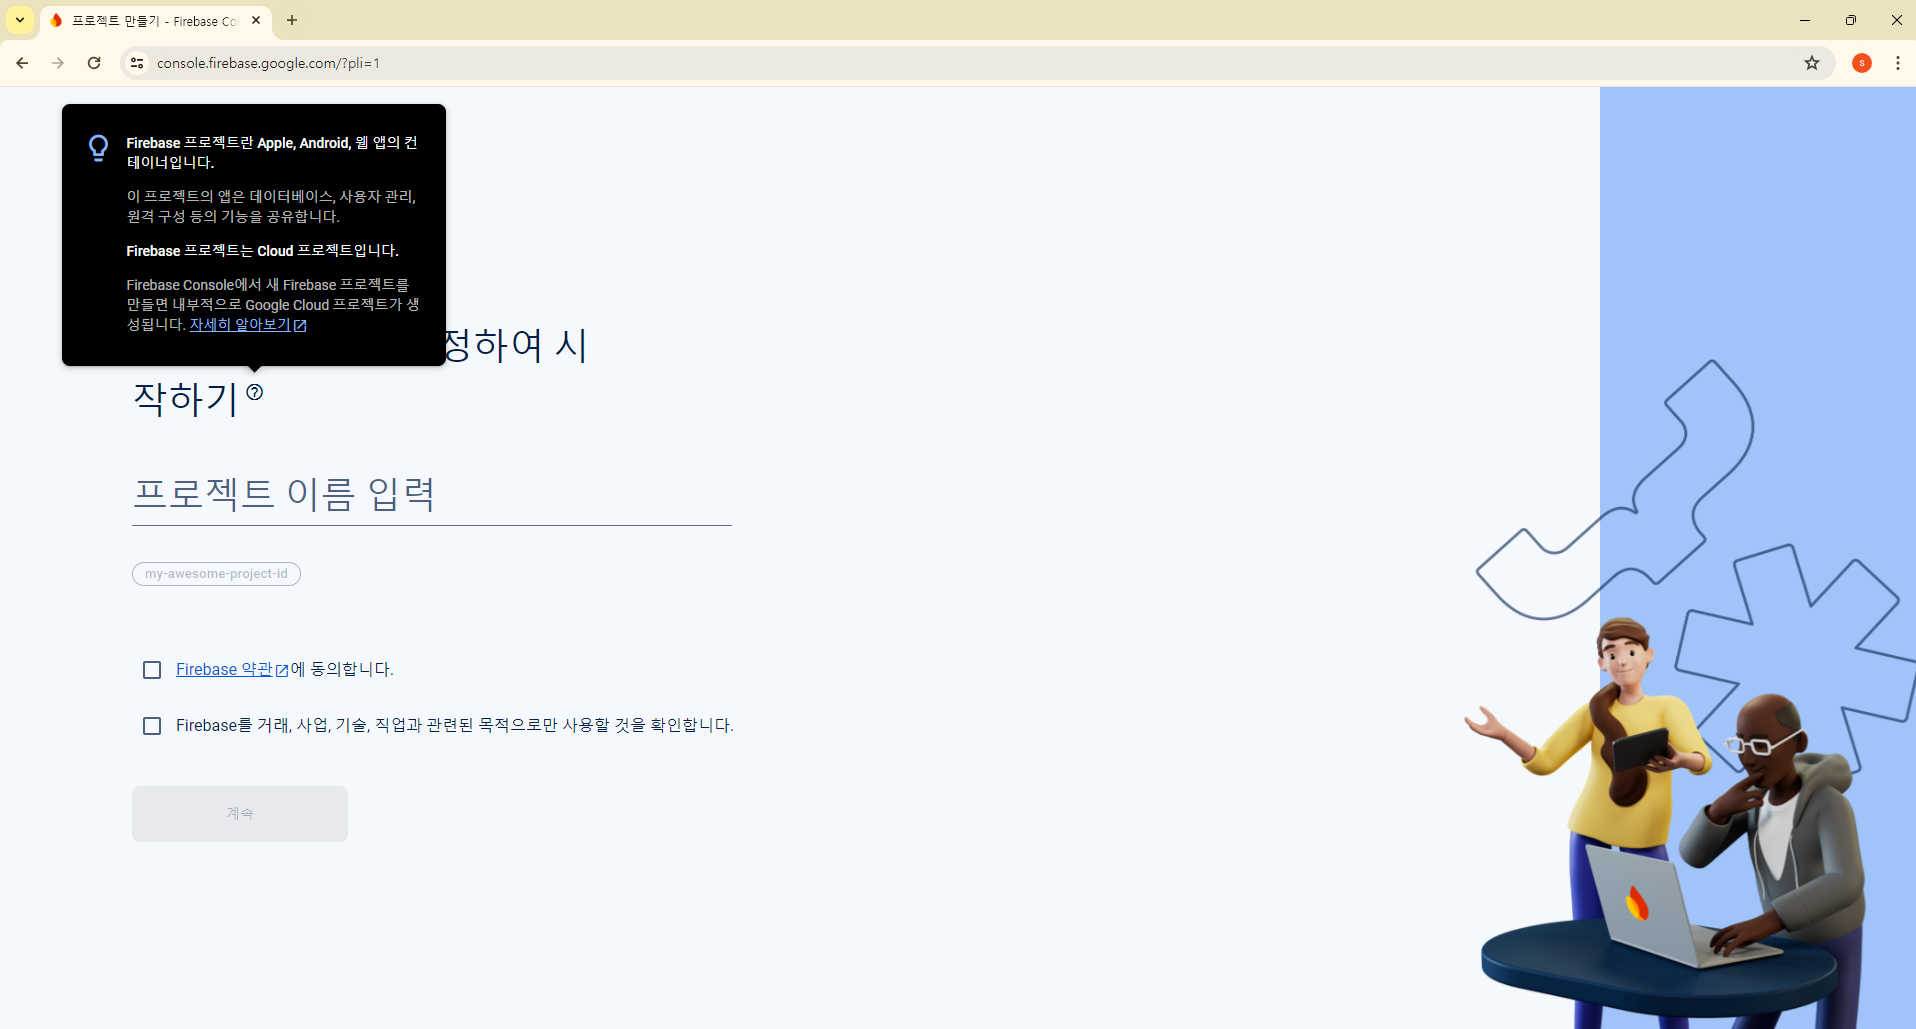
-
동의 후, 프로젝트 만들기
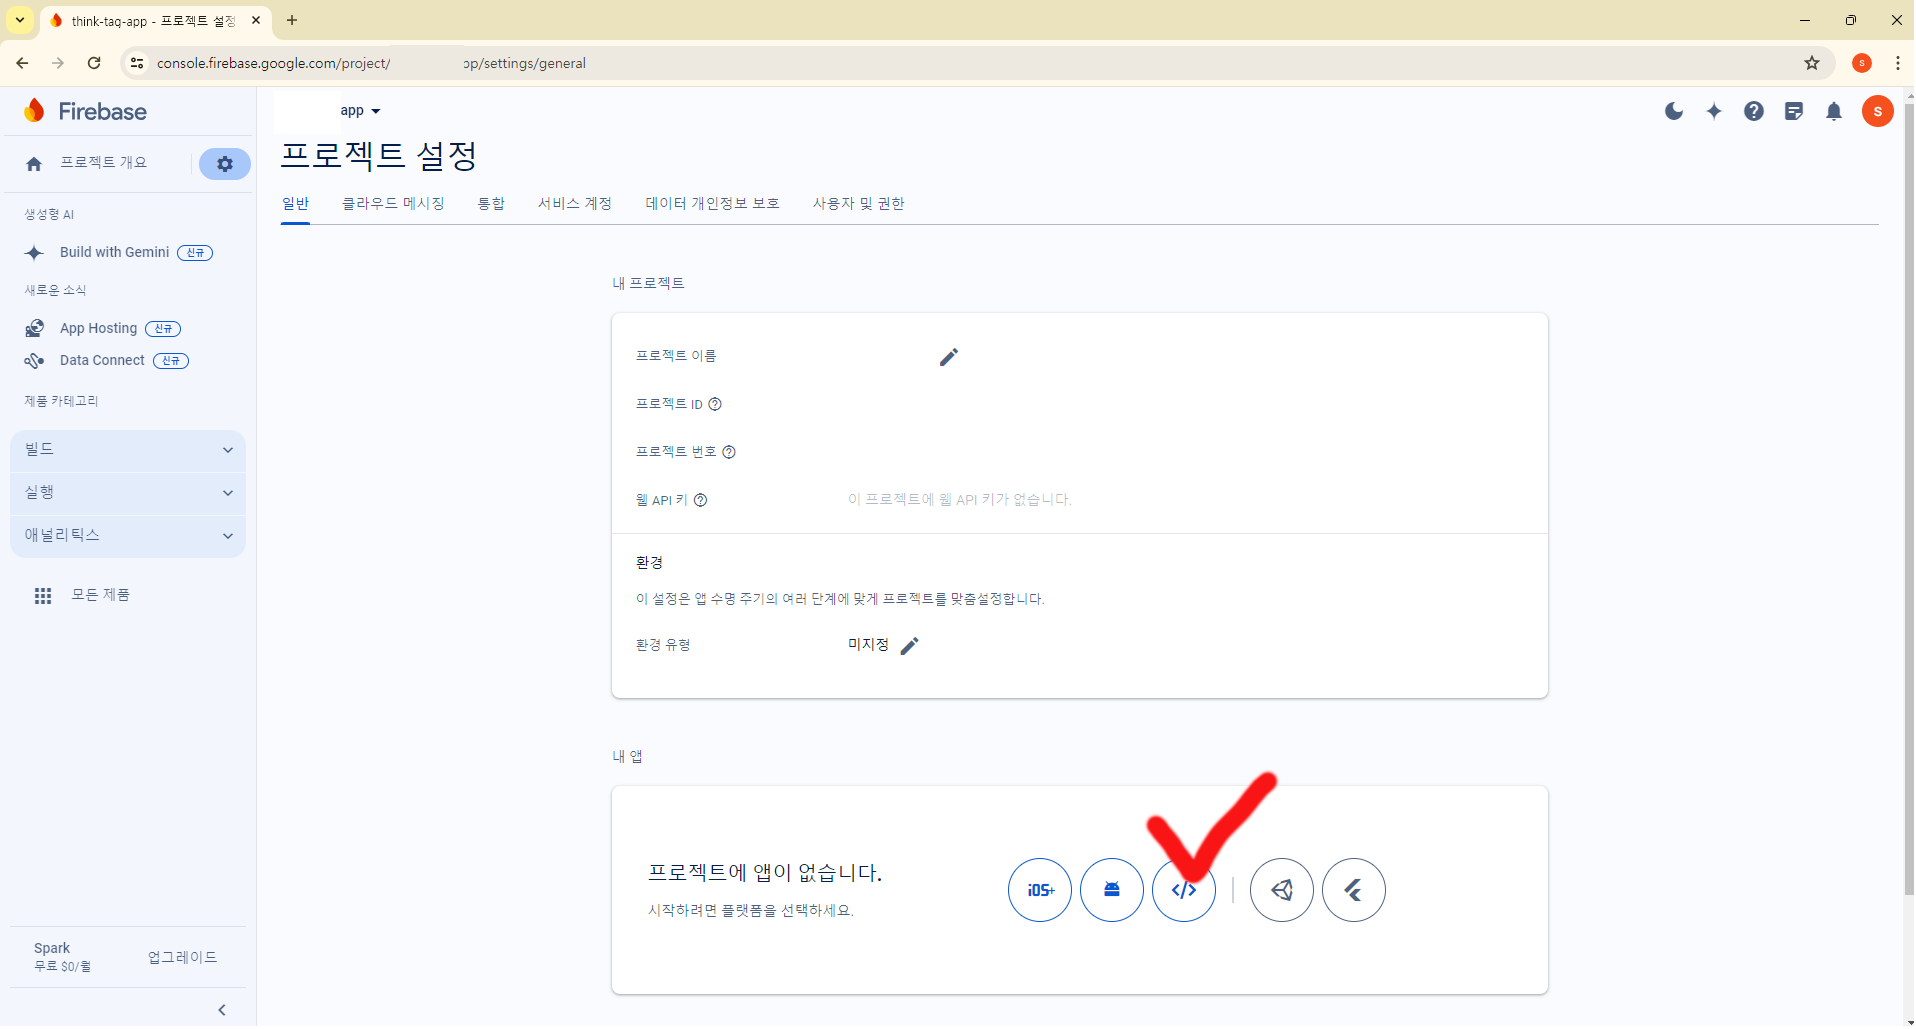
- 프로젝트 개요 => 프로젝트 설정 클릭
-
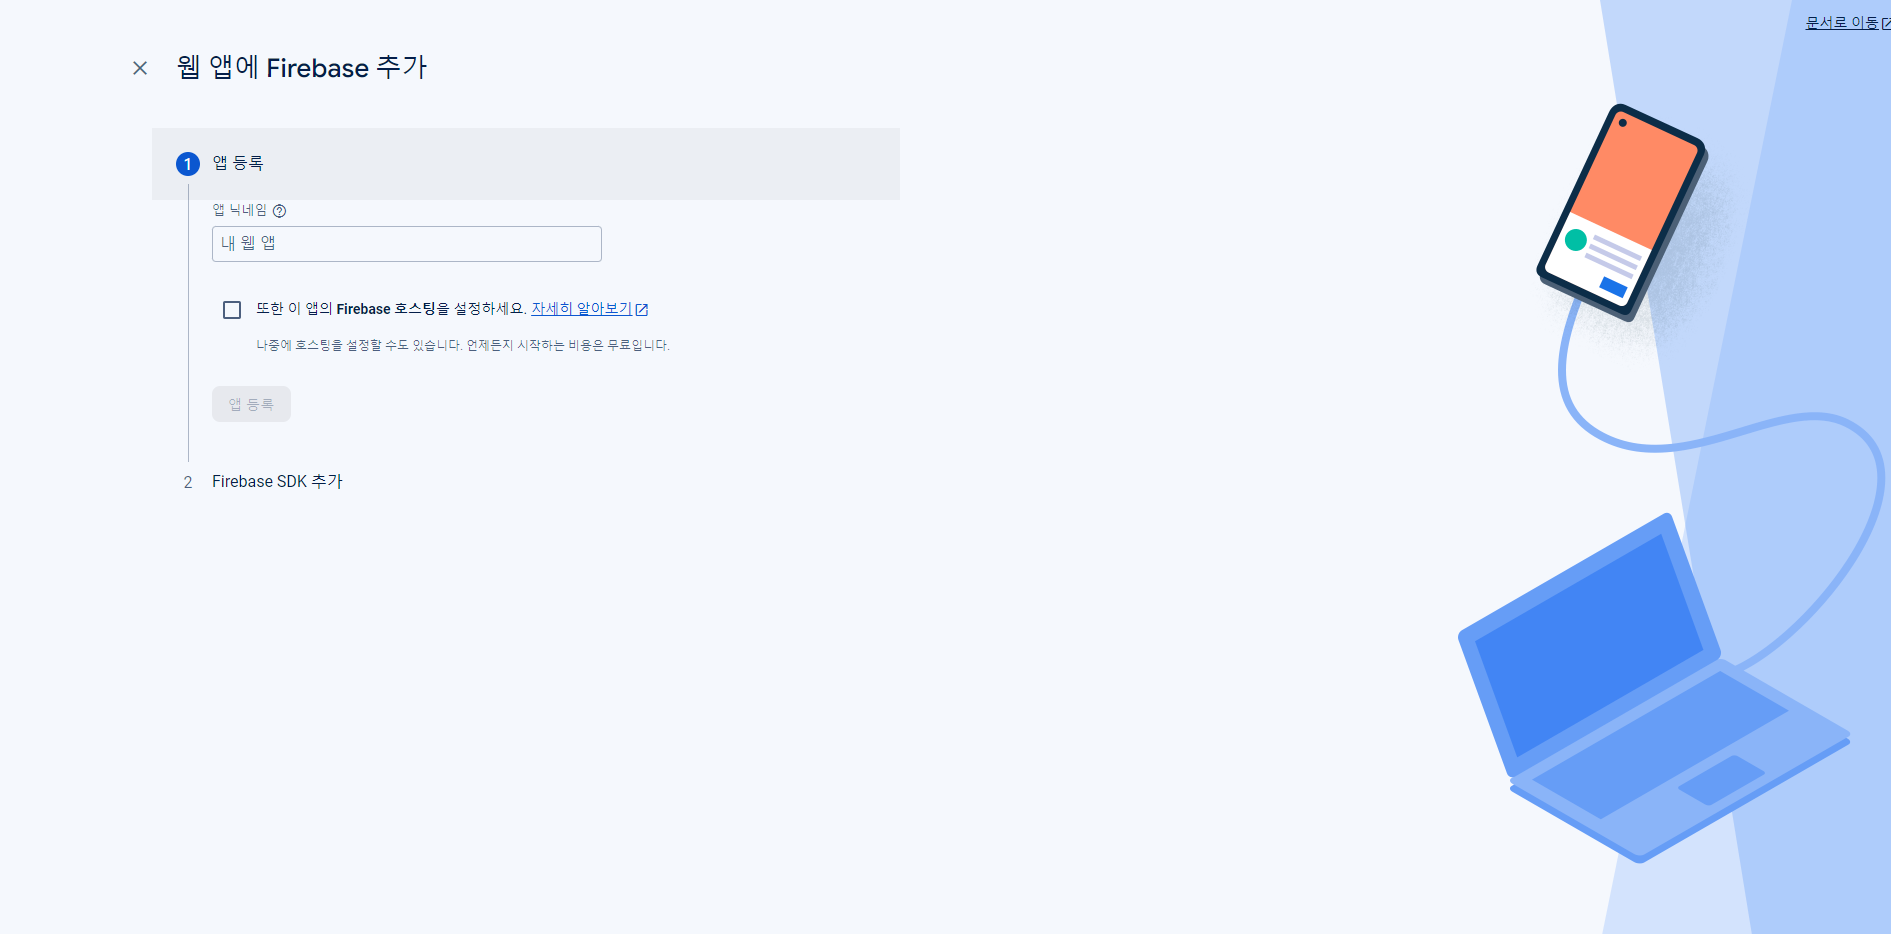
일반 탭 => 하단 내 앱 -> 코드 모양 버튼 클릭
-
앱 닉네임 설정 후, 앱 생성 클릭하면
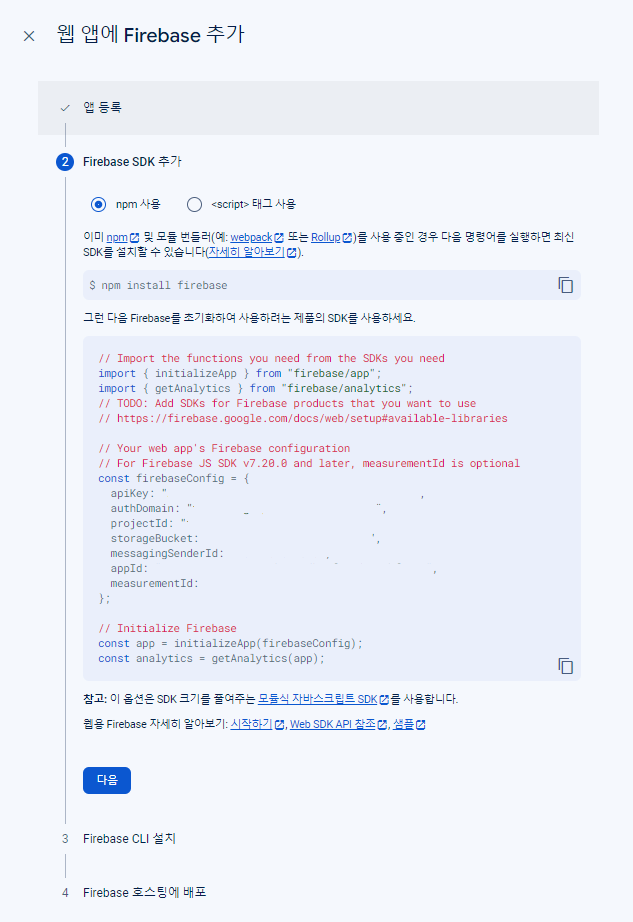
-
SDK 코드 생성
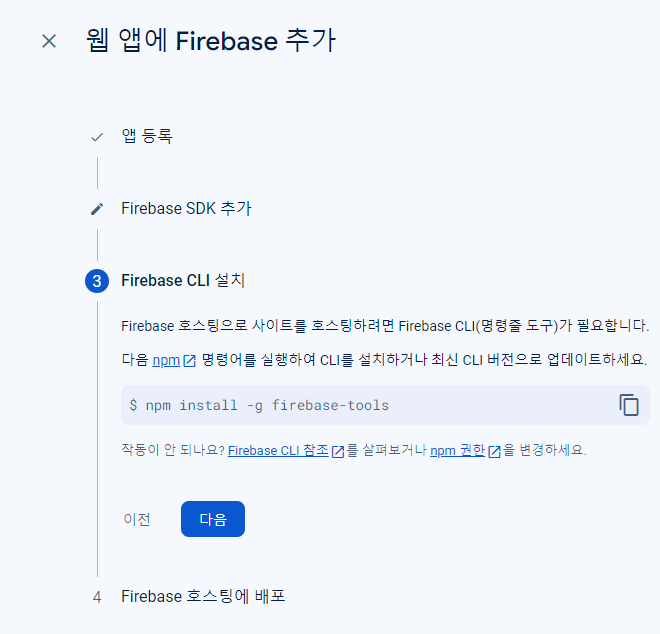
-
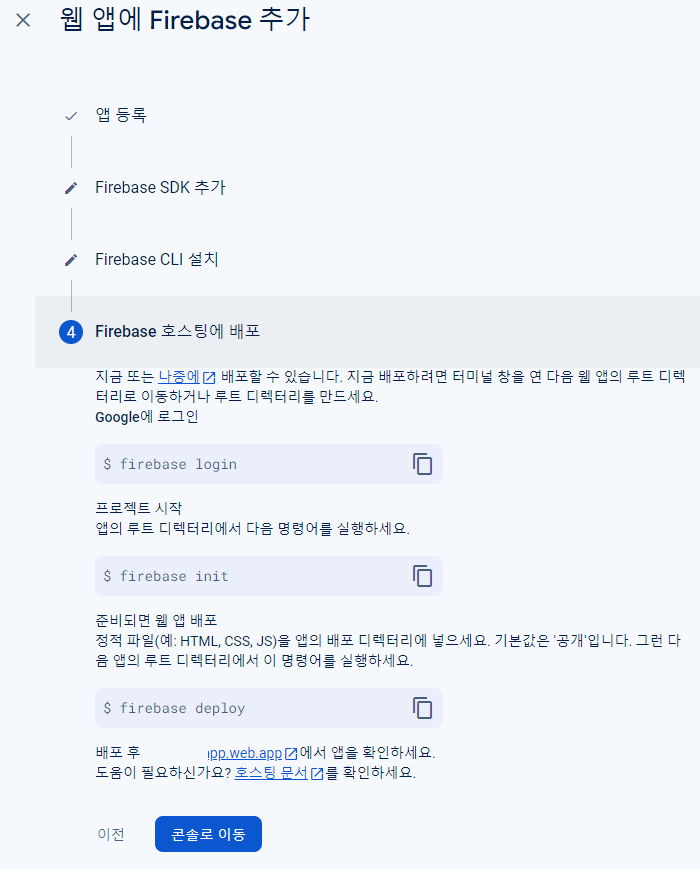
호스팅 설정, 콘솔로 이동
- 웹 푸시 인증서 발급