Diffable Data Source
WWDC 2019 > Advances in UI Data Source 에서 소개되었고, iOS 13부터 사용 가능하다. 그리고 WWDC 2021 > Make blazing fast lists and collection views 에서 Diffable data source에 대한 개선사항이 소개되었다.
Diffable Data Source는 테이블 뷰 및 컬렉션 뷰와 같은 UI 컴포넌트에서 데이터를 관리하는 데 사용된다. 이전에는 데이터를 관리하기 위해 UITableViewDataSource 및 UICollectionViewDataSource와 같은 프로토콜을 사용했다. 그러나 Diffable Data Source는 데이터의 변경 사항을 추적하고 적절한 애니메이션을 제공하는 데 더 많은 기능을 제공합니다.
이 Diffable Data Source는 데이터의 상태 변화를 추적하고 데이터의 이전 상태와 새로운 상태 간의 차이점을 계산해서 UI에 변경 사항을 적용할 때 효율적인 애니메이션을 적용하여 사용자 경험을 향상시킨다. 이는 특히 대규모 데이터 세트에서 유용하며, 성능을 향상시키고 앱의 반응성을 개선할 수 있다.
Diffable DataSource
Hashable 기반으로 동작하며 데이터 업데이트를 단순하고 효율적으로 관리할 수 있다.
performBatchUpdates() 대신 apply()를 사용하며 iOS 13.0 부터 지원한다.
UI와 DataSource를 중앙화된(centralized) Truth로 관리한다.
NSDiffableDataSourceSnapshot
UI State의 Truth
IndexPath 대신 Section과 Item의 Unique identifier를 사용
Section과 Item 모두 Hashable을 준수해야한다.
기존 DataSource는 데이터가 시간이 지나면서 자기 자신만의 버전인 truth를 갖고, UI도 따로 truth를 가져서 이게 일치하지않으면 에러가 발생한다. 그래서 centralize된 truth가 필요하다. 현재 UI상태의 truth가 Snapshot이라는 것
apply()
snapshot에 data의 상태를 반영하여 UI를 업데이트한다. UI 변경 시 애니메이션 동작 여부를 설정할 수 있다.
💡 왜 Diffable Data Source가 나왔을까?
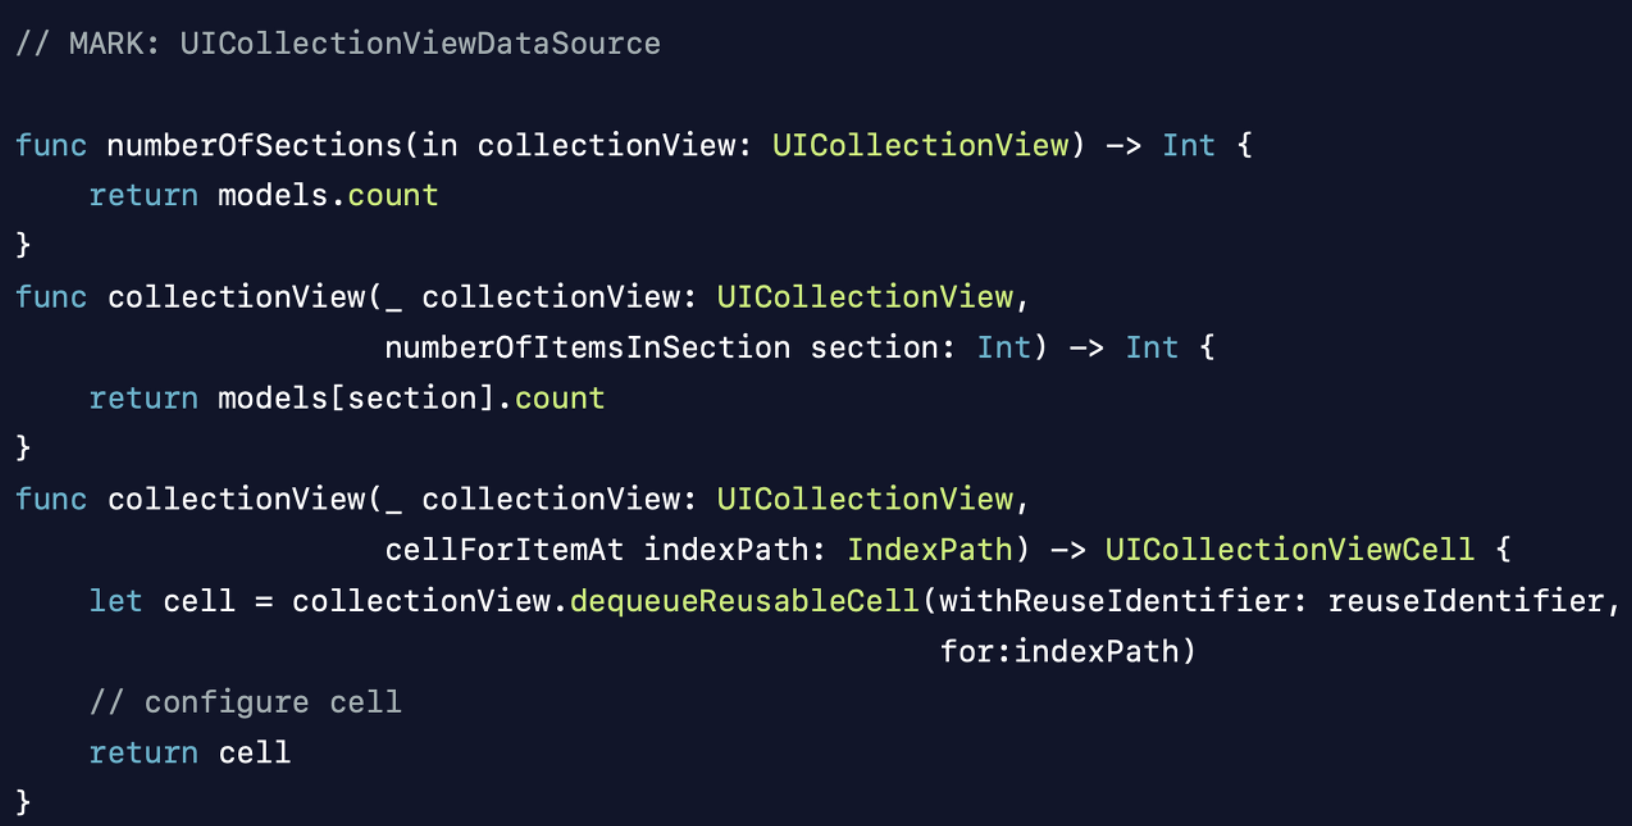
기존처럼 UICollectionViewDataSource를 채택해서 데이터소스를 구성하면 아래와 같은 코드를 작성하고, 컨트롤러가 데이터소스를 지원하게 된다.
💡 문제점은?
컨트롤러가 웹서비스 응답을 받고, 델리게이트를 처리하고 UI에게 바뀌었다고 전달하면 아래와 같은 에러를 마주한다. 기존에는reloadData()를 통해 해결했다. 다만 reloadData를 하게 되면 애니메이션되지 않은 효과가 나타나 사용자 경험이 저하될 수 있다.

가장 큰 문제는 데이터소스 역할을 하는 컨트롤러가 시간이 지남에 따라 변하는 자기 자신만의 버전인 truth를 가지고 있다는 것이다.
그리고 UI 역시 truth를 가지고 있다. 이 truth들끼리 서로 맞지 않게 되면 이런 에러가 발생하게 되는 것이다.
centralize된 truth가 없기 때문에 이러한 접근방식은 오류가 발생하기 쉽다.
기존은 특정 cell만 바뀐경우에는 두가지 방법으로 처리했다.
1. performBatchUpdates()의 클로저 블록에 데이터 변경 작업 추가
(insert, delete, reload, move 연산을 그룹으로 묶어서 animate한다.)
2. beginUpdates()와 endupdates() 사이에 데이터 변경 작업 작성
(일부분만을 변화시키는 방법, 애니메이션 블록을 만들 수 있다.)
Diffable Data Source에서는 apply() 를 통해서 위 작업들을 처리한다.
snapshot의 데이터 상태를 반영하도록 UI를 업데이트하고, 선택적으로 UI 변경사항에 애니메이션을 적용하고 completion handler를 실행한다.
// 파라미터: snapshot, 애니메이션이 완료되면 실행할 클로저.
apply(_:animatingDifferences:completion:)
Diffable Data Source 사용방법
기존의 DataSource는 프로토콜이고, Diffable DataSource은 제네릭 클래스이다. DataSource의 제네렉타입을 지정한다. Hashable을 준수하는 타입만 사용가능하다. dataSource 변수는 다른곳에서도 사용해야되기때문에 전역변수로 생성한다.
UICollectionViewDiffableDataSource<SectionIdentifierType, ItemIdentifierType>: NSObject

var dataSource: UICollectionViewDiffableDataSource<Section, Item>
컬렉션뷰에 DataSource를 연결한다.
init(collectionView:cellProvider:) 이니셜라이저를 사용해서 만들어주고, data source와, 연결하려는 collection view를 전달한다.
let dataSource = UICollectionViewDiffableDataSource<Section, Item>?

dataSource = UICollectionViewDiffableDataSource<Section, Item>(collectionView: UICollectionView, cellProvider: { collectionView, indexPath, itemIdentifier in ~~} )
사용할 셀을 Register 하고, cell provider를 구현해서 컬렉션뷰의 셀을 설정한다.
cellProvider: { collectionView, indexPath, item in
   switch item {
   case .banner(let item):
      guard let cell = collectionView.dequeueReusableCell(withReuseIdentifier: BannerCell.id, for: indexPath) as? BannerCell else return { UICollectionViewCell() }

cell.config(title: item.title, imageUrl: item.imageUrl)

    return cell
    default: return UICollectionViewCell()
    }
}
Snapshot으로 데이터의 current state를 생성하고 UI에 데이터를 표시한다.
dataSource = UICollectionViewDiffableDataSource<Section, Item>(collectionView: self.collectionView) { (collectionView, indexPath, item) -> UICollectionViewCell? in
    switch item {
    case .category:
        guard let cell = collectionView.dequeueReusableCell(withReuseIdentifier: "CategoryCell", for: indexPath) as? CategoryCell else { return UICollectionViewCell()}
        cell.titleButton.setImage(self.categoryImage[indexPath.item], for: .normal)
        return cell
        }

dataSource?.apply(snapshot)
Diffable Data Source & Compositional Layout CollectionView 사용하기
Hashable 준수하는 Section과 Item 모델을 생성한다.
enum Item: Hashable {
    case category(UIImage)
    case product(ProductModel)
    case circleItem(CircleItemModel)
}

struct Section: Hashable {
    let id: String
}

struct ProductModel: Hashable {
    let image: UIImage
    let title: String
    let rating: String
    let reviewCount: String
    let location: String
    let price: String
}

struct CircleItemModel: Hashable {
    let image: UIImage
    let title: String
}
DataSource를 설정해준다.
var dataSource: UICollectionViewDiffableDataSource<Section, Item>?

func setDataSource() {
    dataSource = UICollectionViewDiffableDataSource<Section, Item>(collectionView: self.collectionView) { (collectionView, indexPath, item) -> UICollectionViewCell? in
        switch item {
        case .category:
            guard let cell = collectionView.dequeueReusableCell(withReuseIdentifier: "CategoryCell", for: indexPath) as? CategoryCell else { return UICollectionViewCell()}
            cell.titleButton.setImage(self.categoryImage[indexPath.item], for: .normal)
            return cell

        case .product(let product):
            guard let cell = collectionView.dequeueReusableCell(withReuseIdentifier: "ProductCell", for: indexPath) as? ProductCell else { return UICollectionViewCell() }

            cell.productImageView.image = product.image
                cell.contentTitleLabel.text = product.title
            cell.ratingLabel.text = product.rating
            cell.reviewCountLabel.text = "(\(product.reviewCount))"
            cell.locationLabel.text = product.location
            cell.priceLabel.text = product.price

            return cell

        case .circleItem(let circleItem):
            guard let cell = collectionView.dequeueReusableCell(withReuseIdentifier: "CircleItemCell", for: indexPath) as? CircleItemCell else { return UICollectionViewCell() }

            cell.circleImageView.image = circleItem.image
            cell.circleItemLabel.text = circleItem.title

            return cell
        }
    }

    // 헤더뷰는 이렇게 구현, 데코뷰는 동일하게 구현
    dataSource?.supplementaryViewProvider = { collectionView, kind, indexPath in
        if kind == UICollectionView.elementKindSectionHeader {
            let headerView = collectionView.dequeueReusableSupplementaryView(ofKind: kind, withReuseIdentifier: "HeaderView", for: indexPath) as! ItemHeaderView
            return headerView
        } else {
            return nil
        }
    }
}
Snapshot을 설정한다.
func setSnapshot() {
    var snapshot = NSDiffableDataSourceSnapshot<Section, Item>()
    snapshot.appendSections([Section(id: "category")])
    let categoryItems = categoryImage.map { Item.category($0) }
    snapshot.appendItems(categoryItems, toSection: Section(id: "category"))

    snapshot.appendSections([Section(id: "product")])
    let productItems = productList.map { Item.product($0) }
    snapshot.appendItems(productItems, toSection: Section(id: "product"))

    snapshot.appendSections([Section(id: "circleItem")])
    let circleItems = circleItemList.map { Item.circleItem($0) }
    snapshot.appendItems(circleItems, toSection: Section(id: "circleItem"))

    dataSource?.apply(snapshot)
}
레이아웃은 기존과 동일하게 구현한다.