Lecture1. Introduction to Docker
Docker는 커널 컨테이너화 기능(kernel containerization features)을 application 관리 및 배포에 도움이 되는 워크플로우 또는 도구와 결합하여 제공한다.
- Docker를 사용하면 개발 환경을 통일할 수 있어 배포, 테스트, 개발에 편의성을 더해준다.
GOAL
- Docker container 를 빌드, 실행 그리고 디버깅하는 방법
- Docker Hub 또는 Google Artifact Registry에서 Docker image를 가져오는 방법
- Google Artifact Registry에 Docker image를 올리는 방법
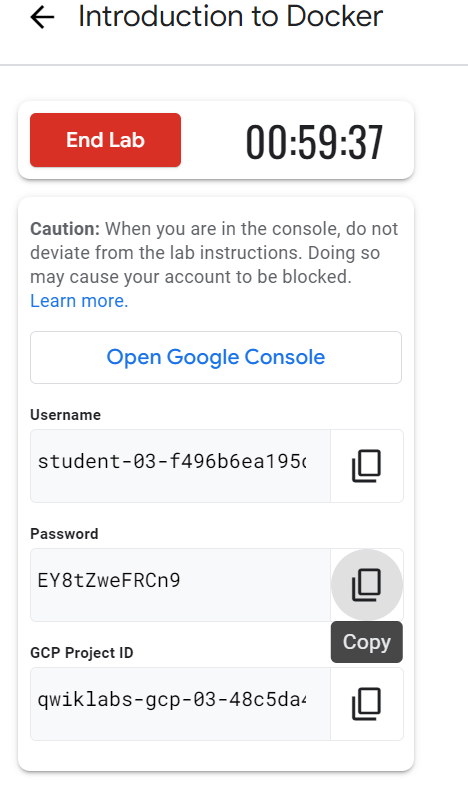
참고 : 퀵랩 시작 시 제공되는 정보
1. Hello World
docker run hello-world- a. Docker daemon이 hello-world에 대한 이미지를 찾는다.
- b. Local에서 image를 찾을 수 없다면 Public Registry에서 image를 가져온다.
- c. Image로 부터 컨테이너를 생성하고 실행한다.
docker images
"""
REPOSITORY    TAG       IMAGE ID       CREATED         SIZE
hello-world   latest    feb5d9fea6a5   19 months ago   13.3kB
"""- SHA256 hash format의 UUID가 식별자로 부여된다.
docker run hello-world를 재실행하면 이번에는 local에서 image를 가져와 컨테이너를 실행한다.
docker ps
""" 실행이 완료되어 아무것도 없음
CONTAINER ID   IMAGE     COMMAND   CREATED   STATUS    PORTS     NAMES
"""- Container 실행이 완료되어 리스트에 아무것도 남아 있지 않다.
docker ps -a
"""
CONTAINER ID   IMAGE         COMMAND    CREATED         STATUS                     PORTS     NAMES
f4932e3c2d78   hello-world   "/hello"   7 minutes ago   Exited (0) 7 minutes ago             modest_mahavira
"""- 이미 실행 완료된 container 정보를 확인할 수 있다.
- 임의로 부여된 Name 을 이용하여 container 를 실행할 수 있다.
- docker run --name [container-name] hello-world
2. Build
간단한 node application 을 만들어보자.
- a. test folder를 생성하고 해당 폴더로 이동한다.
mkdir test && cd test- b. Dockerfile을 생성한다.
- 기반 이미지는 Node의 LTS(Long Term Support) 버전이다.
- WORKDIR 을 app 으로 지정
- 현재 위치한 폴더의 내용을 Container 내의 app 폴더로 복사
- Container의 80 포트 개방
- app.js 파일 실행
cat > Dockerfile <<EOF
# Use an official Node runtime as the partner image
FROM node:lts
# Set the working directory in the container to /app
WORKDIR /app
# Copy the current directory contents into the container at /app
ADD . /app
# Make the container's port 80 available to the outside word
EXPORT 80
# Run app.js using node when the container launches
CMD ["node", "app.js"]
EOF- c. node application 을 작성해보자.
cat > app.js <<EOF
const http = require('http');
const hostname = '0.0.0.0';
const port = 80;
const server = http.createServer((req, res) => {
    res.statusCode = 200;
    res.setHeader('Content-Type', 'text/plain');
    res.end('Hello World\n');
});
server.listen(port, hostname, () => {
    console.log('Server running at http://%s:%s/', hostname, port);
});
process.on('SIGINT', function() {
    console.log('Caught interrupt signal and will exit');
    process.exit();
});
EOF- d. 현재 폴더에 있는 Dockerfile을 이용하여 image 빌드
-t는 tag의 의미- 이전 버전의 이미지와 구분하기 위해 사용 권장
docker build -t node-app:0.1 . - e. 생성된 이미지 확인
- node image를 지우려면 node-app을 먼저 지워야 함
- node:slim 이나 node:alphine 같은 더 작은 이미지를 사용할 수도 있음
docker images 3. Run
- a. 빌드한 이미지를 바탕으로 컨테이너 실행
--name: container의 이름 명명-p: port mapping
docker run -p 4000:80 --name my-app node-app:0.1- b. server test
-d: terminal session에 묶이지 않고 background에서 실행됨
curl http://localhost:4000- c. Container 중지 및 삭제
docker stop my-app && docker rm my-app- d. background에서 container 시작하기
docker run -p 4000:80 --name my-app -d node-app:0.1
docker ps- e. docker log 확인하기
container_id는 유일하게 식별 가능한 만큼만 써줘도 됨
docker logs [container_id]- f. 동일한 container 를 두 개 실행할 수도 있음
docker run -p 8080:80 --name my-app2 -d node-app:0.24. Debug
- a. Container의 실시간 로그 확인하기
docker logs -f [container_id]- b. 실행중인 Container의 bash shell 접근하기
docker exec -it [container_id]- c. Docker inspect를 이용하여 Docker 내 container의 메타 데이터 가져오기
docker inspect [container_id]
"""
[
    {
        "Id": "f6df156042305f843ca34e0c538520938651d2c12585a984ffce18655d2a7df9",
        "Created": "2023-04-21T03:51:02.91146187Z",
        "Path": "docker-entrypoint.sh",
        "Args": [
            "node",
            "app.js"
        ],
        "State": {
            "Status": "running",
            "Running": true,
            "Paused": false,
            "Restarting": false,
            "OOMKilled": false,
            "Dead": false,
            "Pid": 2404,
            "ExitCode": 0,
            "Error": "",
            "StartedAt": "2023-04-21T03:51:03.327357031Z",
            "FinishedAt": "0001-01-01T00:00:00Z"
"""- d.
--format을 이용하여 특정 정보 추출하기
docker inspect --foramt='{{range.NetworkSettings.Networks}}{{.IPAddress}}{{end}}' [container_id]
"""
192.168.9.3
"""
5. Publish
Google Artifact Registry에 올려보자.
- Artifact Registry 에 의해 호스팅된 private registry 에 이미지를 올리기 위해서는 image tag에 registry name을 포함해야 한다.
<regional-repository>-docker.pkg.dev/my-project/my-repo/my-image.
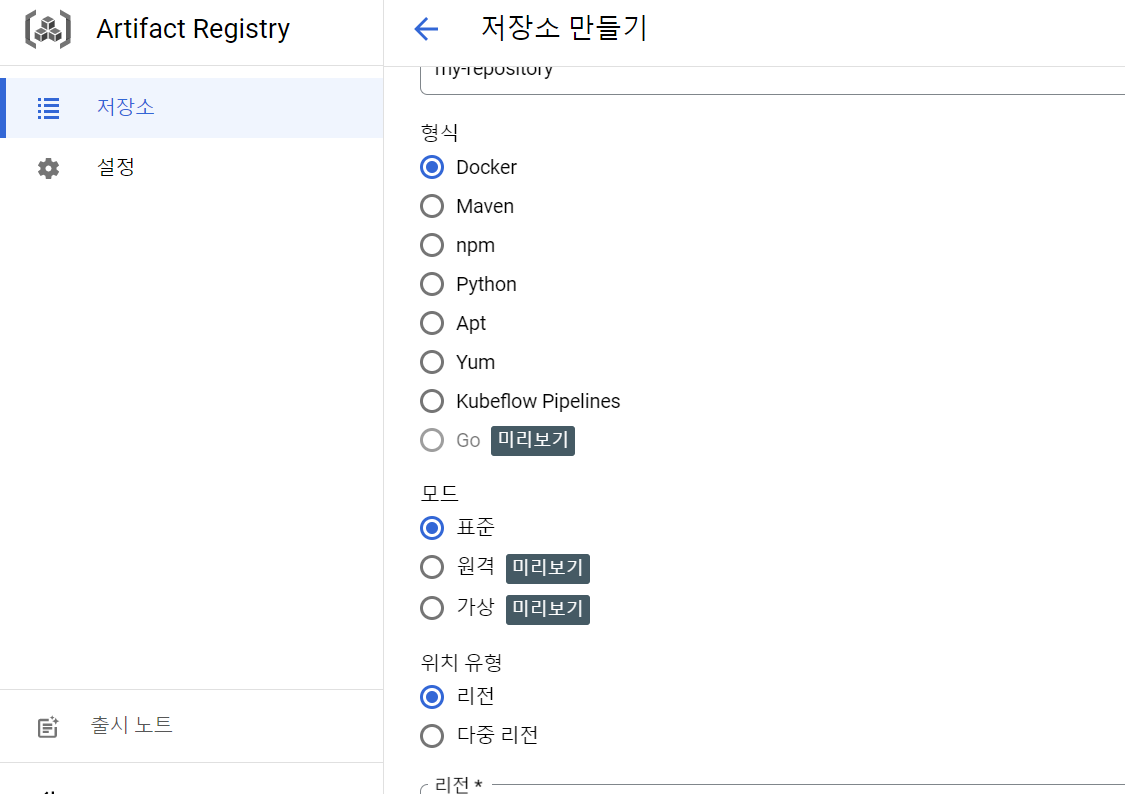
1 ) Docker Registry 생성하기
2 ) 권한 부여하기
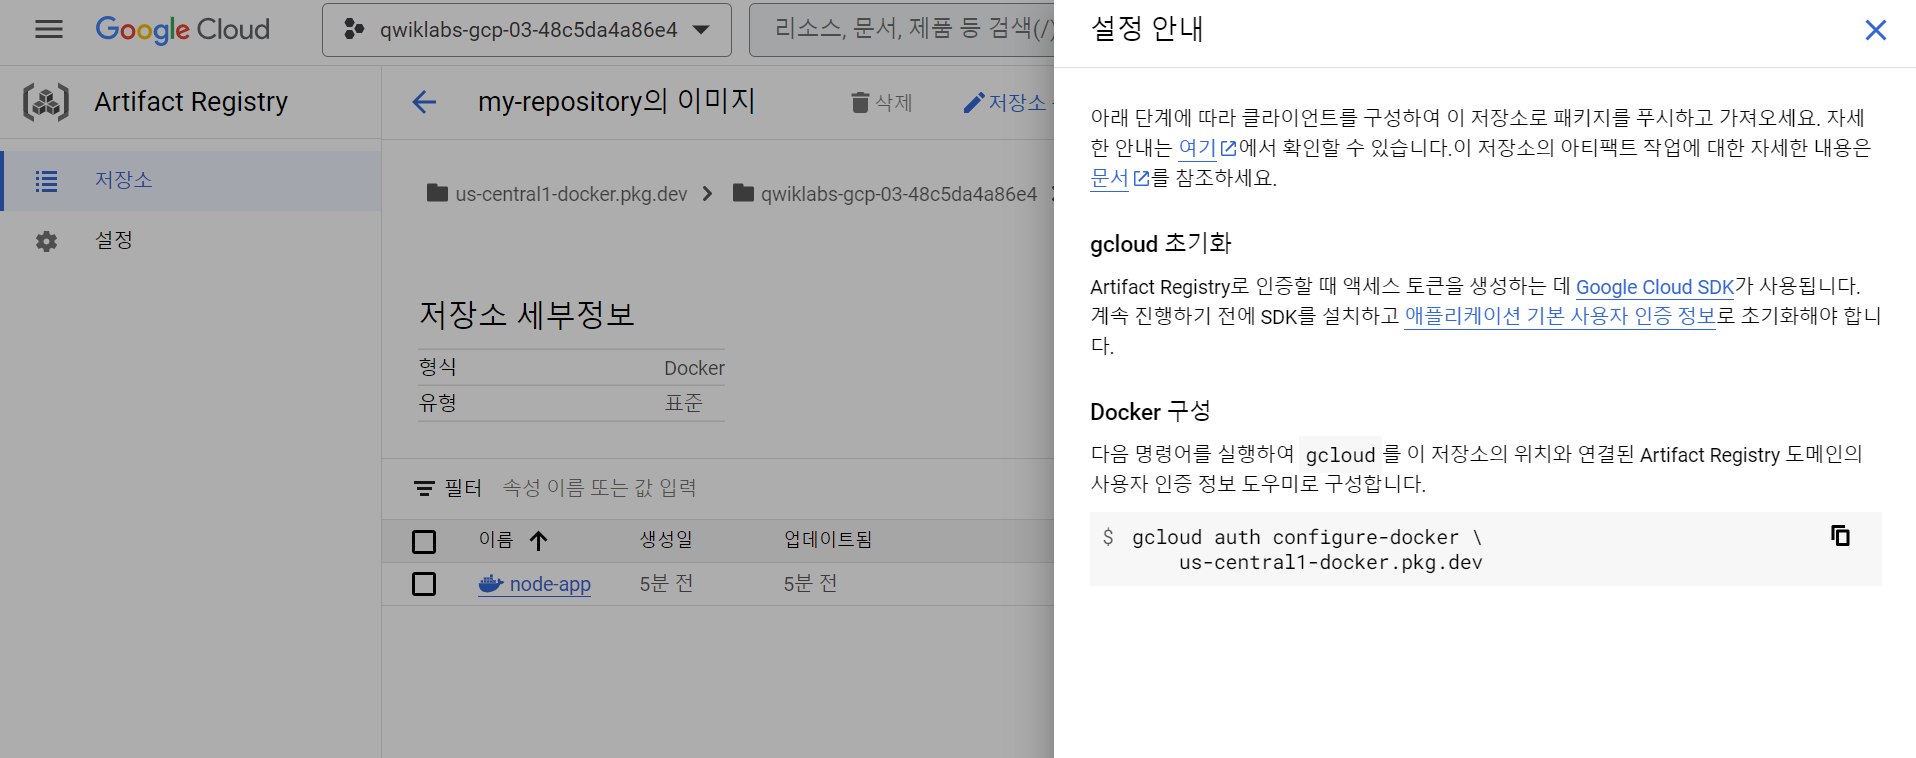
gcloud를 이 저장소의 위치와 연결된 Aritifact Registry 도메인의 사용자 인증 정보 도우미로 구성
gcloud auth configure-docker us-central1-docker.pkg.dev3 ) Container 올리기
a. PROJECT_ID 설정하기
export PROJECT_ID = $(gcloud config get-value project)
cd ~/test
b. node-app:0.2 tag 로 빌드하기
docker build -t us-central1-docker.pkg.dev/$PROJECT_ID/my-repository/node-app:0.2c. build 된 이미지 확인
docker imagesd. image push
docker push us-central1-docker.pkg.dev/$PROJECT_ID/my-repository/node-app:0.24 ) 테스트 하기
a. Container 전체 삭제
docker stop $(docker ps -q)
docker rm $(docker ps -aq)
b. Docker Images 모두 삭제
docker rmi us-central1-docker.pkg.dev/$PROJECT_ID/my-repository/node-app:0.2
docker rmi node:lts
docker rmi -f $(docker images -aq) # remove remaining images
docker iamges
c. 이미지 받아와서 실행하기
docker pull us-central1-docker.pkg.dev/$PROJECT_ID/my-repository/node-app:0.2
docker run -p 4000:80 -d us-central1-docker.pkg.dev/$PROJECT_ID/my-repository/node-app:0.2
curl http://localhost:4000
6. Further More
구글 퀵랩 Kubernetes in Google Cloud를 학습하고 정리한 내용입니다.