GitHub의 Rest API를 호출하는 방법
호출전 사전 준비
깃허브의 Rest API를 사용하는 방법을 알아보겠습니다 먼저 깃허브의 다양한 기능들인 레포, 이슈, 피드, auth등을 확인해보기 위해서 각각의 엔드포인트들을 입력을 해줘야하는데 각각의 url의 최상위 url인 https://api.github.com에 GET method를 호출해보면 아래와 같은 결과가 나온다.
{
    "current_user_url": "https://api.github.com/user",
    "current_user_authorizations_html_url": "https://github.com/settings/connections/applications{/client_id}",
    "authorizations_url": "https://api.github.com/authorizations",
    "code_search_url": "https://api.github.com/search/code?q={query}{&page,per_page,sort,order}",
    "commit_search_url": "https://api.github.com/search/commits?q={query}{&page,per_page,sort,order}",
    "emails_url": "https://api.github.com/user/emails",
    "emojis_url": "https://api.github.com/emojis",
    "events_url": "https://api.github.com/events",
    "feeds_url": "https://api.github.com/feeds",
    "followers_url": "https://api.github.com/user/followers",
    "following_url": "https://api.github.com/user/following{/target}",
    "gists_url": "https://api.github.com/gists{/gist_id}",
    "hub_url": "https://api.github.com/hub",
    "issue_search_url": "https://api.github.com/search/issues?q={query}{&page,per_page,sort,order}",
    "issues_url": "https://api.github.com/issues",
    "keys_url": "https://api.github.com/user/keys",
    "label_search_url": "https://api.github.com/search/labels?q={query}&repository_id={repository_id}{&page,per_page}",
    "notifications_url": "https://api.github.com/notifications",
    "organization_url": "https://api.github.com/orgs/{org}",
    "organization_repositories_url": "https://api.github.com/orgs/{org}/repos{?type,page,per_page,sort}",
    "organization_teams_url": "https://api.github.com/orgs/{org}/teams",
    "public_gists_url": "https://api.github.com/gists/public",
    "rate_limit_url": "https://api.github.com/rate_limit",
    "repository_url": "https://api.github.com/repos/{owner}/{repo}",
    "repository_search_url": "https://api.github.com/search/repositories?q={query}{&page,per_page,sort,order}",
    "current_user_repositories_url": "https://api.github.com/user/repos{?type,page,per_page,sort}",
    "starred_url": "https://api.github.com/user/starred{/owner}{/repo}",
    "starred_gists_url": "https://api.github.com/gists/starred",
    "topic_search_url": "https://api.github.com/search/topics?q={query}{&page,per_page}",
    "user_url": "https://api.github.com/users/{user}",
    "user_organizations_url": "https://api.github.com/user/orgs",
    "user_repositories_url": "https://api.github.com/users/{user}/repos{?type,page,per_page,sort}",
    "user_search_url": "https://api.github.com/search/users?q={query}{&page,per_page,sort,order}"
}
대부분의 URL들은 인증(Bearer Token)을 입력해야 정보를 받아올 수 있다. 자기의 repo를 CRUD를 하는 방법을 예시로 한번 알아보겠습니다.
먼저 Auth를 인증하는 부분부터 알아보겠습니다. Bearer Token을 입력하기 위에서는 깃허브 personal access token이 필요한데 깃헙 공식 문서 여기로 들어가셔서 차례대로 진행하면 토큰을 받을 수 있습니다
https://api.github.com/user 그다음 여기주소로 Get Method로 호출을 하시면 정보를 확인해보실수 있습니다.
Repo Get Method
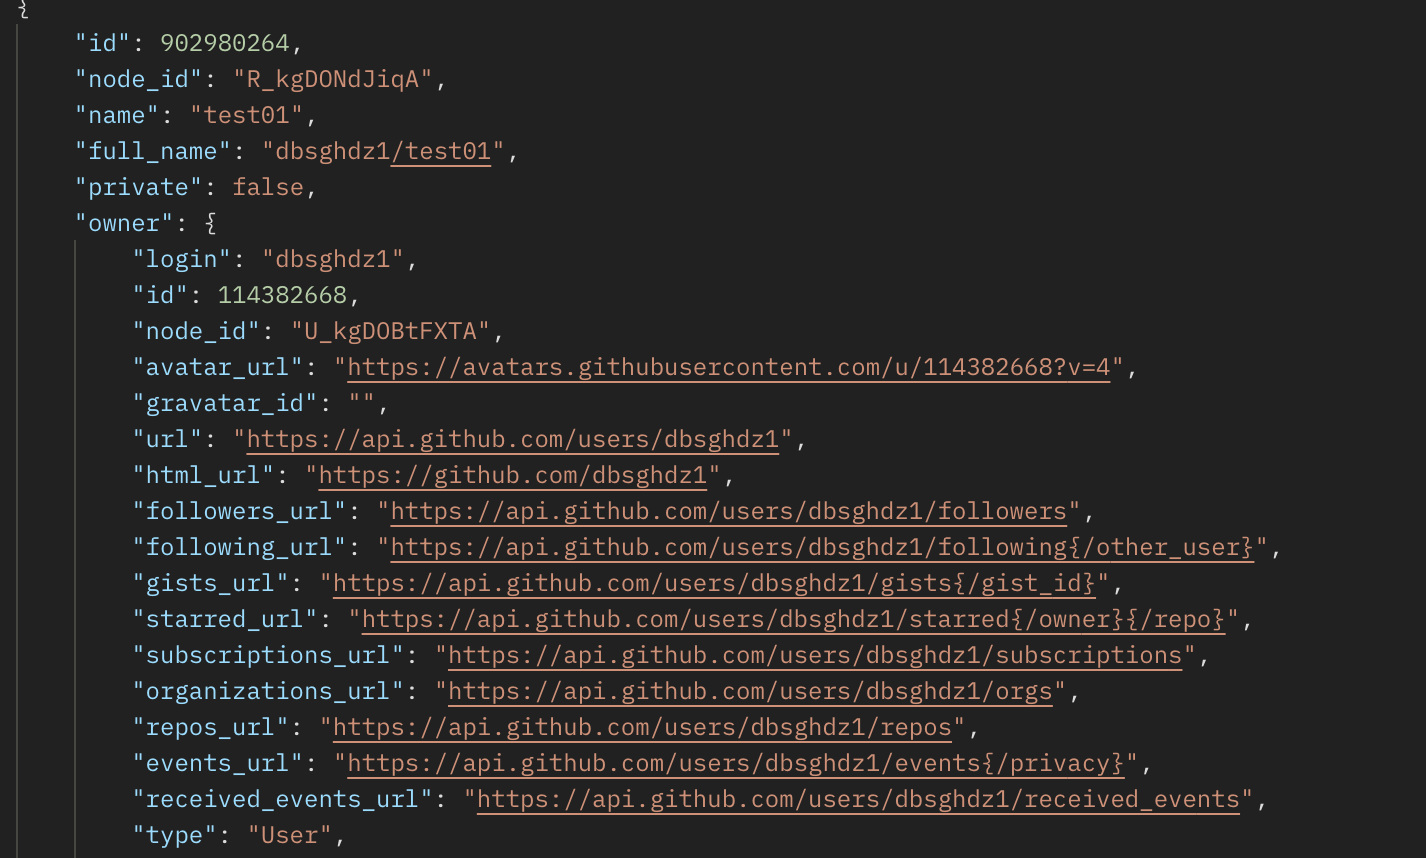
만들어진 레포를 보기 위해서 https://api.github.com/user/repos 이쪽으로 Get Method를 호출해보면 response를 받을 수 있을 것이다.

대충이런 정보를 얻게 된다.
Repo Post Method
레포를 만들기 위해서 header에 auth토큰과 body를 적어줘야 한다.
https://api.github.com/user/repos
만약 organization에 repo를 만들고 싶다면 https://api.github.com/orgs/{org}/repos 에 호출을 보내보자
body적기
{
	"name":"repoCreateTest"
}
Post를 호출하면 response를 받게 되는데 이를 보면 레포를 만들때 원하는 설정을 할 수 있을것같다.
예를 들어 private등
Repo Patch Method
Patch를 이용해 repo를 업데이트 해보자
https://api.github.com/repos/{owner}/{repo}로 요청을 하면된다.
그 후 body를 작성하면 되는데
{
    "name": "Hello-World",
    "description": "This is your first repository",
    "homepage": "https://github.com",
    "private": true,
    "has_issues": true,
    "has_projects": true,
    "has_wiki": true
}
이렇게 작성하면 된다. 요청후 200응답코드가 오면 바뀐 레포를 확인하고 끝!
Repo Delete Method
https://api.github.com/repos/{owner}/{repo}
여기로 요청을 하고 Delete Method를 이용해서 레포를 지워보자!