ESLint + Prettier + EditorConfig + TypeScript 설정하기
프로젝트 협업을 하다 보면 개발자 개인마다 코드 스타일이 굉장히 다르다. 이러한 점때문에 코드 품질을 높여주는 많은 라이브러리가 등장했고 그 중 ESLint, Prettier, EditorConfig를 TypeScript에서 적용하는 것을 포스팅하고자 한다.
기초 작업
먼저, 가장 뼈대가 돼서 보여지기 위한 html 파일을 public/index.html 경로에 생성한다.
<!DOCTYPE html>
<html lang="en">
  <head>
    <meta charset="UTF-8">
    <meta name="viewport" content="width=device-width, initial-scale=1.0">
    <meta http-equiv="X-UA-Compatible" content="ie=edge">
    <title> Formater </title>
  </head>
  <body>
    <div id="root" />
  </body>
</html>App.tsx와 index.tsx를 생성하기 전 관련 라이브러리를 설치한다.
npm install react react-dom @types/react @types/react-dom
yarn add react react-dom @types/react @types/react-dom
다음은 src/App.tsx와 src/index.tsx를 생성한다.
// App.tsx

import React from 'react';

const App = () => {
  return (
    <div>
      <h1> Formatter </h1>
    </div>
  );
}

export default App;
// index.tsx
import React from "react";
import ReactDOM from "react-dom";
import App from "./App";
ReactDOM.render(<App />, document.getElementById("root"));Editor Config 설정
EditorConfig를 사용하는 이유는 개발자마다 코드를 작성하는 IDE가 다를 것이다. 이때 .editorconfig 파일 하나로 코드의 format을 관리할 수 있다.
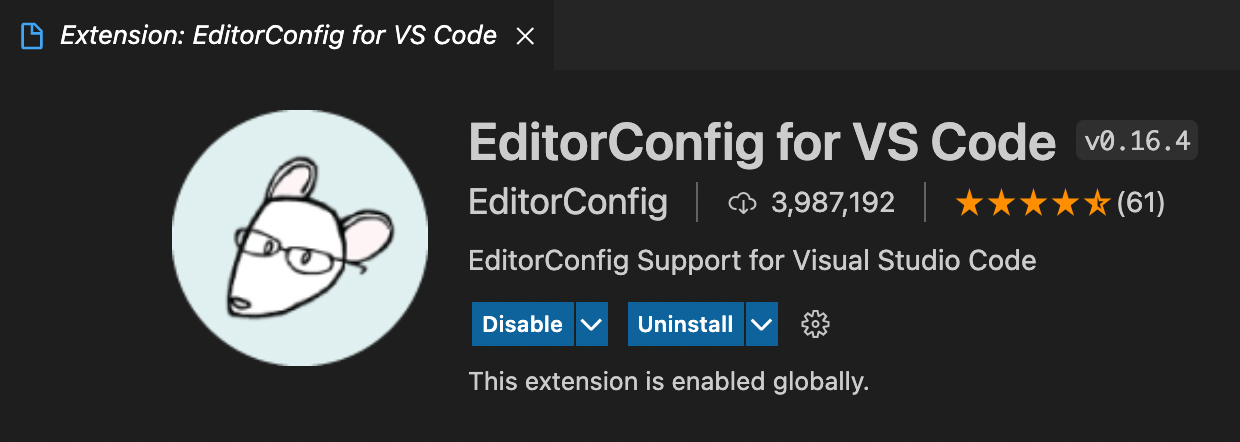
나의 환경은 Viual Studio Code이기 때문에 해당 Extension을 설치했다.
그 다음 EditorConfig를 Global로 설치해준다.
npm install -g editorconfig
yarn global add editorconfig
이제 파일을 작성해보자.
가장 상위 root 폴더에 .editorconfig 파일을 생성해준다.
# http://editorconfig.org
root = true

[*.{js,ts,tsx,json,yml,yaml}]
charset = utf-8
end_of_line = lf
indent_style = space
indent_size = 2
insert_final_newline = true
trim_trailing_whitespace = true
가장 주요한 속성을 살펴보자.
end_of_line : line-break 설정
indent_style : hard-tab(tab), soft-tab(space)의 구분
indent_size : 간격 사이즈
insert_final_newline : 마지막에 새로운 개행 추가
trim_trailing_whitespace : 줄 앞쪽에 공백 문자 제거
Prettier 설정
Prettier는 Code의 Format을 관리해주기 위해 사용되는 라이브러리이다. Editor Config보다 더 다양한 Format을 설정해줄 수 있어 Prettier를 같이 세팅하는 것은 좋은 것 같다.
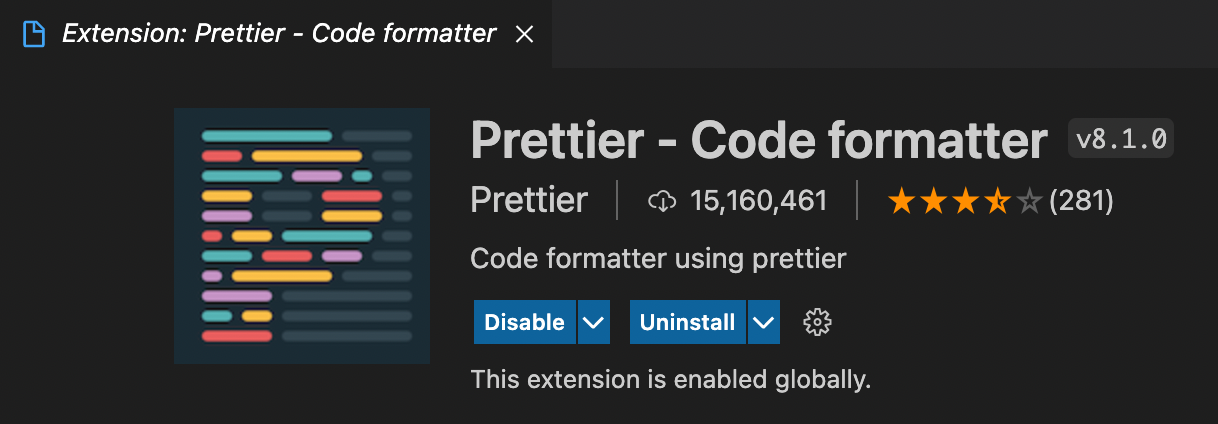
먼저 Extension은 다음과 같다.
다음으로는 Prettier를 설치한다.
npm install -D prettier
yarn add -D prettier
이제 파일을 작성해보자.
루트 경로에 .prettierrc.json 파일을 생성한다.
{
  "printWidth": 150,
  "tabWidth": 2,
  "singleQuote": false,
  "trailingComma": "none",
  "bracketSpacing": true,
  "semi": true,
  "useTabs": false,
  "arrowParens": "always",
  "endOfLine": "lf",
  "jsxBracketSameLine": true,
  "jsxSingleQuote": false
}
위의 룰은 개인적으로 좋아하는 룰이다. 하지만 개인, 팀마다 원하는 코드 룰이 있을 것이다. 이는 공식 문서를 보고 하나하나 세팅해보기를 추천한다.
ESLint 설정
ESLint는 Code의 품질을 향상시키기 위한 룰을 정의할수도 있고 여러 Plugin이나 추천되는 룰, 유명한 사이트의 룰 등을 코드에 적용시킬 수 있다. rule에 어긋난 부분이 있다면 확인하고 해당 옵션을 off 시킬 수 있지만 꼭 해당 rule에 대해서 충분히 고민하고 off를 시키기를 권장한다.
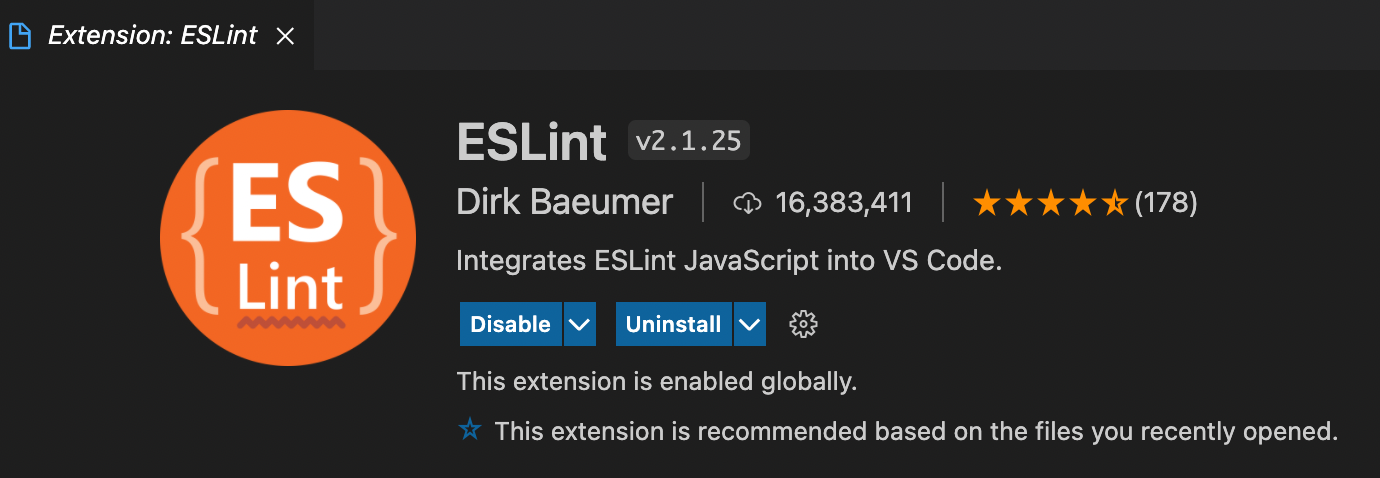
먼저, Extension은 다음과 같다.
다음으로 설치를 한다.
npm install -g eslint
yarn global add eslint
Eslint를 global로 설치하면 eslint --init 명령어를 사용가능하다.
해당 명령을 실행하고 아래와 같이 응답한다.
✔ How would you like to use ESLint? · style
✔ What type of modules does your project use? · esm
✔ Which framework does your project use? · react
✔ Does your project use TypeScript? · Yes
✔ Where does your code run? · browser
✔ How would you like to define a style for your project? · guide
✔ Which style guide do you want to follow? · airbnb
✔ What format do you want your config file to be in? · JSON
해당 명령을 실행하고 설치된 라이브러리, TypeScript, Prettier, 이후 원하는 Lint 설정을 위한 라이브러리 등의 package는 다음과 같다.
{
  "name": "formatter",
  "version": "1.0.0",
  "main": "index.js",
  "dependencies": {
    "@types/react": "^17.0.21",
    "@types/react-dom": "^17.0.9",
    "react": "^17.0.2",
    "react-dom": "^17.0.2"
  },
  "devDependencies": {
    "@typescript-eslint/eslint-plugin": "^4.31.1",
    "@typescript-eslint/parser": "^4.31.1",
    "editorconfig": "^0.15.3",
    "eslint": "^7.32.0",
    "eslint-config-airbnb": "^18.2.1",
    "eslint-config-prettier": "^8.3.0",
    "eslint-plugin-import": "^2.24.2",
    "eslint-plugin-jsx-a11y": "^6.4.1",
    "eslint-plugin-prettier": "3.4.0",
    "eslint-plugin-react": "^7.25.2",
    "prettier": "^2.4.1",
    "typescript": "^4.4.3"
  }
}
이후 생성된 .eslintrc.json 파일은 다음과 같다.
{
    "env": {
        "browser": true,
        "es2021": true
    },
    "extends": [
        "plugin:react/recommended",
        "airbnb"
    ],
    "parser": "@typescript-eslint/parser",
    "parserOptions": {
        "ecmaFeatures": {
            "jsx": true
        },
        "ecmaVersion": 12,
        "sourceType": "module"
    },
    "plugins": [
        "react",
        "@typescript-eslint"
    ],
    "rules": {
    }
}
여기서 나는 여러가지 설정을 추가했다.
1. Prettier의 연동
2. TypeScript 연동
3. airbnb-base로의 설정
4. index.tsx와 App.tsx 파일의 오류 제거
그래서 완성된 ESLint 설정은 다음과 같다.
{
  "env": {
    "browser": true,
    "es2021": true
  },
  "ignorePatterns": ["node_modules/"],
  "extends": [
    "eslint:recommended",
    "plugin:react/recommended",
    "plugin:@typescript-eslint/recommended",
    "airbnb-base",
    "prettier",
    "plugin:prettier/recommended"
  ],
  "parser": "@typescript-eslint/parser",
  "parserOptions": {
    "ecmaFeatures": {
      "jsx": true
    },
    "ecmaVersion": 12,
    "sourceType": "module"
  },
  "plugins": [
    "react",
    "@typescript-eslint",
    "prettier"
  ],
  "settings": {
    "import/resolver": {
      "node": {
        "paths": ["src"],
        "extensions": [".js", ".jsx", ".ts", ".tsx"]
      }
    }
  },
  "rules": {
    "prettier/prettier": [
      "error",
      {
        "endOfLine": "auto"
      }
    ],
    "no-use-before-define": "off",
    "import/extensions": [
      "error",
      "ignorePackages",
      {
        "js": "never",
        "jsx": "never",
        "ts": "never",
        "tsx": "never"
      }
    ]
  }
}
여기서 no-use-before-define를 off 하게 되었다. 이는
React 정의 시에 알맞게 사용하고 있으나 오류를 내뿜고 있었다. 해당 룰에 대해서 읽어보니 호이스팅 문제에 대해서 다루고 있었지만 off를 시키지 않는다면 계속해서 거슬리는 오류가 발생할 것이고 이미 let과 const를 통해 코드를 작성하고 있기에 룰을 off해도 괜찮을 것이라고 판단했다.
또한 import/extensions에 대해서 Override해서 작성하게 되었는데 이는 파일을 불러올 때 확장자를 자세하게 쓰는 옵션이다. 나는 확장자까지 쓰지 않는 스타일을 선호하기에 원하는 확장자에 대해서 검사를 하지 않도록 변경하였다.
마치며
사실 여러 번 ESLint와 Prettier 설정은 해봤으나 Editor Config는 처음 도입해봤다. 처음에는 Prettier와 너무 성격이 비슷한 것은 아닌가? 라는 생각을 가지게 됐지만 전혀 다른 성격을 가지고 있었고 원피스의 삼대장처럼 프론트엔드 환경 설정에 포함되어야 한다고 생각이 들었다. 같이 사용하기를 꼭 추천한다.
참조
ESLint 공식문서
Prettier 공식문서
EditorConfig 공식문서
no-use-before-define 문서
import/extensions 관련 설명 블로그

Editor Config에 대해서는 몰랐는데 좋은 글 감사합니다 ~~🤗