nextjs 공식사이트 - https://nextjs.org/learn/basics/create-nextjs-app
이번 시간에는 SPA의 단점인 SEO를 극복하기 위하여 사용되는 Next.js의 기초를 공부하고자 Next.js의 공식사이트 가이드를 차근차근 따라해보는 시간을 가져보겠습니다.
1. next.js 프로젝트 생성하기
- 터미널에서 해당 명령어 실행 후 프로젝트 실행하기
npx create-next-app nextjs-test
cd nextjs-blog
npm run dev

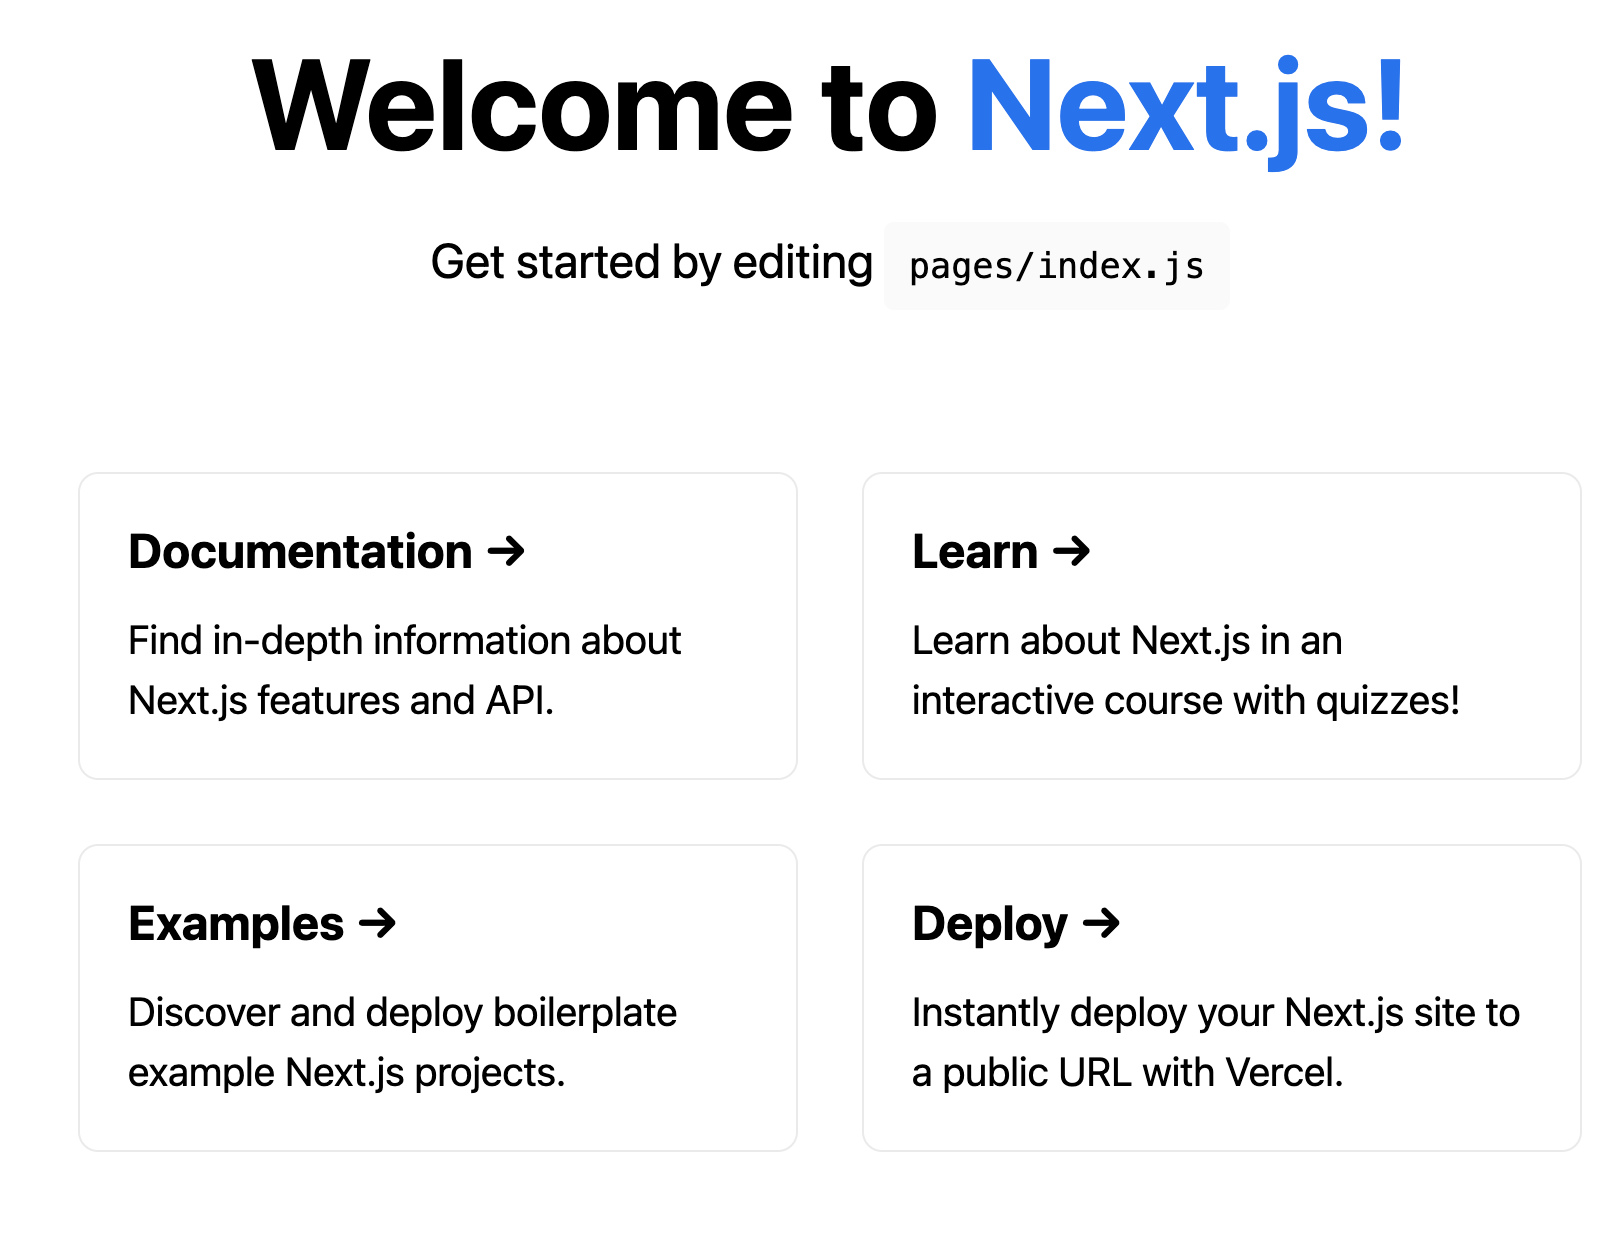
localhost:3000 들어가기

해당 뷰가 나오면 성공
- pages/index.js 에 들어가 Welcome to를 Learn으로 바꾸기

- 페이지 새로 만들기
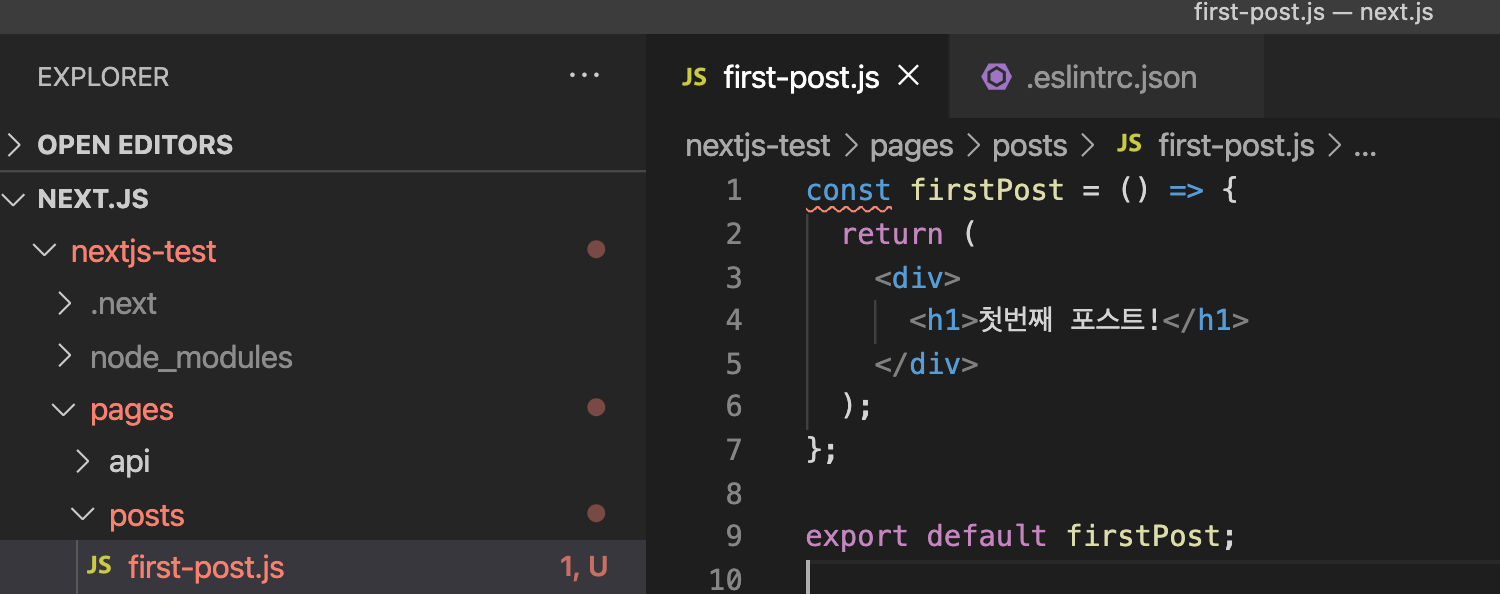
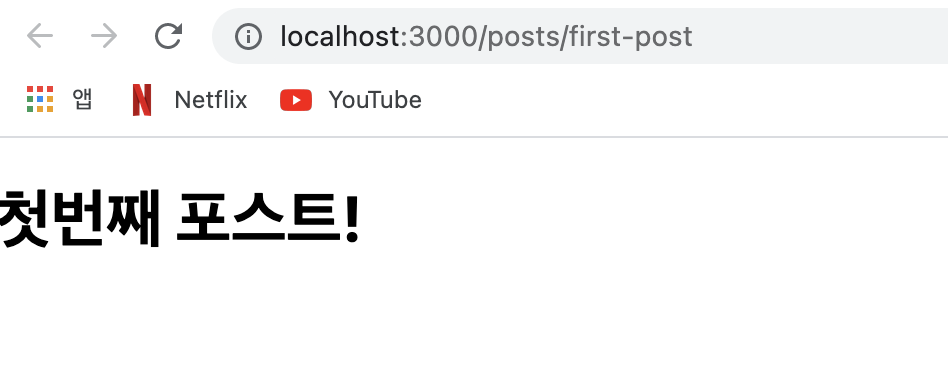
- pages 폴더 내 posts 폴더를 만들고 first-post.js 파일 만들기


여기서 알 수 있는 next.js의 장점
- 폴더 경로와 파일명으로 라우팅이 자동으로 되어 편리함
2. Link를 사용하여 url이동 해보기
- 다음과 같이 최상단에 Link import 하기
import Link from "next/link";- import 한 Link 컴포넌트의 href 속성에 원하는 페이지 url를 적고 특정 요소를 감싸기
 <Link href="/posts/first-post">
   <a>first-post 페이지로 이동해보자!!</a>
 </Link>
3. 정적파일, metadata, css 설정
이미지 파일 넣기
- 하나의 이미지 파일 구하기
- public 폴더안에 images라는 폴더명으로 폴더 생성하기
- 해당 폴더안에 이미지 파일 넣기
일반적인 html 식 img 태그로 이미지를 넣으려면
<img src="/images/nextjs.png" alt="" />다음과 같이 작성해야한다. 하지만 이 경우 스크린 크기가 달라지는 반응형웹에서는 비율에 대한 보장을 받기 힘들다.
위의 문제를 해결 하기 위하여
- Image컴포넌트를 import 한다
import Image from "next/image";
- Image 컴포넌트에 이미지 경로와 height width 속성으로 반응형에 대한 비율을 보장 받을 수 있다
      <Image
        src="/images/nextjs.png"
        height={400} // 해당 크기만큼의 비율을 반응형으로 보장 받을 수 있게됨!!
        width={400}
        alt="img"
      />
페이지에 대한 정보 넣기
-
html 태그 안 head 내에 넣을 수 있는 link, meta등 필요한 정보들을 컴포넌트별로 넣어 줄 수 있음
-
Head 컴포넌트 임포트
import Head from 'next/head'
- Head 컴포넌트로 감싸서 그 안에 head 요소 안에 들어 갈 title, link, meta 등 정보를 나타내는 요소들을 넣어서 페이지별로 설정 가능
<Head>
  <title>Create Next App</title>
  <link rel="icon" href="/favicon.ico" />
</Head>
4. CSS 다루기
모든페이지에서 사용 가능한 Layout 컴포넌트 만들기
- root directory에 components 폴더 만들기
- components 폴더 안에 layout.js라는 파일 만들기
- Layout 컴포넌트에 하위 컴포넌트를 받아오는 children props로 넣기
const Layout = ({ children }) => {
  return <div>{children}</div>;
};

export default Layout;- 레이아웃 컴포넌트로 감싸고 싶은 컴포넌트 파일에 Layout import 하고
- Layout 컴포넌트로 html 요소 감싸기
    <Layout>
      <h1>첫번째 포스트!</h1>
      <Image
        src="/images/nextjs.png"
        height={400} // 해당 크기만큼의 비율을 반응형으로 보장 받을 수 있게됨!!
        width={400}
        alt="img"
      />
</Layout>- components 폴더 안에 css를 넣기 위한 layout.module.css 파일 생성 후 css 입히기
.container {
  max-width: 36rem;
  padding: 0 1rem;
  margin: 3rem auto 6rem;
}- css 파일 import 후 className 속성으로 적용시키기
import styles from './layout.module.css'

const Layout = ({ children }) => {
  return <div className={styles.container}>{children}</div>;
};
양이 많아질 것 같아 글을 나눠서 올리겠습니다. 2편에서 뵙겠습니다.

