Multer 미들웨어는 이미지, 동영상을 비롯한 여러 파일들을 멀티파트 형식으로 업록드 할때 사용하는 미들웨어이다.일반적으로 express에서 express.json(), express.urlencoded() 를 통해서 body와 Query String의 값들을 파싱하였지만, 파일 객체같은 경우 이것이 불가능하다. multipart 형식은 아래와 같이 enctype 이 multipart/form-data form을 통해 업로드하는 데이터의 형식을 의미한다
<form action="/upload" method="post" enctype="multipart/form-data">들어가기 앞에 enctype 의 종류를 알아보고 가자
| 속성값 | 설명 |
|---|---|
| application/x-www-form-urlencoded | 기본값으로 모든 문자들은 서버로 보내기 전에 인코딩됨을 명시한다 |
| multipart/form-data | 모든 문자를 인코딩하지 않는다. <form>태그가 파일들을 보낼때 주로 사용한다 |
| text/plain | 공백문자만 '+' 문자로 대체, 이외에는 순수 text로 보낸다. 다만 이는 보안에 좋지 않아 디버깅 용도로만 사용하는것이 좋다 |
기본적인 프로젝트 세팅을 해본다.
npm i morgan express dotenv multerconst express = require('express');
const dotenv = require('dotenv');
const logger = require('morgan');
const multer = require('multer');
dotenv.config();
const app = express();
app.set('port',process.env.PORT);
app.use(
express.json(),
express.urlencoded({
extended: false
}),
express.static(__dirname),
process.env.MODE==='dev' ? logger('dev') : logger('combined')
)
// Wrong router
app.use((req,res,next) => {
const err = new Error(`${req.method} ${req.route} Router not found`);
err.status = 404;
next(err);
})
// error handling router
app.use((err,req,res,next) => {
return res.status(err.status || 500).json({
msg : err.message
})
})
app.listen(app.get('port'), () => {
console.log(`Listening on port ${app.get('port')}`)
})우선 multer의 기본 설정을 해본다. 들어가기 앞서 Multer Korean Document를 참고하는것도 좋은 방법이다.
Multer 설정하기
Document에도 나와있듯이, dest 속성만 사용할 수 도 있다.
const upload = multer({
    dest: 'uploads/'
})
하지만 더 세부적인 제어를 하기 위해서는 storage 옵션을 사용해야한다.
만일 업로드를 더 제어하고 싶다면, dest 옵션 대신 storage 옵션을 사용할 수 있습니다. Multer는 스토리지 엔진인 DiskStorage 와 MemoryStorage 를 탑재하고 있습니다. 써드파티로부터 더 많은 엔진들을 사용할 수 있습니다.
multer 함수의 인수로 설정을 넣는다. 기본적으로 multer 함수는 옵션들을 인자로 받는데, 만약 인자들을 작성하지 않는다면, storage 속성은 파일이 저장될 위치를 지정해준다. storage 속성을 지정할때는 diskStorage 혹은 memoryStorage 를 사용할 수 있다. stroage 속성에는 destination, filename 속성을 지정할 수 있다. destination 속성에는 파일을 어디에 저장할지를 지정하고, filename 에는 파일 이름을 지정해 준다. 주의할 점은, callback함수가 있다는 것이다. callback함수의 첫번째 매개변수에는 에러가 있는경우 에러를 넣고, 두번째 매개변수에는 파일 이름을 넣어주면 된다.
limits 속성은 파일의 속성을 선택적으로 제한하는 속성이다.(필드명, 파일사이즈 등등...) 주의할점은 아래 예시에서 limits 속성을 통해 파일 사이즈를 제한할때 5 * 1024 * 1024와 같이 처리를 했는데 이는 filesize의 단위가 byte 단위이기 때문이다. 결론적으로 5MB로 파일 크기를 제한한것이다.
const upload = multer({
    storage: multer.diskStorage({
        destination : (req,file,done) => {
            done(null,'uploads/')
        },
        filename : (req,file,done) => {
            done(null,file.originalname);
        }
    }),
    limits: {
        fileSize : 5 * 1024 * 1024
    }
})
참고로 file 객체는 아래와 같은 속성을 가질 수 있다
{
      fieldname: 'img2',
      originalname: 'B889047_á\x84\x8Bá\x85²á\x86«á\x84\x8Cá\x85®á\x86«á\x84\x92á\x85©_Programming3.pdf',
      encoding: '7bit',
      mimetype: 'application/pdf',
      destination: 'uploads/',
      filename: 'B889047_á\x84\x8Bá\x85²á\x86«á\x84\x8Cá\x85®á\x86«á\x84\x92á\x85©_Programming31671985372490.pdf',
      path: 'uploads/B889047_á\x84\x8Bá\x85²á\x86«á\x84\x8Cá\x85®á\x86«á\x84\x92á\x85©_Programming31671985372490.pdf',
      size: 3053560
    }
한가지 알아두어야할 사실은, 우리는 파일들을 uploads 폴더에 저장하기로 하였지만, 해당 디렉토리가 없을 수 도 있다는 것이다. 그런 경우를 대비하여 multer 앞에 디렉토리가 없으면 생성하는 코드를 넣어줄 수 있다.
const fs = require('fs').promises;
// init directory : upload
fs.readdir('uploads')
.then(() => {
    console.log('Direcotry upload exist')
})
.catch(() => {
    console.log('Directory uploads not exist make directory')
    fs.mkdir('uploads')
})
여기 까지 설정하면, multer 미들웨어들을 사용할 수 있다.
Single
파일 하나를 저장할때 사용한다. single 미들웨어는 인자로 input 태그의 name이나 폼 데이터의 키와 일치하는 문자열을 넣으면 된다. 성공시 결과는 req.file에 들어가게 된다.
//index.html
<form action="/upload" method="post" enctype="multipart/form-data">
        <input type="file" name="image">
        <input type="text" name="title">
        <button type="submit">Upload</button>
</form>
// app.js
app.post('/upload', upload.single("image"),(req,res) => {
    console.log(req.file, req.body);
    return res.send('ok')
})
위와같이 코드를 작성하고 localhost:3000 에 접속한다
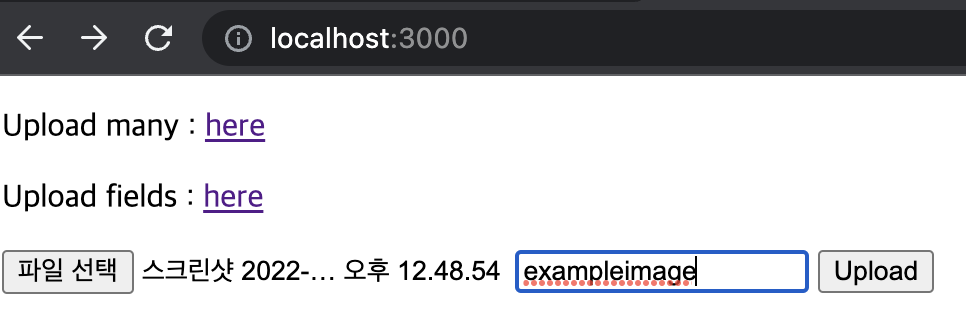
그 후에 upload를 누르면 파일이 잘 저장되는것을 볼 수 있다.
다만, 우리가 지정한 이름으로 저장되지는 않았다. Multer는 자체적으로 지정한 파일을 변경할 수 없다. Multer가 파일에 저장하는 순간에는 req.body객체가 비어있기 때문이다. 관련된 Stack Overflow 질문을 아래 첨부한다. 대략 요약을 하자면, Multer는 req 객체에 값을 채우는 미들웨어이고, multer의 filename() 함수에 도달하기 전에 req.body가 채워질꺼라는 보장이 없다는 점이다. 실제로 multer Document에 아래와 같이 작성되어있다.

https://stackoverflow.com/questions/39589022/node-js-multer-and-req-body-empty
그렇기에 만약 사용자가 지정한 파일명으로 바꾸고 싶은 경우, 아래와 같이 코드를 변경해줄 수 있다.
app.post('/upload', upload.single("image"),async (req,res) => {
    if(req.body.title){
        await fs.rename(req.file.path,`${path.dirname(req.file.path)}/${req.body.title}${path.extname(req.file.originalname)}`)
    }
    console.log(req.file,req.body);
    return res.send('ok')
})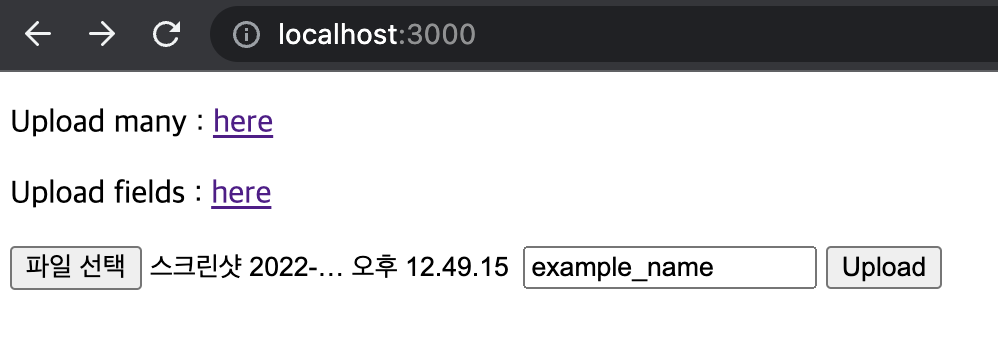
이와 같이 요청을 보내면 사용자가 지정한 이름으로 저장되는것을 볼 수 있다.

array
여러 파일을 업로드 하는경우가 생길 수 도 있다. 이런 경우에는 HTML에서는 input 타입에 multiple을 추가해주면 되고, multer 미들웨어로는 array를 사용하면 된다
single과 동일하게 인자로, input태그의 name 속성값을 주면 되고 차이점이라면, req.file이 아닌 req.files에 파일들이 저장된다는것이다.
//uploadmany.html
<form id="form" action="/upload-many" method="post" enctype="multipart/form-data">
        <input type="file" name="many" multiple>
        <input type="text" name="title">
        <button type="submit">Upload</button>
</form>

//app.js
app.post('/upload-many',upload.array("many"),(req,res) => {
    console.log(req.files,req.body);
    return res.send('ok')
})
파일 4개를 한번에 지정해서 업로드 해보면 잘 저장되는것을 볼 수 있다.
fields
파일을 여러개 업로드 한다는 가정에서, input필드가 서로 다르게끔 여러개를 전송한다는 가정이 있다고 생각해보자. 그런 경우에는 fields를 사용하는 방법이 있다. fields 미들웨어 인수로는 배열형태로 input태그의 name을 각각 적는것이고, maxCount 옵션을 추가로 부여할 수 있다. array 미들웨어와 마찬가지로 req.files에 파일객체가 저장된다.
//uploadfields.html
<form id="form", action="/upload-fields", method="post", enctype="multipart/form-data">
        <input type="file" name="img1">
        <input type="file" name="img2">
        <input type="text" name="title">
        <button type="submit">Upload</button>
</form>

//app.js
app.post('/upload-fields',upload.fields([
    {name:"img1"},
    {name:"img2"}
]),(req,res) => {
    console.log(req.files,req.body)
    return res.send('ok')
})
이 외에도 파일이 아닌 일반 텍스트를 multipart/form-data로 전송하는 경우도 있다. 그런 경우에는 none() 미들웨어를 사용하면 된다. 순수 text만 업로드를 허용하므로, 만약 파일이 업로드되면 "LIMIT_UNEXPECTED_FILE"와 같은 에러 코드가 발생한다