
이 시리즈는 Nest.js 공식 Document를 바탕으로 따라해보며 내용들을 정리한 게시글입니다.
1. 프로젝트 생성
$ npm i -g @nestjs/cli
$ nest new backend-nest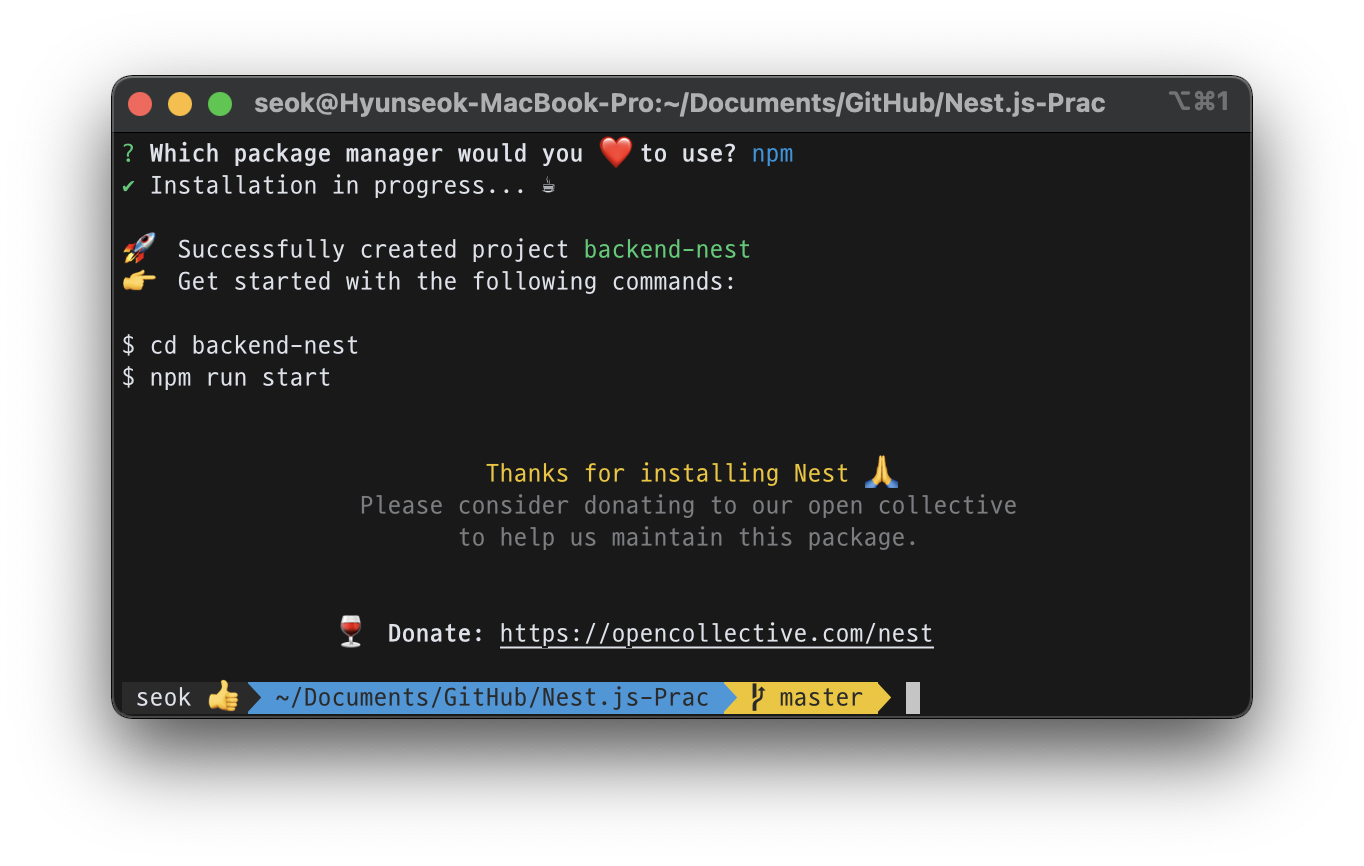
npm과 yarn중에 선택하라는 선택지 말고는 따로 설정할수 있는건 없다. npm을 선택하고 기다리면 보일러플레이트가 생성된다. 생성된 보일러플레이트의 구조는 아래와 같다.
2. 디렉토리 구조 탐색
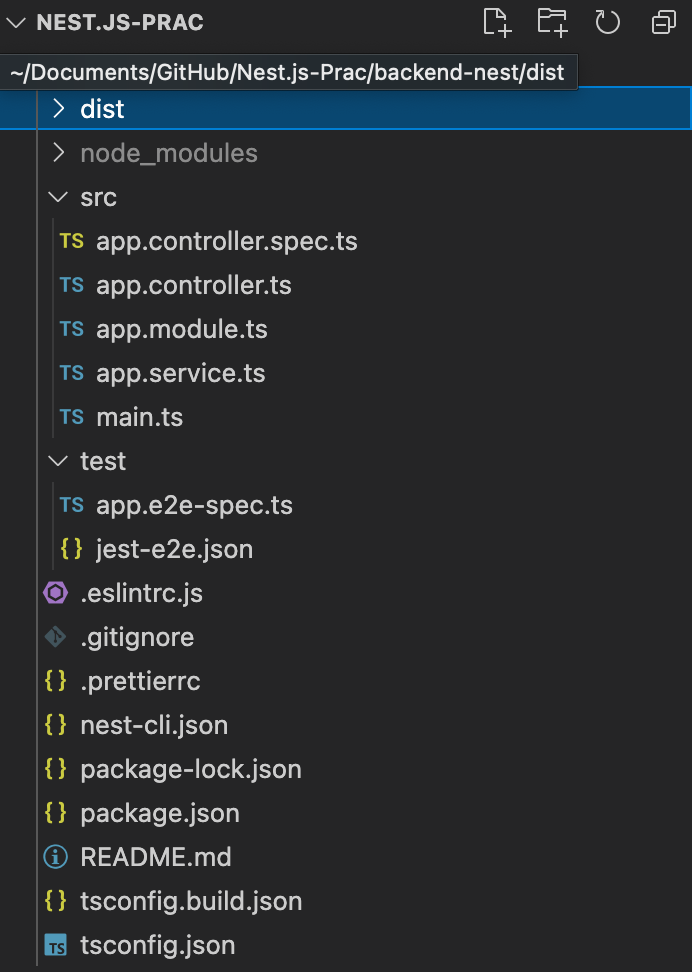
src내부의 ~spec~파일은 유닛 테스트를 위한 파일이고 간단히 컨드롤러, 서비스, 메인으로 되어있으며 The root module of the application.라고 역할을 설명하는 app.module.ts 파일이 있다. 모듈을 관리하는것으로 보이는데 이부분은 조금더 찾아봐야겠다.
main.ts
import { NestFactory } from '@nestjs/core';
import { AppModule } from './app.module';

async function bootstrap() {
  const app = await NestFactory.create(AppModule);
  await app.listen(3000);
}
bootstrap();
main.ts파일에는 간단하게 3000번 포트로 http 리스너를 실행시키는 코드가 작성되어있다.
또한 NestFactory라는 클래스를 통해 Nest 인스턴스를 생성하기 위해 실행하고, create()를 통해 어플리케이션 객체를 반환 받는다.
📌
main.ts에서 import에 에러가 뜰경우.eslintrc.js파일에parserOptions.tsconfigRootDir값을__dirname으로 주면 된다.eslintrc.js
module.exports = {
  parser: '@typescript-eslint/parser',
  parserOptions: {
    project: 'tsconfig.json',
    tsconfigRootDir: __dirname,  // 요부분!
    sourceType: 'module',
  },
  plugins: ['@typescript-eslint/eslint-plugin'],
  extends: [
    'plugin:@typescript-eslint/recommended',
    'plugin:prettier/recommended',
  ],
  root: true,
  env: {
    node: true,
    jest: true,
  },
  ignorePatterns: ['.eslintrc.js'],
  rules: {
    '@typescript-eslint/interface-name-prefix': 'off',
    '@typescript-eslint/explicit-function-return-type': 'off',
    '@typescript-eslint/explicit-module-boundary-types': 'off',
    '@typescript-eslint/no-explicit-any': 'off',
  },
};
3.Platform
Nest.js는 플랫폼에 구애받지 않는, 플랫폼 독립적인 프레임워크를 목표한다고 한다. express,fastify이 두가지 플랫폼을 사용할 수 있는데 선택하지 않으면 기본으로 express를 사용한다.
const app = await NestFactory.create<NestExpressApplication>(AppModule);아래처럼 create 함수에서 플랫폼을 지정할 수 있다.
4. 실행
$ npm run start
localhost:3000으로 요청을 보내면 Hello World!를 확인할 수 있다.
출처

🦉🦉🦉🦉🦉