현재 진행중인 프로젝트에서 팀원이 만든 di 라이브러리를 사용하고 있는데, 아직 안정화가 되지 않아서 혹시 모를 오류에 대비해 현재 널리 사용하고 있는 Hilt라이브러리를 사용해서 후에 리팩토링 과정을 진행하기로 했습니다.
그래서 오랜만에 Hilt에 대해서 다시 공부해보면서 실습을 진행해보았습니다.
이번 포스터에서는 Hilt에 대한 자세한 소개 보다는 예제를 통해 실제로 어떻게 사용하는지에 대해서 알아보겠습니다.
Hilt에 대해서 예전에 정리해 놓았던 자료는 이 곳 을 참고해 주세요
Hilt 라이브러리를 사용해서 의존성 주입해보기
1. build.gradle에 라이브러리 추가
앱 모듈
plugins {
		...
    kotlin("kapt")
    id("com.google.dagger.hilt.android")
    	...
}

...
dependencies {
		...
    implementation("com.google.dagger:hilt-android:2.48")
    kapt("com.google.dagger:hilt-android-compiler:2.48")
    	...
}
프로젝트
plugins {
		...
    id("com.google.dagger.hilt.android") version "2.48" apply false
	    ...
}
Application 클래스에 @HiltAndroidApp 어노테이션 지정
@HiltAndroidApp
class ExHiltApplicaiton : Application() {}
API 및 Model 셋팅
API는 이전에 진행한 프로젝트에서 사용했던 TMDB에서 제공하는 API를 사용했습니다.
Service
interface ExService {

    @GET("search/movie")
    suspend fun getData(
        @Query("api_key") api_key = BuildConfig.API_KEY,
        @Query("query") name: String,
        @Query("language") language: String = "ko-KR",
        @Query("page") page: Int
    ): Response<ExHiltDTO>
}
DTO
import com.google.gson.annotations.SerializedName

data class ExHiltDTO(
    val results: List<ContentsResult>
)

data class ContentsResult(
    @SerializedName("genre_ids")
    val genreIDS: List<Long>,
    @SerializedName("original_title")
    val originalTitle: String,
    @SerializedName("overview")
    val overview: String,
    @SerializedName("popularity")
    val popularity: Double,
    @SerializedName("title")
    val title: String,
    @SerializedName("vote_average")
    val voteAverage: Double,
    @SerializedName("vote_count")
    val voteCount: Long,
    @SerializedName("company")
    var company: String = "",
    @SerializedName("poster_path")
    val posterPath: String
)
Repository 인터페이스 생성
도메인 레이어의 ExHiltRepository를 생성합니다.
interface ExHiltRepository {

    suspend fun getData(name: String, page: Int): Result<ExHiltDTO>
}
Repository 모듈, Retrofit 모듈, Service 모듈 생성
이전에 hilt에 관한 포스터에서 설명을 했지만 간략하게 다시 설명 하자면, Hilt를 사용한 의존성 주입은 기본적으로 생성자나 필드에서@Inject 어노테이션을 통해서 주입 받을 수 있지만,인터페이스나 외부 라이브러리를 사용할 때는 따로 모듈을 생성해서 주입을 해주어야 합니다.
RepositoryModule
Repository 패턴을 자주 사용하기 때문에 Repository를 예제에 만들어서 사용을 했습니다.
Repository는 Interface이기 때문에 @Binds 어노테이션을 사용합니다.
@Module
@InstallIn(ViewModelComponent::class)
interface  ExHiltRepositoryModule {
    @Binds
    fun bindRepository(exHiltRepository: DefaultExHiltRepository): ExHiltRepository
}
RetrofitModule
Retrofit은 외부 라이브러리이기 때문에 @Provides 어노테이션을 사용합니다. 또한 앱에서 하나만 생성하면 되기 때문에 InstallIn을 할 때 @Singleton 어노테이션을 사용합니다.
@Module
@InstallIn(SingletonComponent::class)
object ExHiltRetrofitModule {

    @Provides
    @Singleton
    fun provideRetrofit(): Retrofit =
        Retrofit.Builder()
            .baseUrl(BuildConfig.BASE_URL)
            .addConverterFactory(GsonConverterFactory.create())
            .build()
}
ServiceModule
@Module
@InstallIn(SingletonComponent::class)
object ExHiltServiceModule {

    @Provides
    @Singleton
    fun provideService(retrofit: Retrofit): ExService =
        retrofit.create(
            ExService::
            class.java
        )
}
DataSource
데이터소스에서는 생성자를 통해서ExService에게 의존성 주입을 요청합니다.
class ExHiltDataSource @Inject constructor(
    private val exService: ExService
) {
    suspend fun fetchMatches(name: String, page: Int): Result<ExHiltDTO> {
        return runCatching {
            val response = exService.getData(name = name, page = page)
            if (response.isSuccessful) {
                val body = response.body()
                body ?: throw Exception("body is null")
            } else {
                throw IOException("Exception")
            }
        }
    }
}
Repository 구현체
레포지토리 구현체에서는 생성자를 통해서 dataSource의 의존성 주입을 요청합니다.
class DefaultExHiltRepository @Inject constructor(
    private val dataSource: ExHiltDataSource
) : ExHiltRepository {

    override suspend fun getData(name: String, page: Int): Result<ExHiltDTO> {
        return runCatching {
            dataSource.fetchMatches(name, page).getOrThrow()
        }
    }
}
ViewModel
ViewModel은 @HiltViewModel 어노테이션을 사용합니다.
현재 ExHiltRepository의 의존성 주입을 생성자를 통해서 요청하고 있습니다.
@HiltViewModel
class MainViewModel @Inject constructor(
    private val exHiltRepository: ExHiltRepository
) : ViewModel() {

    fun getData(apiKey: String, name: String, page: Int){
        viewModelScope.launch {
            exHiltRepository.getData(apiKey, name, page)
                .onSuccess {
                    Log.d("test log", "${it}", )
                }
        }
    }
}
Hilt에 대한 간단한 예제라 예외처리 및 상세한 작업들은 생략했습니다.
Activity
Activity와 Fragment에서는 @AndroidEntryPoint를 사용합니다.
@AndroidEntryPoint
class MainActivity : AppCompatActivity() {
    private val viewModel: MainViewModel by viewModels()

    override fun onCreate(savedInstanceState: Bundle?) {
        super.onCreate(savedInstanceState)
        setContentView(R.layout.activity_main)

        viewModel.getData("name = 괴물",page = 1)

    }
}
실행 결과
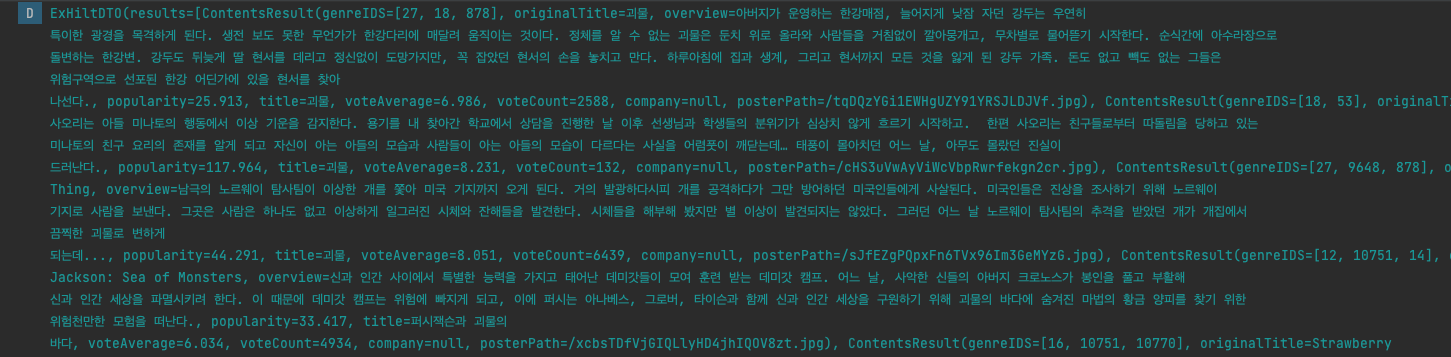
API 요청을 잘 수행한 것을 볼 수 있습니다.