
이전 글에서는 노션 데이터베이스를 활용하여 노션 DB에 내용을 추가하는 방법을 알아보았고, 이번에는 DB에서 데이터를 가져와서 화면에 보여줄 수 있는 방법에 대해 간단하게 정리한 글 입니다.
💁🏻♀️ 1. app / page.tsx
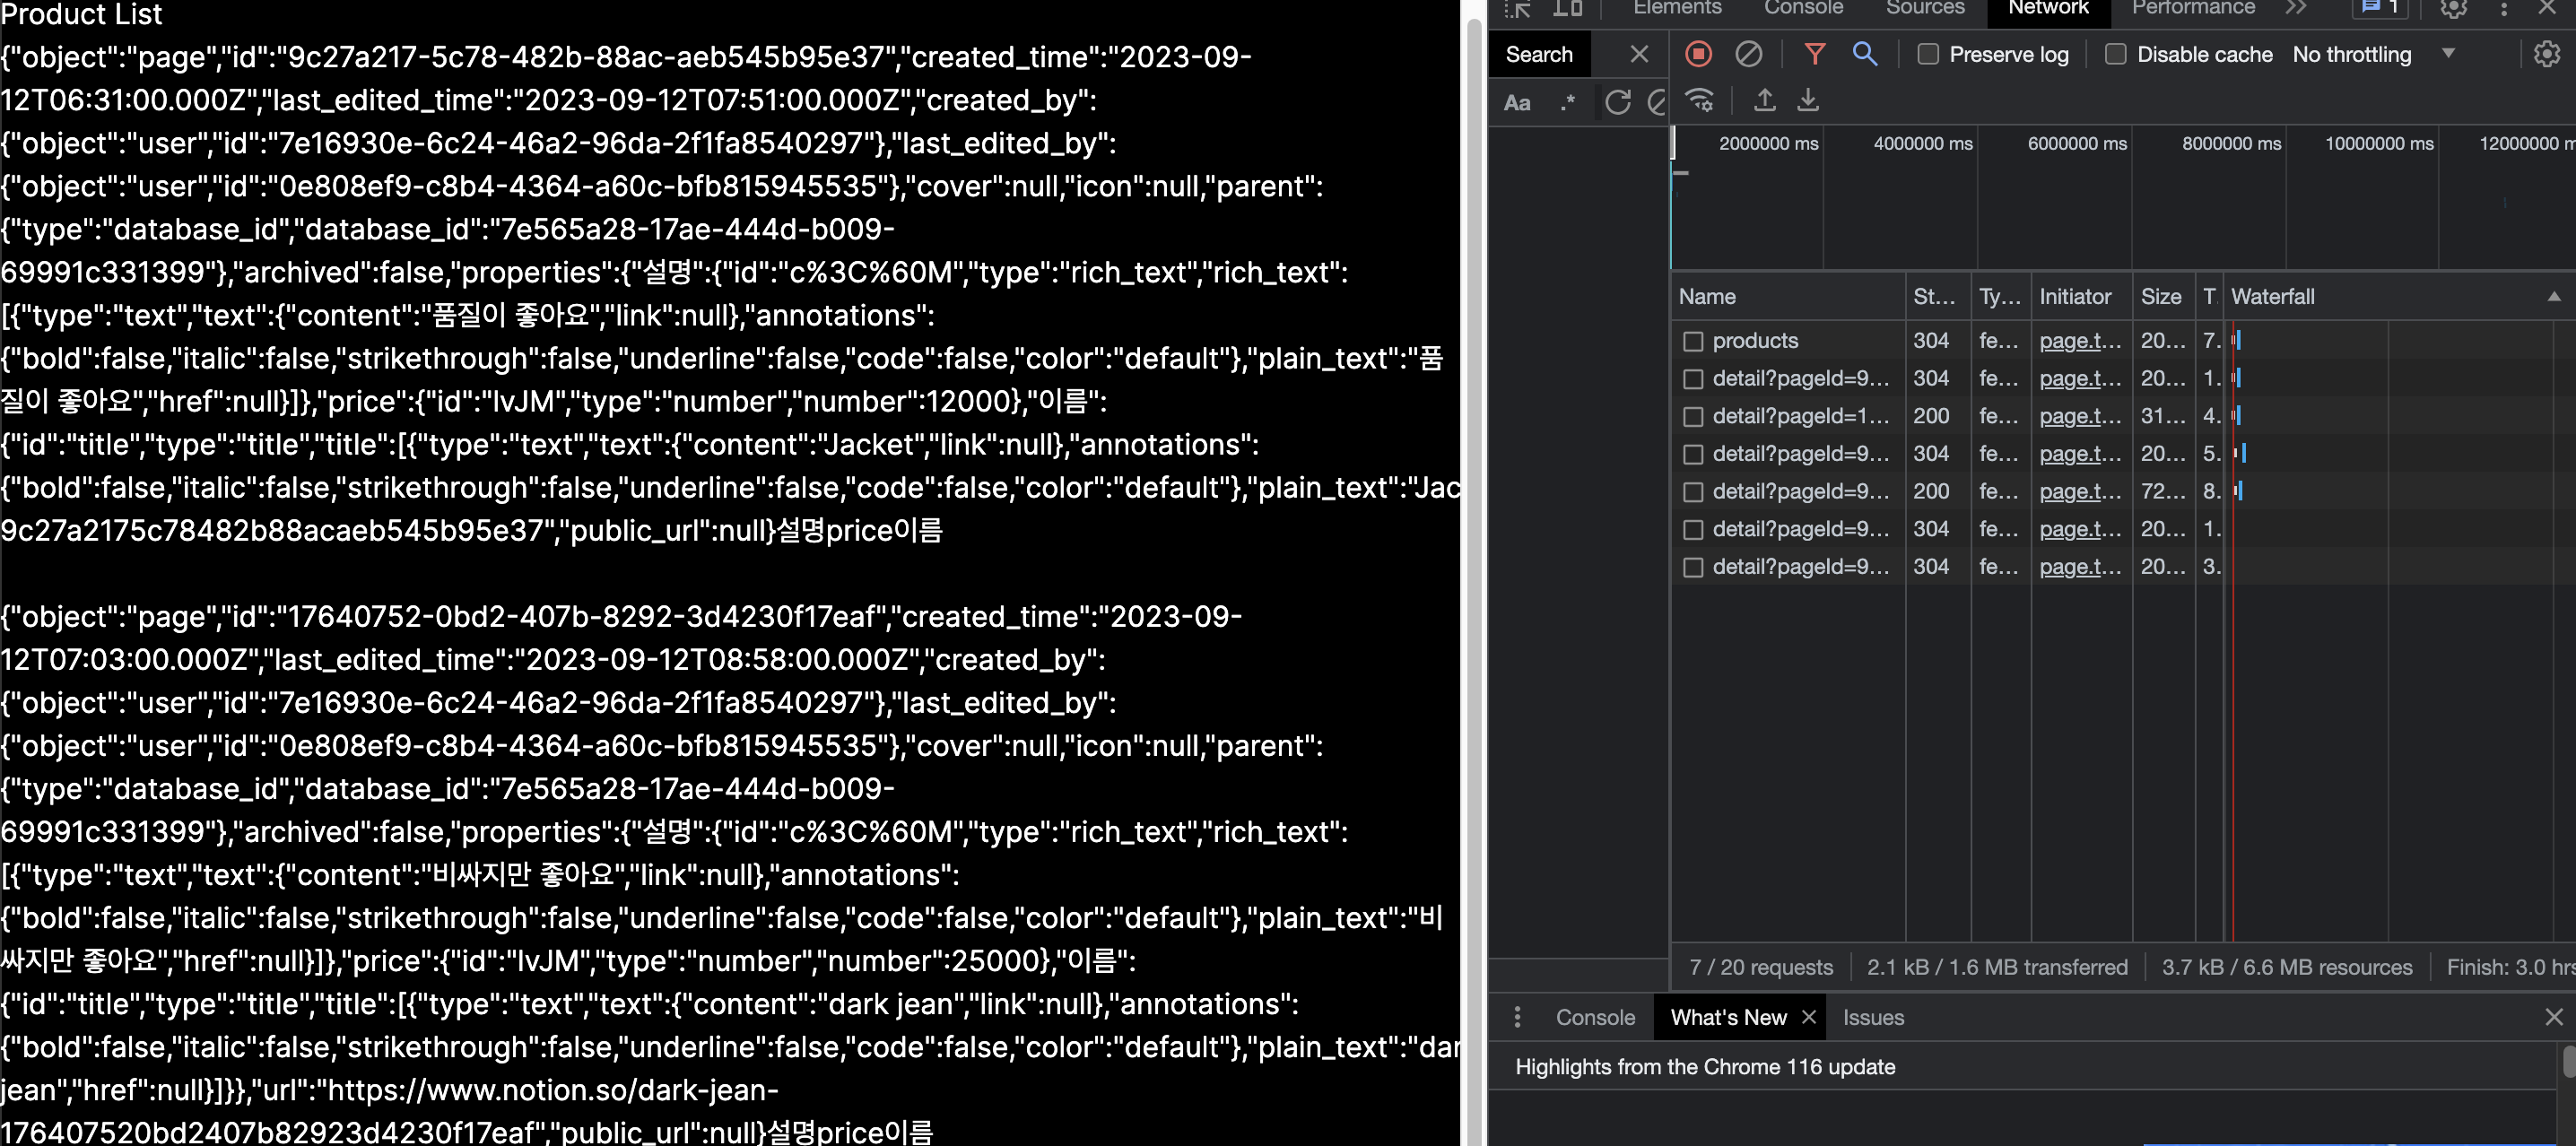
위의 사진은 메인 페이지에서 DB에 있는 products내용들을 가져와 화면에 표시한 모습입니다.
products 내용들은 api / products 파일에서 불러오고 detail 내용은 api / detail 파일에서 불러옵니다.
'use client';
import { useEffect, useRef, useState } from 'react';

export default function Home() {
  // 📌 DB에서 가져올 products 내용들을 useState에 설정
  const [products, setProducts] = useState<
    { id: string; properties: { id: string }[] }[]
  >([]);
  // 📌 useEffect로 페이지 로딩과 동시에 products api 데이터를 받아와서 set설정
  useEffect(() => {
    fetch(`http://localhost:3000/api/products`)
      .then((res) => res.json())
      .then((data) => setProducts(data.items));
  }, []);

// 📌 이전 글 참고
  //const inputRef = useRef<HTMLInputElement>(null);
  //const handleClick = async () => {
  //  if (inputRef.current === null || inputRef.current.value === '') {
  //    alert('name을 넣어주세요');
  //    return;
  //  }
  //  await fetch(
  //    `http://localhost:3000/api/notion?name=${inputRef.current?.value}`,
  // )
  //   .then((res) => res.json())
  //    .then((data) => alert(data.message));
  //};

  return (
    <main>
      <input ref={inputRef} type="text" placeholder="name" />
      <button onClick={handleClick}>add jacket</button>
      <div>
        <p>Product List</p>
        // 📌 products 내용 화면에 표시
        {products &&
          products.map((item) => (
            <div key={item.id}>
              {JSON.stringify(item)}
              // 📌 item property들을 버튼으로 화면에 표시
              {item.properties &&
                Object.entries(item.properties).map(([key, value]) => (
                 // 📌 버튼 클릭 시 detail api 호출 해서 alert로 내용 표시
                  <button
                    key={key}
                    onClick={() => {
                      fetch(
                        `http://localhost:3000/api/detail?pageId=${item.id}&propertyId=${value.id}`,
                      )
                        .then((res) => res.json())
                        .then((data) => alert(JSON.stringify(data.detail)));
                    }}
                  >
                    {key}
                  </button>
                ))}
              <br />
              <br />
            </div>
          ))}
      </div>
    </main>
  );
}💁🏻♀️ 2. pages / api / products.ts
해당 파일에서는 getItems 함수를 통해 데이터를 가져와 response를 리턴해주고 status 200일때 items로 response.results를 전달해 줍니다.
import { NextApiRequest, NextApiResponse } from 'next';
import { Client } from '@notionhq/client';

const notionSecret = process.env.NOTION_SECRET;
const notionDatabaseId = process.env.NOTION_DATABASE_ID;

const notion = new Client({
  auth: notionSecret,
});

async function getItems() {
  // 📌 DB에 데이터를 추가할때와는 다르게 pages.create가 아닌 database.query를 사용
  try {
    const response = await notion.databases.query({
      database_id: notionDatabaseId || '',
      sorts: [
        {
          property: 'price',
          direction: 'ascending',
        },
      ],
    });
    console.log(response);
    return response;
  } catch (error) {
    console.error(JSON.stringify(error));
  }
}

type Data = {
  items?: any;
  message: string;
};

export default async function handler(
  req: NextApiRequest,
  res: NextApiResponse<Data>,
) {
  try {
    const response = await getItems();
    // 📌 response.results 반환
    res.status(200).json({ items: response?.results, message: `Success` });
  } catch (error) {
    res.status(400).json({ message: `Failed ${name} added` });
  }
}💁🏻♀️ 2. pages / api / detail.ts
detail 파일에서는 notion.pages.properties.retrieve를 활용해 프로퍼티의 데이터를 가져올 수 있습니다.
import { NextApiRequest, NextApiResponse } from 'next';
import { Client } from '@notionhq/client';

const notionSecret = process.env.NOTION_SECRET;
const notionDatabaseId = process.env.NOTION_DATABASE_ID;

const notion = new Client({
  auth: notionSecret,
});

async function getDetail(pageId: string, propertyId: string) {
  // 📌 notion.pages.properties.retrieve 활용
  try {
    const response = await notion.pages.properties.retrieve({
      page_id: pageId,
      property_id: propertyId,
    });
    console.log(response);
    return response;
  } catch (error) {
    console.error(JSON.stringify(error));
  }
}

type Data = {
  detail?: any;
  message: string;
};

export default async function handler(
  req: NextApiRequest,
  res: NextApiResponse<Data>,
) {
  // 📌 쿼리를 사용해 pageId와 properyId를 가져옴, detail에 response 반환
  const { pageId, propertyId } = req.query;
  try {
    const response = await getDetail(String(pageId), String(propertyId));
    res.status(200).json({ detail: response, message: `Success` });
  } catch (error) {
    res.status(400).json({ message: `Failed ${name} added` });
  }
}