Day26,
저번주에 이어 Naver 뉴스 페이지를 따라 만들어봤다!
오늘 무엇을 배웠지?
Naver - TV연예 페이지 따라 만들어보기
Naver-'TV 연예' : https://entertain.naver.com/home
<header>
html
- new file-save(ent.html), save(style0802.css)
- 기본 설정 + html, css 파일을 연동
<link>
<!DOCTYPE html>
<html>
<head>
	<meta charset="utf-8">
	<title>네이버</title>
	<link rel="stylesheet" type="text/css" href="style0802.css">
</head>
<body>

</body>
</html> <header id="ent-header">
<div class="ent-flex-between">
<div class="ent-header-left">
<ul class="ent-flex-start">
<li><a href="#">TV연예</a></li>
<li><a href="../0729/news.html">뉴스</a></li>
</ul>
</div>
<div class="ent-header-center">
<ul class="ent-flex-center">
<li class="on"><a href="#">TV연예홈</a></li>
<li><a href="#">TV</a></li>
<li><a href="#">포토</a></li>
<li><a href="#">랭킹</a></li>
<li><a href="#">영화</a></li>
<li><a href="#">최신뉴스</a></li>
</ul>
</div>
<div class="ent-header-right ent-flex-end">
<a href="#" class="btn-login">로그인</a>
<button type="button" class="btn-menu"></button>
<button type="button" class="btn-search"></button>
</div>
</div>
</header>CSS-Style
(어제의 css에 이어서)
1. Default CSS
* { margin: 0; padding: 0; box-sizing: border-box; }
ol, ul { list-style: none; }
a {	text-decoration: none; 	color: #000000; }
img { vertical-align: middle; }
.clearfix { clear: both; }
button { border: none; }
input, textarea { outline: none; }

.ent-container { width: 980px; margin: 0 auto; }
.ent-flex-start { display: flex; flex-wrap: wrap; align-items: center; }
.ent-flex-center { display: flex; flex-wrap: wrap; justify-content: center;
	align-items: center; }
.ent-flex-between { display: flex; flex-wrap: wrap; justify-content: space-between;
	align-items: center; }
.ent-flex-end { display: flex; flex-wrap: wrap; justify-content: flex-end;
	align-items: center; }
.ent-border { border: solid 1px #000000; }- #ent-header를 디자인(너비,높이,배경색 등)한다. 이에 속한 .ent-header-left의
<li>태그를 디자인한다.<li>태그 각각의 글자 색을 설정하고, 태그간에 특수 문자를 삽입하되 첫번째 태그앞에는 생성되지 않도록 설정한다.
#ent-header { width: 100%; height: 62px; background-color: #ffffff;
	border-bottom: solid 2px #f1f1f1; padding: 20px 25px 0; }
#ent-header .ent-header-left ul li { font-weight: 700; }
#ent-header .ent-header-left ul li:last-child a {
	color: #9f9f9f; }
#ent-header .ent-header-left ul li a:before { content: '';
	display: inline-block; width: 1px; height: 12px;
	background-color: #dddddd; margin: 0 8px; vertical-align: -1px; }
#ent-header .ent-header-left ul li:first-child a:before {
content: none; }- .ent-header-center의
<li>태그를 디자인(굵기, 글자크기, 간격 등)한다.<a>의 정렬과 간격을 설정하고 on이라는 class를 가진 태그에 한하여 색과 아래 테두리를 달리 설정한다.
#ent-header .ent-header-center li { font-weight: 700;
	font-size: 16px; padding: 0 15px; }
#ent-header .ent-header-center li a { display: inline-block;
	border-bottom: solid 2px #ffffff; padding-bottom: 2px; }
#ent-header .ent-header-center li.on a { color: #e24587;
border-bottom: solid 2px #e24587; }- .enter-header-right의 태그들을 디자인한다. .btn-login, .btn-menu, .btn-search의 너비, 높이, 테두리 등을 디자인한다.
#ent-header .ent-header-right .btn-login { width: 45px;
	height: 20px; border: solid 1px #000000; font-size: 12px;
	line-height: 20px; text-align: center; margin: 0 9px; }
#ent-header .ent-header-right .btn-menu { width: 16px;
	height: 16px; background-color: grey; margin: 0 9px; }
#ent-header .ent-header-right .btn-search { width: 25px;
	height: 25px; background-color: #000000;
	margin-left: 9px; }
결과 ▼

<main> - 1
html
(<header> html에 이어서)
1. 
	<main role="main" id="ent-main">
		<div class="ent-container">
			<div class="ent-left">
				<div id="ent-media-headline">
					<ul class="ent-flex-between">
						<li>
							<a href="#">
								<div class="media-top">
									<img src="https://via.placeholder.com/148x145">
									<span class="time">03:02</span>
									<i class="icon-play"></i>
								</div>
								<div class="media-bottom">
									<p>[신곡 MV] BTS (방탄소년단).......</p>
								</div>
							</a>
						</li>
						<li>
							<a href="#">
								<div class="media-top">
									<img src="https://via.placeholder.com/148x145">
									<span class="time">03:02</span>
									<i class="icon-play"></i>
								</div>
								<div class="media-bottom">
									<p>[신곡 MV] BTS (방탄소년단).......</p>
								</div>
							</a>
						</li>
						<li>
							<a href="#">
								<div class="media-top">
									<img src="https://via.placeholder.com/148x145">
									<span class="time">03:02</span>
									<i class="icon-play"></i>
								</div>
								<div class="media-bottom">
									<p>[신곡 MV] BTS (방탄소년단).......</p>
								</div>
							</a>
						</li>
						<li>
							<a href="#">
								<div class="media-top">
									<img src="https://via.placeholder.com/148x145">
									<span class="time">03:02</span>
									<i class="icon-play"></i>
								</div>
								<div class="media-bottom">
									<p>[신곡 MV] BTS (방탄소년단).......</p>
								</div>
							</a>
						</li>
					</ul>
</div> <div id="ent-section-1">
<ul>
<li>
<a href="#" class="ent-flex-between">
<img src="https://via.placeholder.com/148x90">
<div class="ent-news-wrap">
<h3>TITLE 1</h3>
<p>동해물과 백두산이 마르고 닳도록 동해물과 백두산이 마르고 닳도록 동해물과 백두산이 마르고 닳도록 동해물과 백두산이 마르고 닳도록</p>
<div class="bottom-wrap ent-flex-between">
<span class="source">TV리포트</span>
<span class="count">9</span>
</div>
</div>
</a>
</li>
</ul>
</div> <div id="ent-section-2">
<ul class="ent-flex-between">
<li>
<a href="#">
<img src="https://via.placeholder.com/200x122">
<h3>TITLE 1 TITLE 1 TITLE 1 TITLE 1 TITLE 1 TITLE 1</h3>
<div class="ent-bottom ent-flex-between">
<span class="source">TV리포트</span>
<span class="count">9</span>
</div>
</a>
</li>
<li>
<a href="#">
<img src="https://via.placeholder.com/200x122">
<h3>TITLE 1 TITLE 1 TITLE 1 TITLE 1 TITLE 1 TITLE 1</h3>
<div class="ent-bottom ent-flex-between">
<span class="source">TV리포트</span>
<span class="count">9</span>
</div>
</a>
</li>
<li>
<a href="#">
<img src="https://via.placeholder.com/200x122">
<h3>TITLE 1 TITLE 1 TITLE 1 TITLE 1 TITLE 1 TITLE 1</h3>
<div class="ent-bottom ent-flex-between">
<span class="source">TV리포트</span>
<span class="count">9</span>
</div>
</a>
</li>
</ul>
</div> <div id="ent-section-3">
<div class="title-wrap ent-flex-between">
<h3>스타 콘텐츠</h3>
<div class="right-wrap ent-flex-end">
<div class="count-wrap">
<span><em>1</em> / 2</span>
</div>
<div class="btn-wrap ent-flex-end">
<button class="btn btn-pre"></button>
<button class="btn btn-next"></button>
</div>
</div>
</div>
<ul class="ent-flex-between">
<li>
<a href="#">
<img src="https://via.placeholder.com/148x148">
<span>에이치앤드</span>
<h3>[금새록] 오월의 새록 </h3>
</a>
</li>
<li>
<a href="#">
<img src="https://via.placeholder.com/148x148">
<span>에이치앤드</span>
<h3>[금새록] 오월의 새록 </h3>
</a>
</li>
<li>
<a href="#">
<img src="https://via.placeholder.com/148x148">
<span>에이치앤드</span>
<h3>[금새록] 오월의 새록 </h3>
</a>
</li>
<li>
<a href="#">
<img src="https://via.placeholder.com/148x148">
<span>에이치앤드</span>
<h3>[금새록] 오월의 새록 </h3>
</a>
</li>
</ul>
</div>CSS-Style
(<header> css에 이어서)
1. #ent-main의 .ent-container라는 class를 가진 태그에 한하여 속성을 설정하고, .ent-left의 영역이 좌측으로 배치되도록 설정하고 위치, 간격을 설정한다.
#ent-main .ent-container { overflow: hidden; }
#ent-main .ent-left { float: left; width: 654px;
padding-right: 24px; }- #ent-media-headline의 간격을 설정하고 이에 속한 태그
<li>,<a>의 너비, 높이 등을 디자인한다.
#ent-main .ent-left #ent-media-headline {
	padding-bottom: 20px; border-bottom: solid 1px #f1f1f1; }
#ent-main .ent-left #ent-media-headline li { width: 148px;
	height: 204px; border-radius: 10px; }
#ent-main .ent-left #ent-media-headline a { display: block;
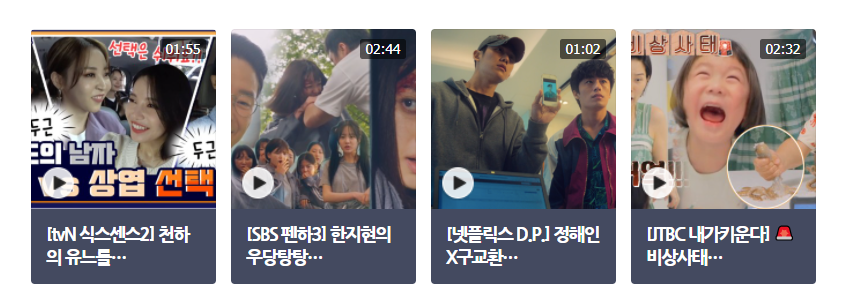
width: 100%; height: 100%; }- .media-top의 position을 relative로 설정하고 이에 속한 태그,
<img>, .time .icon-play들을 디자인한다.<img>, .icon-play의 너비, 높이를 설정하고 위치를 absolute로 설정한다. .time의 position또한 absolute로 설정하고 right, top값으로 위치를 고정한다. 그 외, 높이, 배경색, 간격 등을 설정한다.
#ent-main .ent-left #ent-media-headline .media-top { position: relative;
	height: 144px; }
#ent-main .ent-left #ent-media-headline .media-top img {
	position: absolute; width: 100%; height: 100%; }
#ent-main .ent-left #ent-media-headline .media-top .time {
	position: absolute; display: block; height: 16px;
	border-radius: 2px; background-color: rgba(0, 0, 0, 0.56);
	padding: 0 4px; right: 8px; top: 8px; color: #ffffff;
	font-size: 11px; line-height: 16px; }
#ent-main .ent-left #ent-media-headline .media-top .icon-play {
	position: absolute; display: block; width: 28px;
	height: 28px; background-color: grey; border-radius: 50%;
left: 8px; bottom: 7px; }- .media-bottom의 높이와 배경색을 설정하고 이에 속한
<p>태그를 디자인한다. (글자크기, 글자둙기, 색 등)
#ent-main .ent-left #ent-media-headline .media-bottom { height: 60px;
	background-color: #444a60; }
#ent-main .ent-left #ent-media-headline .media-bottom p {
	font-size: 14px; font-weight: 700; letter-spacing: -1px;
	padding: 11px 12px 0; color: #ffffff; }
결과 ▼
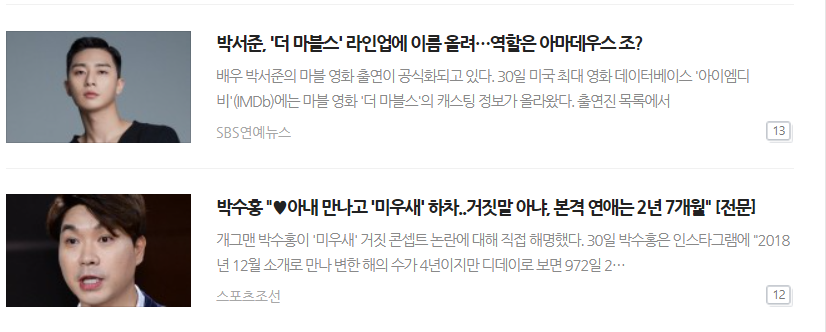
- #ent-section의 태그들을 디자인한다.
<li>의 경계와 간격을 설정하고<img>의 너비, 높이, 테두리를 설정한다. .ent-news-wrap의 너비를 설저아고 이에 속한 태그<h3>,<p>의 margin-bottom으로 간격을 설정하고 글자크기 등을 설정한다.
#ent-main .ent-left #ent-section-1 li {
	border-bottom: solid 1px #f1f1f1; padding: 20px 0; }
#ent-main .ent-left #ent-section-1 li img { width: 148px;
	height: 90px; border: solid 1px #000000; }
#ent-main .ent-left #ent-section-1 li .ent-news-wrap {
	width: 462px; }
#ent-main .ent-left #ent-section-1 li .ent-news-wrap h3 {
	margin-bottom: 8px; font-size: 14px; font-weight: 700; }
#ent-main .ent-left #ent-section-1 li .ent-news-wrap p {
	margin-bottom: 8px; font-size: 12px; color: #898989;
font-weight: 400; line-height: 20px; }- .source의 글자를 디자인하고 .count의 너비, 높이, 테두리 등을 설정하고 디자인(글자크기, 글자 정렬 등)한다.
#ent-main .ent-left #ent-section-1 li .ent-news-wrap .bottom-wrap .source,
#ent-main .ent-left #ent-section-2 .ent-bottom .source {
	font-size: 11px; font-weight: 400; color: #a7a7a7; }
#ent-main .ent-left #ent-section-1 li .ent-news-wrap .bottom-wrap .count,
#ent-main .ent-left #ent-section-2 .ent-bottom .count {
	display: inline-block; width: 20px; height: 20px;
	border: solid 1px #000000; border-radius: 5px;
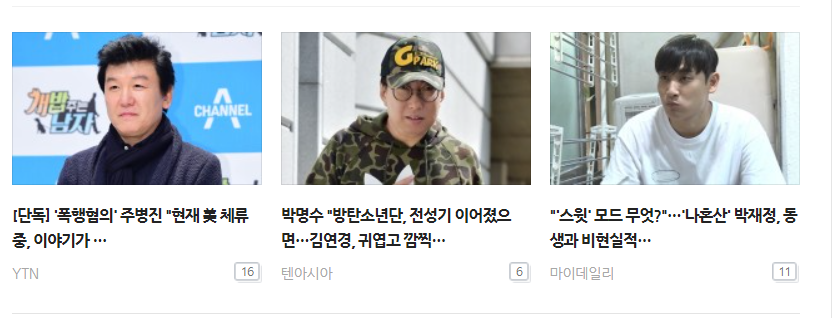
text-align: center; line-height: 20px; font-size: 10px; }- #ent-section-2의 간격, 아래 테두리를 설정하고 이에 속한
<li>,<img>.<h3>를 디자인한다.(너비, 높이, 간격 등)
#ent-main .ent-left #ent-section-2 { padding: 20px 0;
	border-bottom: solid 1px #f1f1f1; }
#ent-main .ent-left #ent-section-2 li { width: 200px; }
#ent-main .ent-left #ent-section-2 img { width: 200px;
	height: 122px; border: solid 1px #000000;
	margin-bottom: 15px; }
#ent-main .ent-left #ent-section-2 h3 { font-size: 13px;
	line-height: 20px; margin-bottom: 9px; }
결과 ▼
- #ent-section-3의 간격과 아래 테두리를 설정하고 이에 속한 .title-wrap,
<h3>의 간격, 글자 크기 등을 설정한다.
#ent-main .ent-left #ent-section-3 { padding: 24px 0;
	border-bottom: solid 1px #e4e4e4; }
#ent-main .ent-left #ent-section-3 .title-wrap {
	margin-bottom: 18px; }
#ent-main .ent-left #ent-section-3 .title-wrap h3 {
font-size: 16px; }- .right-wrap에 속한 태그들을 디자인한다. .count-wrap의
<span>,<em>태그의 글자크기, 글자 색을 설정하고 .btn-wrap의 간격을 설정한다. 이에 속한 .btn, .btn-pre, .btn-next를 디자인한다.(배경색, 테두리 등)
#ent-main .ent-left #ent-section-3 .right-wrap .count-wrap span {
	font-size: 12px; color: #666; }
#ent-main .ent-left #ent-section-3 .right-wrap .count-wrap span em {
	font-style: normal; color: #ff0080; }
#ent-main .ent-left #ent-section-3 .right-wrap .btn-wrap {
	margin-left: 8px; }
#ent-main .ent-left #ent-section-3 .right-wrap .btn-wrap .btn {
	width: 24px; height: 24px; border: solid 1px #000000; }
#ent-main .ent-left #ent-section-3 .right-wrap .btn-wrap .btn-pre {
	border-right: none; background-color: blue; }
#ent-main .ent-left #ent-section-3 .right-wrap .btn-wrap .btn-next {
	background-color: green; }
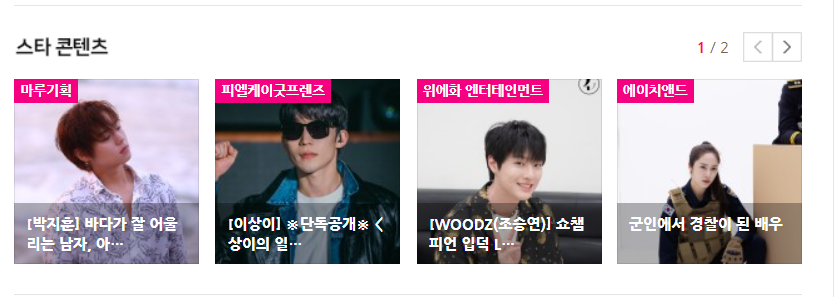
- #ent-section-3의
<li>를 디자인(너비, 높이, 테두리 등)한다. 이에 속한<a>,<img>,<span>,<h3>의 position을 설정하고 너비, 높이 등을 설정한다.<span>태그의 글이 설정한 너비를 넘어가면 말 줄임표로 설정되도록 overflow: hidden, text-overflow: ellipsis, white-space: nowrap으로 설정한다.
#ent-main .ent-left #ent-section-3 li { width: 148px;
	height: 148px; border: solid 1px #000000; }
#ent-main .ent-left #ent-section-3 li a { position: relative;
	display: block; width: 100%; height: 100%; }
#ent-main .ent-left #ent-section-3 li img { position: absolute;
	width: 100%; height: 100%; }
#ent-main .ent-left #ent-section-3 li span { position: absolute;
	display: block; max-width: 100%; background-color: #f40080;
	padding: 0 5px; left: 0; top: 0; font-size: 11px;
	font-weight: 700; color: #ffffff; overflow: hidden;
	text-overflow: ellipsis; white-space: nowrap; }
#ent-main .ent-left #ent-section-3 li h3 { position: absolute;
	width: 100%; min-height: 32px; background-color: rgba(0, 0, 0, 0.3);
	padding: 9px 10px 8px; left: 0; bottom: 0; color: #ffffff;
	font-size: 12px; font-weight: 700; }
결과 ▼
무엇이 어려웠지?
오늘은 어려운 것은 없었다. 오탈자나 실수로 원한 결과가 나오지 않은 경우는 없었다!!
그래서?
8월이다. 어느새 전날 몇시에 자든 아무리 늦어도 9시 반에는 알람 없이 눈이 떠지고 10시에 키보드 소리가 나도록 프로그래밍 공부를 시작하는게 익숙해졌다. 중간중간에 굉장히 지겹고 귀찮았던 시간이 꽤 있었고, 비전공자로서 이해하는데 시간이 많이 드는 개념들도 있었다. 그럴 때 마다 그만두고 싶었고 그 마음을 참고 꾸준히 공부를 했을 때도 월등하게 나아진다는 생각이 들지 않았다. 오히려 내가 하고 있는 것이 맞는 건지, 시간낭비는 아닌지 의심이 들기도 했다. 매일같이 최소 6시간씩 공부한 결과가 겨우 이거야? 하는 생각도 많이 들었다. 오늘 수업을 들으면서 첫날 쓴 개발일지부터 천천히 읽어봤다. 읽으면서 그 당시에는 굉장히 골머리를 앓던 부분들이 지금은 크게 신경쓰지 않는 개념이 되었고, 익숙하게 그 개념을 활용해서 프로그래밍을 하고 있었다는 것을 깨달았다. 나는 알게모르게 조금씩 성장하고 있었고 되돌아보지 않으면 눈치채지 못할 속도였던것이었다.
sublime3를 이용해 오늘 만들어본 파일
https://github.com/hyeriJUNG/Daegu_AI_School/tree/main/0802

