설치환경 구성
1. Vagrant 개요
Vagrant란?
Vagrant는 HashiCorp사에서 개발한 IaC 도구 중 하나로 단일 워크를로우에서 가상머신 환경을 스크립트 형태로 빠르고 신속하게 만들 수 있는 도구이다.
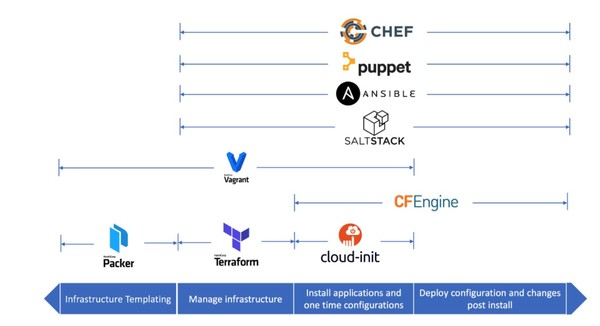
여기서 IaC란 Infrastructure as Code의 약자로, IaC 도구는 크게 Provisioning과 Configuration 도구로 나눌 수 있다. 또한, 자료에 따라 다음 그림과 같이 4가지 또는 5가지 범주로 나눠서 설명하는 경우도 있다.
Vagrant 설치
Vagrant 설치를 위해 필자는 웹 브라우저에서 직접 다운로드 하였다.
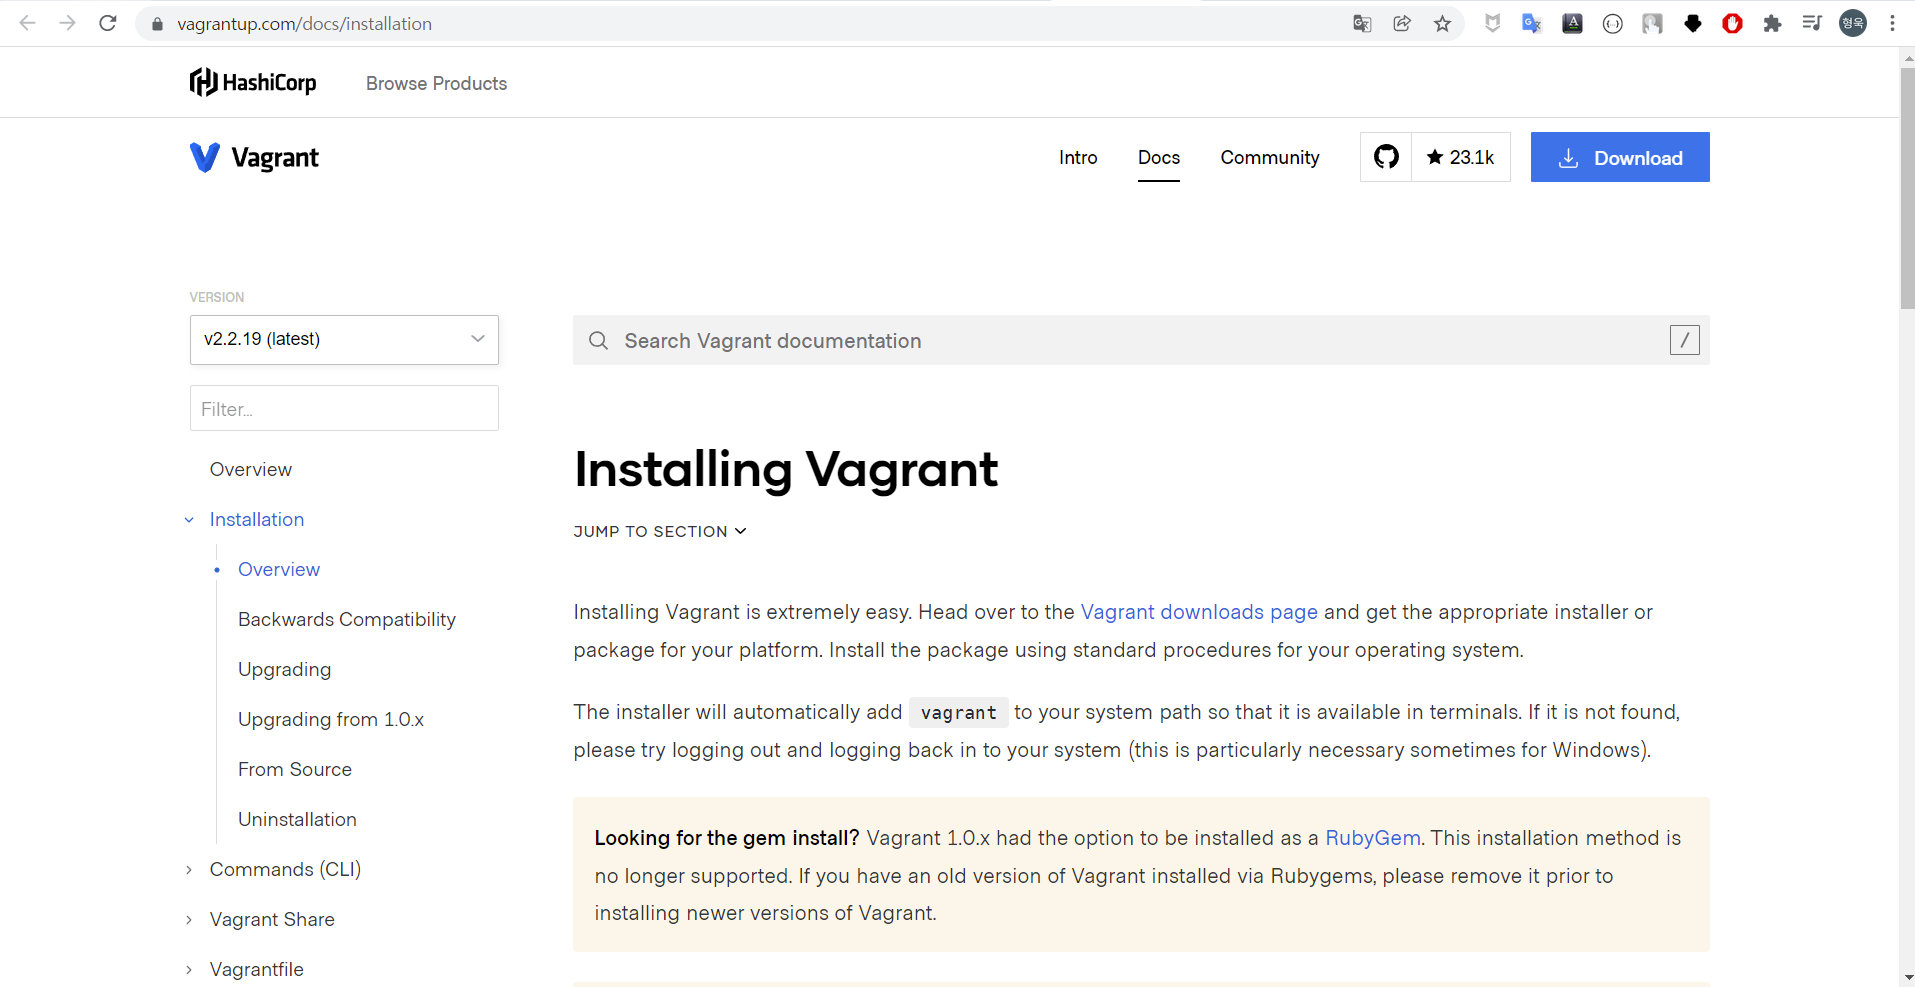
💡 참고 : 다운로드 링크는 여기에서 확인하실 수 있습니다.
혹여나 패키지 관리자를 통해 설치를 하려면 아래를 참고하면 좋을 것 같다.
패키지 관리자 설치(선택)
- Windows : https://chocolatey.org/install
- Windows 7+ / Windows Server 2003+
- PowerShell v2+
- .NET Framework 4+
Set-ExecutionPolicy Bypass -Scope Process -Force; [System.Net.ServicePointManager]::SecurityProtocol = [System.Net.ServicePointManager]::SecurityProtocol -bor 3072; iex ((New-Object System.Net.WebClient).DownloadString('https://chocolatey.org/install.ps1'))- macOS : https://brew.sh/index_ko
/bin/bash -c "$(curl -fsSL https://raw.githubusercontent.com/Homebrew/install/master/install.sh)"vagrant 다운로드 및 설치(선택)
- Windows
choco install vagrant- macOS
brew cask install vagrant
2. VirtualBox 개요
VirtualBox란?
버추얼박스(영어: VirtualBox)는 본래 이노테크(InnoTek)가 개발한 뒤, 현재는 오라클이 개발 중인 상용, 사유 소프트웨어(제한된 GPL 버전)로, 리눅스, macOS, 솔라리스, 윈도우를 게스트 운영 체제로 가상화하는 x86 가상화 소프트웨어이다. 개발된 지 몇 해가 지나, 제한된 오픈 소스 버전인 버추얼박스 OSE가 GPL 하에 2007년 1월에 공개되었다. 출처 : 위키백과
VirtualBox 설치는 공식 홈페이지를 통해서 할 수 있다.
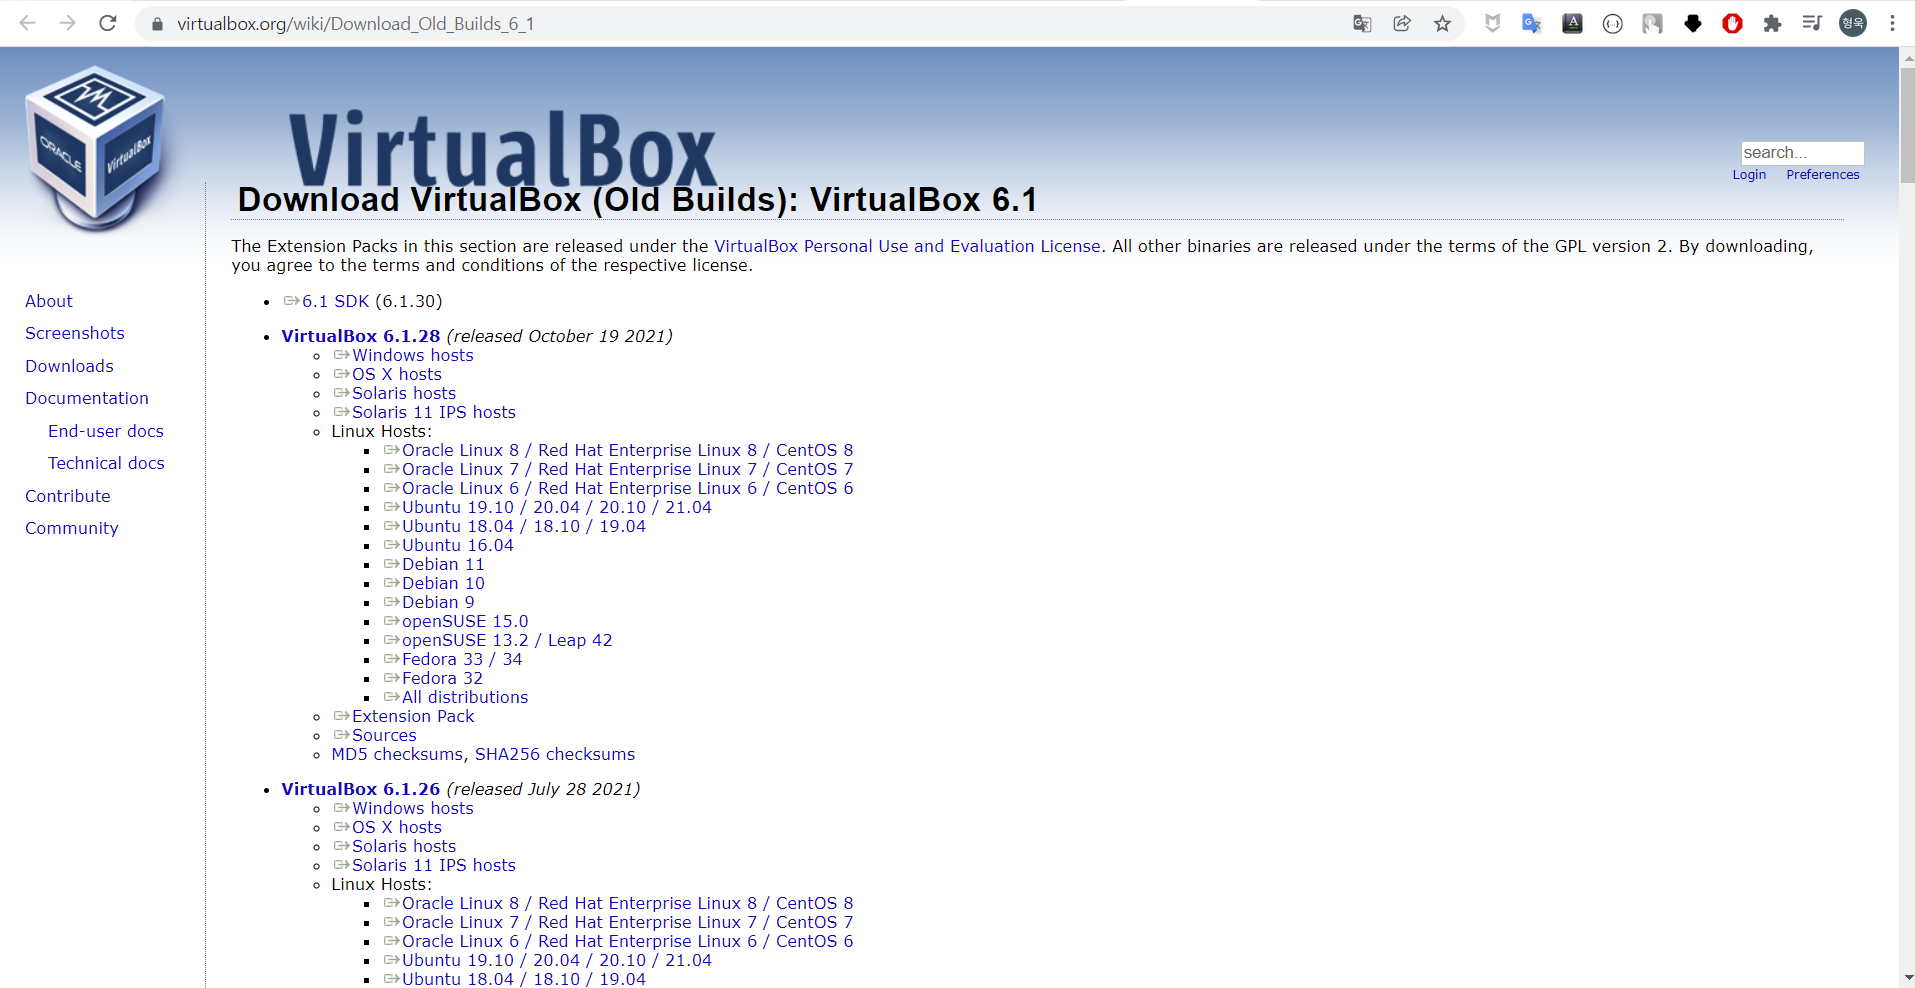
💡 참고 : 다운로드 링크는 여기에서 확인하실 수 있습니다.
VirtualBox 다운로드 및 설치(선택)
앞서 설치한 패키지 관리자를 통해 다운로드 할 수도 있다.
- Windows
choco install virtualbox virtualbox.extensionpack- macOS
brew cask install virtualbox virtualbox-extension-pack3. Vagrant를 활용한 VM 생성
vagrantfile 다운로드
필자는 Windows 환경에서 사용중이기 때문에 PowerShell을 사용해보았다.
Linux 시스템의 경우에는 외부에서 파일을 받아올 때 curl 또는 wget을 활용할 수 있다.
하지만 windows에서는 사용법이 다른 것 같아 확인해보니 Invoke-WebRequest을 활용할 수 있는 것으로 확인되어 사용해 보았다.
Windows 시스템에서도 Invoke-WebRequest가 curl 명령에 alias가 설정되어 있어 사용 가능하다.
(가시다님이 주신 피드백 반영하였습니다.🙏)
💡 참고 :
Invoke-WebRequest의 사용법은 Download a File with an Alternative PowerShell wget Command 을 참고하였으며, PowerShell curl 관련은 여기를 참고하였다.
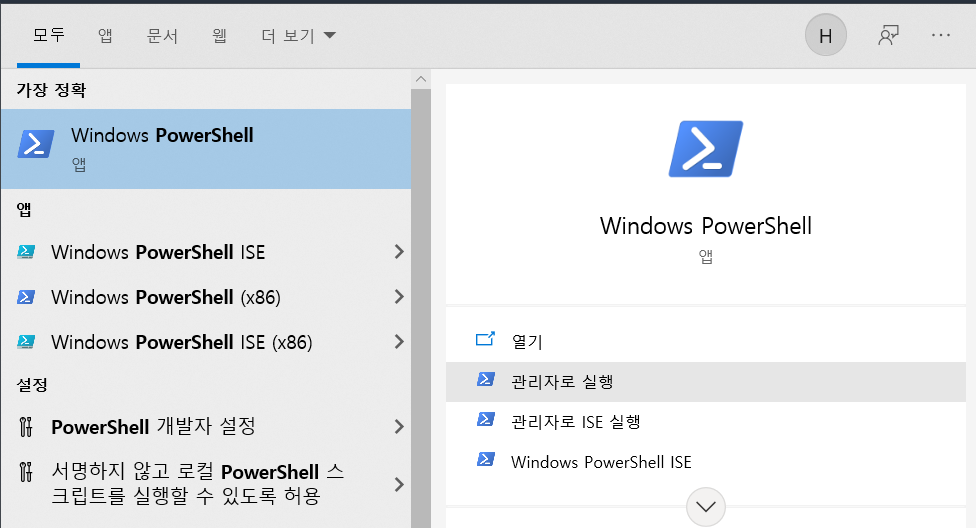
우선 PowerShell을 관리자 권한으로 실행한다.
다음으로 원하는 경로에 디렉토리를 생성한다. 필자는 C:\Users\hyung경로에 vagrant 디렉토리를 생성하였다.
#경로 확인
PS C:\Users\hyung> pwd

Path
----
C:\Users\hyung

# vagrant 디렉토리 생성
mkdir vagrant
다음으로 Invoke-WebRequest명령과 -Uri -OutFile 옵션을 사용하여 파일을 다운로드 한다.
PS C:\Users\hyung\vagrant> Invoke-WebRequest -Uri https://raw.githubusercontent.com/gasida/NDKS/main/3/Vagrantfile -
OutFile Vagrantfile

# curl 명령을 사용해도 동일하게 작업 가능
curl -Uri https://raw.githubusercontent.com/gasida/NDKS/main/3/Vagrantfile -OutFile Vagrantfile
💡 참고 : 해당 Vagrantfile은 가시다님께서 작성해주신 파일을 사용하였습니다. 링크
🤦♂️이슈발생
vagrant up 명령을 수행한 후 아래와 같은 이슈가 발생했다. 이유는 WSL 사용을 위해 가상화(Hyper-V) 설정이 켜져있어 발생하였다.
😨 에러내용 : Stderr: VBoxManage.exe: error: Call to NEMR0InitVMPart2 failed: VERR_NEM_INIT_FAILED (VERR_NEM_VM_CREATE_FAILED)
VBoxManage.exe: error: Details: code E_FAIL (0x80004005), component ConsoleWrap, interface IConsole
PS C:\Users\hyung\vagrant> vagrant up
Bringing machine 'k8s-m' up with 'virtualbox' provider...
Bringing machine 'k8s-w1' up with 'virtualbox' provider...
Bringing machine 'k8s-w2' up with 'virtualbox' provider...
==> k8s-m: Box 'ubuntu/focal64' could not be found. Attempting to find and install...
    k8s-m: Box Provider: virtualbox
    k8s-m: Box Version: 20211026.0.0
==> k8s-m: Loading metadata for box 'ubuntu/focal64'
    k8s-m: URL: https://vagrantcloud.com/ubuntu/focal64
==> k8s-m: Adding box 'ubuntu/focal64' (v20211026.0.0) for provider: virtualbox
    k8s-m: Downloading: https://vagrantcloud.com/ubuntu/boxes/focal64/versions/20211026.0.0/providers/virtualbox.box
Download redirected to host: cloud-images.ubuntu.com
    k8s-m:
==> k8s-m: Successfully added box 'ubuntu/focal64' (v20211026.0.0) for 'virtualbox'!
==> k8s-m: Preparing master VM for linked clones...
    k8s-m: This is a one time operation. Once the master VM is prepared,
    k8s-m: it will be used as a base for linked clones, making the creation
    k8s-m: of new VMs take milliseconds on a modern system.
==> k8s-m: Importing base box 'ubuntu/focal64'...
==> k8s-m: Cloning VM...
==> k8s-m: Matching MAC address for NAT networking...
==> k8s-m: Checking if box 'ubuntu/focal64' version '20211026.0.0' is up to date...
==> k8s-m: Setting the name of the VM: Flannel-k8s-m
==> k8s-m: Clearing any previously set network interfaces...
==> k8s-m: Preparing network interfaces based on configuration...
    k8s-m: Adapter 1: nat
    k8s-m: Adapter 2: hostonly
==> k8s-m: Forwarding ports...
    k8s-m: 22 (guest) => 50010 (host) (adapter 1)
==> k8s-m: Running 'pre-boot' VM customizations...
==> k8s-m: Booting VM...
There was an error while executing `VBoxManage`, a CLI used by Vagrant
for controlling VirtualBox. The command and stderr is shown below.

Command: ["startvm", "45c19cdb-af92-494a-b012-249d7e771342", "--type", "headless"]

Stderr: VBoxManage.exe: error: Call to NEMR0InitVMPart2 failed: VERR_NEM_INIT_FAILED (VERR_NEM_VM_CREATE_FAILED)
VBoxManage.exe: error: Details: code E_FAIL (0x80004005), component ConsoleWrap, interface IConsole
이를 해결하기 위해 hypervisorlaunchtype을 비활성화 하고 작업을 수행하였다.
💡 참고 : https://forums.virtualbox.org/viewtopic.php?f=6&t=104175&start=15
vagrant destroy(선택)
앞서 생성했던 VM을 삭제 하기위해vagrant destroy을 실행한다.
PS C:\Users\hyung\vagrant> vagrant destroy
==> k8s-w2: VM not created. Moving on...
==> k8s-w1: VM not created. Moving on...
    k8s-m: Are you sure you want to destroy the 'k8s-m' VM? [y/N] y
==> k8s-m: Destroying VM and associated drives...
WSL만 비활성화 하고 작업을 해도 될 수도 있으나 혹시나...하는 마음에 destroy 후 다시 작업을 진행하였다.😅
hypervisor 비활성화 및 재부팅
# hyper-v 비활성화
PS C:\Users\hyung\vagrant> bcdedit /set hypervisorlaunchtype off
작업을 완료했습니다.

# 재부팅
PS C:\Users\hyung\vagrant> Restart-Computer
vagrant up
PS C:\Users\hyung\vagrant> vagrant up
Bringing machine 'k8s-m' up with 'virtualbox' provider...
Bringing machine 'k8s-w1' up with 'virtualbox' provider...
Bringing machine 'k8s-w2' up with 'virtualbox' provider...
==> k8s-m: Preparing master VM for linked clones...
k8s-m: This is a one time operation. Once the master VM is prepared,
k8s-m: it will be used as a base for linked clones, making the creation
k8s-m: of new VMs take milliseconds on a modern system.
==> k8s-m: Importing base box 'ubuntu/focal64'...
==> k8s-m: Cloning VM...
==> k8s-m: Matching MAC address for NAT networking...
==> k8s-m: Checking if box 'ubuntu/focal64' version '20211026.0.0' is up to date...
==> k8s-m: Setting the name of the VM: Flannel-k8s-m
==> k8s-m: Clearing any previously set network interfaces...
==> k8s-m: Preparing network interfaces based on configuration...
k8s-m: Adapter 1: nat
k8s-m: Adapter 2: hostonly
==> k8s-m: Forwarding ports...
k8s-m: 22 (guest) => 50010 (host) (adapter 1)
==> k8s-m: Running 'pre-boot' VM customizations...
==> k8s-m: Booting VM...
==> k8s-m: Waiting for machine to boot. This may take a few minutes...
k8s-m: SSH address: 127.0.0.1:50010
k8s-m: SSH username: vagrant
k8s-m: SSH auth method: private key
k8s-m: Warning: Connection reset. Retrying...
k8s-m: Warning: Connection aborted. Retrying...
k8s-m: Warning: Remote connection disconnect. Retrying...
k8s-m:
k8s-m: Vagrant insecure key detected. Vagrant will automatically replace
k8s-m: this with a newly generated keypair for better security.
k8s-m:
k8s-m: Inserting generated public key within guest...
k8s-m: Removing insecure key from the guest if it's present...
k8s-m: Key inserted! Disconnecting and reconnecting using new SSH key...
==> k8s-m: Machine booted and ready!
==> k8s-m: Checking for guest additions in VM...
==> k8s-m: Setting hostname...
==> k8s-m: Configuring and enabling network interfaces...
==> k8s-m: Running provisioner: shell...
...(중략)
==> k8s-w2: Running provisioner: shell...
k8s-w2: Running: C:/Users/hyung/AppData/Local/Temp/vagrant-shell20220106-4360-17anule.sh
k8s-w2: [preflight] Running pre-flight checks
k8s-w2: [preflight] Reading configuration from the cluster...
k8s-w2: [preflight] FYI: You can look at this config file with 'kubectl -n kube-system get cm kubeadm-config -o yaml'
k8s-w2: [kubelet-start] Writing kubelet configuration to file "/var/lib/kubelet/config.yaml"
k8s-w2: [kubelet-start] Writing kubelet environment file with flags to file "/var/lib/kubelet/kubeadm-flags.env"
k8s-w2: [kubelet-start] Starting the kubelet
k8s-w2: [kubelet-start] Waiting for the kubelet to perform the TLS Bootstrap...
k8s-w2:
k8s-w2: This node has joined the cluster:
k8s-w2: * Certificate signing request was sent to apiserver and a response was received.
k8s-w2: * The Kubelet was informed of the new secure connection details.
k8s-w2:
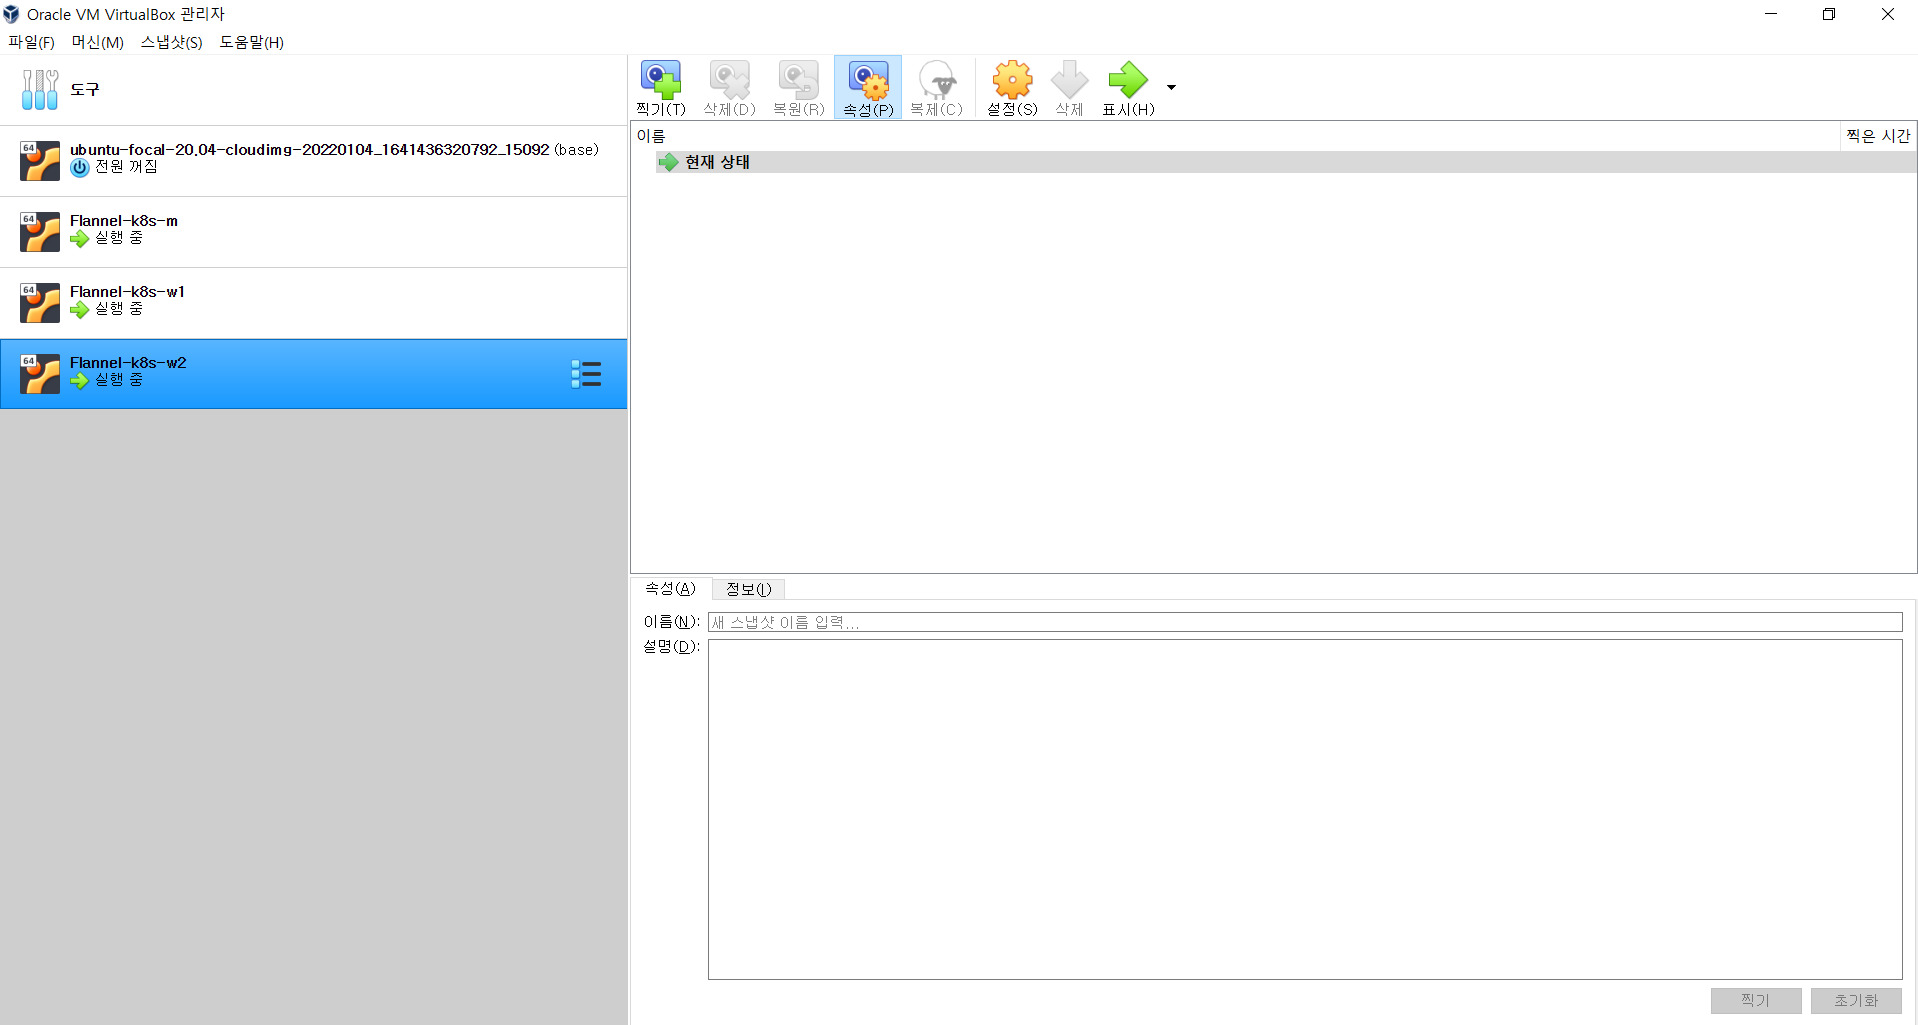
k8s-w2: Run 'kubectl get nodes' on the control-plane to see this node join the cluster.작업완료 후 VirtualBox에 생성된 Master-1, Worker-1, Worker-2가 정상적으로 생성되었는지 확인한다.
PS C:\Users\hyung\vagrant> vagrant status
Current machine states:

k8s-m                     running (virtualbox)
k8s-w1                    running (virtualbox)
k8s-w2                    running (virtualbox)

This environment represents multiple VMs. The VMs are all listed
above with their current state. For more information about a specific
VM, run `vagrant status NAME`.- VirtualBox에 생성된 VM 목록
이제 생성된 Master 노드에 vagrant ssh로 접속한다.
PS C:\Users\hyung\vagrant> vagrant ssh k8s-m
Welcome to Ubuntu 20.04.3 LTS (GNU/Linux 5.4.0-92-generic x86_64)

 * Documentation:  https://help.ubuntu.com
 * Management:     https://landscape.canonical.com
 * Support:        https://ubuntu.com/advantage

  System information as of Thu Jan  6 03:18:42 UTC 2022

  System load:  0.53              Users logged in:          0
  Usage of /:   8.2% of 38.71GB   IPv4 address for cni0:    172.16.0.1
  Memory usage: 22%               IPv4 address for docker0: 172.17.0.1
  Swap usage:   0%                IPv4 address for enp0s3:  10.0.2.15
  Processes:    159               IPv4 address for enp0s8:  192.168.100.10

3 updates can be applied immediately.
To see these additional updates run: apt list --upgradable

(⎈ |admin-k8s:default) root@k8s-m:~#
Master 노드에 정상적으로 SSH 접속된 것을 확인하였다. 다음으로 정상적으로 클러스터가 구성되었는지 각 노드 상태를 확인한다.
(⎈ |admin-k8s:default) root@k8s-m:~# kubectl get nodes -o wide
NAME     STATUS   ROLES                  AGE   VERSION   INTERNAL-IP       EXTERNAL-IP   OS-IMAGE             KERNEL-VERSION     CONTAINER-RUNTIME
k8s-m    Ready    control-plane,master   42m   v1.21.8   192.168.100.10    <none>        Ubuntu 20.04.3 LTS   5.4.0-92-generic   docker://20.10.12
k8s-w1   Ready    <none>                 37m   v1.21.8   192.168.100.101   <none>        Ubuntu 20.04.3 LTS   5.4.0-92-generic   docker://20.10.12
k8s-w2   Ready    <none>                 33m   v1.21.8   192.168.100.102   <none>        Ubuntu 20.04.3 LTS   5.4.0-92-generic   docker://20.10.12
본 글에서는 간략하게 VirtualBox와 Vagrant를 활용하여 K8s 클러스터를 구성하는 방법에 대해 알아보았다.
다음 글에서는 간단한 실습과 Kubernetes Advanced Networking Study (=KANS) 스터디에 대한 내용을 연재할 계획이다.

vagrant, virtualbox 소개를 잘 정리해주셨네요.
그리고 최근에는 윈도우 기본 cmd 에서도 curl 사용이 가능합니다.
좋은 정보 잘 보았습니다!