
1. React Application 생성
프로젝트를 생성하려는 디렉토리로 이동한다
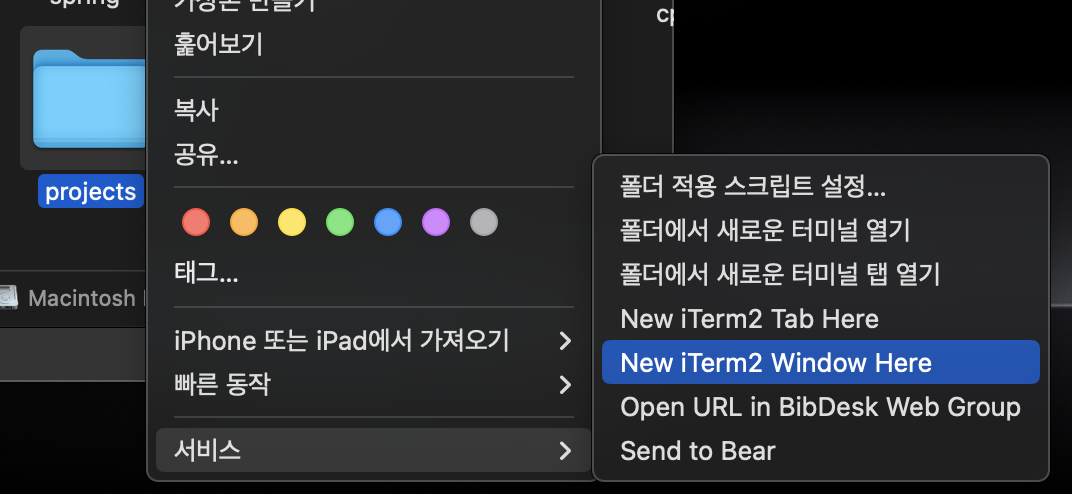
터미널 내에서 이동해도 되고, 아래 사진처럼 디렉토리에서 터미널을 여는 방법도 있다
npx create-react-app {프로젝트_이름}완료되면 위에 입력한 프로젝트 디렉토리가 생성된다!
2. Tailwind CSS 설치
cd {프로젝트_이름}

npm install tailwindcss postcss-cli autoprefixer

yarn add tailwindcss postcss-cli autoprefixer
생성된 프로젝트 디렉토리로 이동해 Tailwind CSS를 설치해준다.
npm, yarn 둘 중 하나로 설치해주면 된다.
3. Tailwind CSS 초기화
npx tailwindcss inittailwind.config.js 파일을 만들고 tailwindcss를 초기화하는 명령어이다.
해당 파일 코드를
/** @type {import('tailwindcss').Config} */
module.exports = {
  content: [
    "./src/**/*.{js,jsx,ts,tsx}",
  ],
  theme: {
    extend: {},
  },
  plugins: [],
}
위 코드로 수정해준다.
해당 코드는 src 디렉토리 내의 자바스크립트, 타입스크립트 파일에서 Tailwind CSS 클래스를 추출하도록 지정해준다.
-> 프로젝트에서 사용하지 않는 클래스는 스타일 시트에 포함되지 않아 파일 크기를 줄일 수 있다!
4. PostCSS Configuration 설정
root 디렉토리에 postcss.config.js 파일을 생성하고 아래 내용을 입력한다.
module.exports = {
  plugins: [
    require('tailwindcss'),
    require('autoprefixer'),
  ],
}
5. Style.css 수정
src 디렉토리에 css 파일 (예 styles.css )을 생성하고 아래 내용을 입력한다.
@import 'tailwindcss/base';
@import 'tailwindcss/components';
@import 'tailwindcss/utilities';
6. React에 CSS 파일 임포트
앞서 생성한 css 파일을 리액트에 적용해준다.
src/index.js 파일에 앞서 만든 styles.css을 불러온다.
import React from 'react';
import ReactDOM from 'react-dom';
import './styles.css'; // css 파일 임포트
import App from './App';

ReactDOM.render(
  <React.StrictMode>
    <App />

  ...(생략)
7. Tailwind CSS 사용
이제 적용한 Tailwind CSS를 사용해보자
src/App.js
import './App.css';

function App() {
  return (
    <div className = "bg-green-300 border-green-600 border-b p-40 m-40 rounded">
      Hello World
    </div>
  );
}

export default App;
bg-green-300 : 배경색(bg) - green - 300(밝기)
border-green-600 : 테두리(border)색 - green - 600
border-b : 아래 부분 (bottom)의 테두리만 보이게 설정
p-40, m-40 : padding, margin을 40unit(160px)으로 설정
rounded : 모서리 둥글기 설정
이제 서버를 실행시켜 확인해보자!
npm start
# 또는
yarn start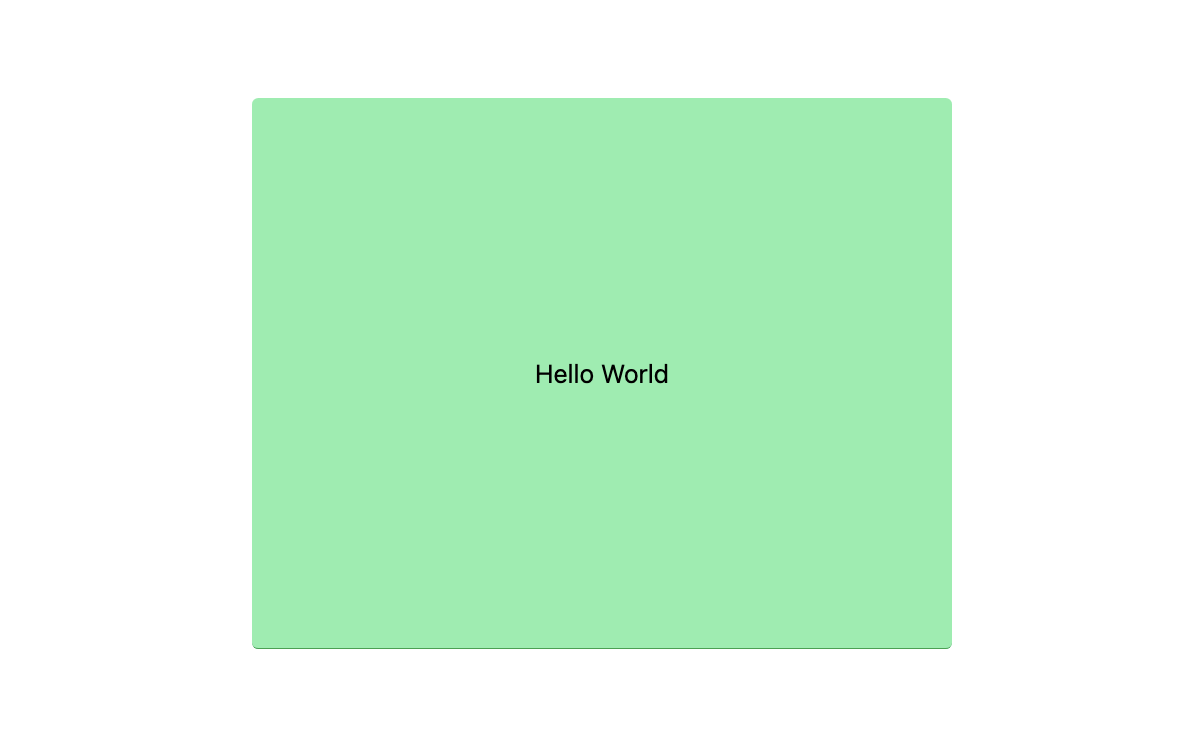
적용된 것을 확인할 수 있다 ദ്ദി '֊' )
참고 링크
https://medium.com/@shivaydv/a-step-by-step-guide-to-installing-tailwind-css-with-react-b06d71a50354
https://tailwindcss.com/
https://tailwindcss.com/docs/
https://play.tailwindcss.com/