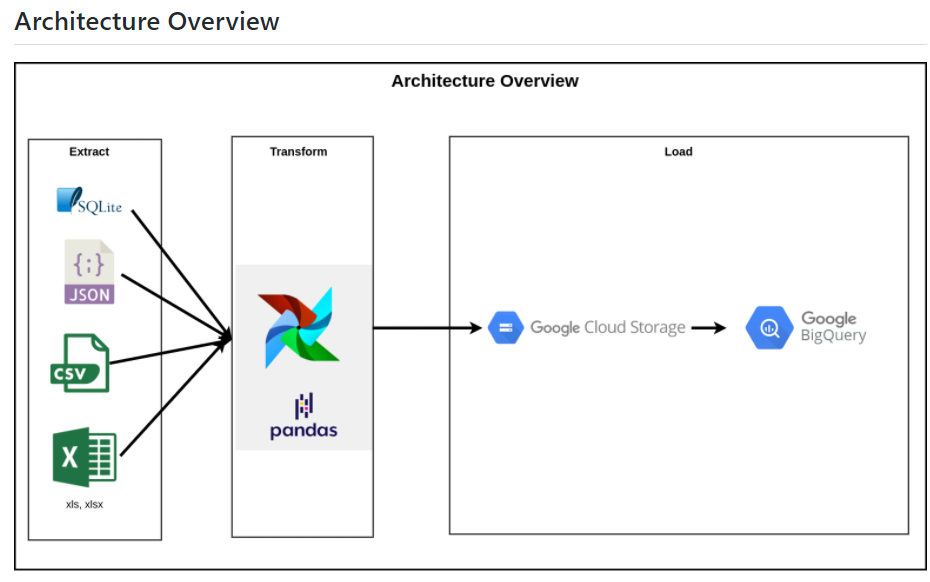
아키텍쳐 preview
bigquery datawarehouse를 만들어보자.
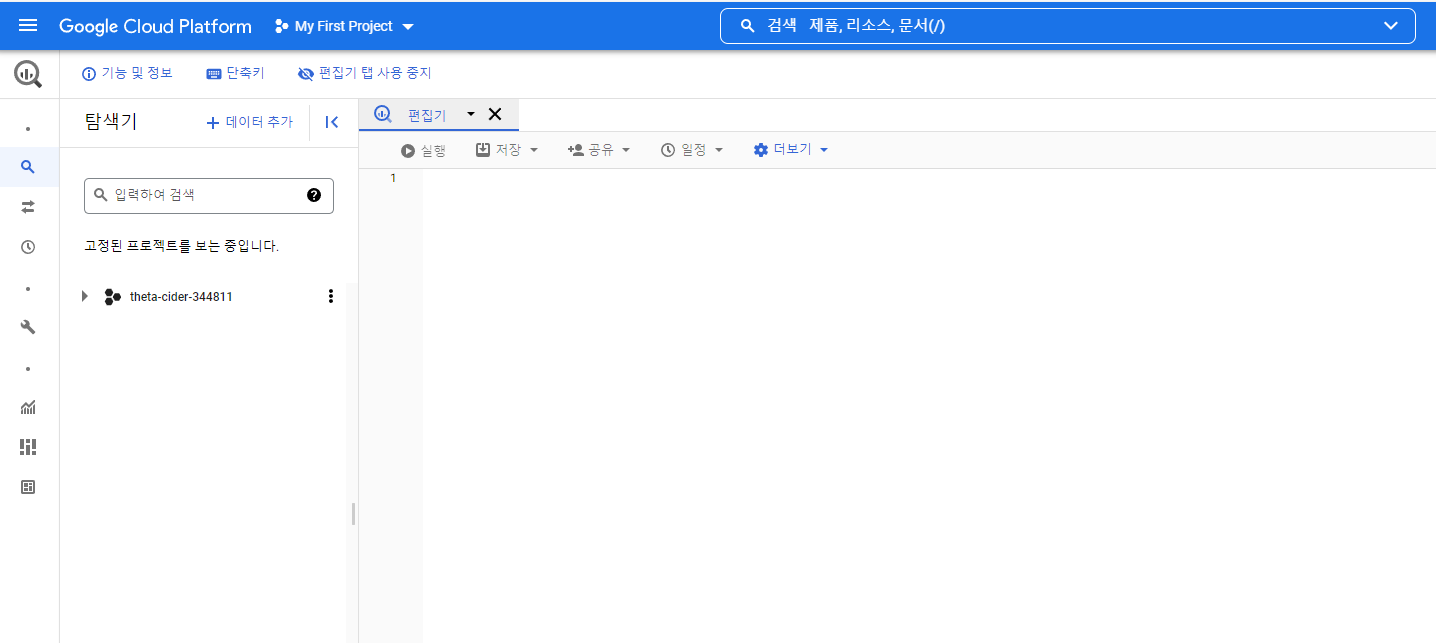
구글 클라우드 콘솔에 로그인 후 > 빅쿼리 세션에 들어오면 위와 같은 화면이 나온다.
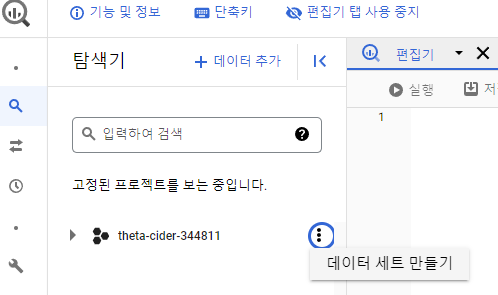
데이터 세트를 생성해보자.
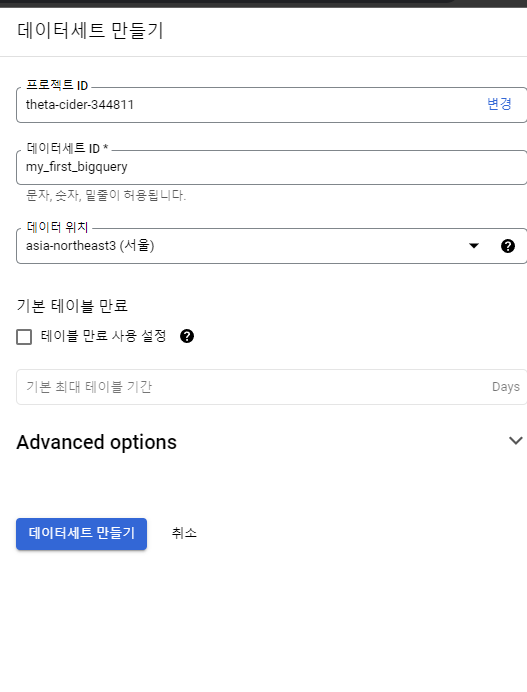
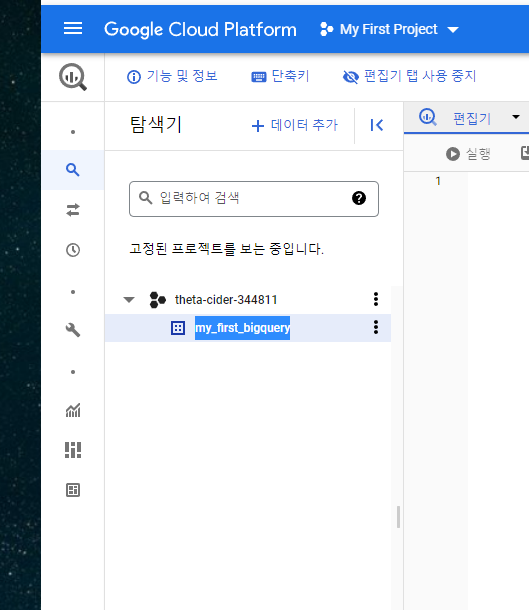
위와같이 잘 만들어 졌다.
Google Cloud Storage를 활용해 bucket을 만들어보자.
버킷이란 Cloud Storage의 데이터 및 파일에 대한 액세스를 제어하고 구성할 수 있는 컨테이너이다
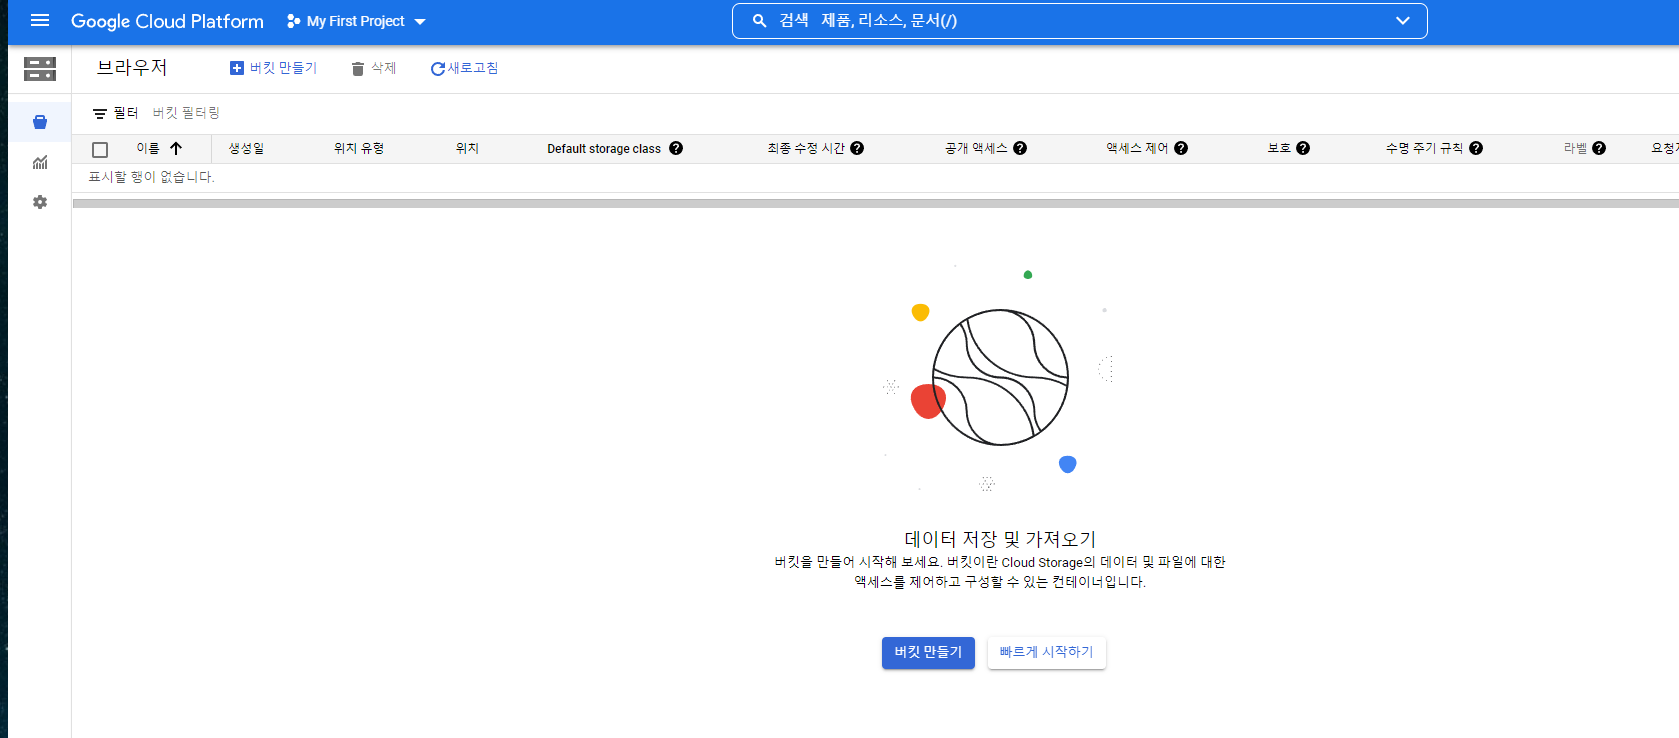
버킷 만들기 클릭
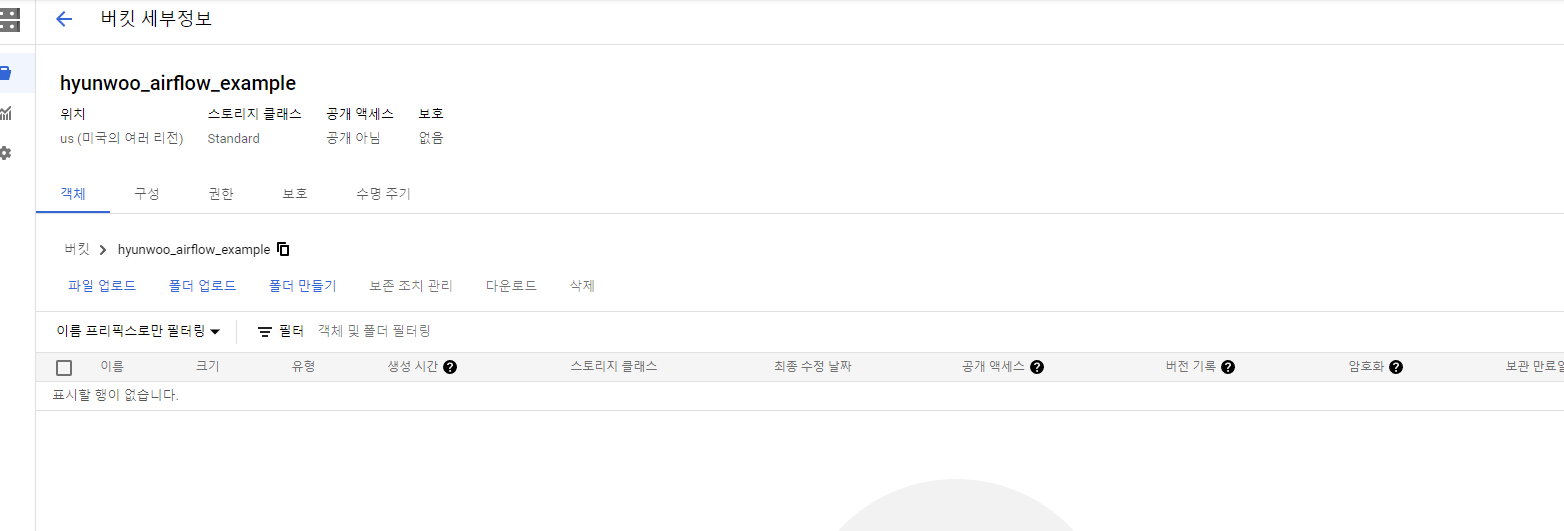
버킷이 만들어 졌다.
서비스 어카운트 만들기
https://ahniverson.tistory.com/42 여기에 잘 설명되어 있다 참고하자.
airflow 연결하기
아리의 순서대로 진행하면 된다.
Connect to http://localhost:8080 , go to Admin > Connections
Add or Edit current Connection.
Search for Google Cloud conn type
Input fields needed there:
Conn Id (example: my_google_cloud_conn_id)
Conn Type: Google Cloud
Description (example: To interact with Google Cloud Platform such as upload data to GCS, load data from GCS to BigQuery, etc. )
Keyfile Path. This path is where your service account key is located. Refer to that path and fill this field with those file path.
Keyfile JSON. If you use Keyfile Path, leave this blank
Number of Retries. Default value is 5, but I set to 2.
Project Id. Set this value to your GCP Project Id.
Scopes (comma separated). People on forum recommends to fill this with https://www.googleapis.com/auth/cloud-platform
Click Save button
Done! Everytime your Airflow connector needs GCP conn_id, just fill it with your Conn Id
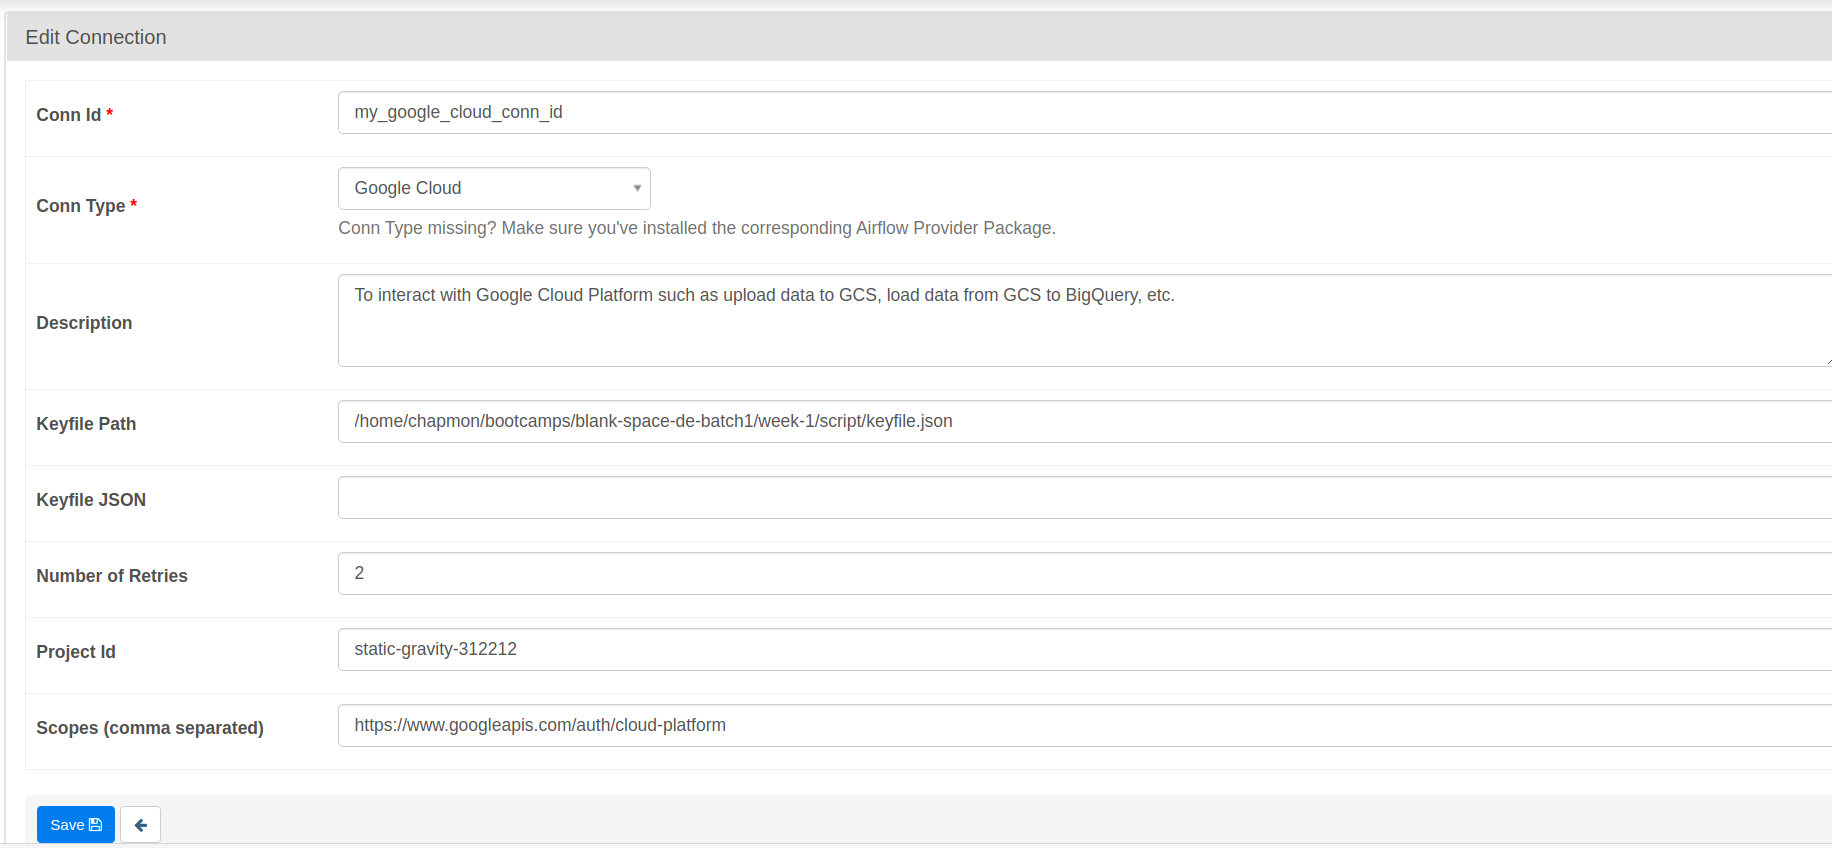
어 그런데 google cloud가 존재하지 않는다...?
airflow에는 provider라는 것이 존재하는데 이것이 있어야 타 플랫폼과 연동을 시킬 수 있다. provider를 설치하자.
참고자료
https://airflow.apache.org/docs/apache-airflow-providers/packages-ref.html
터미널을 모두 종료 후
pip install 'apache-airflow-providers-google'완료 후 다시 실행하고, 위의 과정을 진행한다.
Airflow Variables is very important if you want to set global value which can accessed to your DAGs. Here's how to do it:
http://localhost:8080에 접속 후 go to Admin > Variables
Click the Plus (+) icon.
Or you can just Import Variables which is json file containing key value of variables.
At very least, this projects must have this Variables:
BASE_PATH
BUCKET_NAME
DATASET_ID
GOOGLE_CLOUD_CONN_ID
끝났다. 이제 스크립트를 통해(DAG) etl프로세스를 자동화할 수 있다.
