1. Introduction: Kubernetes is "Open" by Default
One of the first things you realize when learning Kubernetes is that all Pods can communicate with all other Pods by default. It’s a flat network structure.
While this is convenient for development, it’s a security nightmare in production. Imagine your frontend web server having unrestricted access to your database, or a compromised pod having access to your entire internal network.
To solve this, we use NetworkPolicy. In this post, I’ll walk through how to isolate namespaces and avoid the most common "gotcha" in the CKA exam: Forgetting DNS.
2. What is NetworkPolicy?
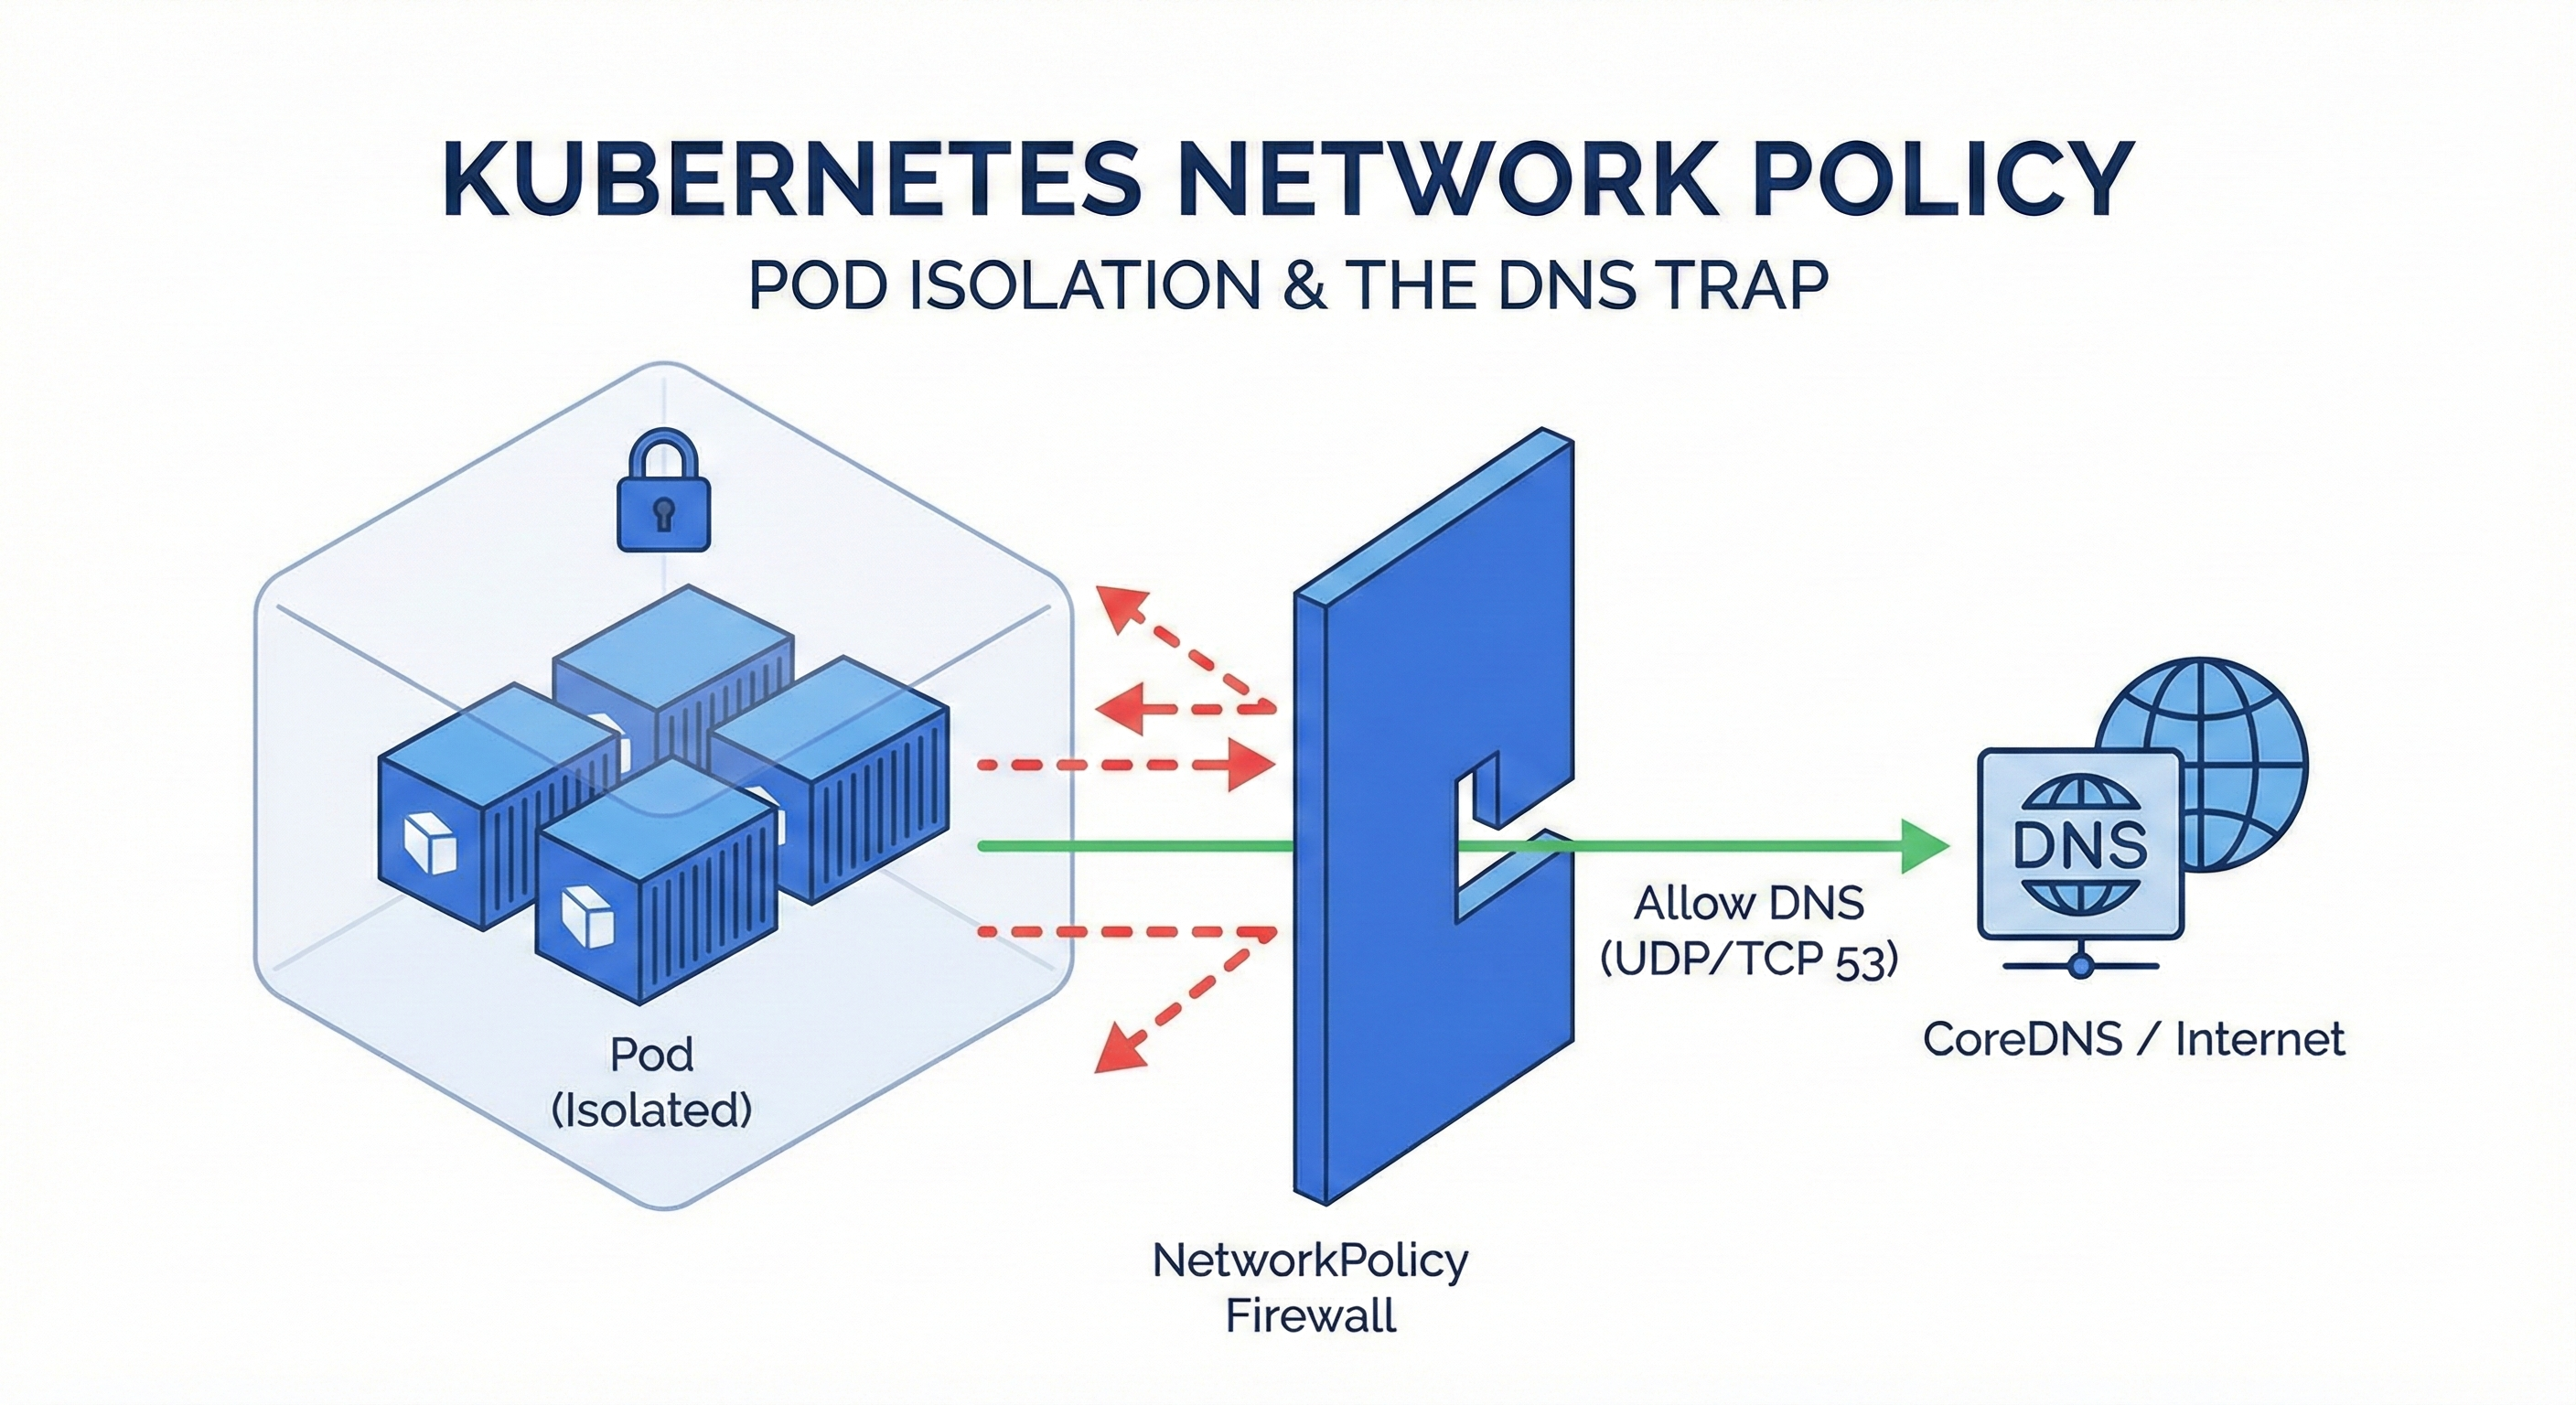
Think of NetworkPolicy as a "Kubernetes-native Firewall."
Unlike traditional firewalls that use IPs, NetworkPolicy controls traffic based on Labels and Selectors.
Key concepts to understand:
- Allow-List Model (Whitelist): NetworkPolicy is additive. If you create a policy that selects a Pod, that Pod is immediately isolated, and it rejects all traffic except what you explicitly allow.
- Traffic Direction:
- Ingress: Incoming traffic (to the Pod).
- Egress: Outgoing traffic (from the Pod).
- Scope: It is a namespaced resource.
The Golden Rule: "If no policy exists, everything is allowed. If a policy exists, everything else is denied (Default Deny)."
3. The "DNS Trap": Why Port 53 Matters
This is where many developers (and CKA candidates) fail. When you restrict Egress traffic, you might think: "I only want my app to talk to the Backend Service, so I'll only allow that."
The Problem:
Your application doesn't talk to IP addresses directly. It uses domain names (e.g., backend-svc, google.com).
To resolve these names to IPs, your Pod must talk to the cluster's DNS server (CoreDNS).
The Trap:
If you block all Egress traffic and only allow the Backend Service, you are also blocking the DNS query.
Your app will crash with a "Name Resolution Error" or "Timeout" because it can't ask "Where is backend-svc?"
The Solution:
Whenever you restrict Egress, you must explicitly allow UDP/TCP port 53.
4. The Scenario (CKA Style)
Let's look at a practical requirement:
- Context: Two Namespaces exist:
space1andspace2. - Requirement A: Pods in
space1can only send traffic tospace2. (All other outgoing traffic is blocked). - Requirement B: Pods in
space2can only receive traffic fromspace1. (All other incoming traffic is blocked).
5. The Solution
Policy 1: Restricting Egress in space1 (Don't forget DNS!)
We need to allow traffic to space2 AND traffic to the DNS server.
apiVersion: networking.k8s.io/v1
kind: NetworkPolicy
metadata:
  name: np-space1
  namespace: space1
spec:
  podSelector: {} # Selects ALL pods in this namespace
  policyTypes:
  - Egress        # We are controlling outgoing traffic
  egress:
  # Rule 1: Allow traffic to 'space2' namespace
  - to:
    - namespaceSelector:
        matchLabels:
          kubernetes.io/metadata.name: space2
  # Rule 2: CRITICAL! Allow DNS resolution
  - ports:
    - protocol: UDP
      port: 53
    - protocol: TCP
      port: 53
Pro Tip: Since Kubernetes v1.21, namespaces automatically have the label
kubernetes.io/metadata.name: <ns-name>. You can use this instead of creating manual labels!
Policy 2: Restricting Ingress in space2
Here, we only need to filter who is coming in. We don't need to worry about DNS here, as that is an Egress concern.
apiVersion: networking.k8s.io/v1
kind: NetworkPolicy
metadata:
  name: np-space2
  namespace: space2
spec:
  podSelector: {}
  policyTypes:
  - Ingress       # We are controlling incoming traffic
  ingress:
  # Rule 1: Allow traffic coming FROM 'space1'
  - from:
    - namespaceSelector:
        matchLabels:
          kubernetes.io/metadata.name: space1
6. Verification & Troubleshooting
Applying the YAML is easy. Verifying it is the real skill. Use a temporary busybox pod to test connectivity.
Test 1: Verify Block (space1 -> External)
Try to reach Google. This should fail (timeout) because we only allowed space2.
kubectl -n space1 run test-pod --image=busybox -it --rm -- wget -O- google.com
# Result: "wget: download timed out" (Pass!)
Test 2: Verify Allow (space1 -> space2)
Try to reach a service in space2. Note: You must use the FQDN (service.namespace).
kubectl -n space1 run test-pod --image=busybox -it --rm -- wget -O- -T 5 microservice1.space2
# Result: HTML output or connection success (Pass!)
Test 3: Debugging DNS
If Test 2 fails immediately with "Bad Address," it means DNS is blocked. Check your port 53 rules!
kubectl -n space1 run debug --image=busybox -it --rm -- nslookup microservice1.space2
7. Takeaways
- Default Deny: Once a NetworkPolicy selects a Pod, it isolates it.
- Explicit Allow: You must list every destination you want to reach.
- Port 53 is Lifeline: Never forget to allow DNS (UDP/TCP 53) in your Egress rules, or your application will be blind.
Mastering this flow is crucial not just for the CKA exam, but for securing any production Kubernetes cluster.