
Login page 구현 : state와 setState 를 이용한 login event 적용
순서 1. setState 로 event handler 함수를 만든다.
 // ID state 상태 변경 => setState
    handleIdInput = (e) => {
        this.setState( {
            inputIdValue: e.target.value
        })
    }


    // PassWord state 상태 변경 => setState
    handlePassInput = (e) => {
        this.setState ({
            inputPassValue: e.target.value
        })
    }
순서 2. Input tag 내부에 각각의 event 함수를 할당하고, button tag의 className에 조건식을 작성한다.
<input onChange={this.handleIdInput} id="login_ID" type="text" required placeholder="전화번호, 사용자 이름 또는 이메일" />
// onChange에 handleIdInput 함수를 할당한다.
<input onChange={this.handlePassInput} id="login_PASS" type="password" required placeholder="비밀번호" />
// onChange에 handlePassInput 함수를 할당한다.
<button className= {
                    // 조건식 시작 --
                    this.state.inputIdValue.includes("@") &&
                    // inputIdValue는 (“@”)가 포함되어 있고 &&
                    this.state.inputPassValue.length > 5 ? "login_BTN blue_BTN" : “login_BTN”
                    // inputPassValue의 length는 5보다 크다면 className(login_BTN blue_BTN.style실행) 아니면 className(login_BTN.style실행)
                    // —- 조건식 끝
                    }
        onClick={this.goToMain}>로그인</button>
        // click하면 main page로 이동
재수정했던 부분
 // ID state 상태 변경 => setState
    handleIdInput = (e) => {
        this.setState( {
            inputValue: e.target.value
        })
    }


    // PassWord state 상태 변경 => setState
    handlePassInput = (e) => {
        this.setState ({
            inputPassValue: e.target.value
        })
    }
input tag의 name이라는 속성을 이용하여 동일하게 handler를 적용할 수 있다.
// id, password input state 상태 변경 => setState
handleInput = e => {
const { value, name } = e.target;
this.setState({ [name]: value })
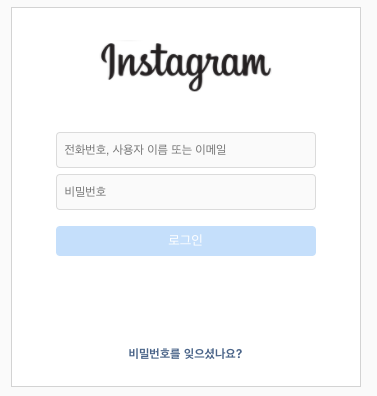
}onChange event 적용하기 전
onChange event 적용한 후
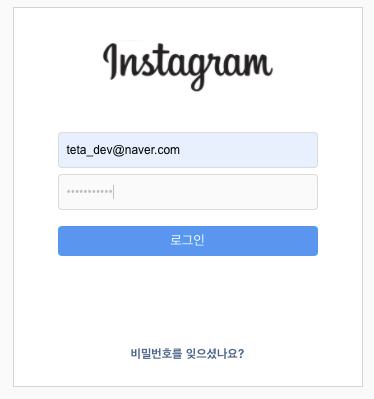
Email 작성 input에는 “@“가 들어있으며,
Password 작성 input의 길이는 7이상이므로
button의 style event가 발생하는 것을 확인할 수 있다.

일단 공부가 '적성'에 맞는 개발자. 근성있습니다.