- 기본 설치 환경
- 노드 2대 (master, worker)
- Kubernetes 1.17.17
- Docker 20.10.3
- NFS 설치
- Kubeflow 설치
- Dynamic Volume Provision 설치
helm install \
  --name nfs-client-provisioner \
  --namespace storage \
  --set nfs.server=172.21.XXX.XXX \
  --set nfs.path=/ \
  --set storageClass.name=nfs \
  --set storageClass.defaultClass=true \
  stable/nfs-client-provisioner
- Kubeflow 1.1 설치
- using Dex for authentication
- API Server 수정 (추가)
- Istio configuration for trustworthy JWTs - This configuration uses Istio version 1.3.1 with SDS enabled, which requires Kubernetes 1.13 or later. Follow Istio’s blog to add API server configurations to your Kubernetes cluster. Ensure that the TokenRequest feature flag is set to true in the cluster. For kubeadm created clusters, set the API server flags in the pod manifest at /etc/kubernetes/manifests/kube-apiserver.yaml. For example, the Istio community runs their test-infrastructure with the following API server flags:
vi /etc/kubernetes/manifests/kube-apiserver.yaml
- --service-account-issuer=kubernetes.default.svc
- --service-account-signing-key-file=/etc/kubernetes/pki/sa.key

- name: no_proxy
      value: localhost,127.0.0.1,172.21.xxx.0/22,10.96.0.0/12,10.244.0.0/16,.svc.cluster.local,
- kubeflow 설치 폴더 생성
- mkdir ~/kubeflow
- cd ~/kubeflow
- 다운 로드 ->압축 해제 -> 환경 변수 설정 ->설치
 ############################## 1. 다운 로드 ##############################
wget https://github.com/kubeflow/kfctl/releases/download/v1.1.0/kfctl_v1.1.0-0-g9a3621e_darwin.tar.gz


############################## 2. 압축 해제 ##############################
tar -xvf kfctl_kfctl_v1.1.0-0-g9a3621e_darwin.tar.gz


############################## 3. 환경 변수 설정 ##############################
# Add kfctl to PATH, to make the kfctl binary easier to use.
# Use only alphanumeric characters or - in the directory name.
export PATH=$PATH:"~/kubeflow"

# Set the following kfctl configuration file:
export CONFIG_URI="https://raw.githubusercontent.com/kubeflow/manifests/v1.1-branch/kfdef/kfctl_istio_dex.v1.1.0.yaml"

# Set KF_NAME to the name of your Kubeflow deployment. You also use this
# value as directory name when creating your configuration directory.
# For example, your deployment name can be 'my-kubeflow' or 'kf-test'.
export KF_NAME=kf-test

# Set the path to the base directory where you want to store one or more
# Kubeflow deployments. For example, /opt.
# Then set the Kubeflow application directory for this deployment.
export BASE_DIR=~/kubeflow
export KF_DIR=${BASE_DIR}/${KF_NAME}


############################## 4. 설치 ##############################
mkdir -p ${KF_DIR}
cd ${KF_DIR}

# Download the config file and change the default login credentials.
wget -O kfctl_istio_dex.yaml $CONFIG_URI
export CONFIG_FILE=${KF_DIR}/kfctl_istio_dex.yaml

# Credentials for the default user are admin@kubeflow.org:12341234
# To change them, please edit the dex-auth application parameters
# inside the KfDef file.
vim $CONFIG_FILE

kfctl apply -V -f ${CONFIG_FILE}
- 설치 시 상당 시간이 걸림 약 20분 소요
    - 처음에는 cert-manager 설정으로 인해 오류 같은 warninng이 뜨나 기다리고 있으면됨


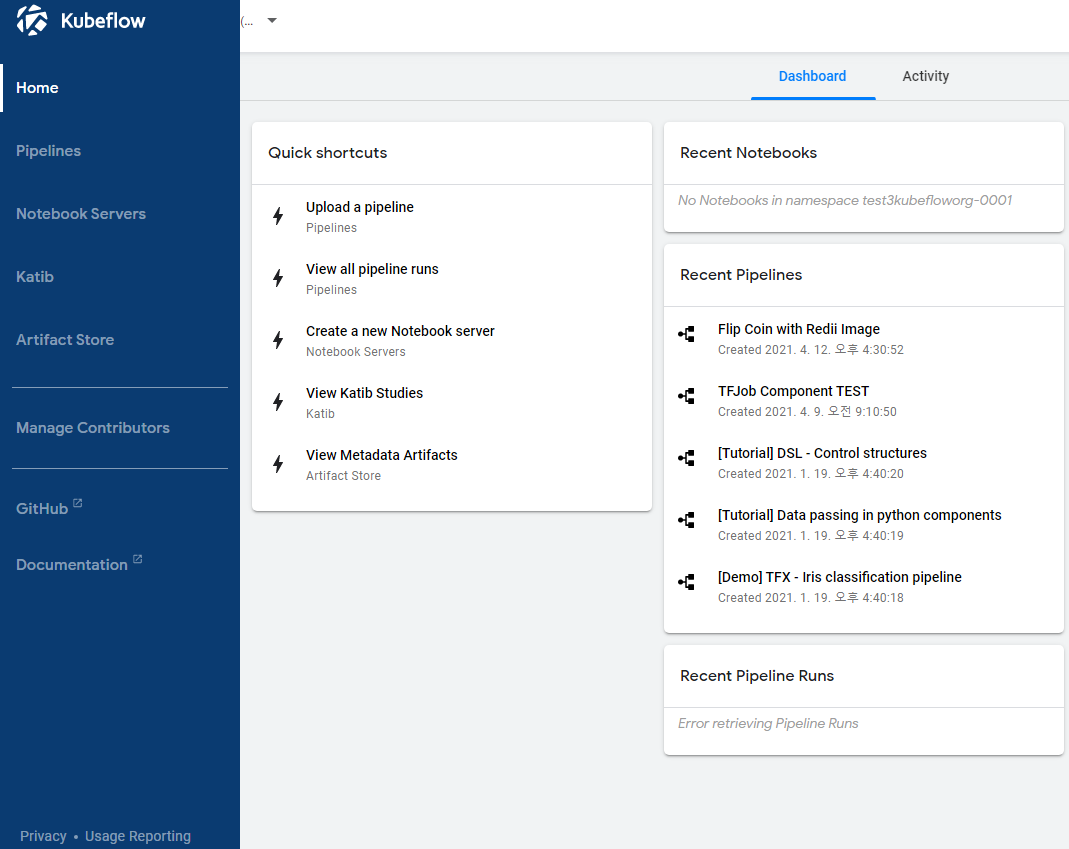
- 설치 완료 후 접속
     - 포트를 지정하여 접속
     - http://172.21.XXX.XXX:31000/
     - 다른 방법은 포트 포워딩이나 인그레스, istio-gateway-ingress 등 다양한 방법이 있음...
- Default ID/Password
     - admin@kubeflow.org  / 12341234


