@Transactional애너테이션에 대해 공부해 보면 Spring AOP로 동작한다는 글을 많이 볼 수 있었다. 좋은 내용들이 많았지만 내부 어디서부터 시작되는지와 같은 내용은 원하는 내용은 발견하기 힘들었다.
그래서 AOP 어디에서 처음으로 탐지를 하는지, 어디에서 사용되기 시작하는지 그리고 공부하고 있던 JPA에서는 어떻게 트랜잭션이 시작되고 닫기는지와 같은 조금 더 상세한 내부 소스를 보고 싶어서 찾아보게 되었다.
환경
JDK 17
SpringBoot 3.0.2

IntelliJ로 Decompiled된 .class file을 확인함
spring-tx
spring-tx의 spring-tx.xsd를 확인해 보면
<xsd:element name="advice">와 <xsd:element name="annotation-driven">에 대해서 나와있다.
내용을 읽어보면 여러 클래스와 인터페이스가 나오는 데, 이름부터 애터네이션을 어떻게 한다는 것처럼 보이는 annotation-driven 요소는 AnnotationTransactionAttributeSource를 사용한다는 듯해서 먼저 확인해 보았다.
AnnotationTransactionAttributeSource
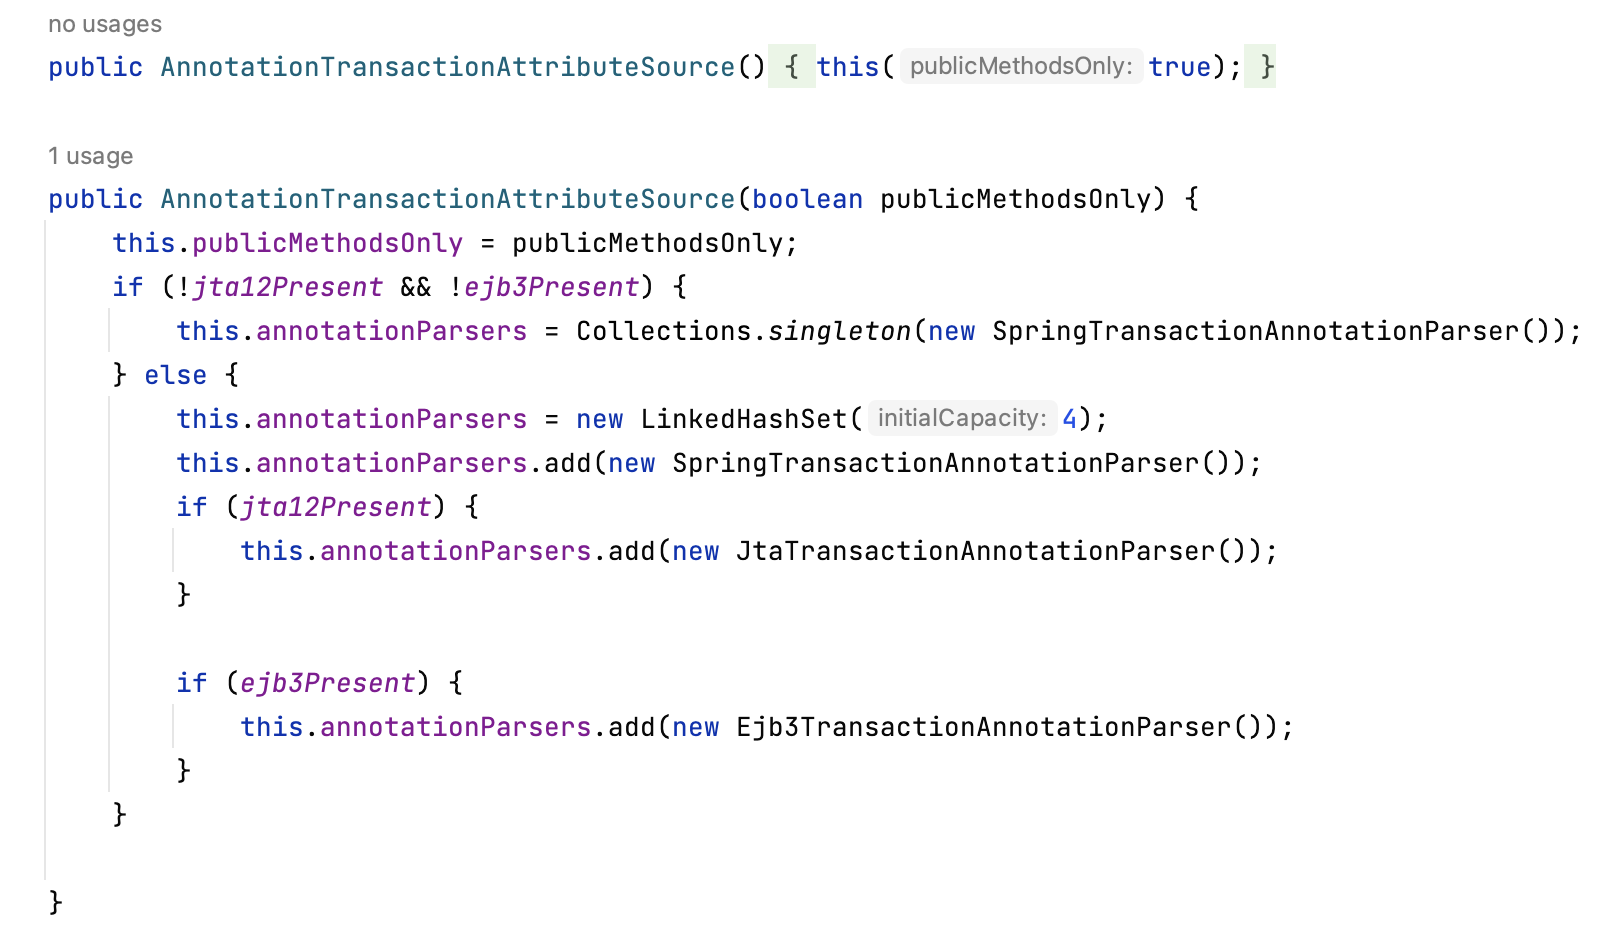
@Transational은 public 메서드에서만 사용 가능하다는 내용을 보고는 했는데 이 클래스의 생성자에서 public 메서드만 관리 대상이 된다는 것을 확인할 수 있었다.
여기서 프록시 생성 시 public에 관한 것을 따진다기보다는, public 메서드가 아닌데 애너테이션이 달렸을 경우 애초에 거른다는 내용으로 보인다.
Parser로 JTA 1.2, EJB 3 환경이 아닐 시 SpringTransactionAnnotationParser라는 것을 생성하는데, 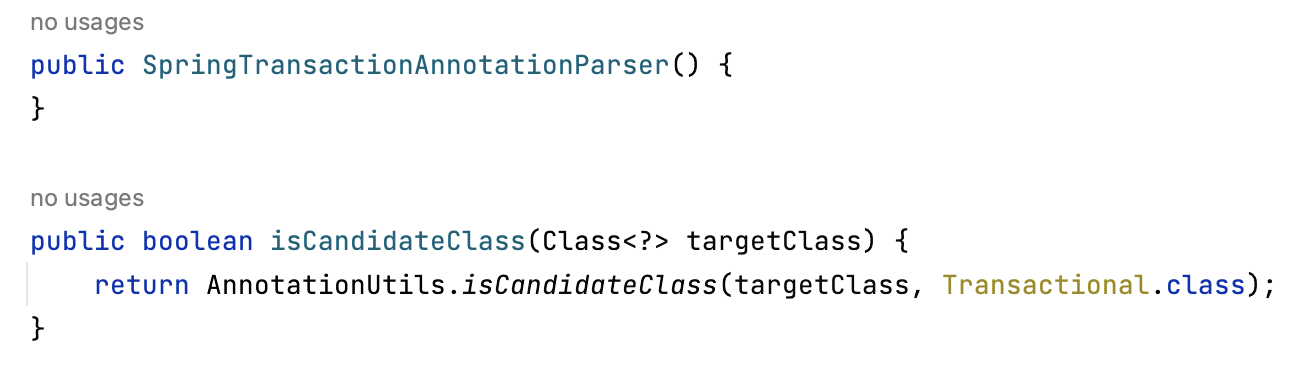 이 Parser에서
 @Transactional 애너테이션을 감지하고 있었다.
 그리고
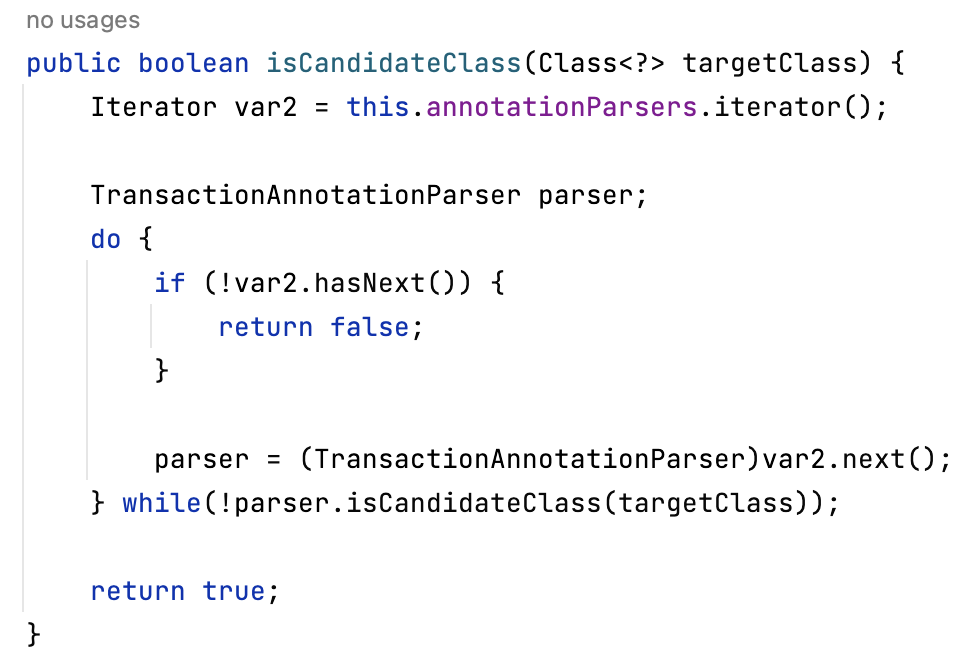
그리고 public boolean isCandidateClass(Class<?> targetClass)라는 시그니처를 사용해서 @Transactional 애너테이션 사용 유무를 판별한다.
(똑같은 시그니처로 보이는데, 아래 것이 AnnotationTransactionAttributeSource에 존재하는 것)
그렇다면 이 클래스는 어디서 사용하고 있을까?
TransactionInterceptor
spring-tx.xsd의 <xsd:element name="advice">에서 사용되는 TransactionInterceptor도 확인해 본다.
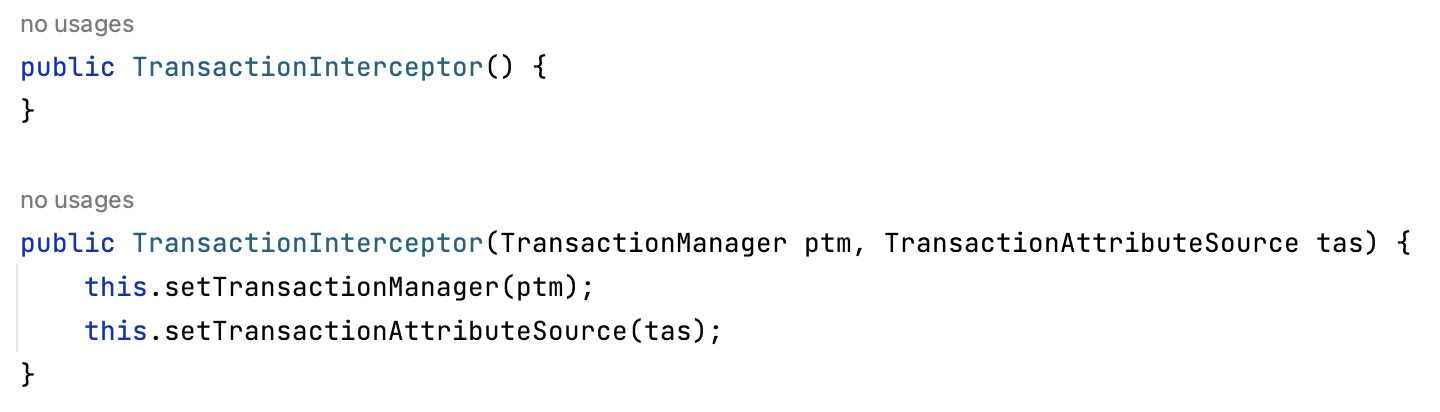 이러한 생성자를 가지고 있는데,
 TransactionAttributeSource 인터페이스가 무엇인지 들어가 보면 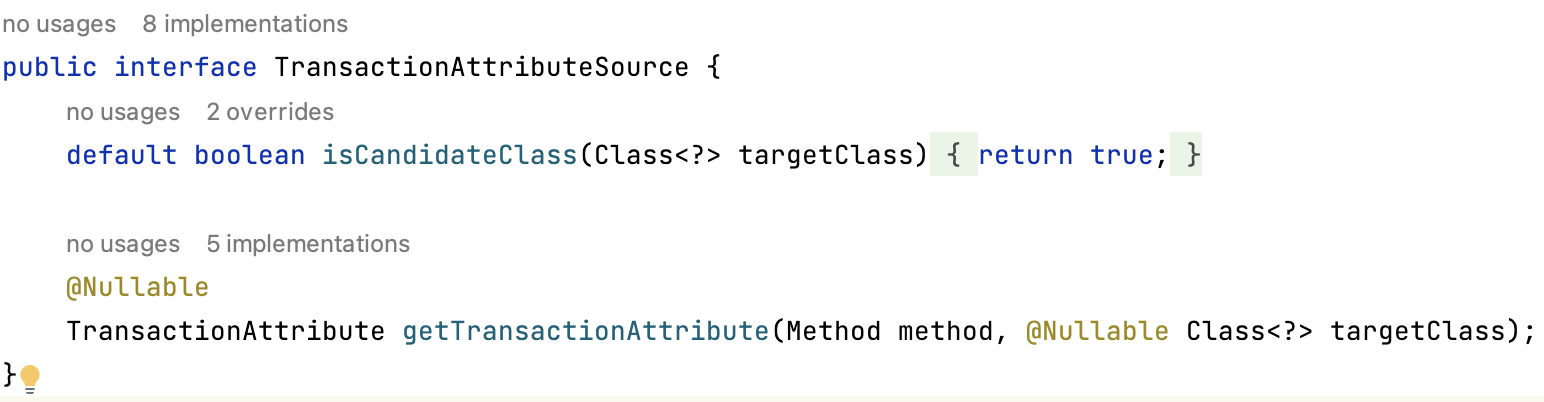 어디서 본
어디서 본 isCandidateClass 메서드가 있다.
AnnotationTransactionAttributeSource에 있던 것으로 상위 클래스로 올라가 보니 해당 인터페이스의 구현체 중 하나였음을 알 수 있었다.
결국 advide로 사용된다는 TransactionInterceptor에서 @Transactional 애너테이션을 감지한다는 것을 알 수 있다. 그리고 이 인터셉터의 주요 메서드를 확인해 보았다.
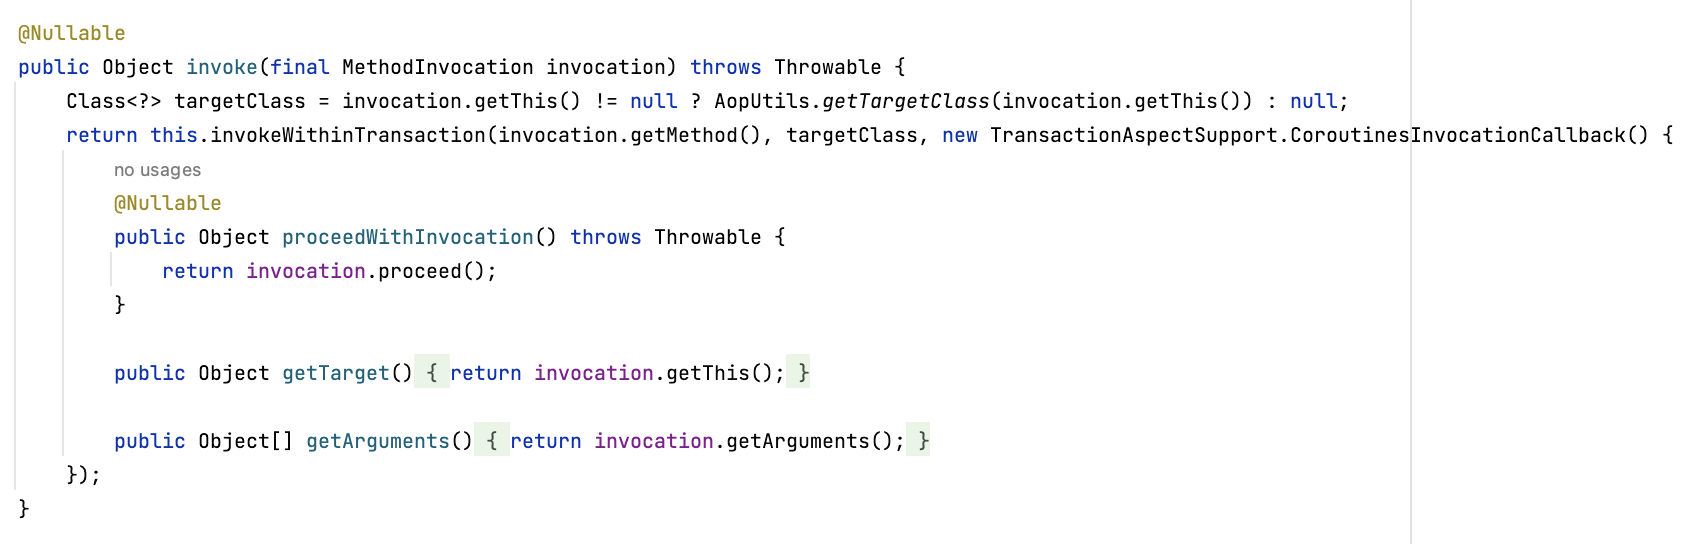 트랜잭션을 포함해서 무언가를 호출한다는 메서드가 반환됨을 확인할 수 있다.
이 메서드는 인터셉터의 상위 추상 클래스인 TransactionAspectSupport에 존재하고 있다.
TransactionAspectSupport
@Nullable
protected Object invokeWithinTransaction(Method method, @Nullable Class<?> targetClass, final InvocationCallback invocation) throws Throwable {
	TransactionAttributeSource tas = this.getTransactionAttributeSource();
	TransactionAttribute txAttr = tas != null ? tas.getTransactionAttribute(method, targetClass) : null;
	TransactionManager tm = this.determineTransactionManager(txAttr);
    if (this.reactiveAdapterRegistry != null && tm instanceof ReactiveTransactionManager) {
    	...
    }
    else {
    	PlatformTransactionManager ptm = this.asPlatformTransactionManager(tm);
    	String joinpointIdentification = this.methodIdentification(method, targetClass, txAttr);
    	...
    }
    ...
}
드디어 트랜잭션에 관한 설정들을 불러오는 것을 볼 수 있다. Reactive와 관련된 내용이 먼저 나오고 else 부분부터 내가 찾고자 하던 내용이 있었다.
PlatformTransactionManager은 TransactionManager을 상속한 클래스로 찾고자 했던 JpaTransactionManager의 상위 클래스다.
protected void doBegin(Object transaction, TransactionDefinition definition) {
	JpaTransactionObject txObject = (JpaTransactionObject)transaction;
    if (txObject.hasConnectionHolder() && !txObject.getConnectionHolder().isSynchronizedWithTransaction()) {
    	throw new IllegalTransactionStateException("Pre-bound JDBC Connection found! JpaTransactionManager does not support running within DataSourceTransactionManager if told to manage the DataSource itself. It is recommended to use a single JpaTransactionManager for all transactions on a single DataSource, no matter whether JPA or JDBC access.");
    } else {
        try {
            EntityManager em;
            ...
        }
        ...
    }
}
여기서 JPA 공부할 때 보았던 EntityManger를 이용한 트랜잭션 관리를 볼 수 있다. 예외 처리가 일어나면 롤백 시키는 과정까지 존재한다.
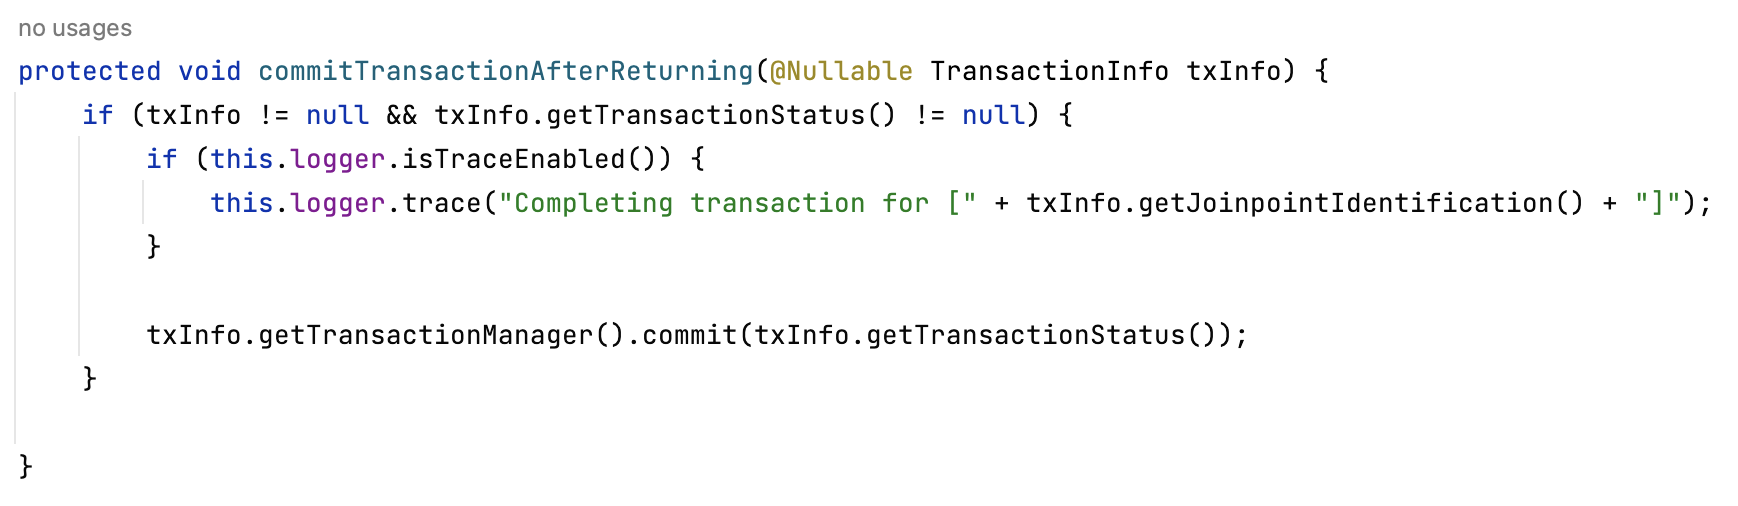 마지막으로 문제없이 commit 하는 부분은
 TransactionAspectSupport에서 확인 가능했다.
마치며
별다른 생각 없이 쓰던 @Transactional 애너테이션에 대해서 조금 더 생각해 볼 수 있었다.
이 애너테이션은 AOP를 사용하니 프록시 객체를 만들고 그 내부에서 트랜잭션~~ 하는 막연한 내용을 상상만 했었는데 그 흐름을 직접 본 덕에 조금 더 명확한 생각을 가질 수 있게 되었다.
추가로 프록시 객체에 대한 생각을 해보니 내 지식으로는 자세히 설명하지 못하겠기에 다음에는 CGLib와 Dynamic Proxy에 대해 알아보아야겠다.
