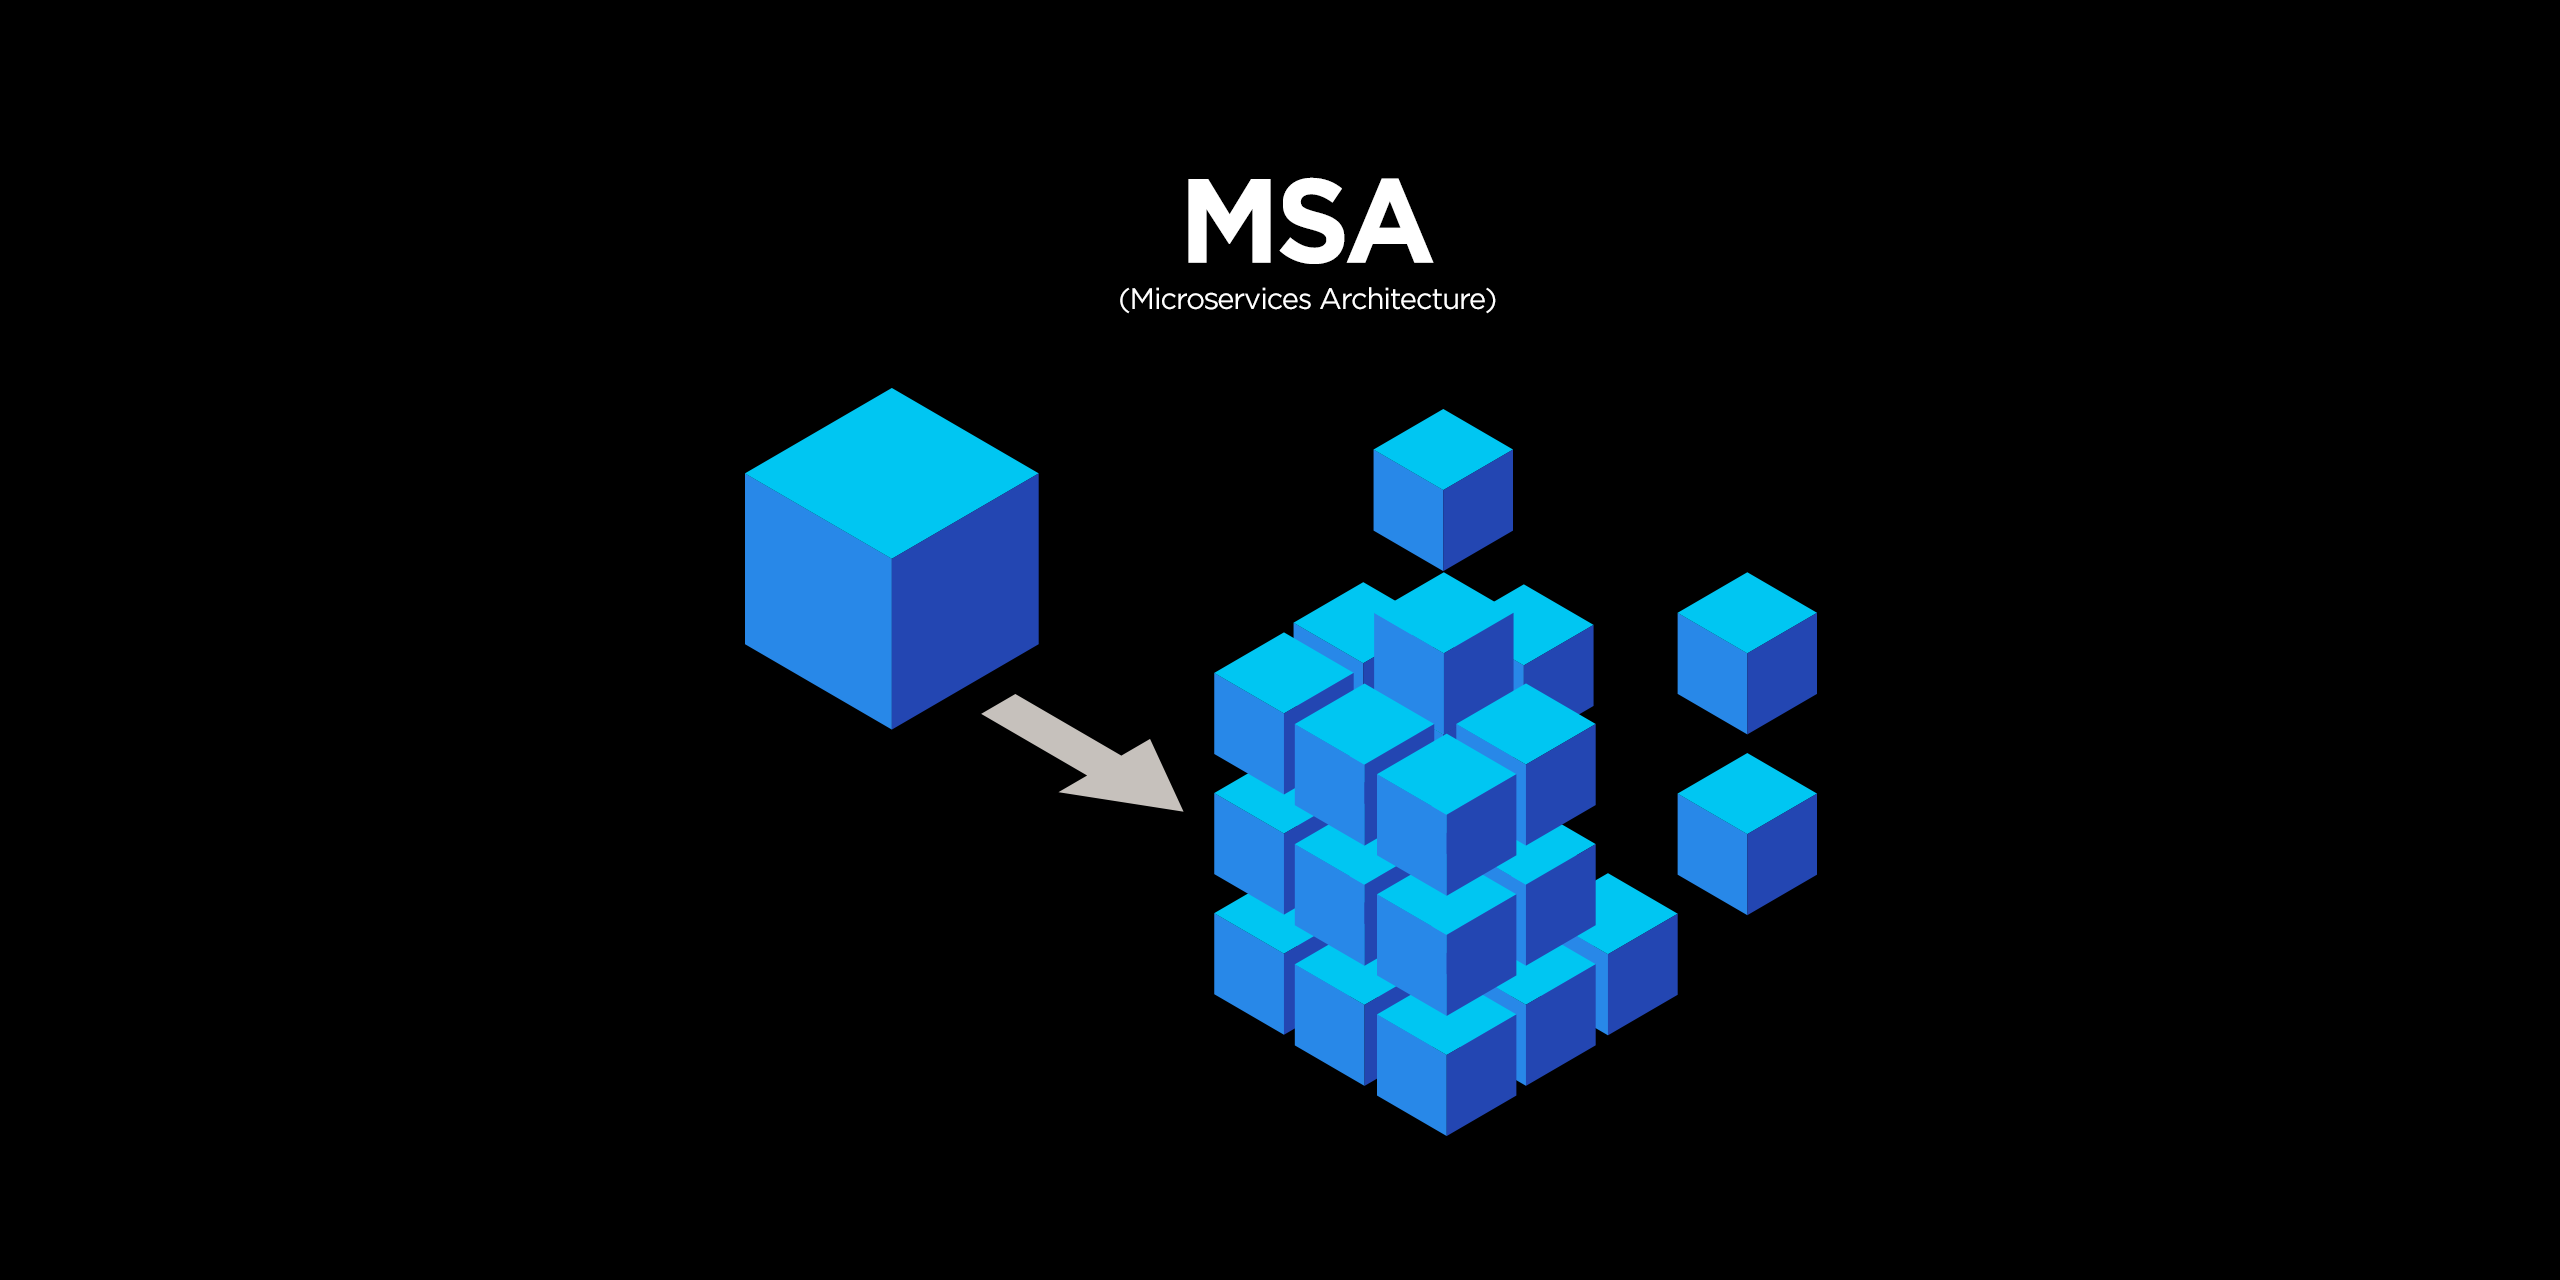
📗Spring Config란
Spring Config는 MSA 구조에서 여러 서비스들의 설정 값을 하나의 서버에 등록해두고 여러 서버에서 해당 서버에 설정된 값을 가져와서 사용할 수 있도록 사용할 수 있게 해주는 기술이다.
🔨yml 파일 생성
token:
  expiration_time: 86400000
  secret: user_token
yml 파일 하나를 생성하고 git으로 관리하도록 commit 단계까지만 진행해두자

🔨Config Server 생성
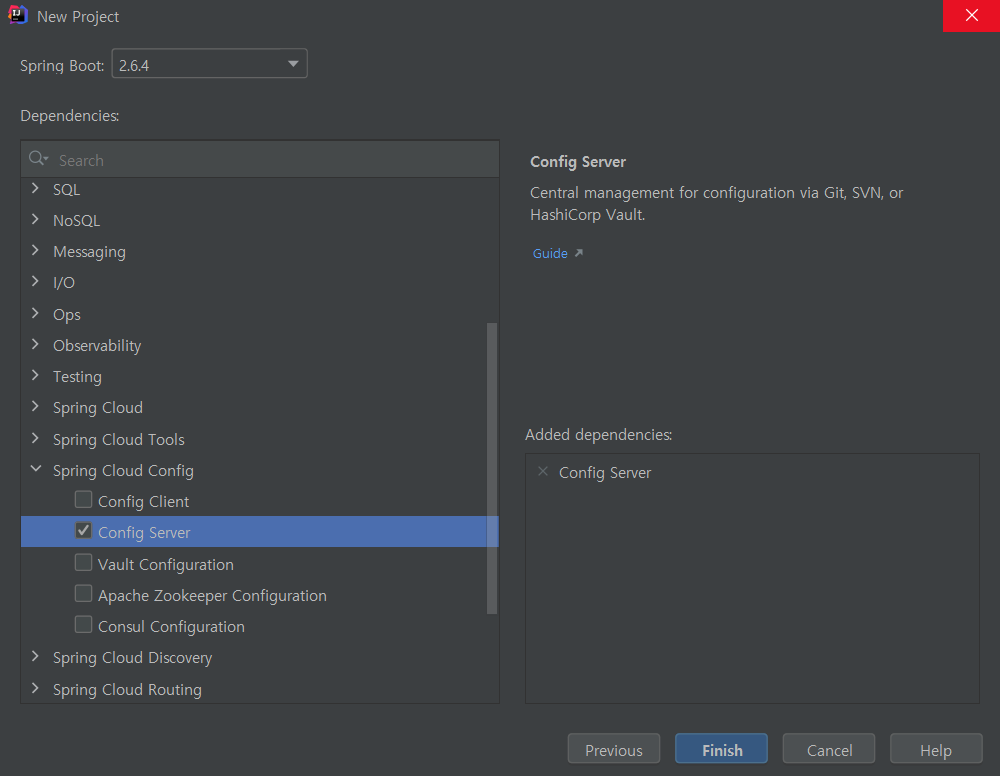
Spring Config Server 프로젝트를 생성한다.
@SpringBootApplication
@EnableConfigServer
public class ConfigServiceApplication {

    public static void main(String[] args) {
        SpringApplication.run(ConfigServiceApplication.class, args);
    }

}
그리고 실행되는 Application 파일에서 @EnableConfigServer 선언하여 Config Server로써 사용한다.
server:
  port: 8888

spring:
  application:
    name: config-service
  cloud:
    config:
      server:
        git:
          uri: file://{폴더경로} #ex)  file://C:/2022/msa-config
그 후에 yml 파일을 설정한다.
그리고 서버를 실행한 뒤
http://localhost:8888/ecommerce/default
http://localhost:8888/{파일명}/{profile}접속하게 되면

다음과 같이 json 타입으로 반환 받는 정보를 확인할 수 있다.
{
  "name":"ecommerce",
  "profiles":["default"],
  "label":null,
  "version":"e5dca17738bdd67f25a91f6da83aa254d90f6b7a",
  "state":null,
  "propertySources":[
    {
      "name":"file://C:/2022/msa-config/file:C:\\2022\\msa-config\\ecommerce.yml",
      "source":{"token.expiration_time":86400000,"token.secret":"user_token"}
    }
  ]
}
다음과 같은 정보를 가져온다. 우리가 설정한 token의 정보를 모두 가져오는것을 확인할 수 있다.
🔨User Service 설정 변경
...

#token:
#  expiration_time: 86400000 #ms단위
#  secret: user_token
기존의 token에 대한 설정을 주석처리하고
<dependency>
    <groupId>org.springframework.cloud</groupId>
    <artifactId>spring-cloud-starter-config</artifactId>
</dependency>
<dependency>
    <groupId>org.springframework.cloud</groupId>
    <artifactId>spring-cloud-starter-bootstrap</artifactId>
</dependency>
그리고 pom.xml에 의존성을 추가한다.
spring:
  cloud:
    config:
      uri: http://127.0.0.1:8888
      name: ecommerce
그리고 application.yml과 동일한 위치의 resources 폴더 아래에 bootstrap.yml 파일을 생성한 후 우리가 실행한 서버의 uri와 접근할 name을 적어준다.
@GetMapping("/health_check")
public String status(){
    return String.format("It's Working in User Service"
            + ", port(local.server.port) = " + env.getProperty("local.server.port")
            + ", port(server.port) = " + env.getProperty("server.port")
            + ", token secret = " + env.getProperty("token.secret")
            + ", token expiration time = " + env.getProperty("token.expiration_time")
    );
}
그 후에 controller에서 health_check의 내용을 다음과 같이 수정하여 실제 config 정보를 불러오는지 확인해보자.

서비스를 실행하면 다음과 같이 로그를 확인할 수 있다.
로그의 내용은 우리가 설정한것 대로 http://127.0.0.1:8888 에 접근하여 ecommerce라는 이름의 profiles는 default로 접근하여 정보를 가져온다는 것이다.

포스트맨으로 실제 요청시 health_check에서도 설정 정보를 잘 읽어오는 것을 확인할 수 있다.
여기서 중요한 점은 application.yml과 bootstrap.yml 중 서버가 실행했을 때 bootstrap.yml의 설정 값을 먼저 읽어온다는 것이다.
actuator
하지만 여기서 문제는 설정에 변경이 생기면 서버를 재기동 시켜야 적용이 된다는 것인데 설정 값 하나 때문에 모든 서버를 내렸다가 올리기에는 너무 귀찮다. 그래서 사용하는 방법이 actuator와 bus가 있는데 주로 bus를 사용하지만 acuator를 먼저 살펴보자
<dependency>
    <groupId>org.springframework.boot</groupId>
    <artifactId>spring-boot-starter-actuator</artifactId>
</dependency>
우선 user service에서 actuator 의존성을 추가해주고
@Configuration  //다른 bean들 보다 우선순위를 앞으로
@EnableWebSecurity  //security 어노테이션
@RequiredArgsConstructor
public class WebSecurity extends WebSecurityConfigurerAdapter {

...
    //권한
    @Override
    protected void configure(HttpSecurity http) throws Exception {
        http.csrf().disable();
        http.authorizeRequests().antMatchers("/actuator/**").permitAll();   //actuator는 모두 허용
        //http.authorizeRequests().antMatchers("/users/**").permitAll();    //기존 모두 ok
        http.authorizeRequests().antMatchers("/**")
            .permitAll()    //ip 설정
            .and()
            .addFilter(getAuthenticationFilter());

        http.headers().frameOptions().disable();    //h2 console error 해결을 위해
    }

}
security에서도 actuator에 대한 요청을 모두 허용으로 변경해준다.
management:
  endpoints:
    web:
      exposure:
        include: refresh, health, beans
application.yml에 다음과 같이 추가해준다. 여기서 refresh를 적용해주어야 정보를 새로고침하여 가져온다.

health를 요청하면 다음과 같이 서버 상태가 나오고
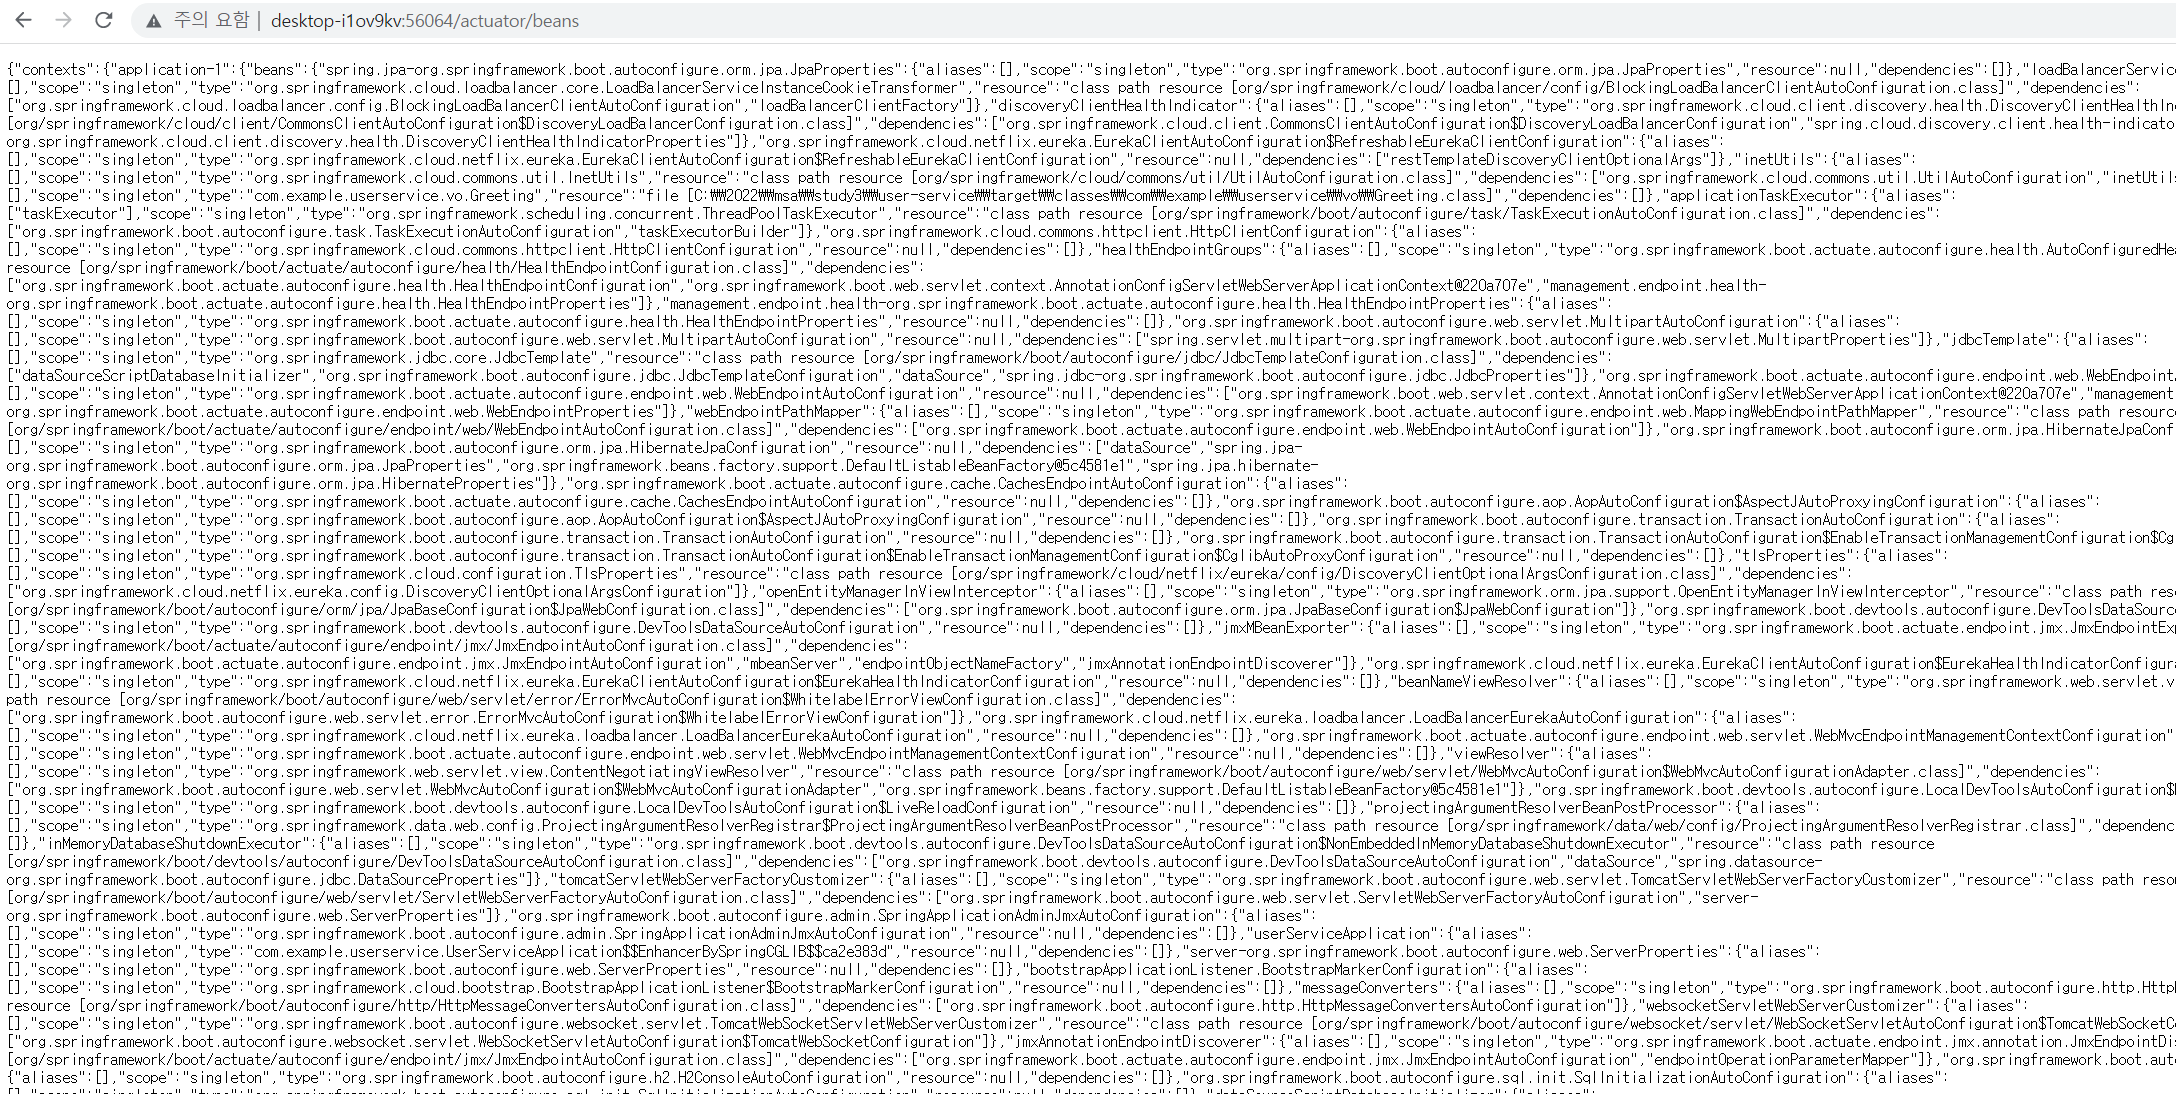
beans는 현재 프로젝트에 등록된 bean의 값을 확인할 수 있다.

이제 설정값을 다음과 같이 변경하고
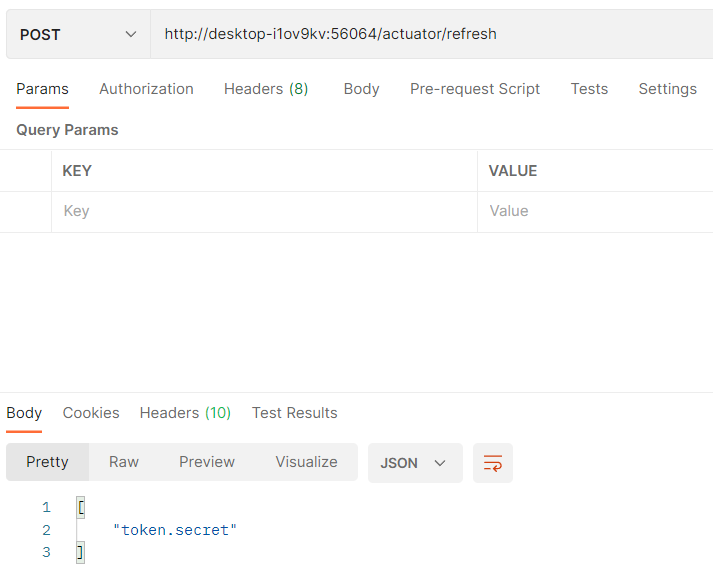
post로 refresh를 요청해주면 서버에서 실행 도중에 서버의 설정 값을 새로고침하여 가져올 수 있다.
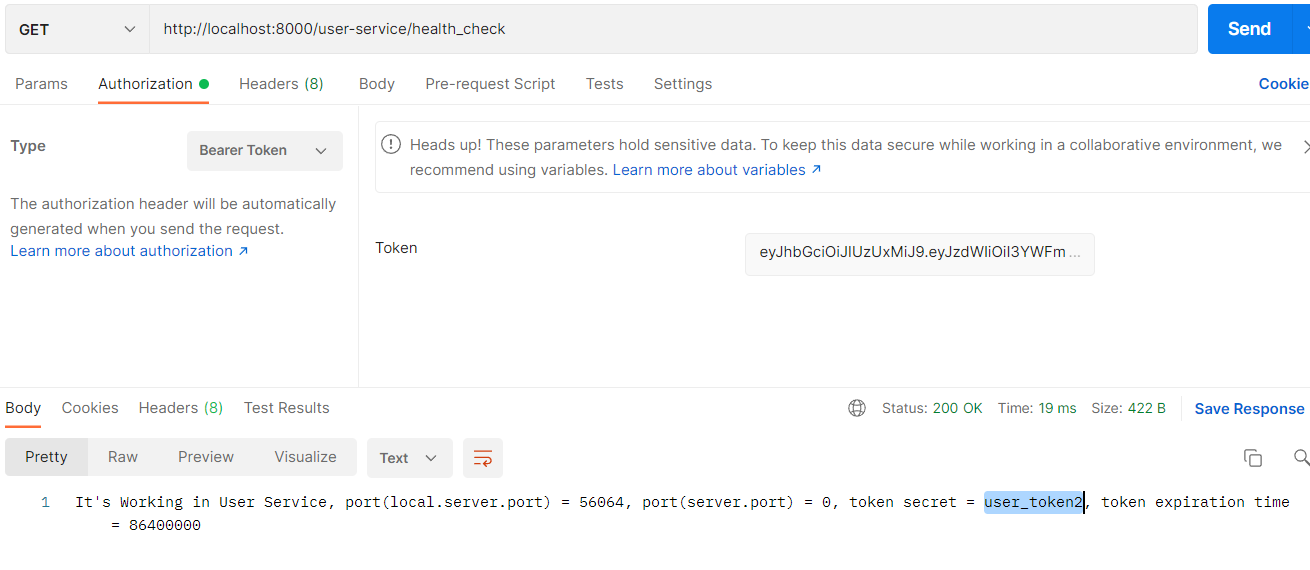
서버를 재기동하지 않아도 secret값이 변경된것을 확인할 수 있다.
actuator는 간단하게 짚고 넘어갈 부분이라 깊게 학습하지는 않았다.
