
vuetify -> tailwind
vietify도 좋은 css framework이지만 너무 정해진 디자인으로 밖에 할 수 없다는게 별로여서 tailwind로 적용해서 다시 만들어보려고 한다.
npm install -D tailwindcss postcss autoprefixer
npx tailwindcss init -p
명령어를 통해 tailwind를 설치한다.
module.exports = {
  content: [
    "./index.html",
    "./src/**/*.{vue,js,ts,jsx,tsx}",
  ],
  theme: {
    extend: {},
  },
  plugins: [],
}tailwind.config.js파일에 다음과 같이 적용될 파일들에 설정을 추가해주고
@tailwind base;
@tailwind components;
@tailwind utilities;
index.css 파일에 tailwind를 추가해준다.
<template>
  <h1 class="text-3xl font-bold underline">
    Hello world!
  </h1>
</template>

<script>

export default {
  name: 'App',
  components: {
  }
}
</script>
helloworld를 찍어보자
npm run dev로 실행시켜주면

정상적으로 적용된것을 확인할 수 있다.
vuetify에 비해 설정도 매우 간단하고 vue3+vite 조합으로 설명이 아주 잘 되어 있다. 이제 다시 진행해보자!
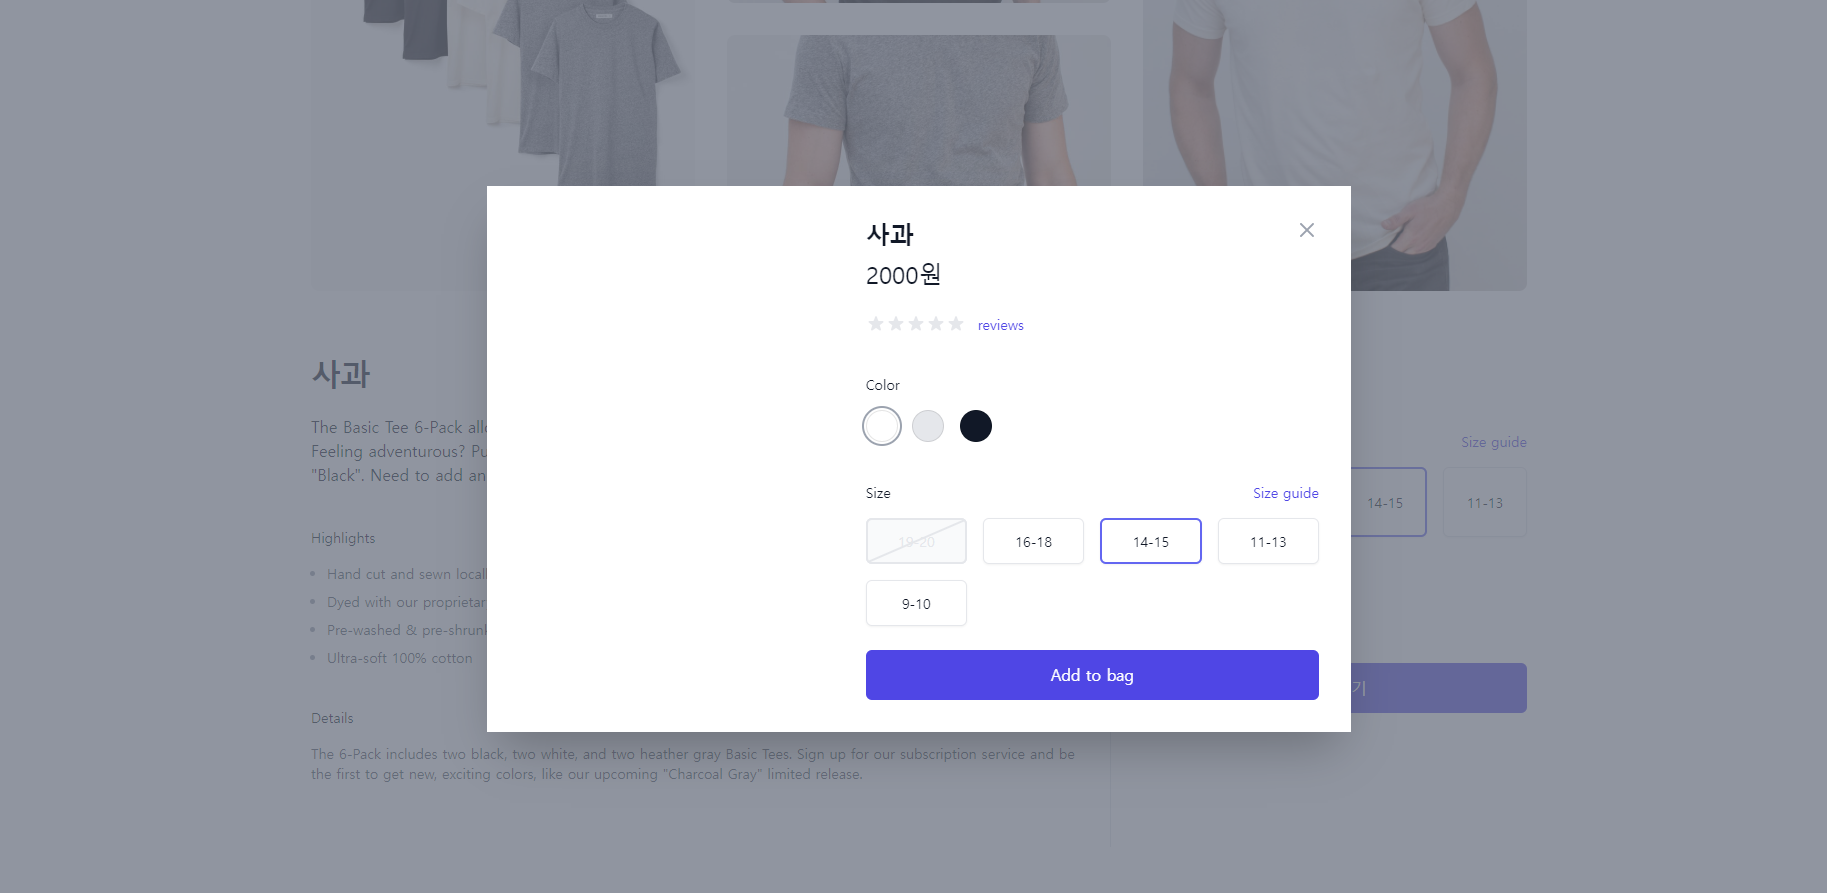
그 후에 tailwind 기본 제공 템플릿을 적용하기 위해
tailwindui 공식 사이트
의 document를 참고하여 vue 설정에 맞게 install 후 설정해주면 된다.
tailwind 적용 후
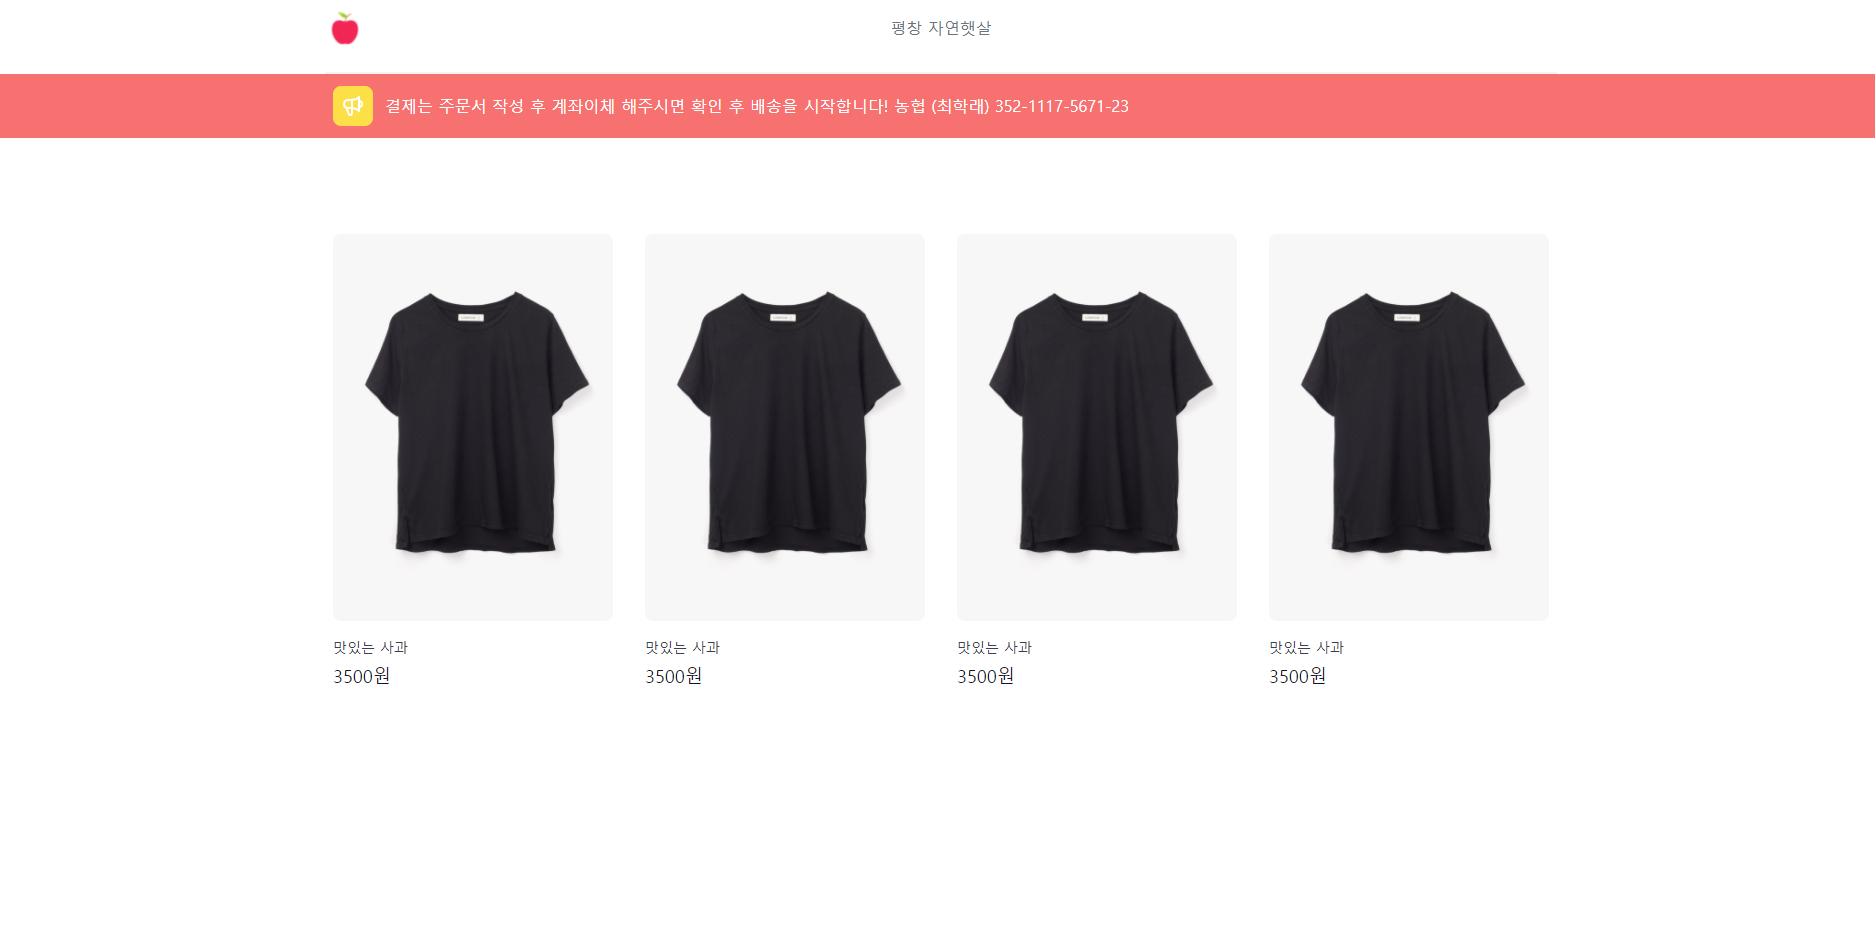

다음 페이지로 리뉴얼 했고 실제 데이터를 끌어와서 데이터로 표시되도록 만들어야한다.
