
📗nginx 추가
저번에는 세팅을 확인하기 위해 우선 node server 포트를 80으로 변경해서 사용했다. 하지만 역시 이 방법보다는 앞으로 어떻게 변경될지 모르니 webserver를 앞에 두고 싶기 때문에 nginx로 추가하려고 한다. 그리고 현재 사용하고 있는 api server도 포트가 아닌 url로 사용하고 싶기 때문에 nginx를 추가하기로 했다.
nginx 설치 및 설정
nginx를 설치 후 설정을 해주어야 하는데. docker-compose로 우리는 묶어서 사용할것이기 때문에 우선 docker 이미지로 nginx 이미지를 만든 후
user  nginx;
worker_processes  auto;

error_log  /var/log/nginx/error.log notice;
pid        /var/run/nginx.pid;


events {
    worker_connections  1024;
}


http {
    include       /etc/nginx/mime.types;
    default_type  application/octet-stream;

    log_format  main  '$remote_addr - $remote_user [$time_local] "$request" '
                      '$status $body_bytes_sent "$http_referer" '
                      '"$http_user_agent" "$http_x_forwarded_for"';

    access_log  /var/log/nginx/access.log  main;

    sendfile        on;
    #tcp_nopush     on;

    keepalive_timeout  65;

    #gzip  on;

    include /etc/nginx/conf.d/*.conf;
}
/etc/nginx/nginx.conf
파일의 내용은 다음과 같다 여기서 가장 마지막 줄인 include 되어 있는 conf.d 폴더 내 conf 파일을 수정하여 적용해보려고한다.
server {
    listen       80;
    listen  [::]:80;
    server_name  jayeonapple.com www.jayeonapple.com api.jayeonapple.com;

    #access_log  /var/log/nginx/host.access.log  main;

    location / {
        proxy_pass http://ip:port;
    }
    location /v1 {
        proxy_pass http://ip:port2;
    }

    #error_page  404              /404.html;

    # redirect server error pages to the static page /50x.html
    #
    error_page   500 502 503 504  /50x.html;
    location = /50x.html {
        root   /usr/share/nginx/html;
    }

    # proxy the PHP scripts to Apache listening on 127.0.0.1:80
    #
    #location ~ \.php$ {
    #    proxy_pass   http://127.0.0.1;
    #}

    # pass the PHP scripts to FastCGI server listening on 127.0.0.1:9000
    #
    #location ~ \.php$ {
    #    root           html;
    #    fastcgi_pass   127.0.0.1:9000;
    #    fastcgi_index  index.php;
    #    fastcgi_param  SCRIPT_FILENAME  /scripts$fastcgi_script_name;
    #    include        fastcgi_params;
    #}

    # deny access to .htaccess files, if Apache's document root
    # concurs with nginx's one
    #
    #location ~ /\.ht {
    #    deny  all;
    #}
}
내가 설정해준 부분은
server_name에 내 도메인을 적었고
location / {} 과 location /v1 {}에 각각 front server와 api server를 매핑하여 각 요청된 url에 따라 nginx에서 요청을 분리할 수 있도록 설정했다.
그 후에 해당 nginx는 이미지를 docker hub에 등록해서 사용하자!
docker hub 등록
docker login을 통해서 도커 로그인을 해준다.
docker commit -m "nginx setting" jayeon-nginx jayeon-nginx명령어를 통해 현재 컨테이너를 이미지화 시켜준다.

이미지를 확인할 수 있고
docker tag jayeon-nginx ililil9482/jayeon-nginxdocker hub에 올릴 경로와 저장소 명을 지정한다.
docker push ililil9482/jayeon-nginx그 후 태그명으로 docker hub에 push를 하면
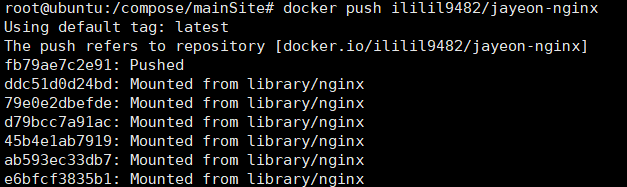
다음과 같이 docker hub에 push 된다.

docker hub에서 확인할 수 있다.
docker-compose 수정
version: '3.7'
#version1

services:
    jayeon-nginx:
        container_name : jayeon-nginx
        image: "ililil9482/jayeon-nginx" #설정한 nginx 이미지
        ports:
            - 80:80
    jayeon:
        build: .
        container_name: jayeon-front
        user: root
        ports:
            - 3000:3000
        volumes:
            - /volumes:/volumes
기존의 docker-compose.yml 파일을 위와 같이 nginx를 추가로 실행할 수 있도록 수정했다.
그 후 docker-compose를 내리고 다시 실행해보자.

나는 다음과 같은 에러가 났는데 아까 이미지로 만들기 위해 띄워놨던 container가 실행되고 있어서 conflict 에러가 발생했다. container를 중지시킨뒤 삭제까지 하고 다시 실행해보자!
실제 url로 확인
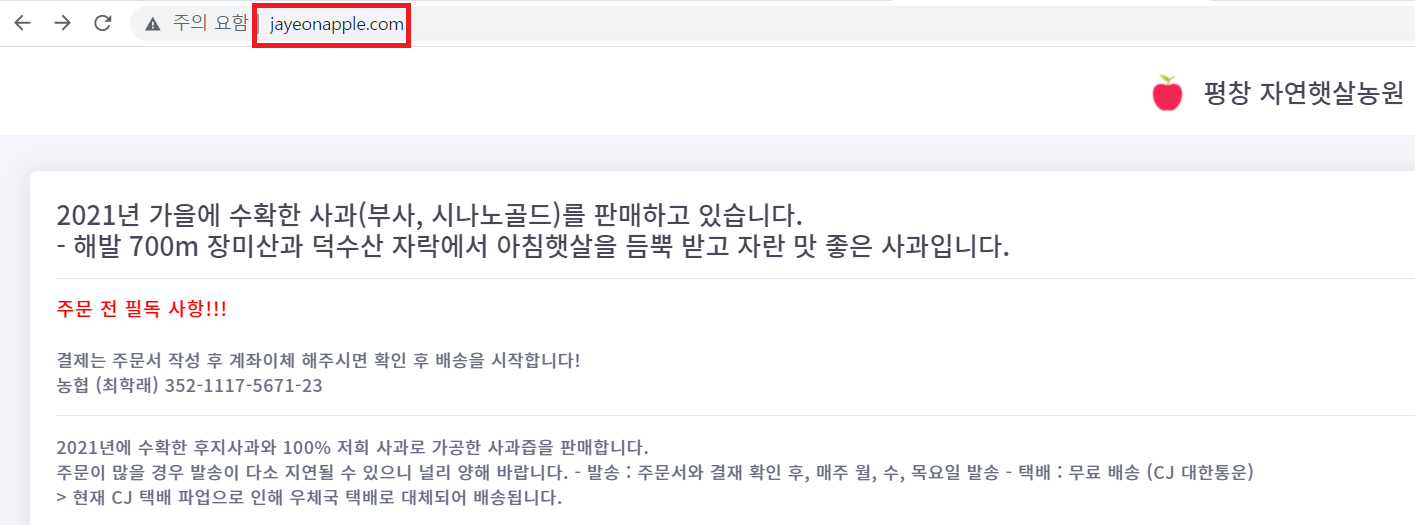
일반 url로 요청했을 때 3000 포트로 열어둔 node front 서버로 잘 접속된다.
/v1 의 url 요청이 되었을 때는 api server의 spring boot로 연결된 화면을 확인할 수 있다.
📘port의 연결이 아닌 docker network를 사용하여 연결
위의 설정은 각 container의 외부 port를 열어서 nginx 자체로 연결 시킨 개념이다. 하지만 docker의 network를 사용하면 굳이 외부 port를 열고 보안적으로 포트포워딩 포트를 신경 써서 다 열어주고할 필요 없이 docker container끼리 통신이 가능하도록 설정이 가능하고 해당 설정을 nginx에서 사용할 수 있다.
docker-compose 수정
version: '3.7'
#version1

services:
    jayeon-nginx:
        container_name : jayeon-nginx
        image: "ililil9482/jayeon-nginx"
        ports:
            - 80:80
    jayeon-front:
        build: .
        container_name: jayeon-front
        user: root
        expose:
            - 3000
        volumes:
            - /volumes:/volumes
기존의 ports로 열어서 사용하던 jayeon-front를 expose로 바꾸고 service 이름을 api와 더 구분하기 위해 front를 붙여주었다.
server {
    listen       80;
    listen  [::]:80;
    server_name  jayeonapple.com www.jayeonapple.com api.jayeonapple.com;

    #access_log  /var/log/nginx/host.access.log  main;
    upstream jayeon-front {
        server jayeon-front:3000;
    }
    location / {
        proxy_pass jayeon-front;
    }
    location /v1 {
        proxy_pass http://ip:port;
    }

    #error_page  404              /404.html;

    # redirect server error pages to the static page /50x.html
    #
    error_page   500 502 503 504  /50x.html;
    location = /50x.html {
        root   /usr/share/nginx/html;
    }

    # proxy the PHP scripts to Apache listening on 127.0.0.1:80
    #
    #location ~ \.php$ {
    #    proxy_pass   http://127.0.0.1;
    #}

    # pass the PHP scripts to FastCGI server listening on 127.0.0.1:9000
    #
    #location ~ \.php$ {
    #    root           html;
    #    fastcgi_pass   127.0.0.1:9000;
    #    fastcgi_index  index.php;
    #    fastcgi_param  SCRIPT_FILENAME  /scripts$fastcgi_script_name;
    #    include        fastcgi_params;
    #}

    # deny access to .htaccess files, if Apache's document root
    # concurs with nginx's one
    #
    #location ~ /\.ht {
    #    deny  all;
    #}
}
/etc/nginx/nginx.conf 파일을 직접 수정하였다. 이전처럼 default.conf 파일을 수정하려고 했더니 include 되는 파일은 upstream 명령어를 쓰지 못하는거 같더라... 영어로 나와서 대충 해석했는데 그랬다... 그래서 nginx.conf 파일에 직접 수정했다.
upstream 이름{server 서비스명:포트;} 로 upstream을 설정해주고 아래에는 똑같이 80포트로 대기하며 / url 요청은 jayeon-front container로 연결되도록 설정했다.
nginx를 service nginx restart로 재실행 해주고
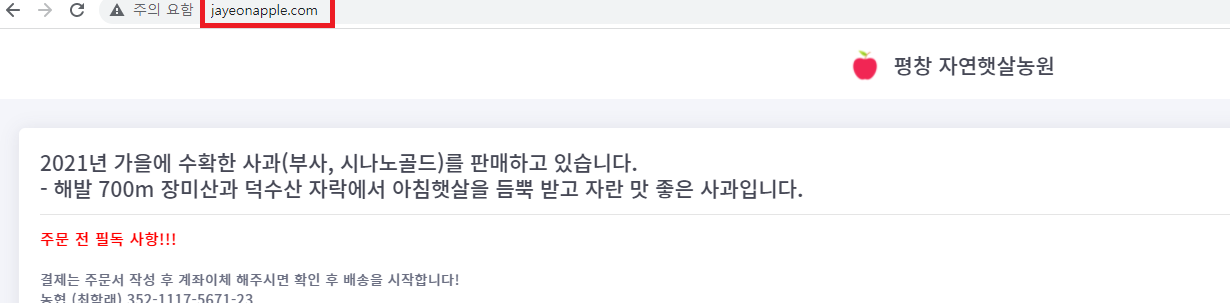
잘 실행되는 것을 확인할 수 있다.
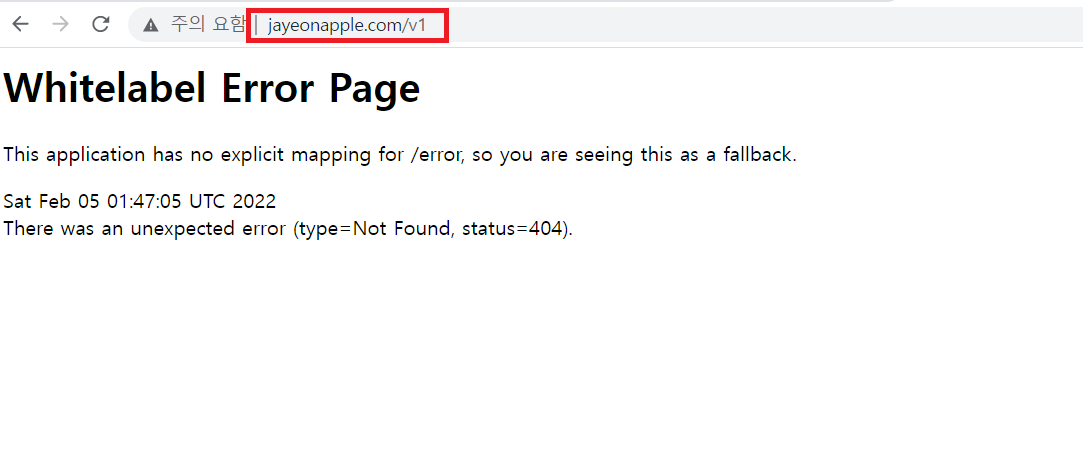
그리고 당연히 이제 api server는 실행이 되지 않겠지만
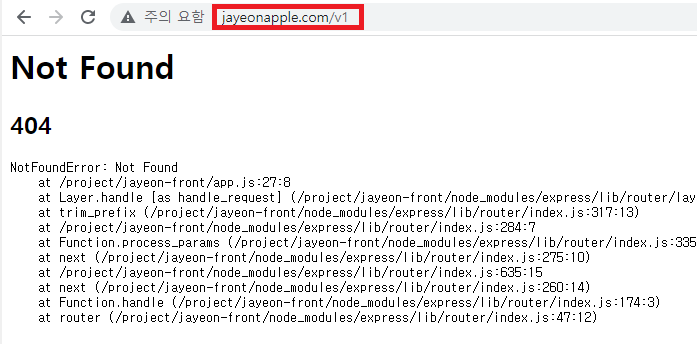
404 오류를 확인할 수 있다. 이제 해당 오류를 제거해보자!
api docker-compose.yml 수정
version: '3.7'

services:
    jayeon-api:
        build: .
        container_name: jayeon-api
        user: root
        expose:
            - 8080
        volumes:
            - /volumes:/volumes
ports 대신 expose로 8080으로 열었다. api 서버를 재실행 해주고
user  nginx;
worker_processes  auto;

error_log  /var/log/nginx/error.log notice;
pid        /var/run/nginx.pid;


events {
    worker_connections  1024;
}


http {
    include       /etc/nginx/mime.types;
    default_type  application/octet-stream;

    upstream jayeon-front {
        server jayeon-front:3000;
    }

    server {
        listen 80;

        location / {
            proxy_pass http://jayeon-front;
        }

        location /v1 {
            proxy_pass http://39.118.30.247:8001;
        }
    }

    log_format  main  '$remote_addr - $remote_user [$time_local] "$request" '
                      '$status $body_bytes_sent "$http_referer" '
                      '"$http_user_agent" "$http_x_forwarded_for"';

    access_log  /var/log/nginx/access.log  main;

    sendfile        on;
    #tcp_nopush     on;

    keepalive_timeout  65;

    #gzip  on;

    #include /etc/nginx/conf.d/*.conf;
}
nginx의 설정 파일을 다음과 같이 바꿔준다. api server는 front server가 내려가도 살아있어야 다른 서비스에서 사용할 수 있기 때문에 port로 설정해서 사용했다.

이제 다시 nginx를 이미지로 만들어서 hub에 올리고 docker-compose로 내리고 올려보자!
nginx의 설정 파일을 volume으로 만들어서 사용해도 되는데 이미지로 만들어 놓고 소스처럼 저장시키려고 hub에 올려서 사용했다! volume으로 설정파일만 가져다가 사용해도 된다!
모두 마무리되면 dockerFile과 docker-compose 작성 내용도 git에 올려서 관리하자! ㅎㅎ
