
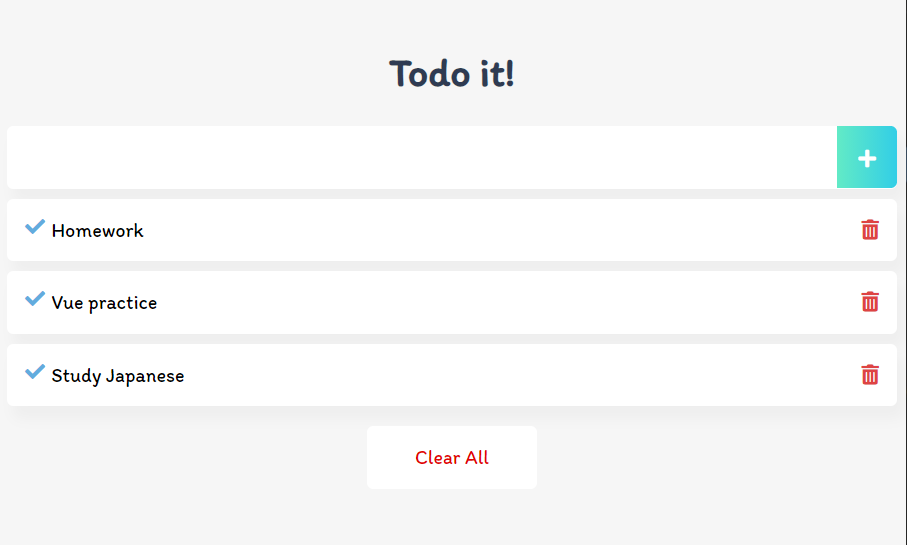
0. 미리보기
1. 뷰 CLI로 프로젝트 생성하기
$ npm install -g @vue/cli
$ vue create vue-todo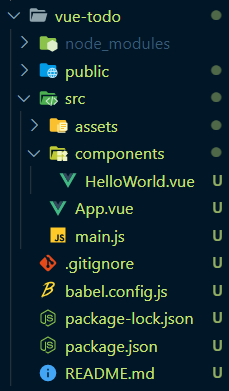
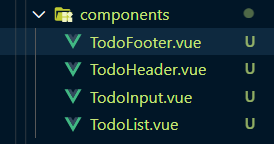
2. 컴포넌트 생성 및 등록하기
1) 컴포넌트 생성
2) App.vue에 등록하기
<template>
  <div id="app">
    <TodoHeader></TodoHeader>
    <TodoInput></TodoInput>
    <TodoList></TodoList>
    <TodoFooter></TodoFooter>
  </div>
</template>

<script>
import TodoHeader from './components/TodoHeader.vue'
import TodoInput from './components/TodoInput.vue'
import TodoList from './components/TodoList.vue'
import TodoFooter from './components/TodoFooter.vue'

export default {
  components: {
    'TodoHeader': TodoHeader,
    'TodoInput': TodoInput,
    'TodoList': TodoList,
    'TodoFooter': TodoFooter
  }
}
</script>

<style>
body {
  text-align: center;
  background-color: #F6F6F6;
}
input {
  border-style: groove;
  width: 200px;
}
button {
  border-style: groove;
}
.shadow {
  box-shadow: 5px 10px 10px rgba(0, 0, 0, 0.03);
}
</style>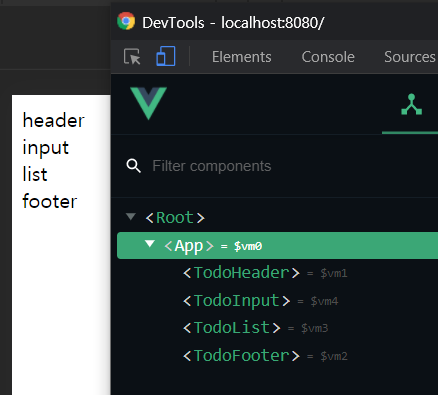
3. 파비콘, 아이콘, 폰트, 반응형 태그 설정하기
반응형 웹사이트를 쓰기 위해 아래의 코드를 추가한다. (근데 html파일만들고 ! + Tab하면 자동으로 적히긴 한다.)
index.html
<meta name="viewport" content="width=device-width, initial-scale=1.0">1) 파비콘
favicon
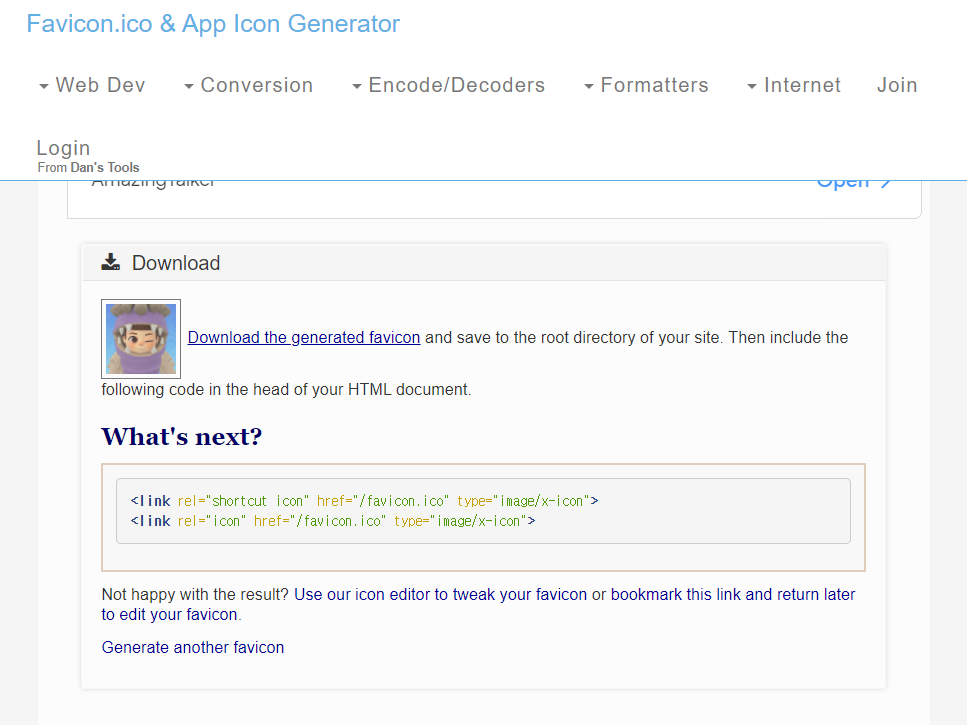
<link rel="shortcut icon" href="src/assets/favicon.ico" type="image/x-icon">
<link rel="icon" href="src/assets/favicon.ico" type="image/x-icon">
2) 아이콘
font awesome
<link rel="stylesheet" href="https://pro.fontawesome.com/releases/v5.10.0/css/all.css" integrity="sha384-AYmEC3Yw5cVb3ZcuHtOA93w35dYTsvhLPVnYs9eStHfGJvOvKxVfELGroGkvsg+p" crossorigin="anonymous"/>3) 폰트
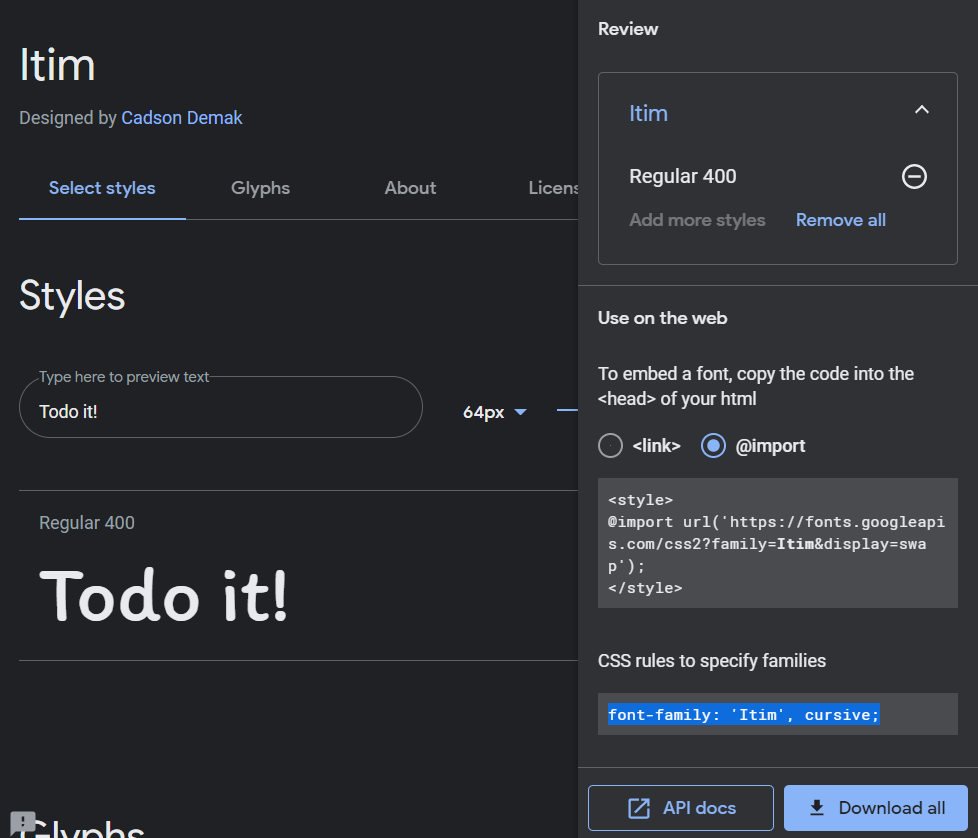
구글 폰트에서 귀엽지만 과하지 않은(?) 손글씨체로 골라보았다. 한글은 왜 지원안되는 게 많은거야ㅠㅠ
Itim
무쁘지 않아
사용할 땐 이렇게 style코드에 적어주면 된다.
<style>
@import url('https://fonts.googleapis.com/css2?family=Itim&display=swap');

html, body {
  font-family: 'Itim', cursive;
}
#app {
  font-family: 'Itim', cursive;
}
</style>
4. TodoHeader
TodoHeader.vue
<template>
  <header>
    <h1>Todo it!</h1>
  </header>
</template>

<style scoped>
h1 {
  color: #2F3B52;
  font-weight: 900;
  margin: 2.5rem 0 1.5rem;
}
</style>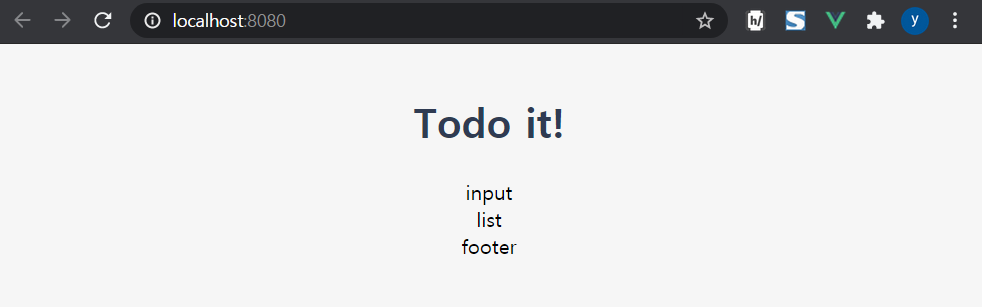
5. TodoInput
1) input form 생성
TodoInput.vue
<template>
  <div>
      <input type="text" v-model="newTodoItem">
  </div>
</template>

<script>
export default {
  data: function() {
    return {
      newTodoItem: ""
    }
  }
}
</script>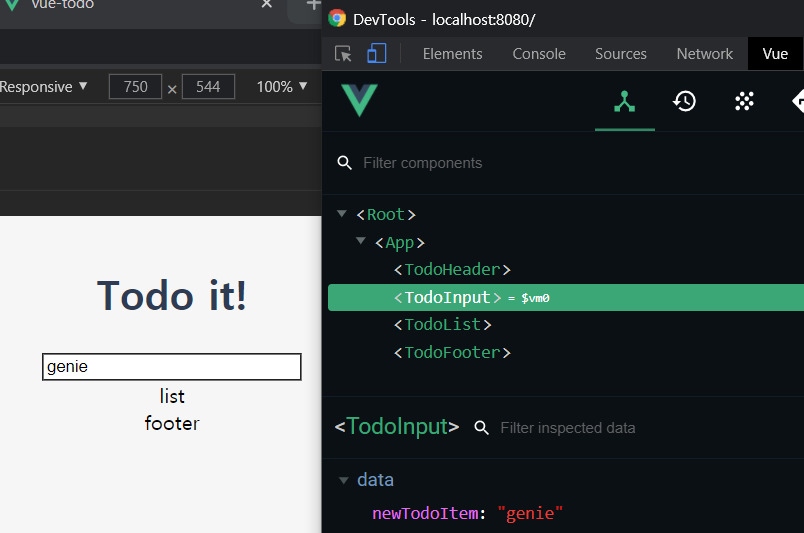
2) v-model에 있는 내용을 저장
버튼을 생성한다.
<template>
  <div>
      <input type="text" v-model="newTodoItem">
      <button v-on:click="addTodo">add</button>
  </div>
</template>

<script>
export default {
  data: function() {
    return {
      newTodoItem: ""
    }
  },
  methods: {
    addTodo: function() {
      console.log(this.newTodoItem);
      //저장하는 로직
      localStorage.setItem(this.newTodoItem, this.newTodoItem);
      this.newTodoItem=""; //비워주기(초기화)

    }
  }
}
</script>
3) 코드 정리, 스타일 추가
버튼 태그를 빼고 span과 i로 바꿨다.
<template>
  <div class="inputBox shadow">
      <input type="text" v-model="newTodoItem" v-on:keyup.enter="addTodo">
      <span class="addContainer" v-on:click="addTodo">
        <i class="far fa-plus-square addBtn"></i>
      </span>
  </div>
</template><script>
export default {
data: function() {
return {
newTodoItem: ""
}
},
methods: {
addTodo: function() {
console.log(this.newTodoItem);
//저장하는 로직
localStorage.setItem(this.newTodoItem, this.newTodoItem);
this.clearInput();
},
clearInput: function() {
this.newTodoItem=""; //비워주기(초기화)
}
}
}
</script><style scoped>
input:focus {
outline: none;
}
.inputBox {
background: white;
height: 50px;
line-height: 50px;
border-radius: 5px;
}
.inputBox input {
border-style: none;
font-size: 0.9rem;
}
.addContainer {
float: right;
background: linear-gradient(to right, #62EAC6, #32CEE6);
display: block;
width: 3rem;
border-radius: 0 5px 5px 0;
}
.addBtn {
color: white;
vertical-align: middle;
}
</style>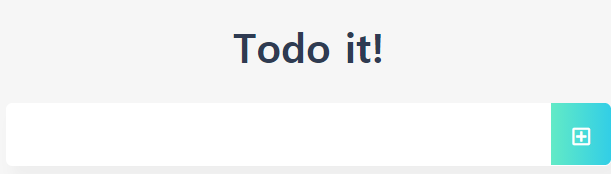
4) 엔터를 눌러도 추가 되도록 하기
<input type="text" v-model="newTodoItem" v-on:keyup.enter="addTodo">6. TodoList
TodoList.vue
<script>
export default {
  data: function() {
    return {
      todoItems: []
    }
  },
  created: function() {
    if (localStorage.length > 0) {
      for (var i = 0; i < localStorage.length; i ++) {
        if (localStorage.key(i) !== 'loglevel:webpack-dev-server') {
          this.todoItems.push(localStorage.key(i));
        }
      }
    }
  }
}
</script>

<style scoped>
ul {
  list-style-type: none;
  padding-left: 0;
  margin-top: 0;
  text-align: left;
}
li {
  display: flex;
  min-height: 50px;
  height: 50px;
  line-height: 50px;
  margin: 0.5rem 0;
  padding: 0 0.9rem;
  background: white;
  border-radius: 5px;
}
</style>
1) 자동으로 list 생성
localStorage에 저장된 todoItem의 개수만큼 자동으로 list 가 생기도록 한다.
<template>
  <div>
    <ul>
      <li v-for="todoItem in todoItems" v-bind:key="todoItem">
        {{ todoItem }}
      </li>
    </ul>
  </div>
</template>
2) 삭제 버튼 생성
<template>
  <div>
    <ul>
      <li v-for="(todoItem, index) in todoItems" v-bind:key="todoItem" class="shadow">
        {{ todoItem }}
        <span class="removeBtn" v-on:click="removeTodo(todoItem, index)">
          <i class="fas fa-trash-alt"></i>
        </span>
      </li>
    </ul>
  </div>
</template>

<style>
.checkBtn {
  line-height: 45px;
  color: #62acde;
  margin-right: 5px;
}
.checkBtnCompleted {
  color: #b3adad;
}
.textCompleted {
  text-decoration: line-through;
  color: #b3adad;
}
.removeBtn {
  margin-left: auto;
  color: #de4343;
}
</style>
3) 삭제 기능 추가
<script>
export default {
  data: function() {
    return {
      todoItems: []
    }
  },
  methods: {
    removeTodo: function(todoItem, index) {
      localStorage.removeItem(todoItem);
      this.todoItems.splice(index, 1); //특정 index에서 하나를 지울 수 있음
    }
  },
  created: function() {
    if (localStorage.length > 0) {
      for (var i = 0; i < localStorage.length; i ++) {
        if (localStorage.key(i) !== 'loglevel:webpack-dev-server') {
          this.todoItems.push(localStorage.key(i));
        }
      }
    }
  }
}
</script>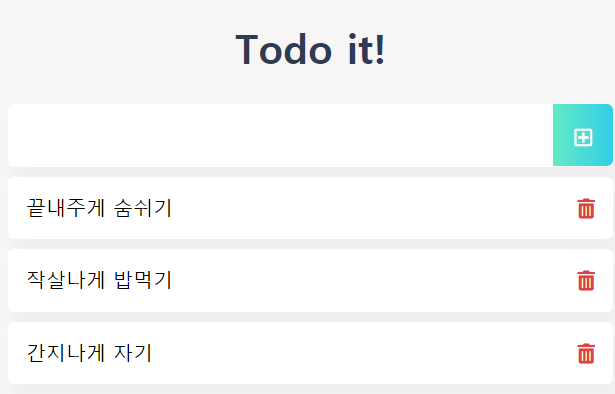
7. TodoFooter
TodoFooter.vue
<template>
  <div class="clearAllContainer">
      <span class="clearAllBtn" v-on:click="clearTodo">Clear All
      </span>
  </div>
</template>

<script>
export default {
  methods: {
    clearTodo: function() {
      localStorage.clear();
    }
  }
}
</script>

<style scoped>
.clearAllContainer {
  width: 8.5rem;
  height: 50px;
  line-height: 50px;
  background-color: white;
  border-radius: 5px;
  margin: 0 auto;
}
.clearAllBtn {
  color: #e20303;
  display: block;
}
</style>
8. 할일을 완료했을 때의 기능 구현
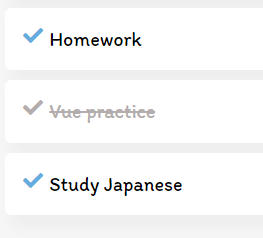
체크 ✅ 를 클릭하면 글자색이 변하고 취소선이 그어진다.
1) 클릭 svg 추가
TodoInput.vue
<template>
  <div class="inputBox shadow">
      <input type="text" v-model="newTodoItem" v-on:keyup.enter="addTodo">
      <!-- <button v-on:click="addTodo">add</button> -->
      <span class="addContainer" v-on:click="addTodo">
        <i class="fas fa-plus addBtn" aria-hidden="true"></i>
      </span>
  </div>
</template>
2) 클릭 boolean 저장
클릭이 됐는지 알기 위해 (텍스트,텍스트) 가 아닌 (텍스트,불린) 을 저장한다.
<script>
export default {
  data: function() {
    return {
      newTodoItem: ''
    }
  },
  methods: {
    addTodo: function() {
      if (this.newTodoItem !== '') {
        var obj = {completed: false, item: this.newTodoItem};
        //(텍스트,텍스트) 가 아닌 (텍스트, 불린) 을 저장
        localStorage.setItem(this.newTodoItem, JSON.stringify(obj));
        this.clearInput();
      }
    },
    clearInput: function() {
      this.newTodoItem= ''; //비워주기(초기화)
    }
  }
}
</script>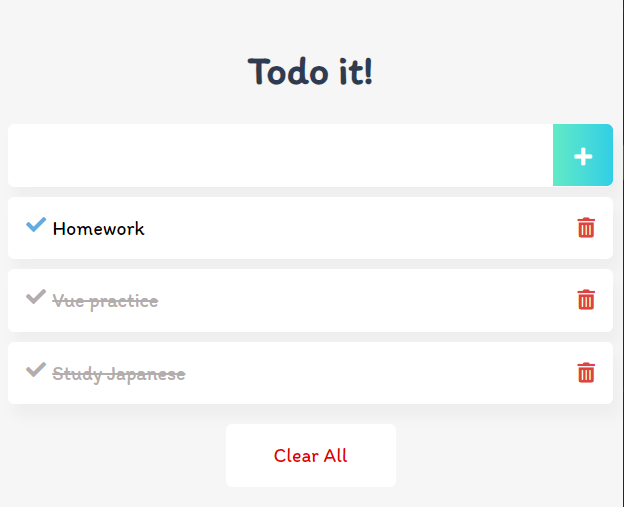

I can be your Genie🧞♀️ How ‘bout Aladdin? 🧞♂️
안녕하세요..! 저도 vue를 이용한 localstorage를 구현중인데.. 로컬스토리지는 따로 설정하는게 아니라 코딩을 통해서 지정을 해주면 되는건가요?